How to Draw Fluttershy
We invite you to an exciting drawing lesson in which we will show you how to draw Fluttershy step by step. We promise that you will have an interesting and useful pastime ahead of you.
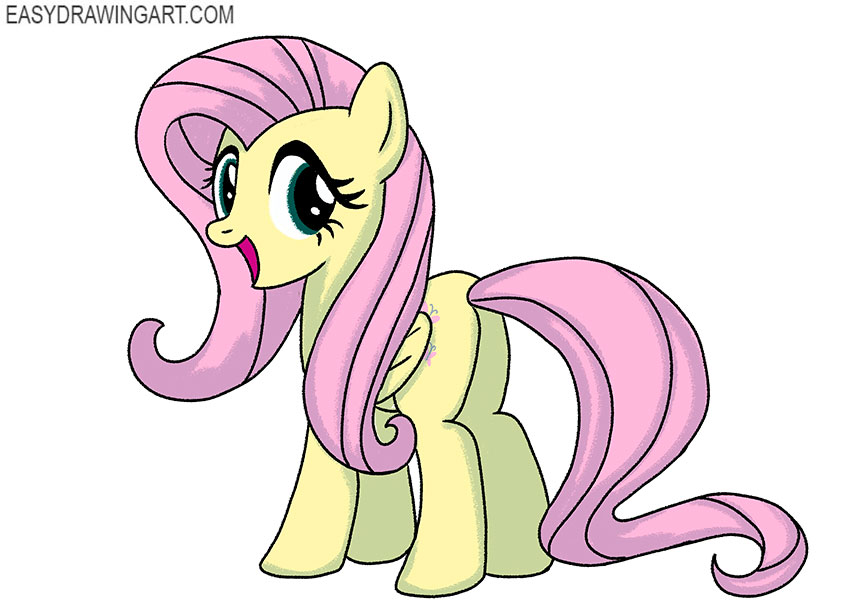
Furthermore, we are pleased to bring to your attention detailed instructions on how to draw Fluttershy. This pony is one of the main characters of the My Little Pony series. Fluttershy is very kind, shy and modest.
She is a yellow pony with a pink mane and tail. Fluttershy’s expressive eyes and long eyelashes give her a special charm. We hope you enjoy drawing this character and get a great result.
Time needed: 1 hour
How to Draw Fluttershy
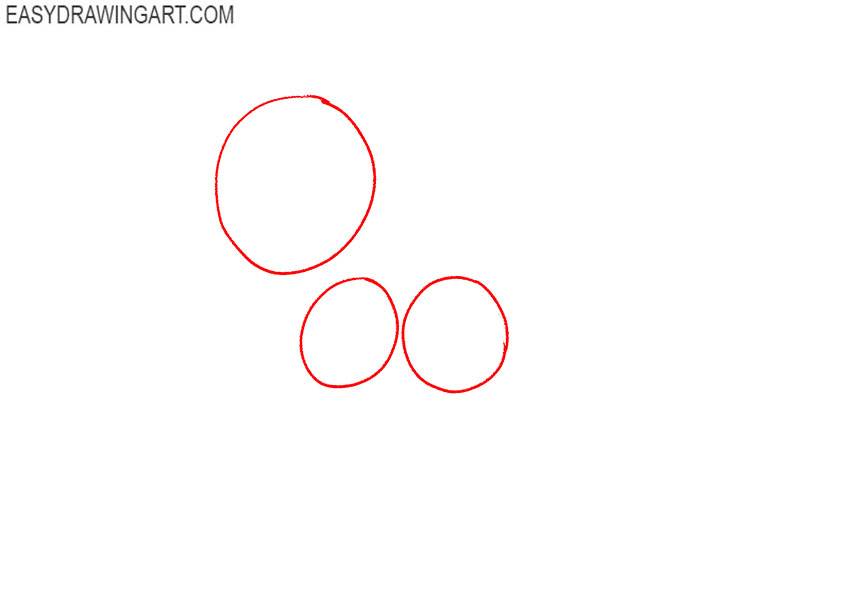
- Prepare the base.
Draw three round shapes to indicate the position of the head, thoracic region, and pelvic region.

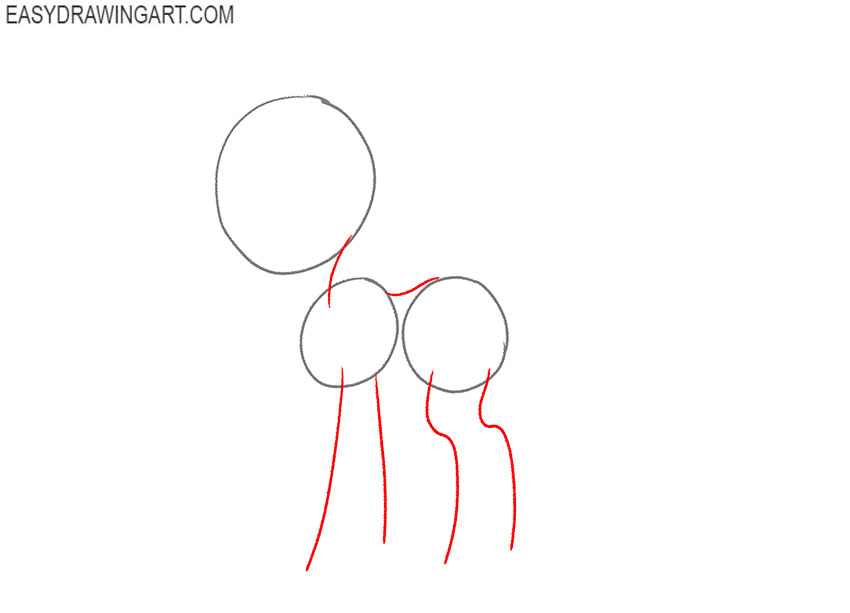
- Add the limbs.
Using thin lines, mark the position of the front and hind limbs. Draw small connecting lines between the main parts of the body.
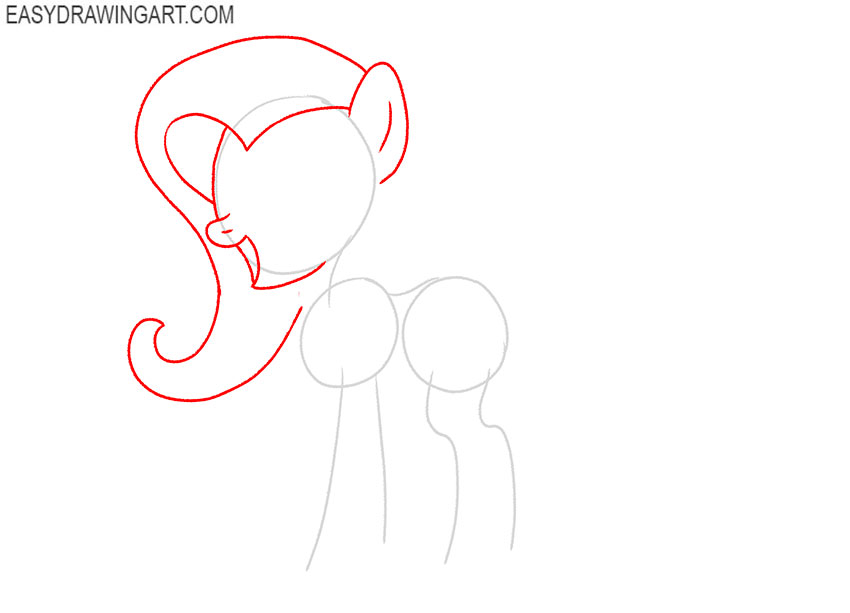
- Start detailing the head.
Focus on the auxiliary lines and add the outline of the muzzle. Using a smooth line, depict part of the mane.
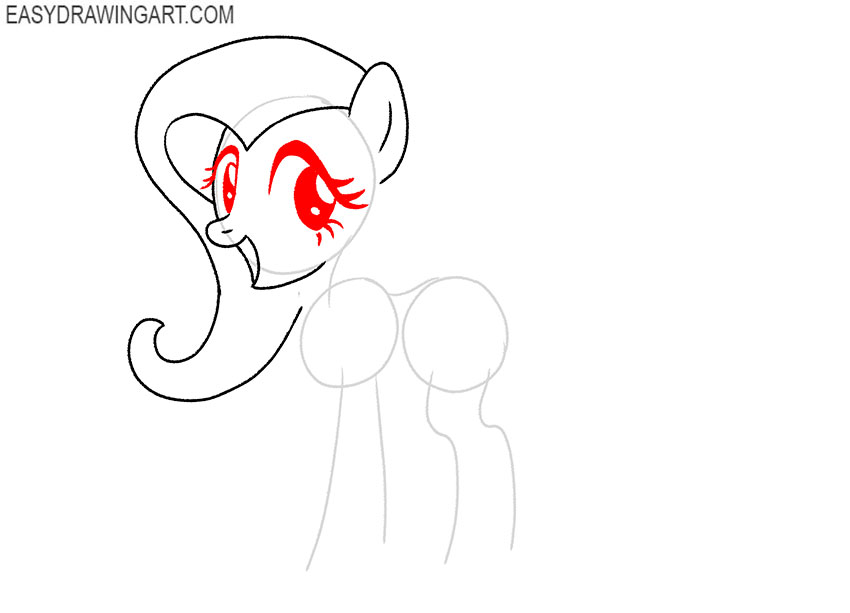
- Draw the eyes.
Be careful and careful at this stage of drawing and try to correctly depict the shape of the eyes.
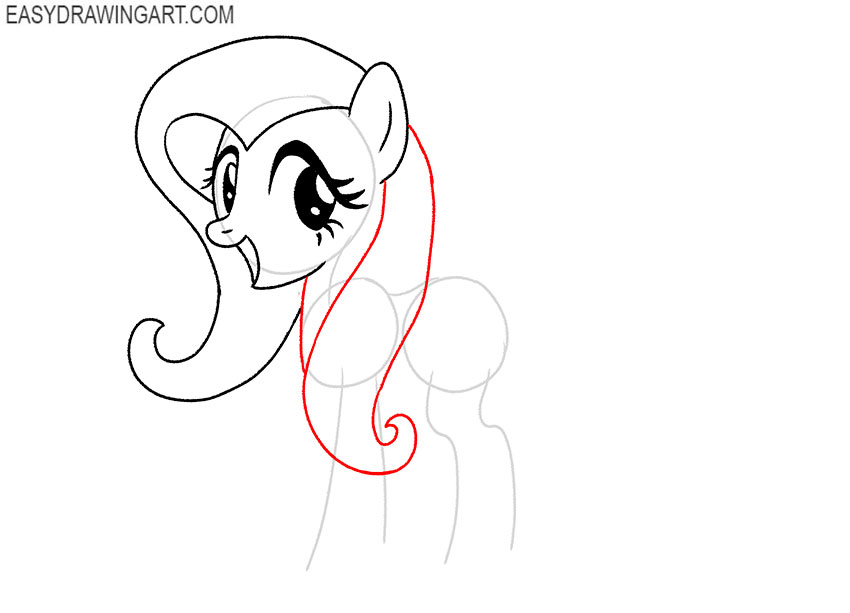
- Add the rest of the mane.
From the head, draw down smooth curved lines to depict the mane, the end of which is bent up.
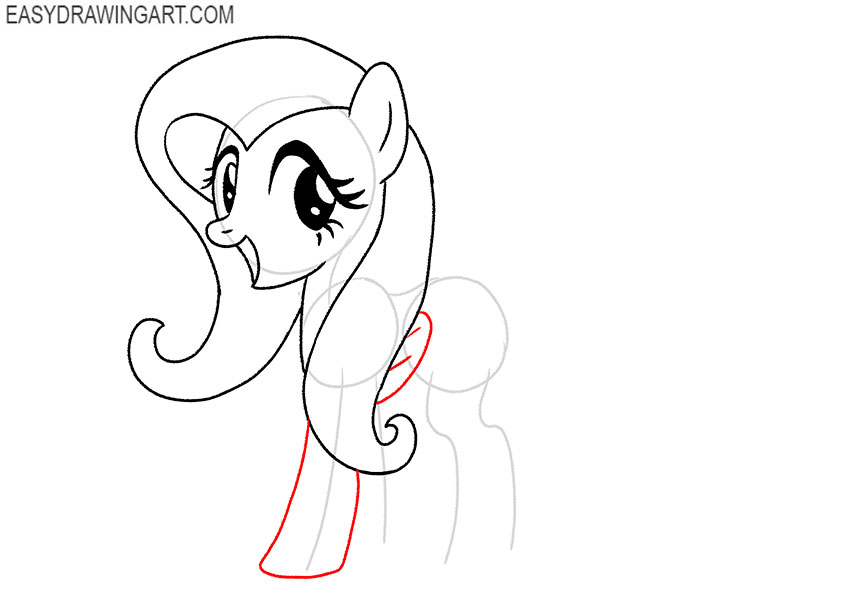
- Sketch out one front leg and wing.
Use the guideline as a guide and give the leg the desired shape and thickness. Draw the visible part of the wing.
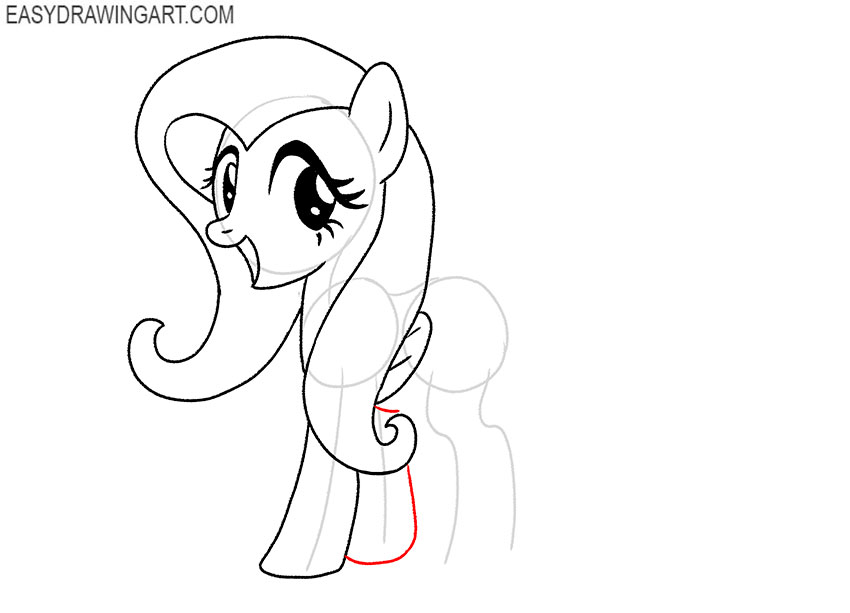
- Draw the second front leg.
This is a very simple step in which you will give the second front leg the desired shape and thickness.
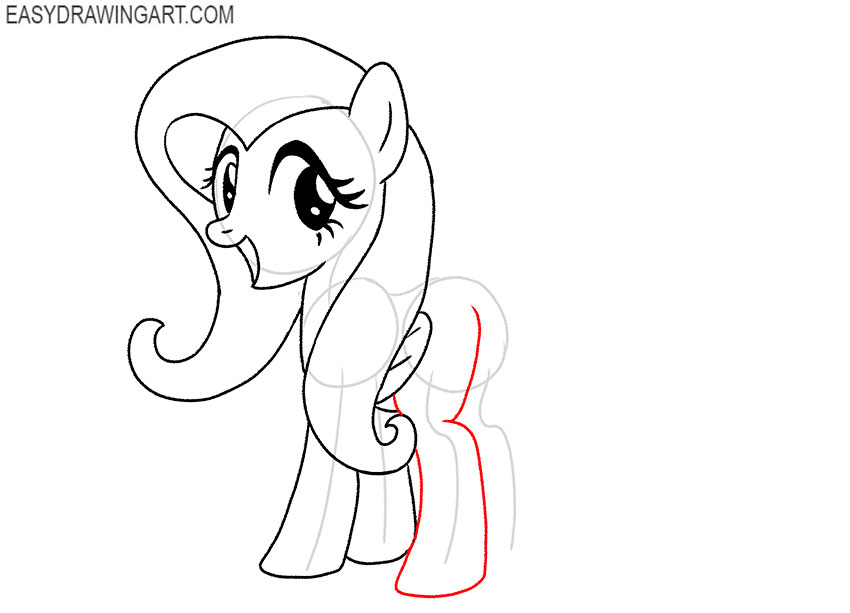
- Depict one back leg.
Focus on the guidelines and give the back leg the desired shape and thickness, while trying to correctly portray all the natural curves.
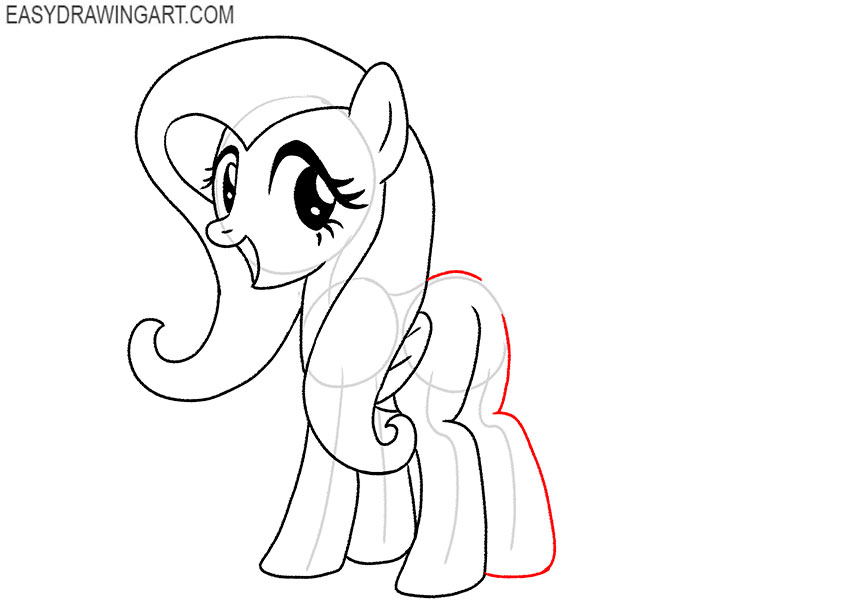
- Add the second back leg and part of the back.
Using curved lines, draw the outline of the second hind leg. At the top, draw a small, curved line to depict the upper body.
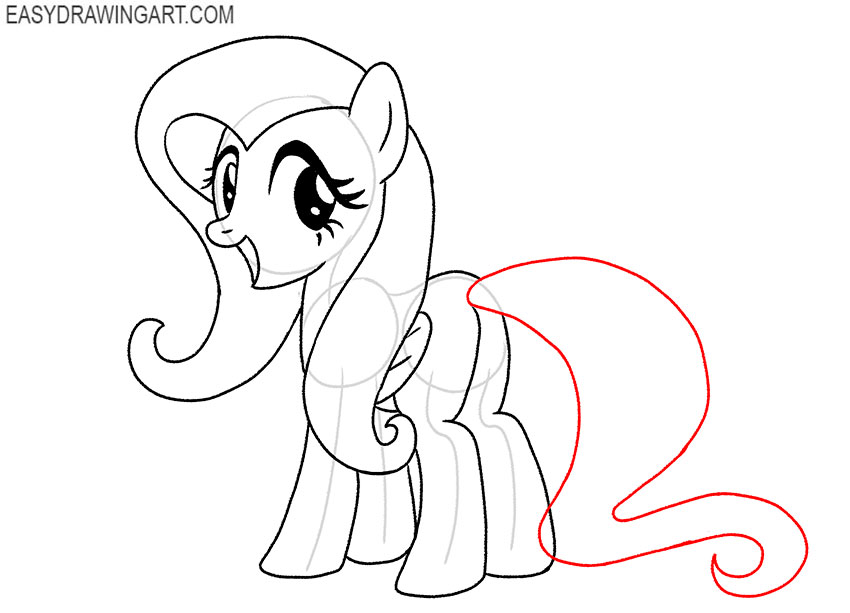
- Draw the tail.
With the help of a smooth curved line, depict the long pointed tail of the same shape as in our example.
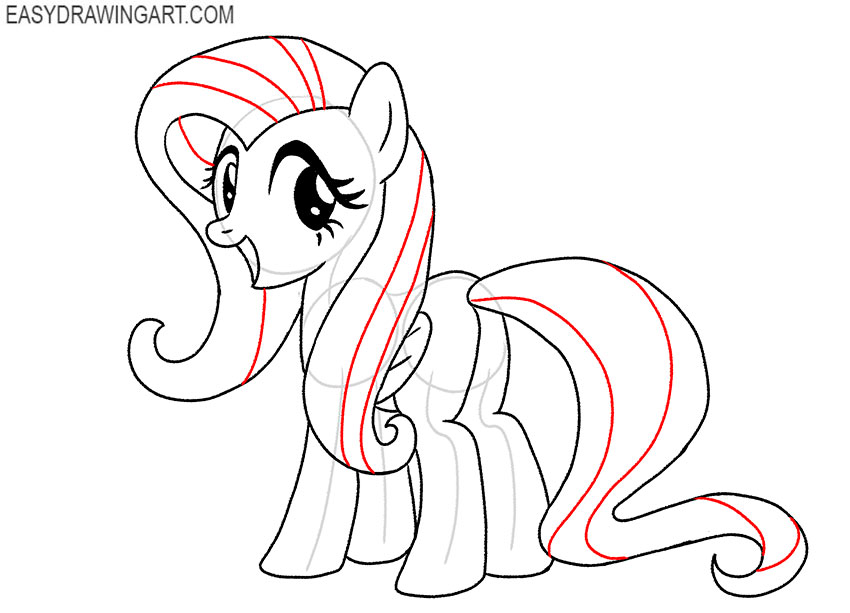
- Detail the mane and tail.
On the mane and on the tail, draw curved lines in sequence, while paying attention to the direction of hair growth.
- Correct inaccuracies.
Take the eraser and carefully remove all the extra lines in your drawing. Correct errors if necessary.
- Color the drawing.
For coloring, you will need different shades of yellow and purple. Don’t forget to highlight the dark areas.

The Fluttershy is ready! If you followed all the steps in this one correctly, you should have a great drawing. Share your opinion about this lesson in the comments and suggest ideas for the next lessons. If you want to be the first to know about new lessons, then subscribe to us on social networks.