How to Draw the Genie
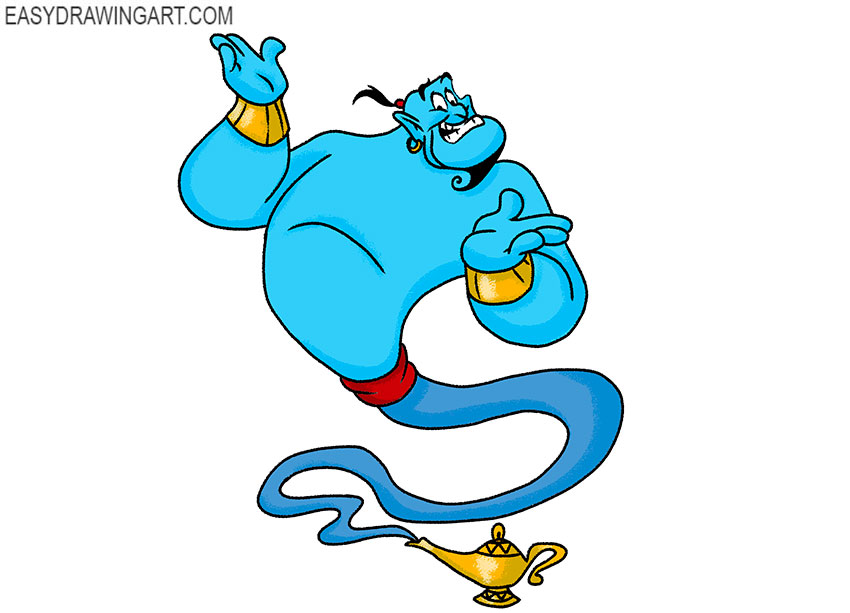
We decided to devote this tutorial to sketch an unusual character, and now you will learn how to draw the Genie.
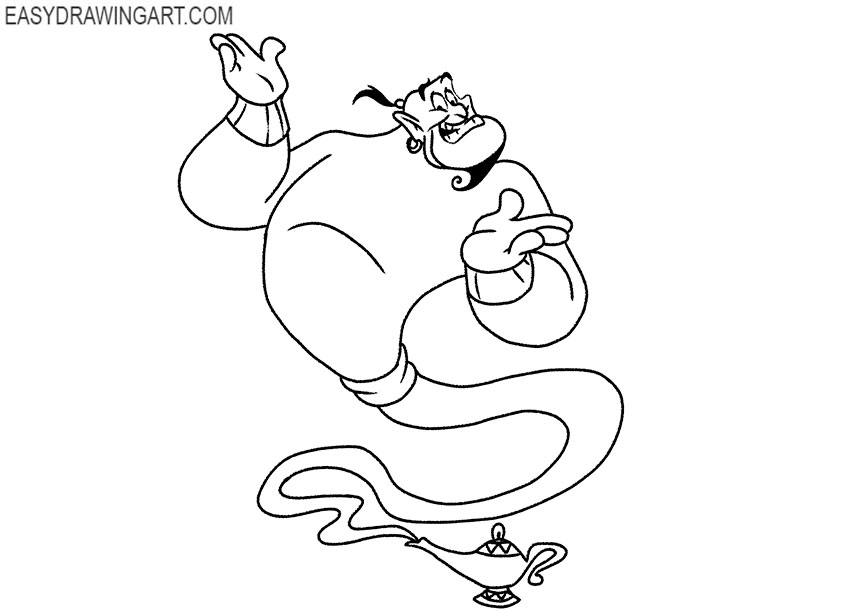
This is a character from the cartoon “Aladdin”. The Genie has an unusual appearance, it has blue skin, a small beard and a bunch of hair on the head.
The Genie loves to amuse himself and others. It is very perky and full of positive energy.
The Genie can change its growth, turn, create objects and travel in time. We hope that you will be happy to draw this character, and you will have pleasant impressions.
Step 1: Sketch the Genie’s body
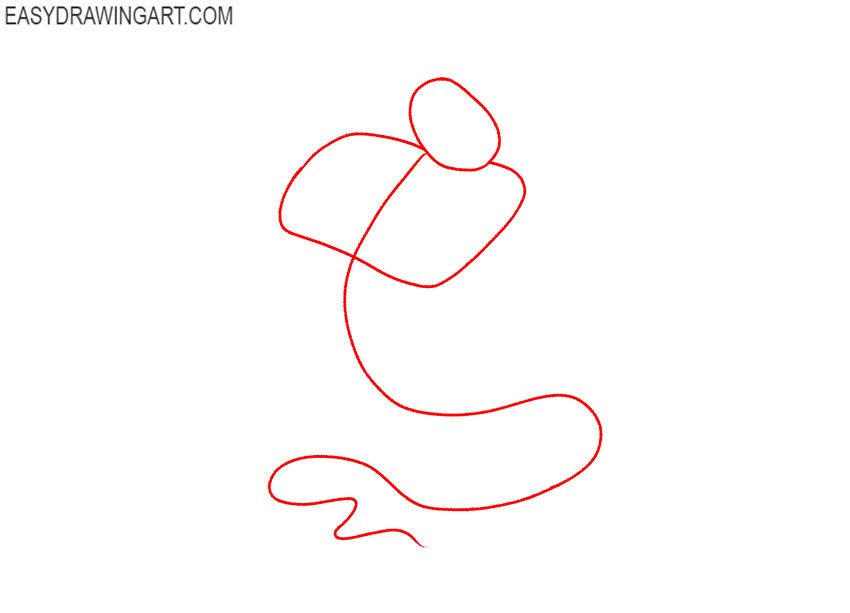
Begin by sketching the body with simple shapes for the head and chest. Sketch a long and smooth line downward to set the basic shape of the Genie’s tapering lower body.
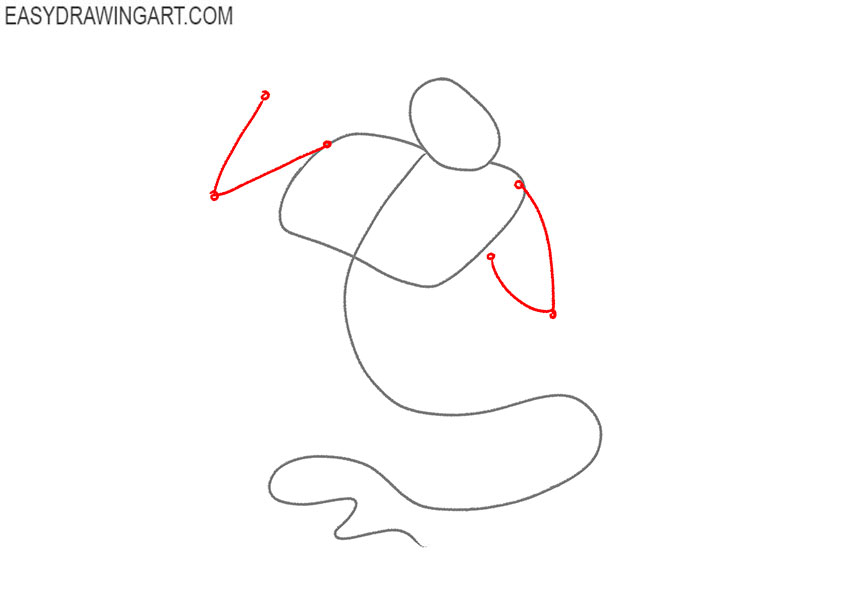
Step 2: Add the Disney character’s arms
Use thin lines to sketch the arms extending from the chest. Mark the shoulders, elbows, and wrists with rounded shapes to convey the bent poses.
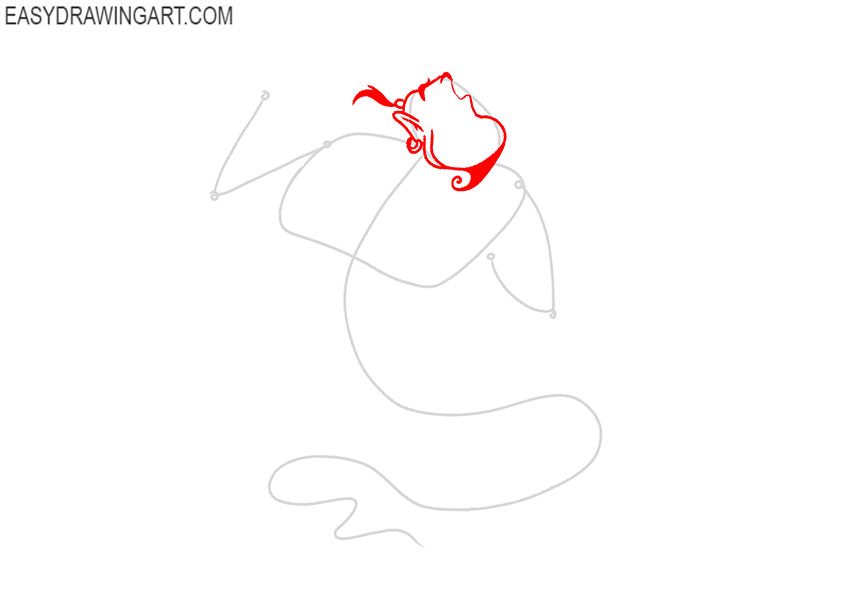
Step 3: Detail the Genie’s head
Use the guidelines to sketch the head. Add the ear and earring, draw the pointed beard below the chin, and sketch the tied hair at the back.
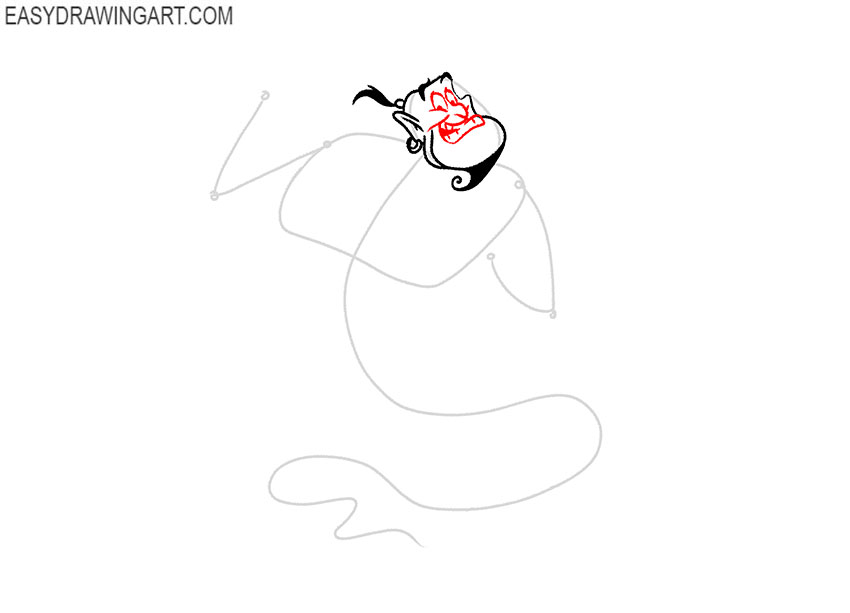
Step 4: Draw the animated character’s face
Next, draw the face by adding the large eyes, curved nose, raised eyebrows, and wide smiling mouth. Include the teeth and inner mouth details.
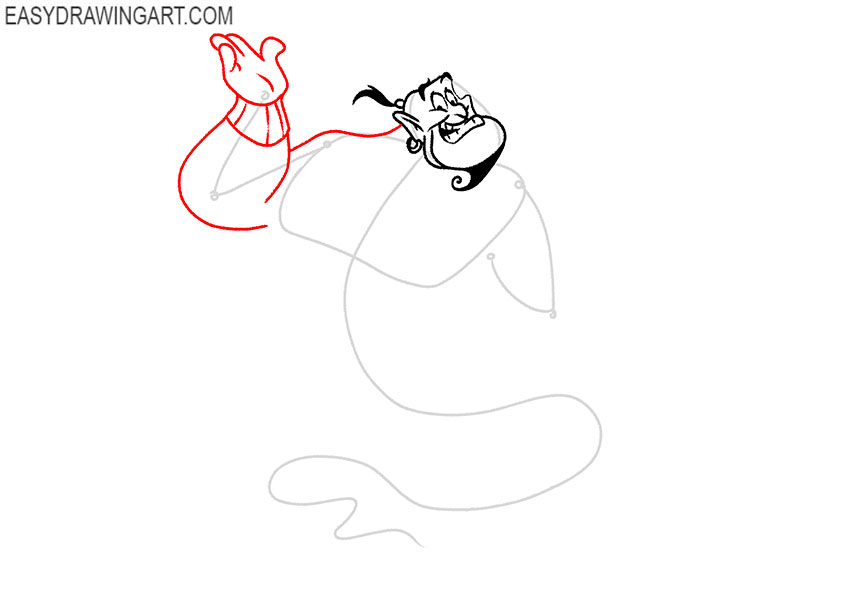
Step 5: Sketch the Genie’s right arm
Draw the shoulder and upper arm with smooth curved lines, then continue to the forearm of the Genie. Finish by drawing the hand with the open palm facing upward.
Step 6: Draw the second magical arm
Shape the second arm around the remaining guide and give it the proper thickness. Add the wide wrist bracelet, then draw the hand and individual fingers.
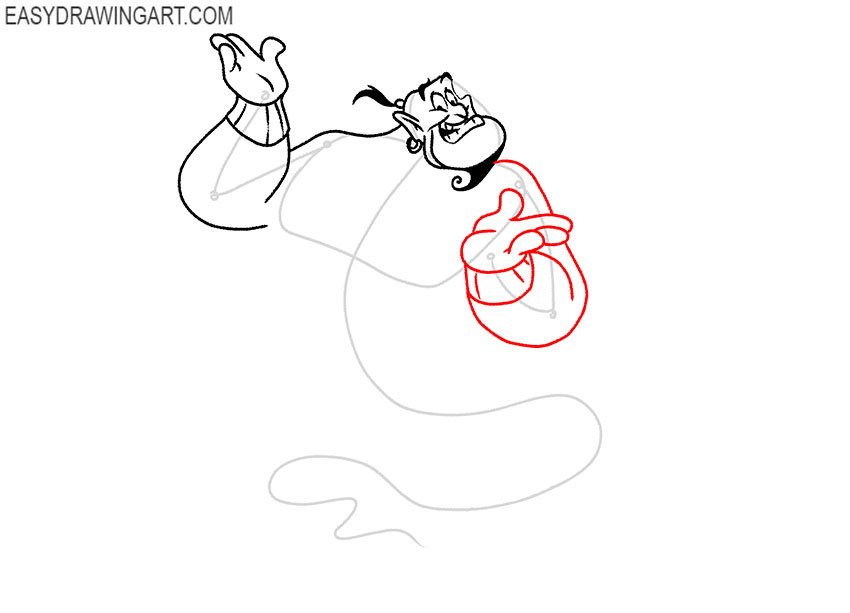
Step 7: Outline the Genie’s torso
Follow the construction shape to draw the torso of the Genie. Add the broad chest, curved sides, chest fold, and the wide belt around the waist.
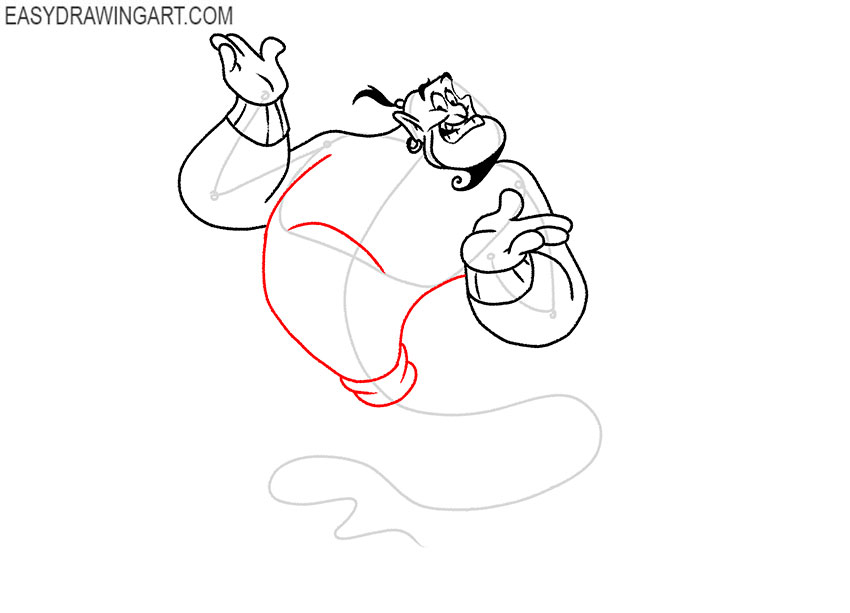
Step 8: Shape the lower body
Use the curved guideline to define the rest of the body below the belt. Narrow the form gradually as it extends downward and connects with the lamp.
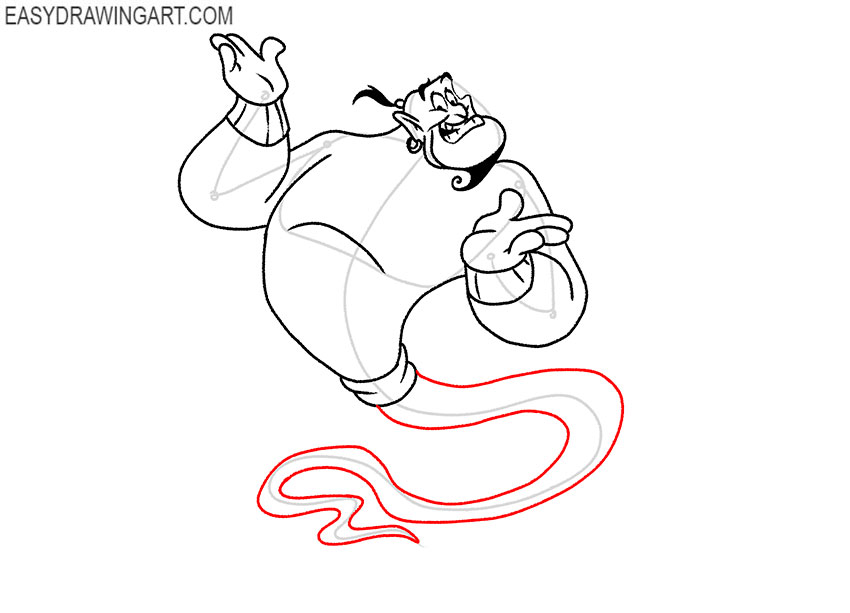
Step 9: Sketch the magic lamp
Below the Genie, draw the lamp with a long curved spout, rounded body, lid, and decorative handle. Add small ornamental lines along the top and base.
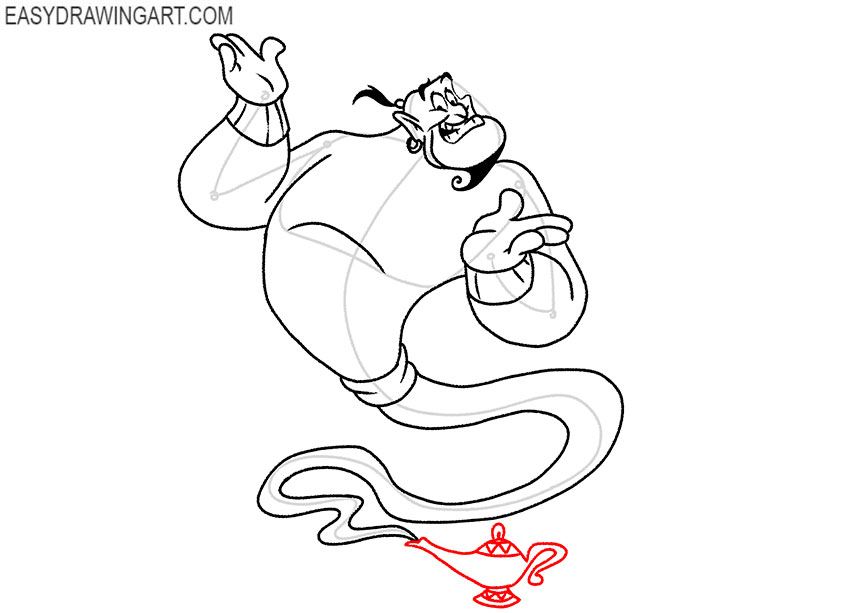
Step 10: Clean up the cartoon character drawing
Erase the construction lines and correct any uneven contours. Refine the face, arms, torso, lower body, and lamp, then darken the finished outlines.
Step 11: Color the Genie and lamp
Color the Genie’s body blue, the belt red, and the bracelets and lamp yellow. Use darker blue for the hair and beard, then add lighter shades to the face, arms, and chest.
Your Genie drawing is complete. Continue with another character from the same story by drawing Aladdin.