How to Draw Winnie the Pooh
We invite you to sketch one of the most popular cartoon characters and learn how to draw Winnie the Pooh step by step.
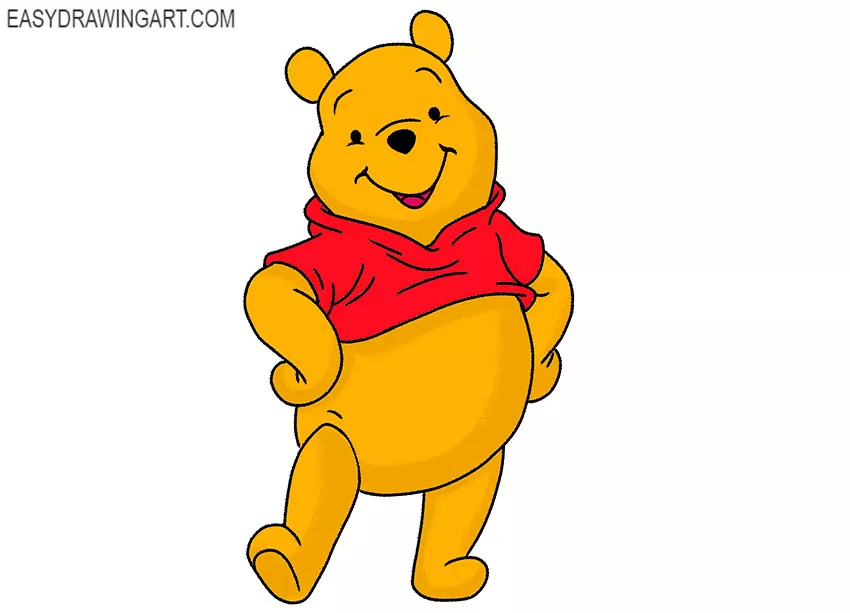
This is a modest, good-natured and naive bear cub. Winnie the Pooh has many friends, and they often spend time together.
In the picture, Winnie the Pooh smiles and looks very cute. In the process of work, carefully draw all the lines and try to make your drawing as similar as possible to our example.
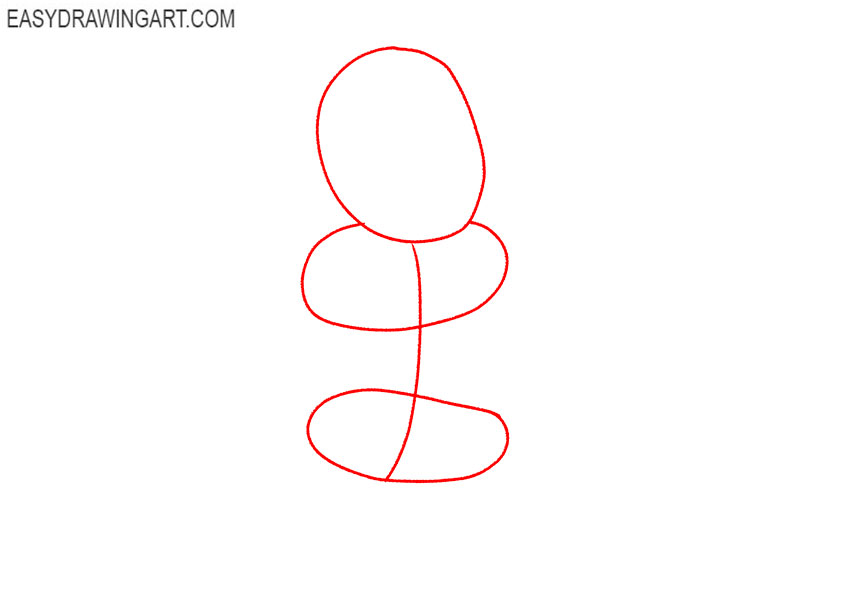
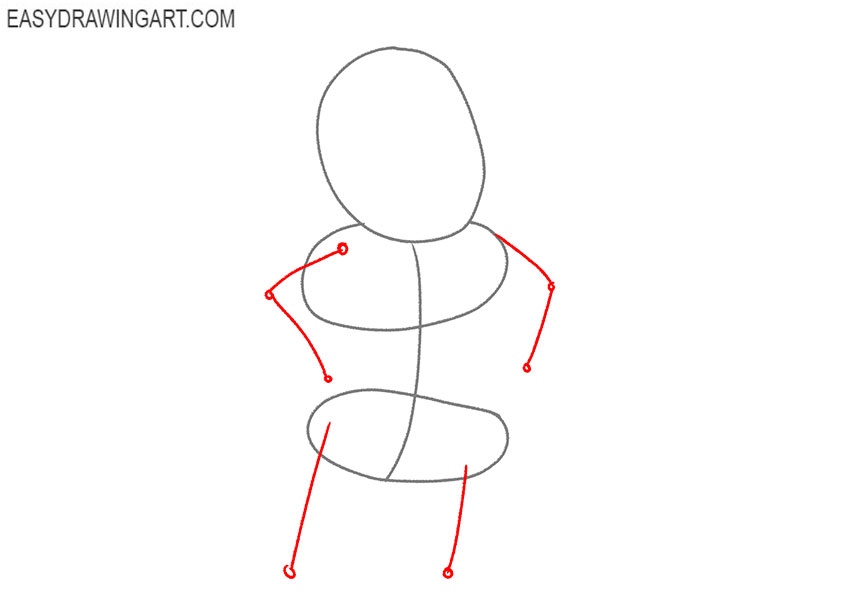
Step 1: Build the basic Winnie the Pooh figure
Draw three overlapping oval shapes for Winnie the Pooh’s head, chest, and rounded lower body. Add a curved centerline through these forms to indicate the direction of the cartoon bear’s torso.
Step 2: Sketch Winnie the Pooh’s limbs
Extend thin lines from the body to mark the positions of both arms and legs. Place small circles at the shoulders, elbows, hips, and knees to show where the limbs bend.
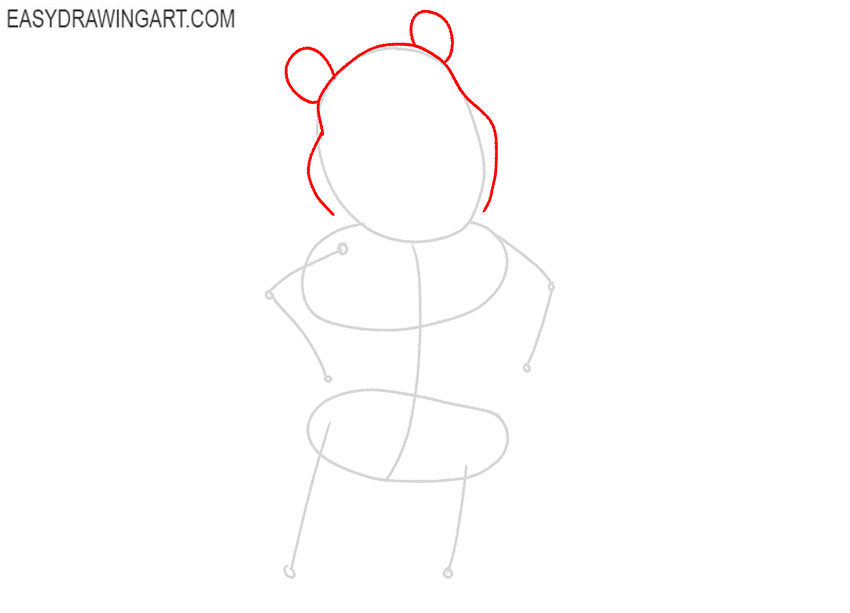
Step 3: Outline Winnie the Pooh’s head and ears
Refine the original oval into Winnie the Pooh’s rounded head, narrowing the lower section around the cheeks and chin. Add two small semicircular ears near the upper sides of the head.
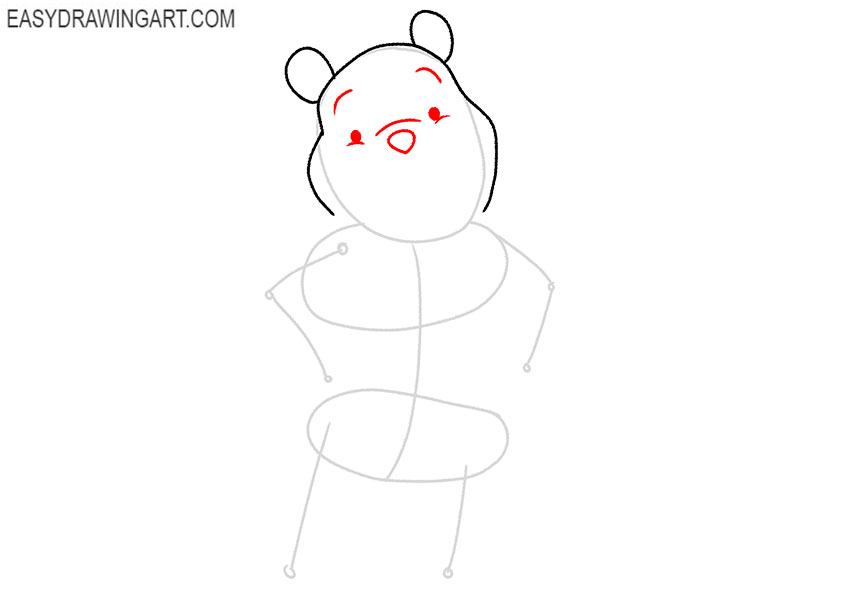
Step 4: Draw Winnie the Pooh’s eyes and nose
Place the dark oval nose near the center of the face and add a curved line above it to shape the muzzle. Draw two small eyes of Winnie the Pooh, then place short curved eyebrows above them.
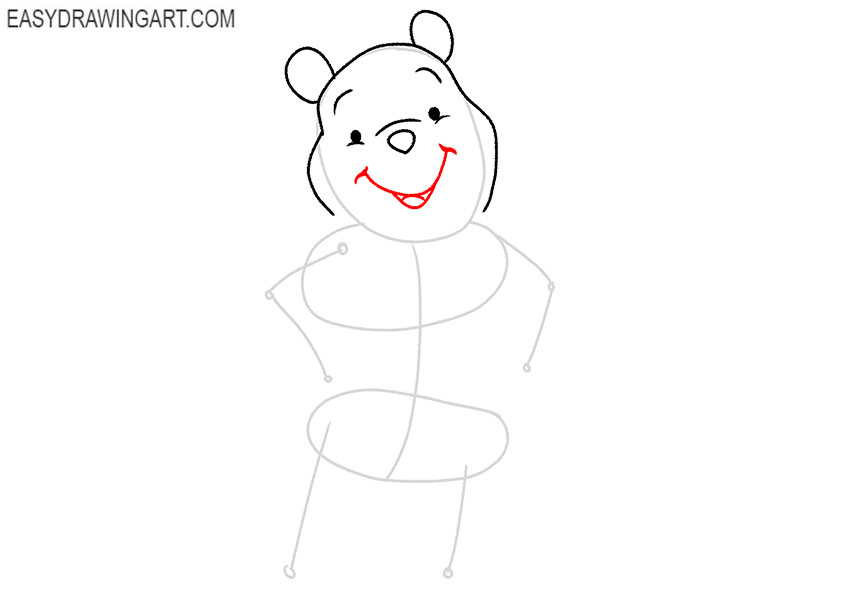
Step 5: Add Winnie the Pooh’s smiling mouth
Outline the wide open mouth with a long curved line and add short creases at both corners. Draw the lower edge inside the mouth, then include the rounded tongue near the bottom.
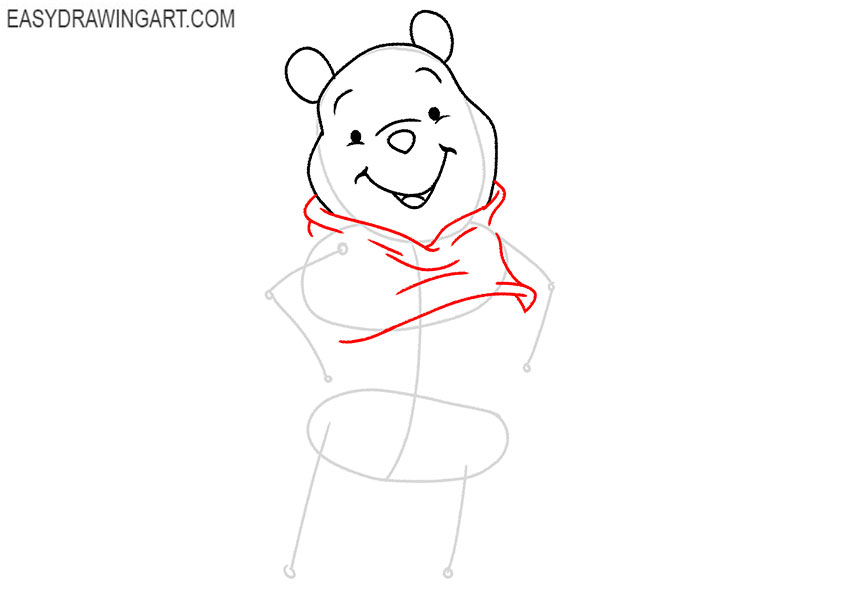
Step 6: Outline Winnie the Pooh’s shirt
Draw the raised neckline beneath the head with two curved lines. Continue downward to outline the side and lower edge of Winnie the Pooh’s shirt, then add several short fabric folds.
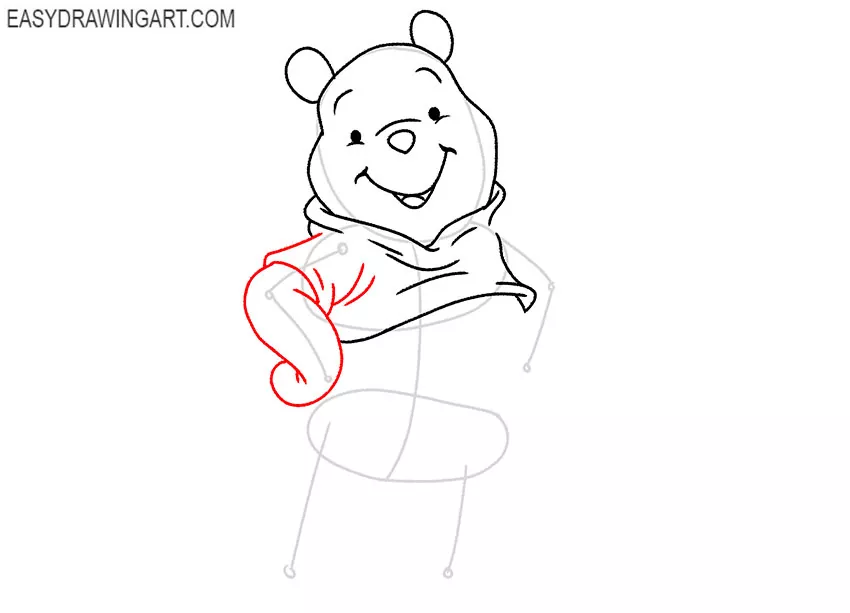
Step 7: Draw Winnie the Pooh’s first arm
Use the construction line to outline the raised arm with soft curved contours. Add the short shirt sleeve around the upper arm and place several small folds near its lower edge.
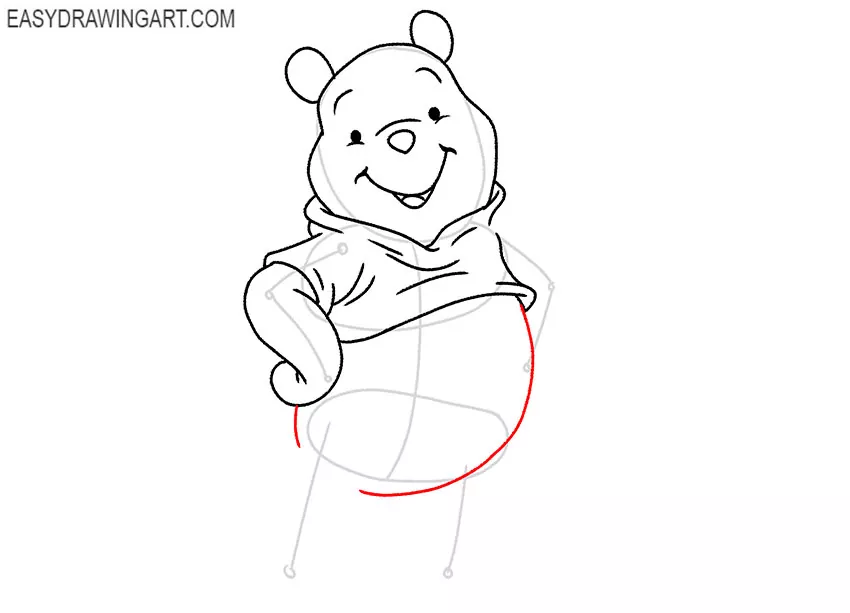
Step 8: Shape Winnie the Pooh’s round body
Follow the lower construction forms to draw Winnie the Pooh’s curved back and prominent round belly. Join these contours smoothly to the lower edge of the shirt and upper leg area.
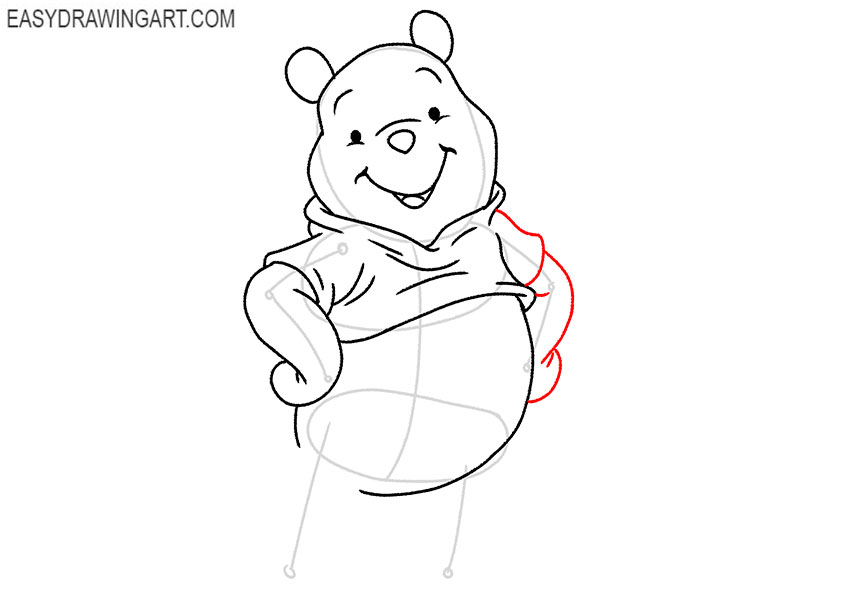
Step 9: Outline Winnie the Pooh’s second arm
Trace the guideline for the second arm and form its soft rounded contours. Complete the arm with a short sleeve, then connect it to the side of Winnie the Pooh’s shirt.
Step 10: Draw Winnie the Pooh’s first leg
Outline the first leg around its construction line, keeping the form short and rounded. Use a broad curved contour to draw the foot and connect it to the lower body.

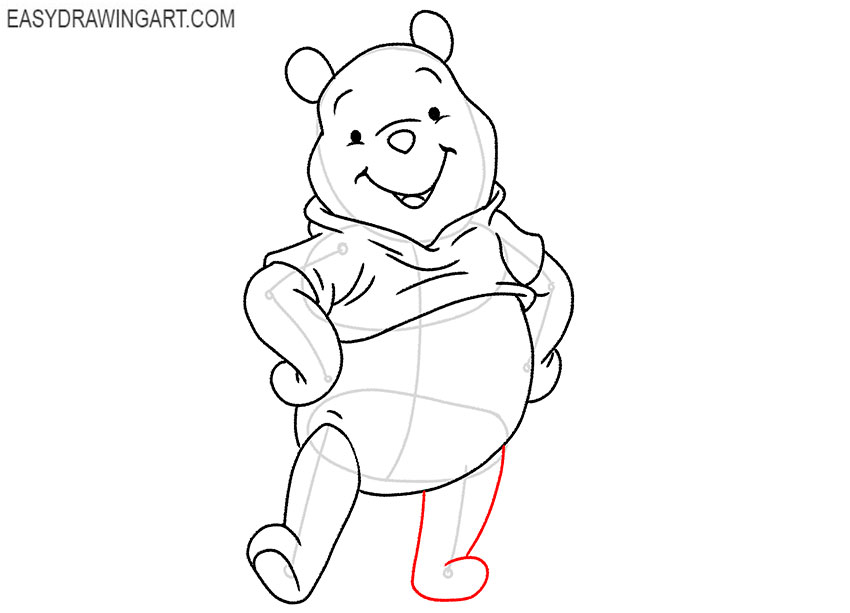
Step 11: Add Winnie the Pooh’s second leg
Use the remaining guideline to shape the second short leg. Draw its outer contour and broad foot, then join the upper part of the leg to the underside of the body.
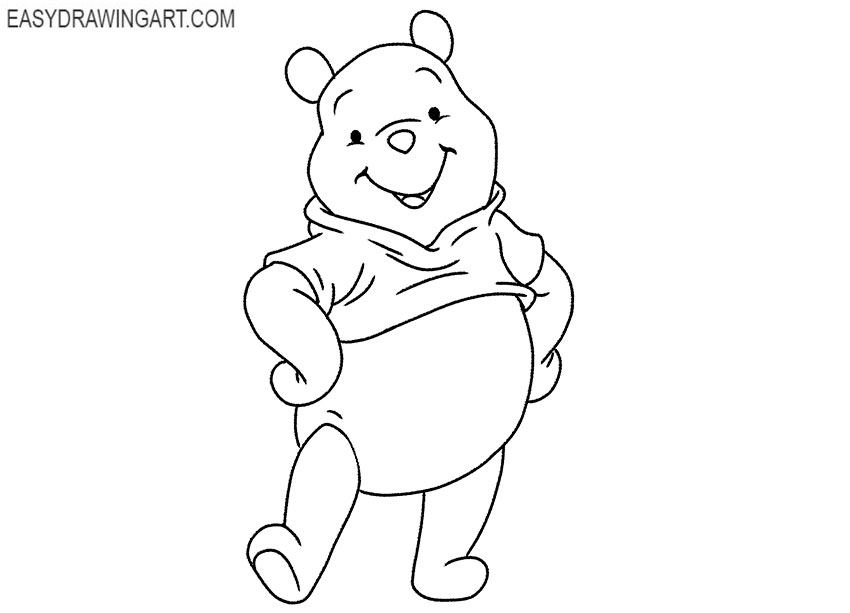
Step 12: Clean up the Winnie the Pooh drawing
Erase the remaining construction ovals, limb guidelines, and joint circles. Refine any rough contours, then darken the final lines around Winnie the Pooh’s face, body, shirt, arms, and legs.
Step 13: Color Winnie the Pooh
Color Winnie the Pooh’s body golden yellow and fill the shirt with orange-red. Make the nose and eyes black, color the inside of the mouth dark red, and use pink for the tongue.
The finished drawing shows Winnie the Pooh in his familiar rounded form and simple shirt. Continue practicing similar cartoon characters by learning how to draw a bear or draw a teddy bear.
We would love to read your feedback on this tutorial. This motivates us to create new exciting lessons. Don’t forget to follow us on social media if you haven’t already.