How to Draw Alice in Wonderland
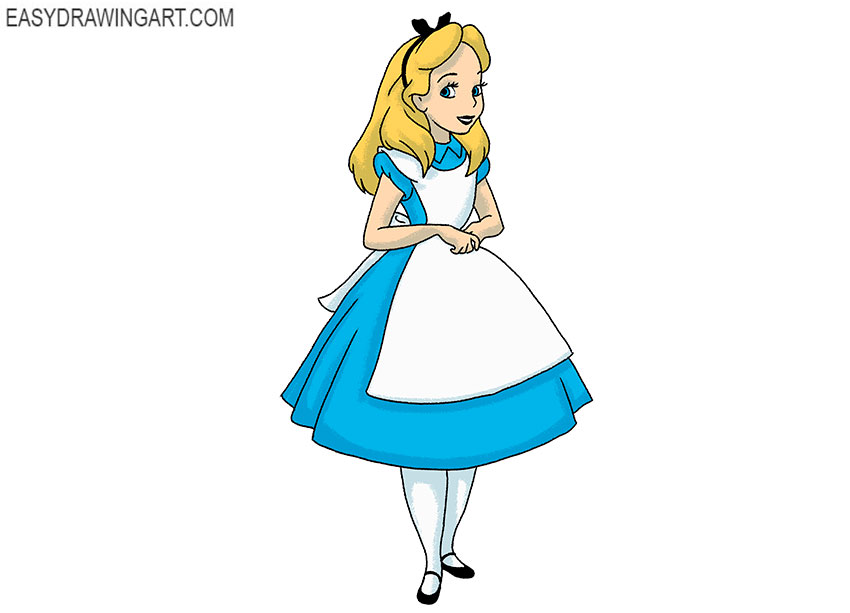
If you like to draw fairy-tale characters, then we recommend that you try this fascinating tutorial on how to draw Alice in Wonderland.
With the help of this step-by-step guide, you will once again practice drawing the a girl and train skills in creating fairy-tale characters.
You can use the acquired skills to create new beautiful drawings. In the process of work, carefully draw all the lines so that in the end the character is easily recognizable.
Step 1: Sketch the basic Alice figure
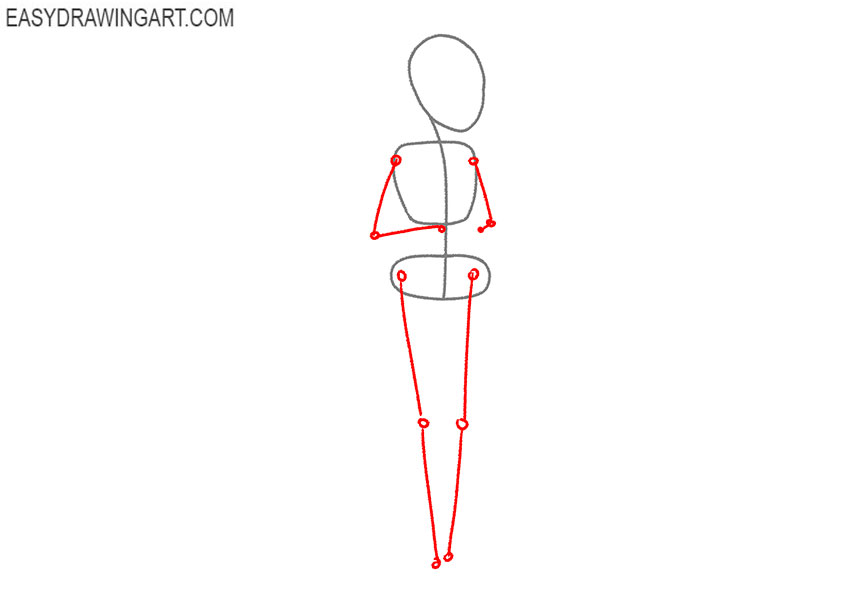
Draw simple shapes for Alice’s head, chest, and pelvis. Add a gently curved centerline through the torso to show the direction of the body.

Step 2: Add Alice’s arms and legs
Indicate the positions of the arms and legs with thin straight lines. Mark the shoulders, elbows, knees, and other joints with small rounded shapes before outlining the limbs.
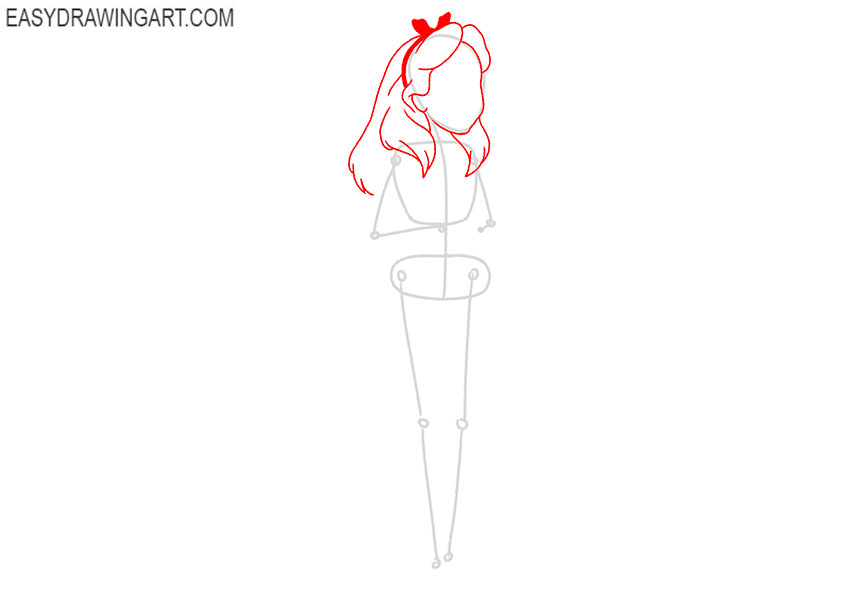
Step 3: Draw Alice’s hair and headband
Refine the oval face and add the visible ear. Draw the hair of Alice across the crown and around the neck with separate curved strands, then place the ribbon headband over the hairstyle.
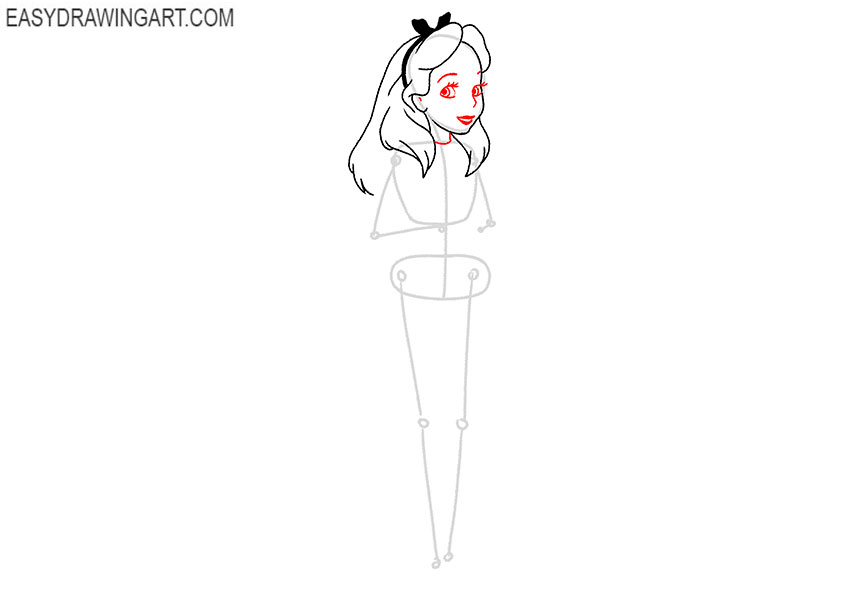
Step 4: Add Alice’s neck and facial features
Draw Alice’s slender neck below the head. Place the eyes, eyebrows, nose, and mouth inside the facial guides, keeping each feature aligned with the angle and shape of the face.
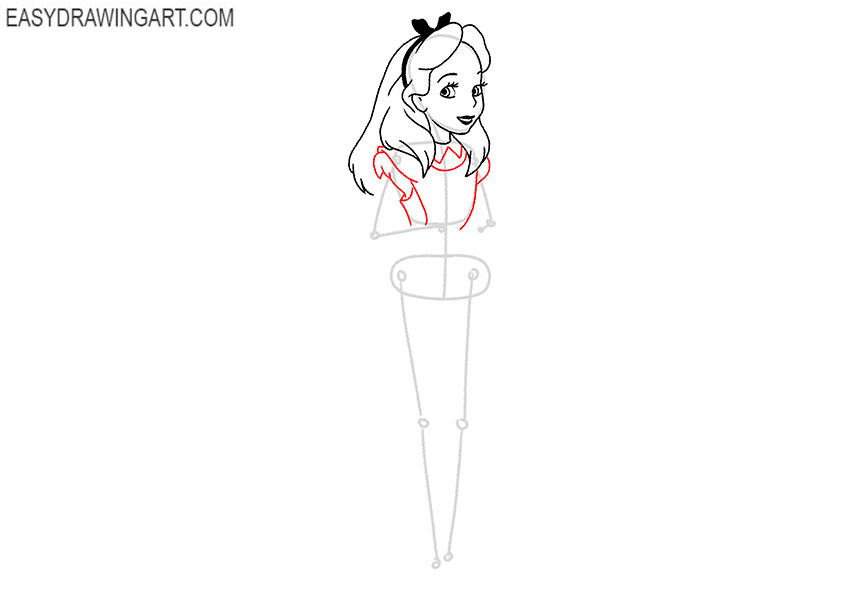
Step 5: Outline the collar, dress, and apron
Draw the pointed collar around the neck, then outline the fitted upper section of Alice’s dress. Add the upper edge and straps of the apron across the front of the torso.
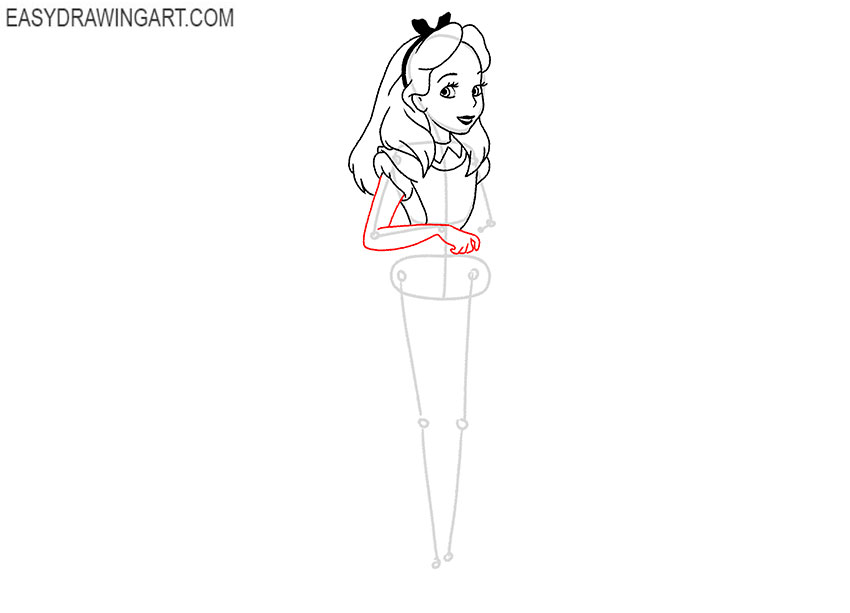
Step 6: Draw Alice’s first arm and hand
Shape the first arm around the construction line, giving the upper arm and forearm their final width. Draw the hand with slightly bent fingers at the end.
Step 7: Complete Alice’s second arm
Follow the second guideline to form the shoulder, upper arm, elbow, and forearm. Finish the hand at the end, keeping its position consistent with the angle drawn earlier.
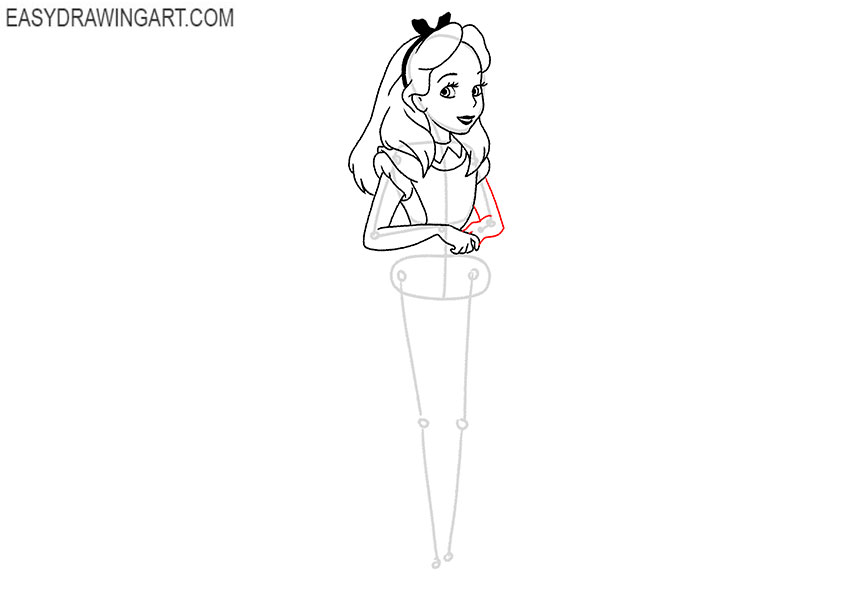
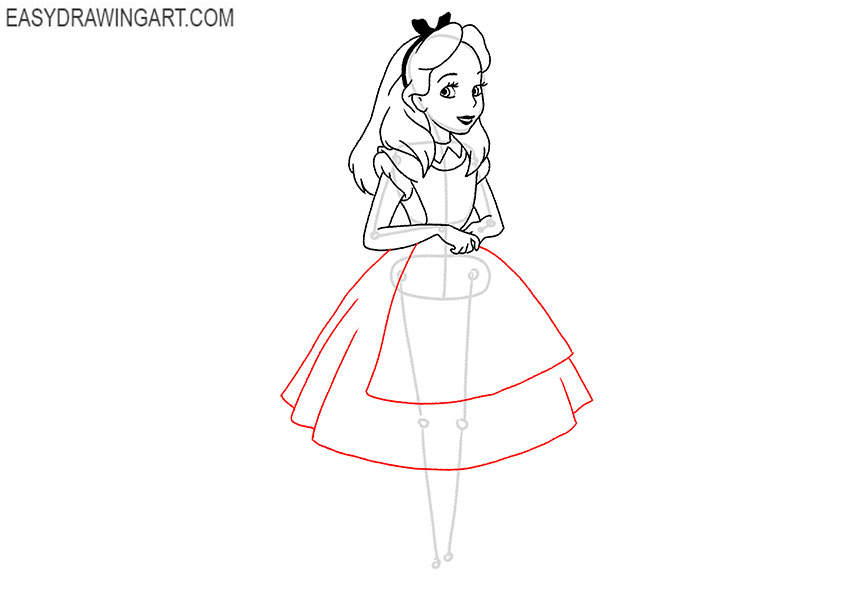
Step 8: Draw the skirt and apron
Extend smooth lines downward from the waist to draw the full skirt. Add the apron over the front and place several folds near the lower hem.
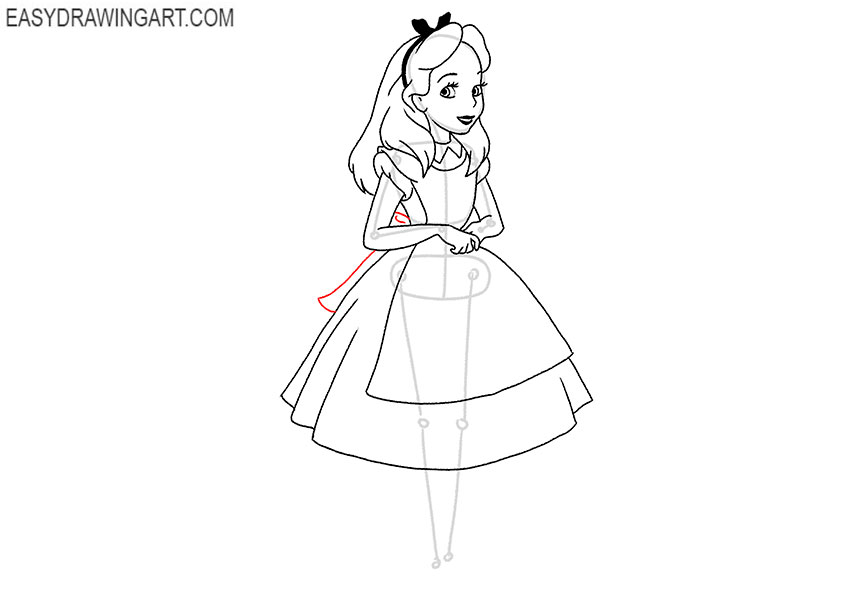
Step 9: Add the apron bow
Behind the waist, draw the visible loops and tails of the apron bow with smooth curved lines. Let the fabric overlap the back of the dress without changing the body outline.
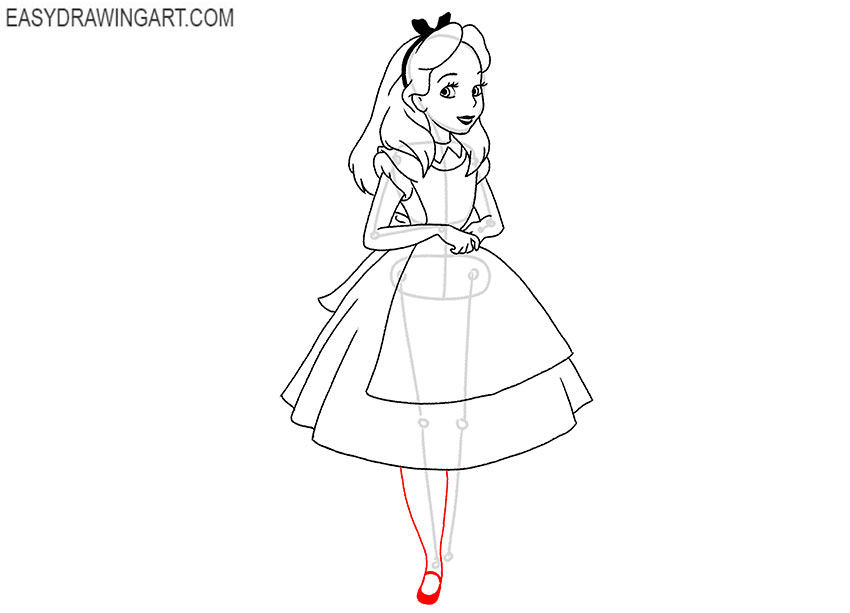
Step 10: Outline Alice’s first leg and shoe
Use the construction line to shape the first leg from the knee to the ankle. At the bottom, draw the small shoe around the foot.
Step 11: Draw the second leg and shoe
Form the second leg around the remaining guide, matching its length and thickness to the first. Draw the second small shoe of Alice at the bottom, following the direction of the foot.
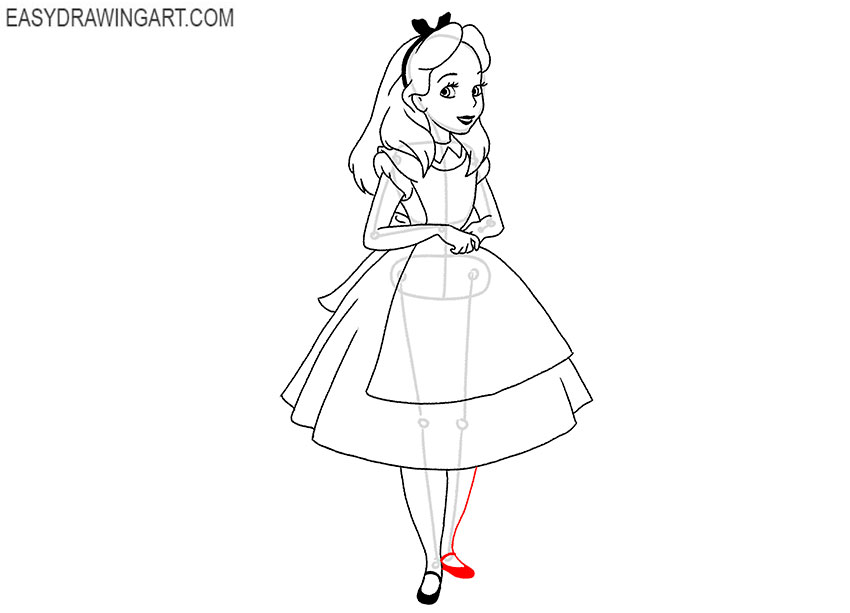
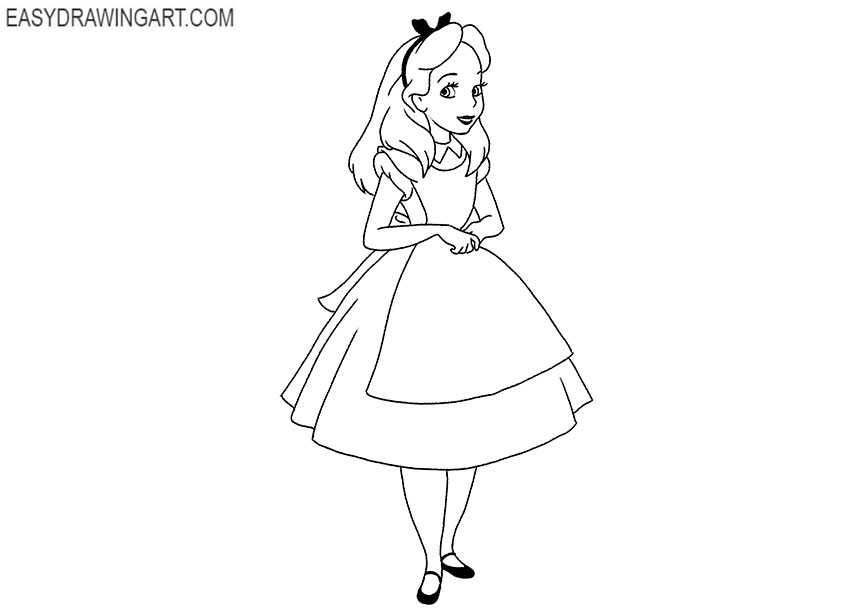
Step 12: Refine the Alice line drawing
Erase the construction shapes and limb guides that remain inside the figure. Correct the contours of the hair, face, arms, dress, apron, legs, and shoes before coloring.
Step 13: Color Alice in Wonderland
Use a light beige tone for the skin and yellow for the hair. Color the dress bright blue, leave the apron and collar light, and add darker blue to the shaded fabric areas.
The step-by-step guide has come to an end and now another character has appeared in your collection of drawings.
Continue with another Wonderland character by drawing the Cheshire Cat or practice another classic heroine by sketching Cinderella.
We would be interested to know your opinion about this tutorial, and we will ask you to leave a little feedback in the comments. We will be glad to see you among the subscribers in social networks.