How to Draw the Cheshire Cat

This guide focuses on drawing a popular fairy-tale character: you will learn how to draw the Cheshire Cat step by step.
He is a character from Lewis Carroll’s book Alice in Wonderland. The Cheshire Cat possesses the amazing ability to move through space.
This fairy tale character suddenly disappears, leaving only a single smile behind. This is an incredibly charming character. We hope you enjoy the creative process.
Step 1: Sketch the Cheshire Cat’s head
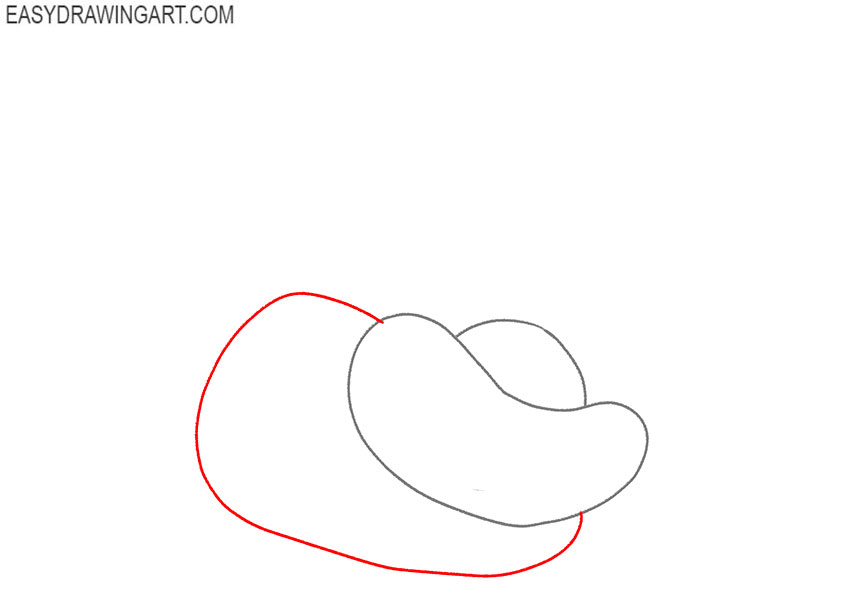
Draw the lower part of the Cheshire Cat’s head as a wide curved shape. Add a broad semicircular line above it to mark the upper contour of the cartoon cat’s head.

Step 2: Add the Cheshire Cat’s torso
From the side of the head, draw a long curved line to establish the torso. Keep this construction line thin because it will serve only as a guide for the cat’s rounded body.
Step 3: Mark the paws and curled tail
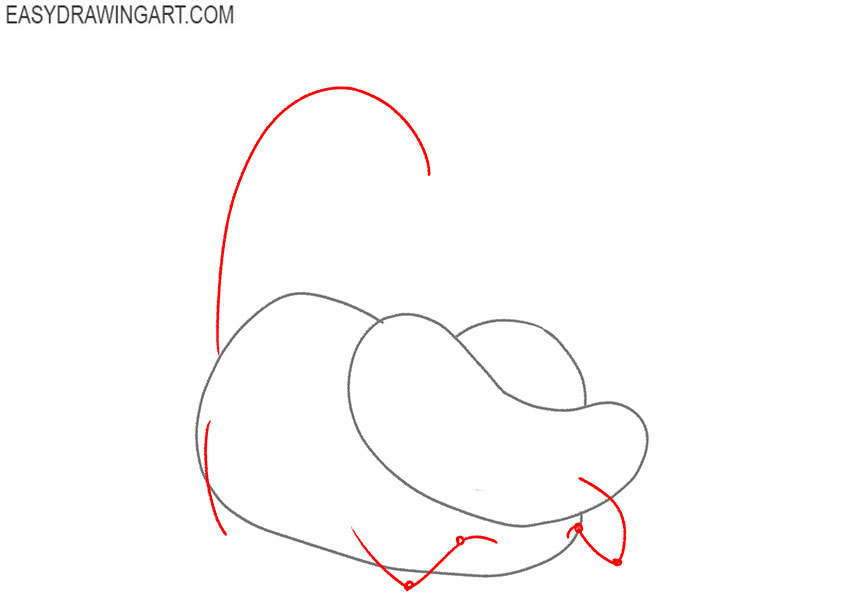
Use thin curved lines to mark the positions of the front and hind paws. Extend a longer sweeping line from the back to establish the direction of the Cheshire Cat’s curled tail.
Step 4: Draw the Cheshire Cat’s ears and fur
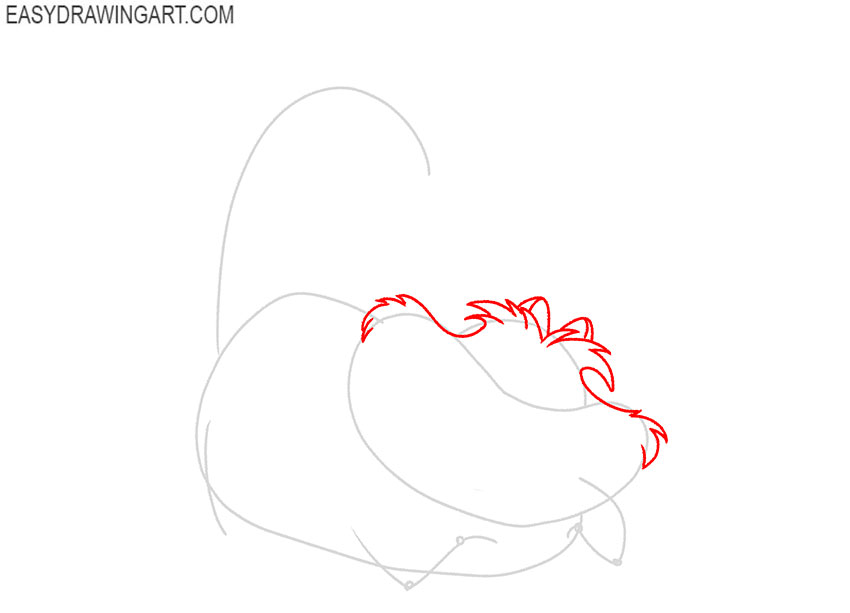
Replace the upper head guide with short curved sections that form pointed tufts of fur. Add two small triangular ears at the top and several spiky strands along the sides.
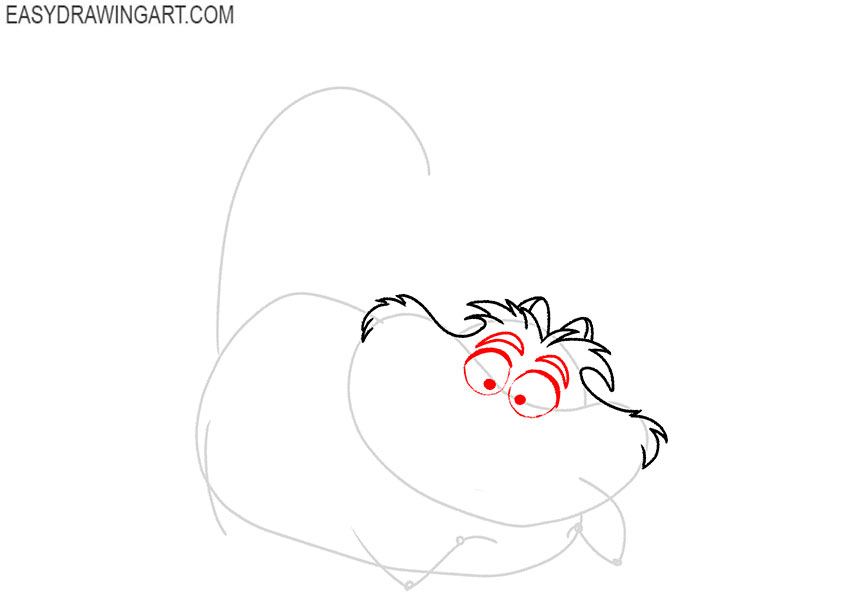
Step 5: Draw the Cheshire Cat’s eyes
Near the center of the face, draw the cat’s eyes. Add small pupils inside them, then place two short curved eyebrows above the eyes.
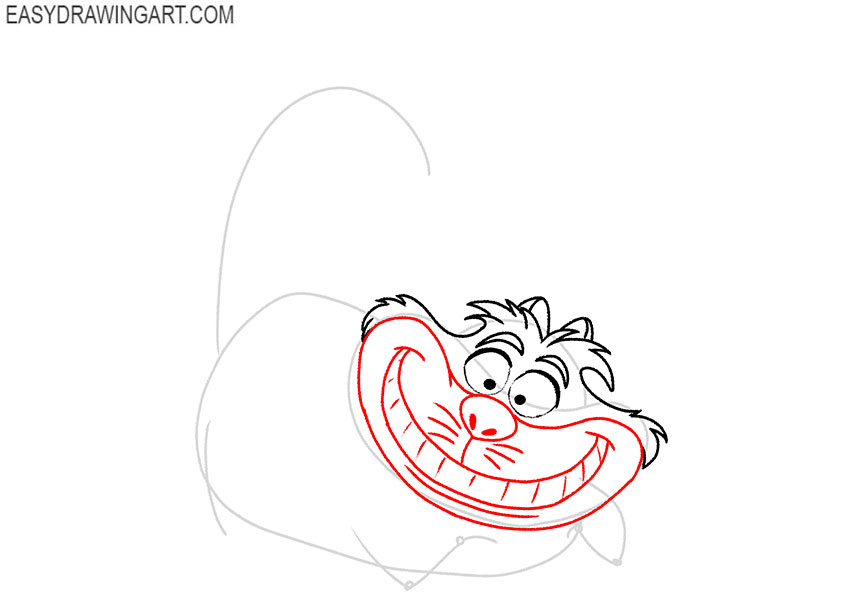
Step 6: Add the grin, nose, and whiskers
Define the lower head with smooth lines, then draw the wide smiling mouth and large rounded nose. Divide the grin into teeth and add whiskers on both cheeks.
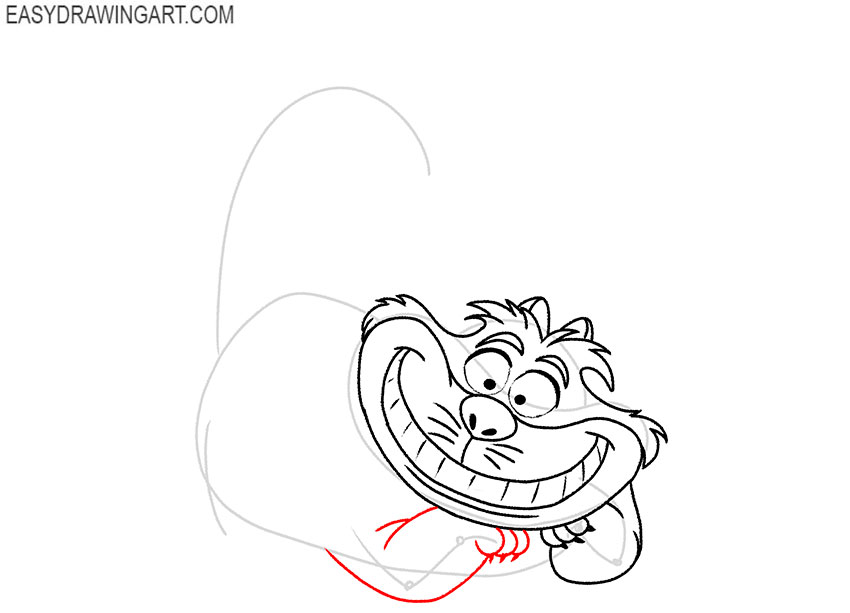
Step 7: Draw the first front paw
Below the head, use the construction line to outline the first cat paw. Bend the toes inward and finish each one with a short pointed claw.

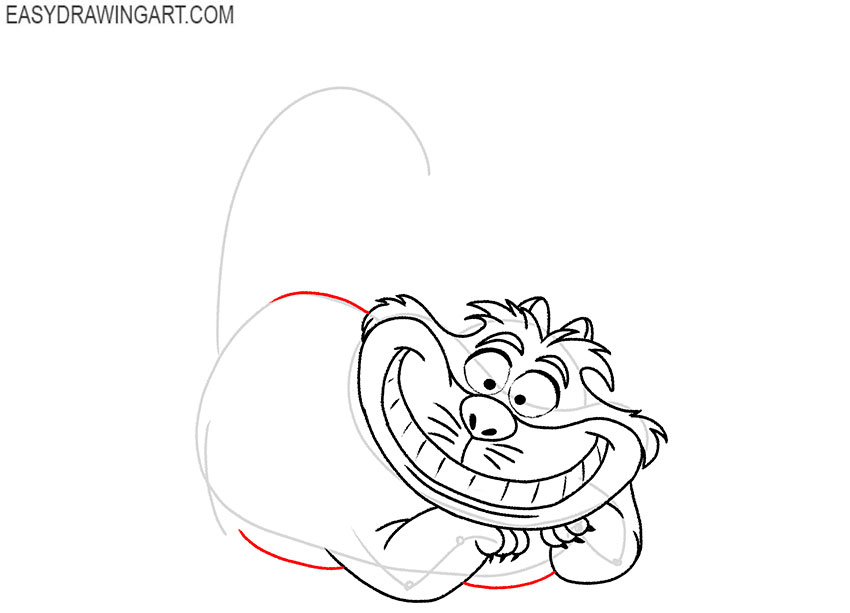
Step 8: Complete the second front paw
Shape the second front paw around its guideline, giving the limb a rounded thickness. Draw the bent toes with short semicircular lines and add a pointed claw to each tip.
Step 9: Outline the Cheshire Cat’s body
Follow the original torso guide to define the chest, belly, and lower back. Use broad curved lines to preserve the Cheshire Cat’s soft, rounded body shape.
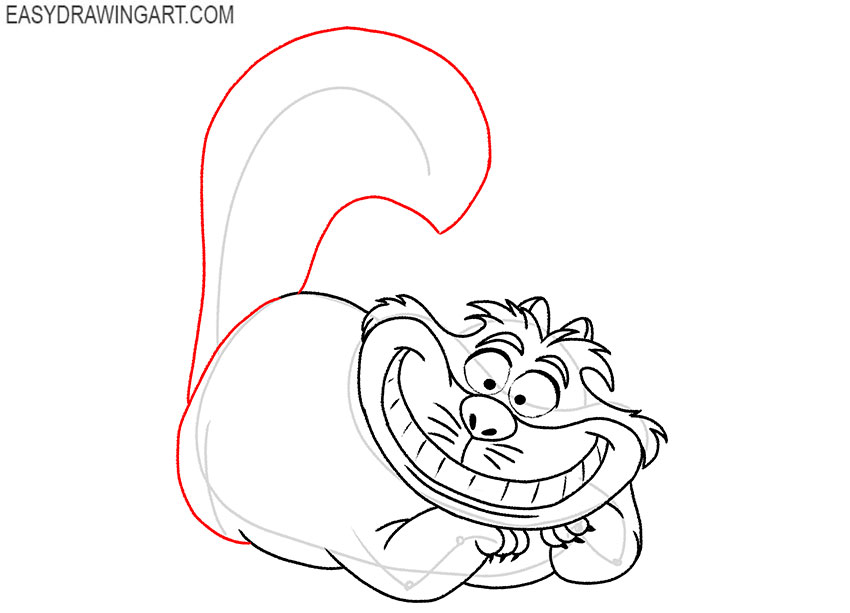
Step 10: Draw the hindquarters and fluffy tail
Refine the back of the body around the remaining guides and outline the visible hind legs. Enclose the long curled tail with two broad lines and a rounded fluffy tip.
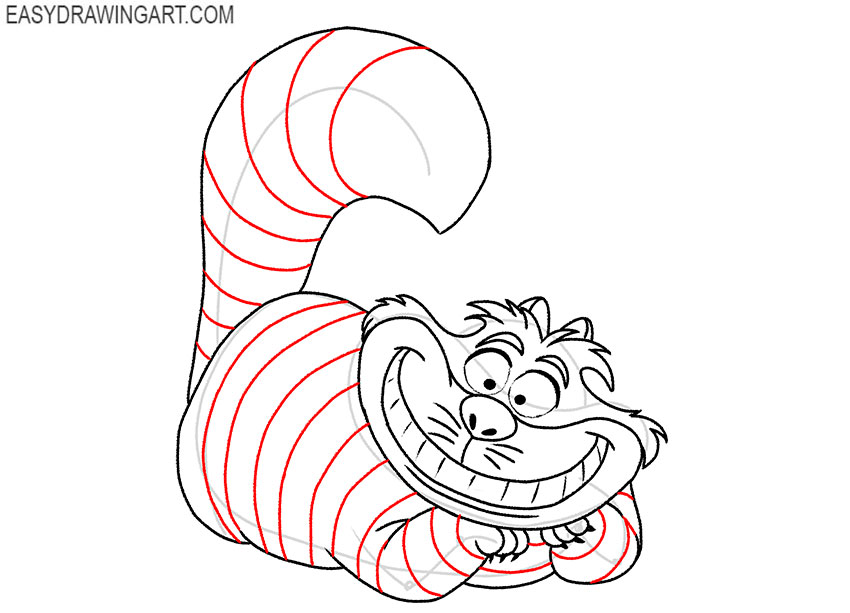
Step 11: Add the Cheshire Cat’s stripes
Draw a sequence of curved stripes across the head, torso, legs, and tail. Angle each marking to follow the surrounding form, especially along the curled tail and rounded belly.
Step 12: Complete the Cheshire Cat line drawing
Erase the head, torso, limb, and tail guidelines. Restore any contours affected by the eraser and leave only the finished outline, facial details, claws, fur, and stripes.

Step 13: Color the Cheshire Cat drawing
Fill the Cheshire Cat’s fur with pink and color the stripes lilac. Use yellow for the eyes, black for the pupils and eyebrows, and a lighter shade for the muzzle and grin.
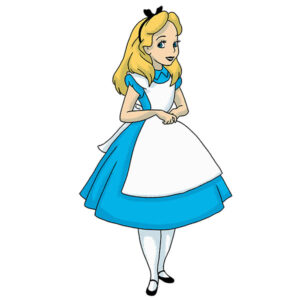
Another step-by-step guide has come to an end, and your Cheshire Cat drawing is now complete. Continue with another character from the same story by drawing Alice in Wonderland.
Share your impressions about this lesson in the comments. Your feedback is very motivating for us. Follow us on social media if you haven’t already.