How to Draw Zuko
Now we will show you how to draw Zuko step-by-step. With the help of this tutorial, you will practice drawing a human figure and the acquired skills will be useful to you in the future.
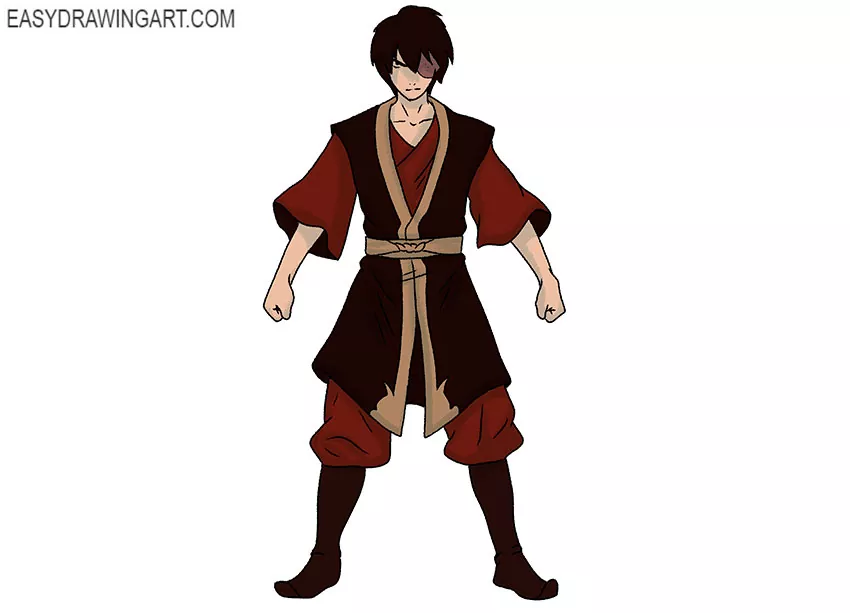
This is a character from the animated series Avatar: The Last Airbender. Zuko is introduced as the Prince of the Fire Nation.
Zuko has a large scar around his left eye from a fire duel. In the drawing, Zuko is dressed in a combat suit. The position of Zuko’s body suggests that he is tense and ready to join the fight at any moment.
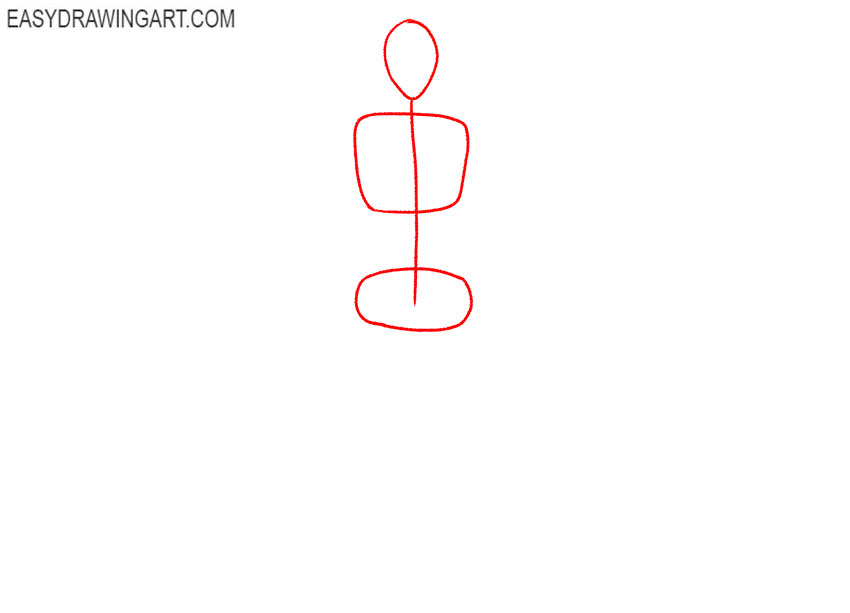
Step 1: Sketch Zuko’s body framework
Draw an oval for the head, followed by rounded shapes for the chest and pelvis. Connect these forms with a vertical centerline that follows the slight curve of Zuko’s body.
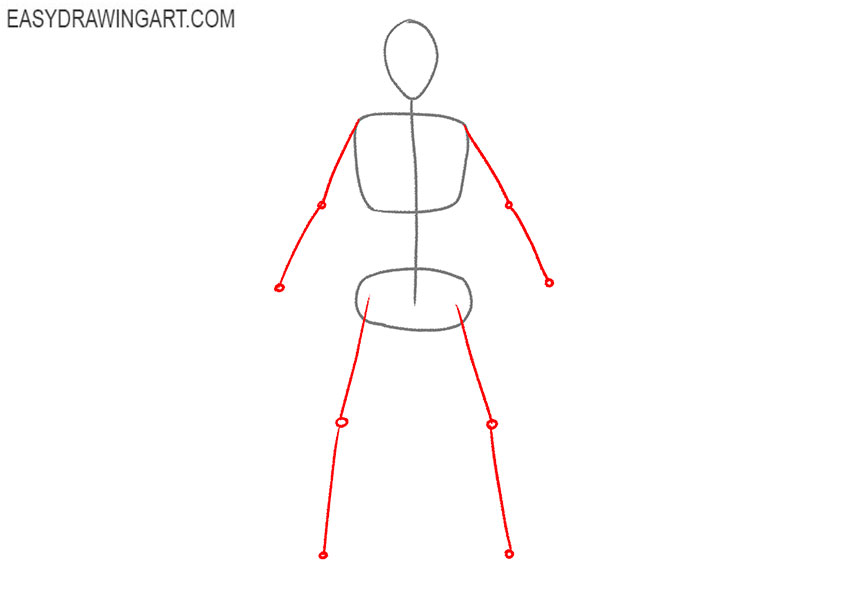
Step 2: Add Zuko’s arms and legs
Mark the arms and legs with thin lines extending from the torso. Add small circles at the shoulders, elbows, knees, and other joints to represent how the limbs bend.
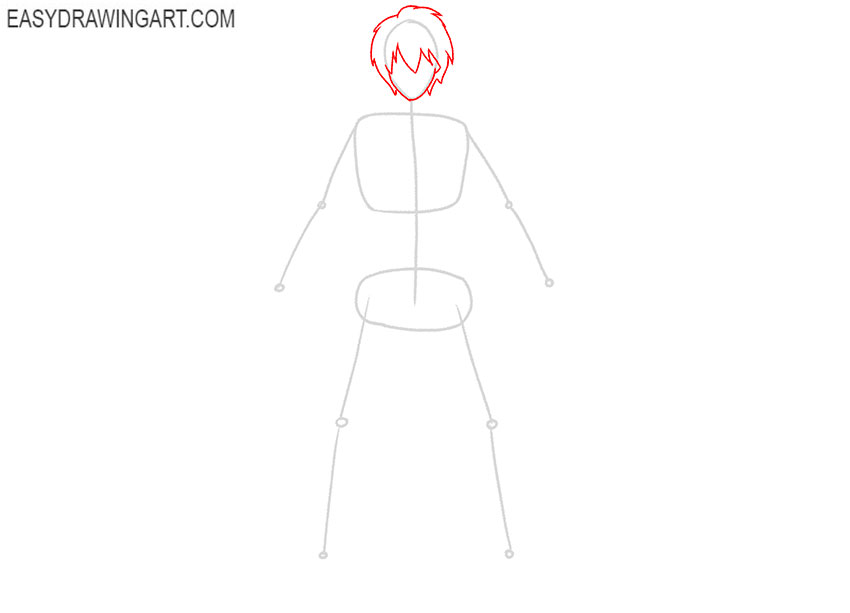
Step 3: Draw Zuko’s head and hair
Refine the face into a defined jaw and chin, following the original head guideline. Above the forehead, draw the anime hair of Zuko with a raised outer contour and pointed strands.
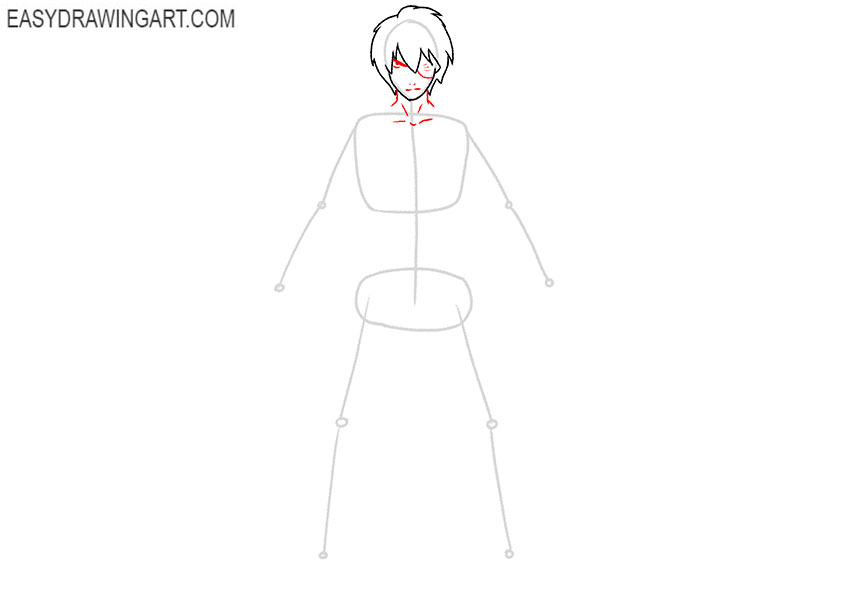
Step 4: Draw Zuko’s face, scar, and neck
Draw the visible eye, eyebrows, nose, and mouth of Zuko across the facial guidelines. Add Zuko’s scar around the other eye, then outline the ears, neck, and short lines near the collarbones.
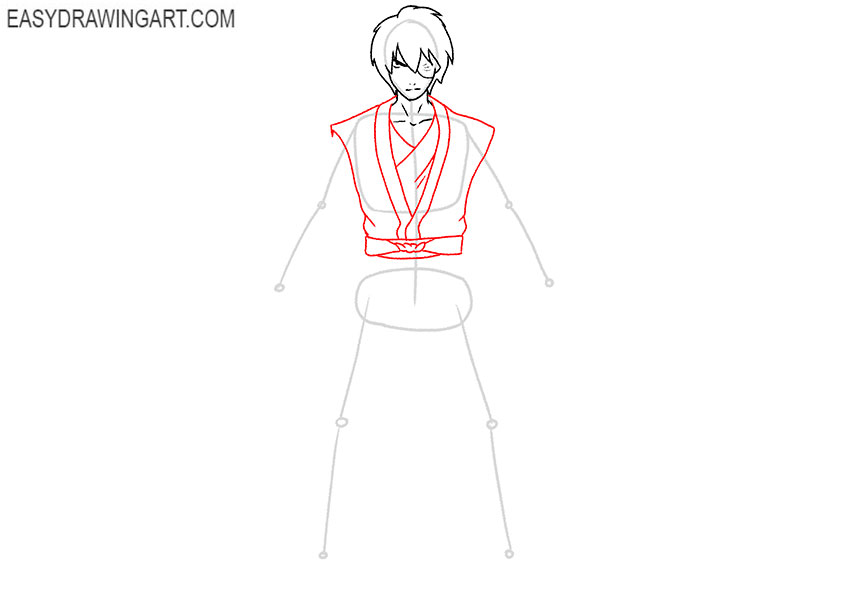
Step 5: Outline Zuko’s Fire Nation outfit
Draw the sloping shoulders and side contours of Zuko’s sleeveless tunic. Add the overlapping neckline across the chest and outline the wide belt around the lower torso.
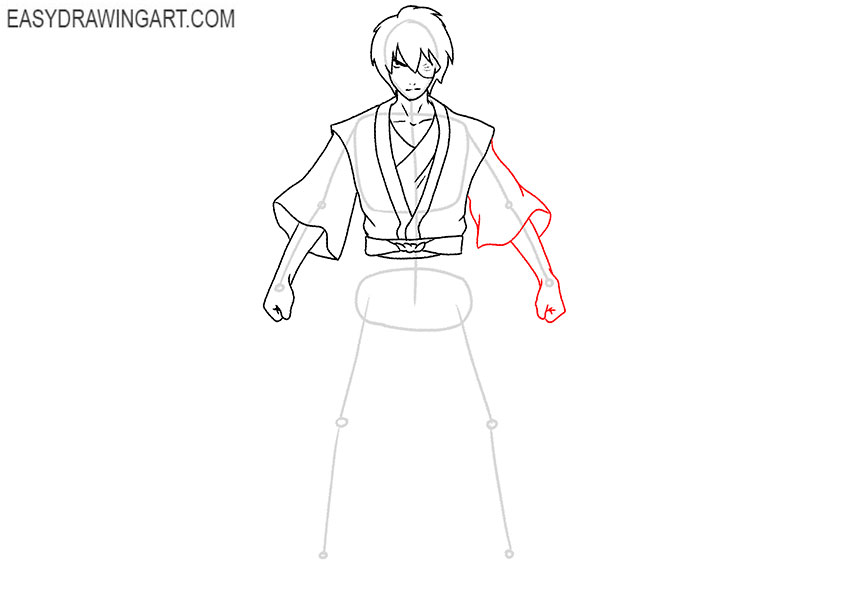
Step 6: Draw Zuko’s first arm and fist
Use the construction line to outline the bent upper arm, elbow, and forearm. Add the broad short sleeve, then draw the clenched fist at the end of the arm.

Step 7: Complete Zuko’s second arm
Outline the second short sleeve and shape the raised arm around its guideline. Draw the bent elbow, forearm, wrist, and another closed fist to complete Zuko’s fighting stance.
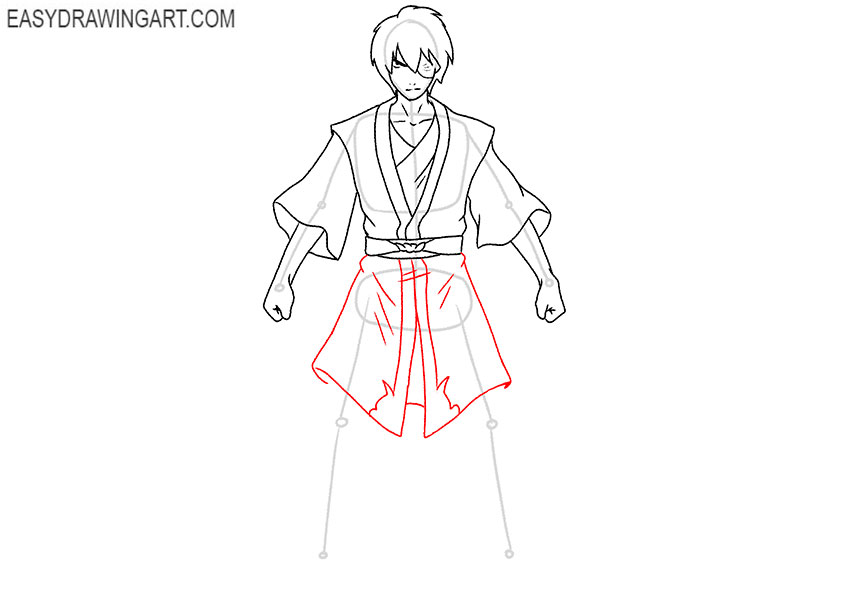
Step 8: Draw the lower part of Zuko’s tunic
Extend two slightly curved lines downward from the belt to form the lower tunic. Connect them with a shaped hem and add the pointed decorative sections along the bottom edge.
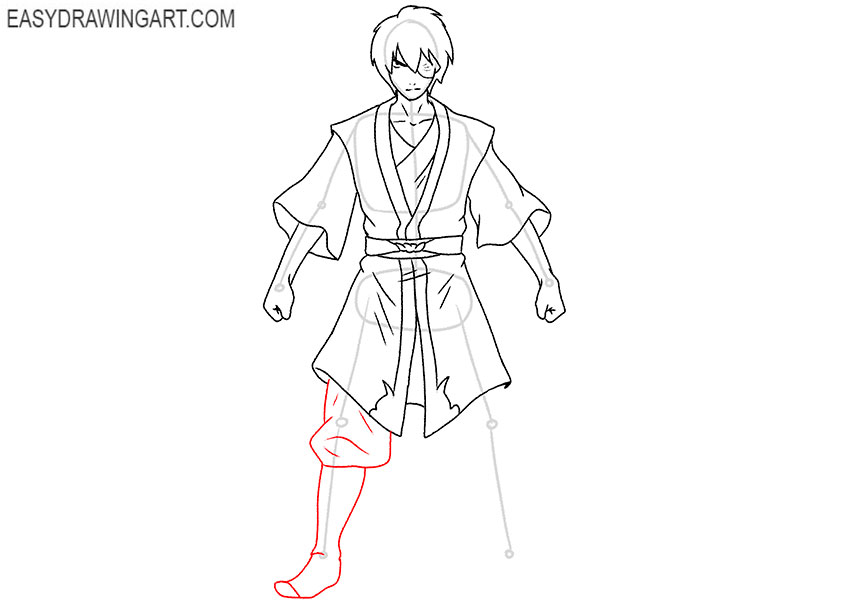
Step 9: Sketch Zuko’s first leg and boot
Follow the leg guideline to draw the wide pant leg, narrowing it near the ankle. Add the tall boot below and curve its front upward to form the distinctive pointed toe.
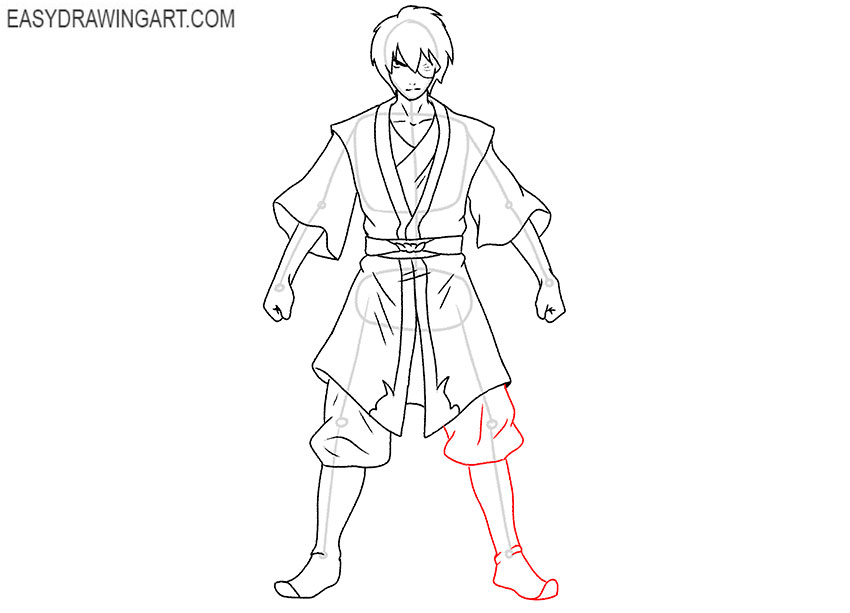
Step 10: Add Zuko’s second leg and boot
Outline the other wide pant leg around the remaining guideline, matching the first leg’s general shape and length. Finish it with a tall boot and shape the toe in the opposite direction.
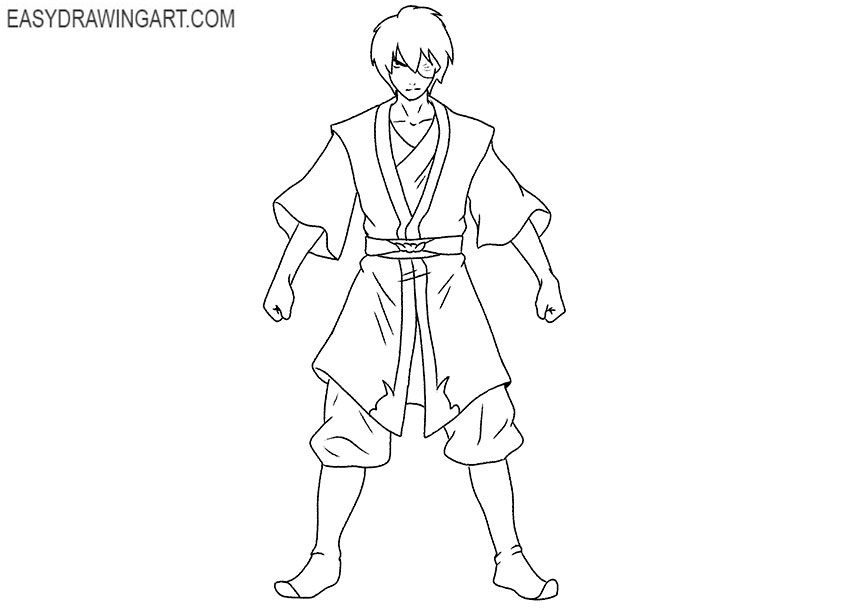
Step 11: Clean up the Zuko drawing
Erase the construction shapes, centerlines, joint circles, and any overlapping marks. Refine the remaining contours around Zuko’s face, clothing, fists, pant legs, and boots.
Step 12: Color Zuko from Avatar
Color Zuko’s skin light tan and fill the hair with black. Use dark red, maroon, brown, and muted gold for the Fire Nation clothing, belt, pants, and boots.
The step-by-step tutorial is over, and now you can evaluate the result of your work. Continue with another Avatar character by drawing Aang or drawing Sokka.
We hope that you tried your best at each stage of drawing and Zuko in your drawing is easily recognizable. If you want to be aware of all the new products, then subscribe to us on social networks.