How to Draw Sandy Cheeks
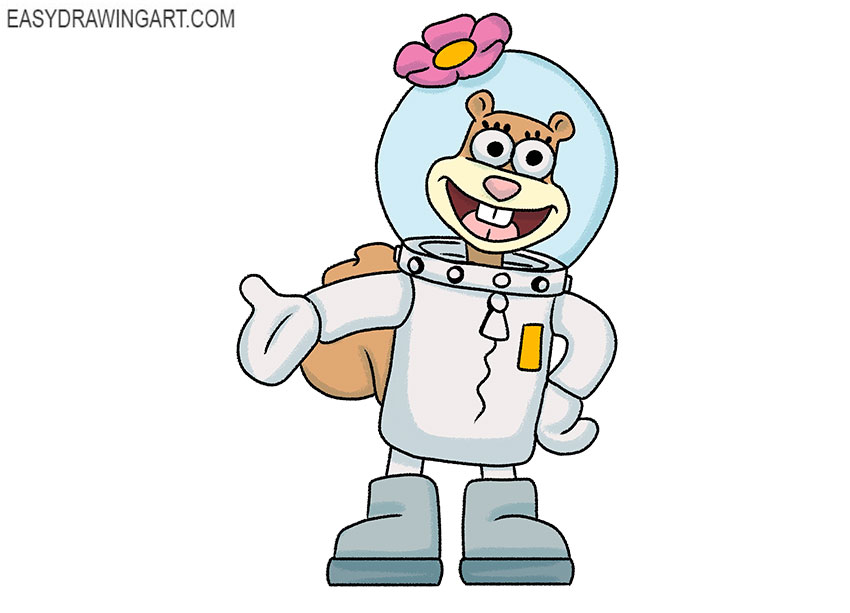
Now you’ll learn how to draw Sandy Cheeks from the cartoons about SpongeBob SquarePants step by step.
In the cartoon, Sandy Cheeks is presented as a talented scientist and inventor. She is a squirrel in an astronaut suit.
Sandy Cheeks enjoys extreme sports and karate. So grab your art supplies and let’s get started.
Step 1: Sketch Sandy Cheeks’ body base
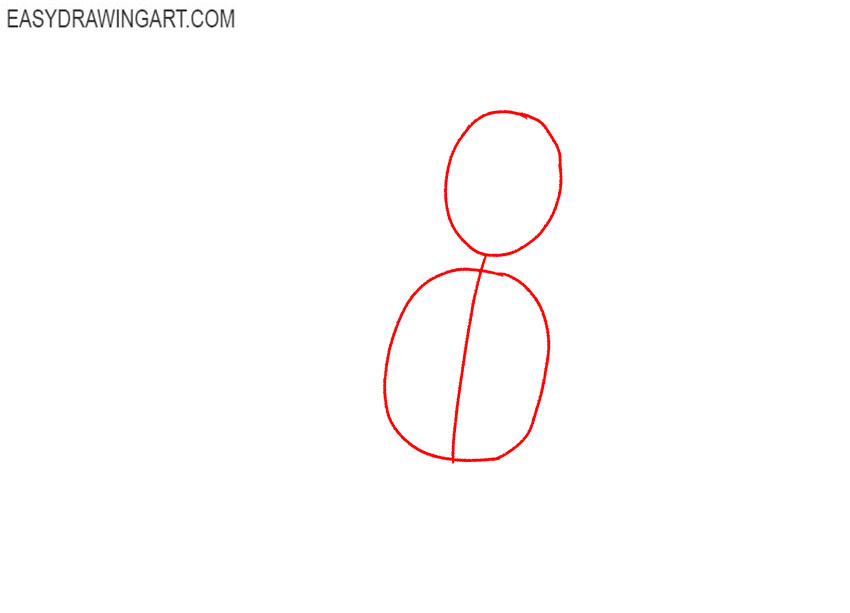
Draw a large vertical oval for Sandy Cheeks’ head and a slightly smaller oval beneath it for the torso. Connect both shapes with a smooth centerline that follows the direction of the body.
Step 2: Add Sandy Cheeks’ limb guides
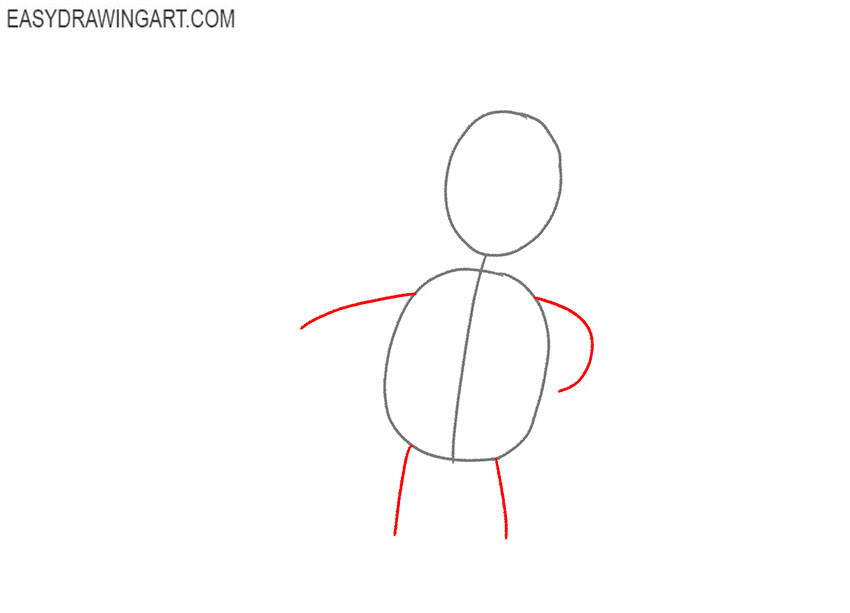
Sketch thin guide lines for both arms and legs, keeping them attached to the torso oval. Bend the lines and leave enough space for the gloves and boots that will be added later.
Step 3: Outline Sandy Cheeks’ head
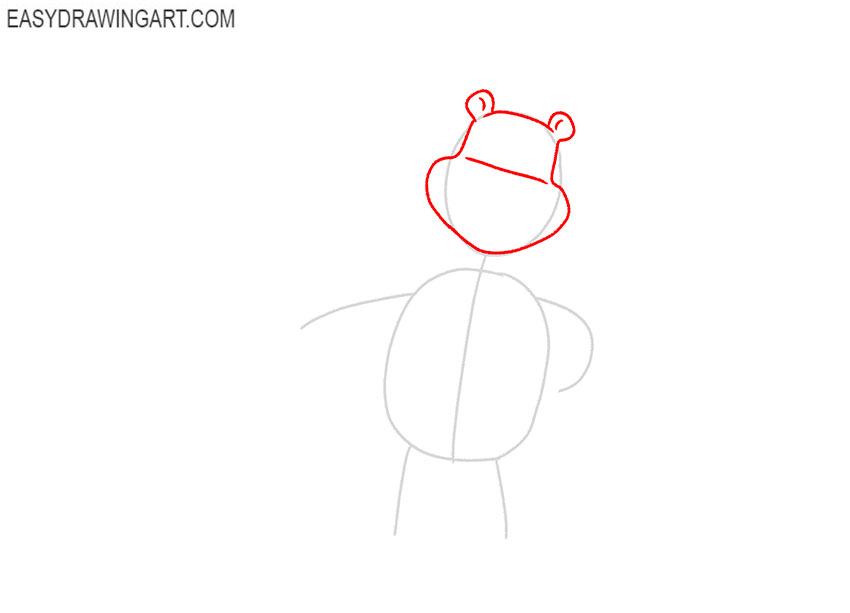
Refine the head into its final rounded shape, following the construction lines. Add the two small ears on top, then draw a curved horizontal guide across the face for the facial features.
Step 4: Draw Sandy Cheeks’ face
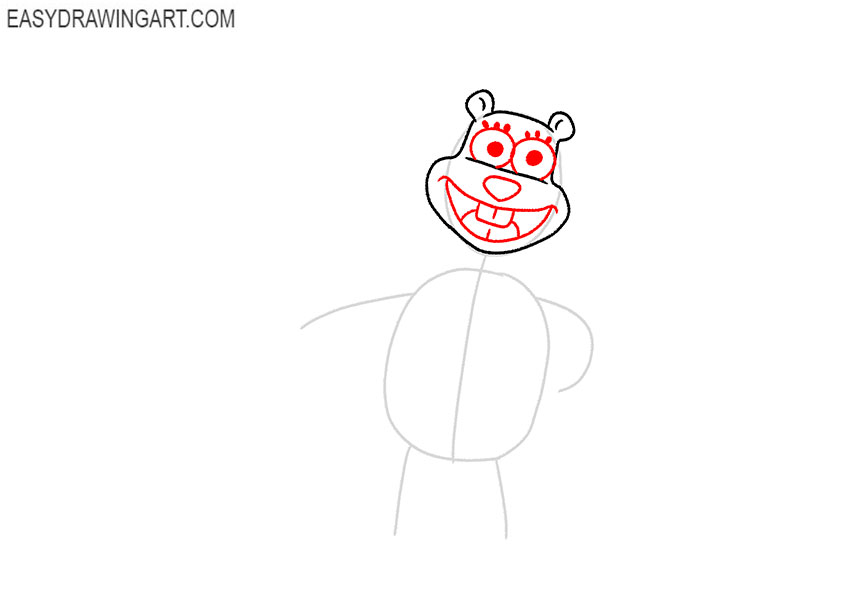
Draw two large circular eyes, then add the pupils, eyelashes, and small nose. Finish the expression with a wide open smile, two front teeth, and a tongue inside the mouth.
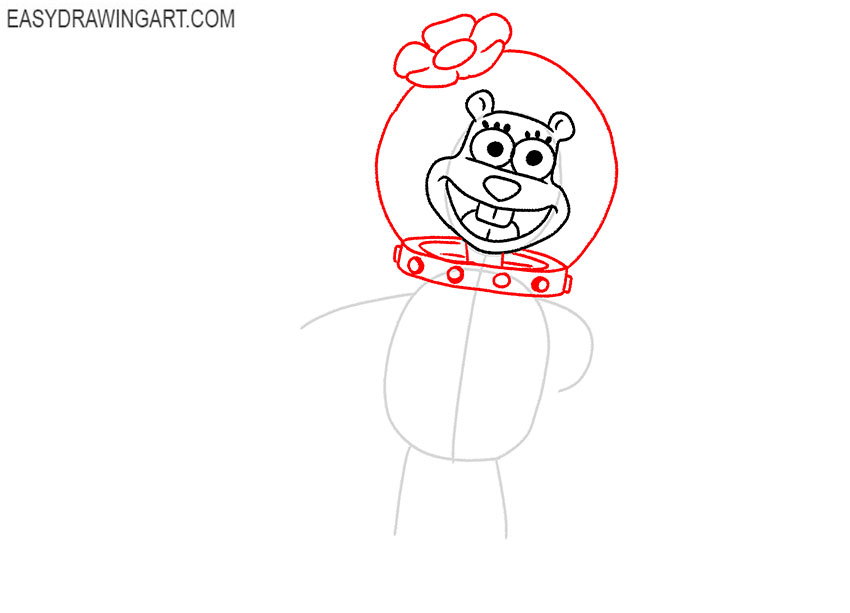
Step 5: Draw Sandy Cheeks’ space helmet
Draw the large circular helmet around the head, then add the thick neck ring beneath it. Complete the spacesuit helmet by sketching the flower decoration centered near the top.
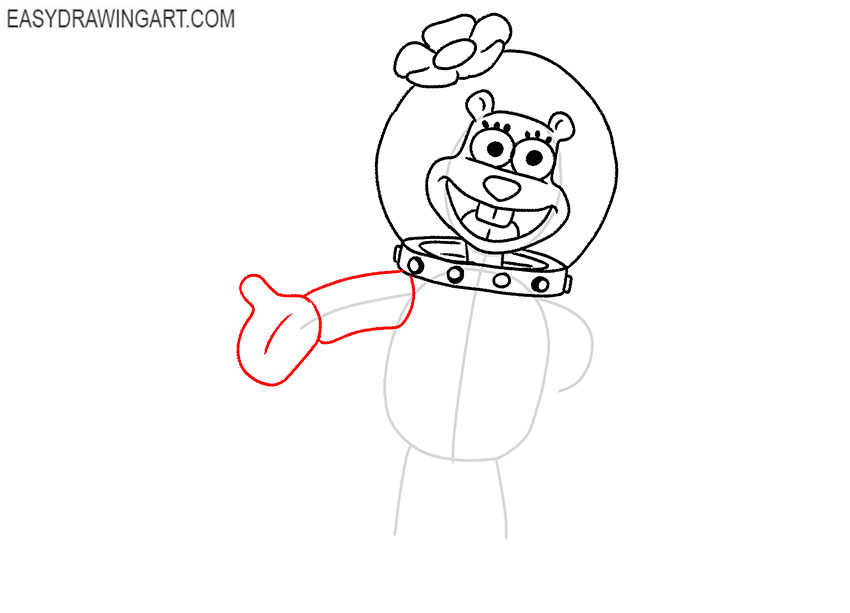
Step 6: Draw Sandy Cheeks’ first arm
Trace the first arm around the guideline, gradually widening it into the spacesuit sleeve. Finish the raised glove by outlining the smooth palm and separating the visible fingers with short curves.
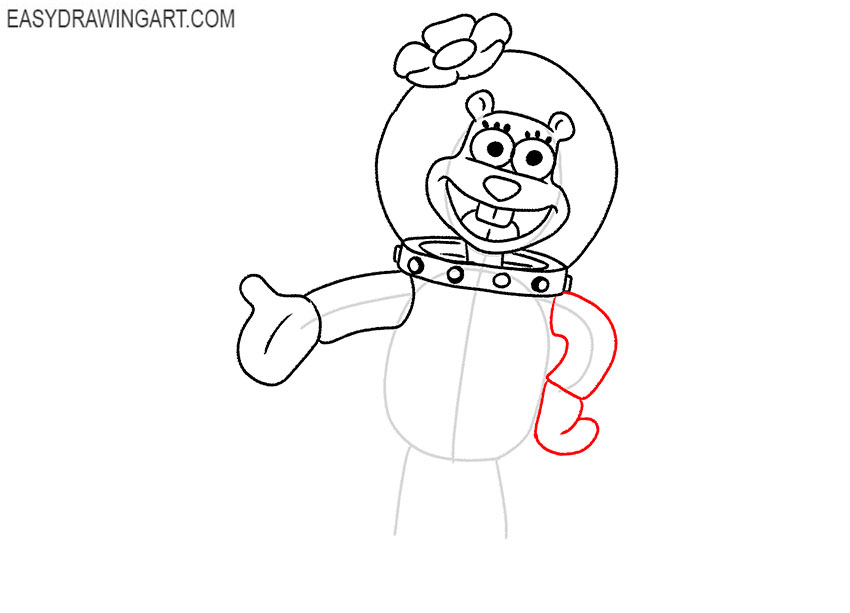
Step 7: Draw Sandy Cheeks’ second arm
Outline the second sleeve around its guide. Draw the lowered glove with smooth fingers, trying to keep its shape consistent with the opposite hand.
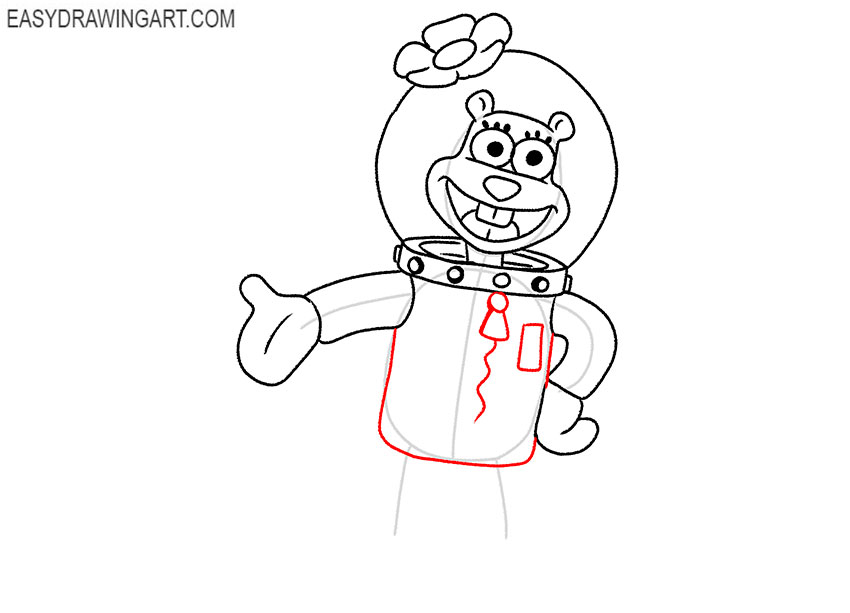
Step 8: Draw Sandy Cheeks’ spacesuit
Outline the body of the spacesuit with straight and slightly curved lines, giving it a boxy shape. Draw the zipper down the center and add the small rectangular side detail near the right edge.
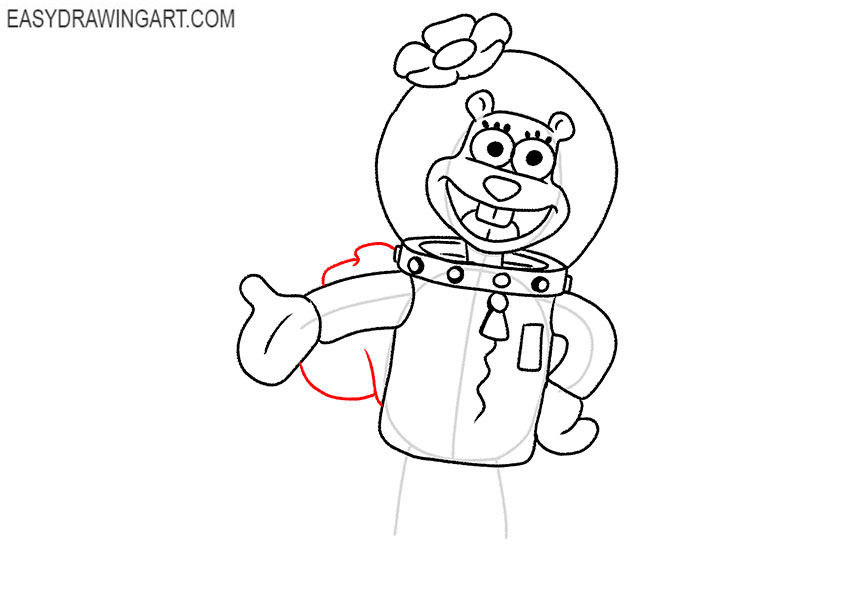
Step 9: Add Sandy Cheeks’ tail
Draw the visible part of Sandy Cheeks’ tail extending from the back of the suit. Use two smooth curved lines that taper toward the end. Keep the tail curved.
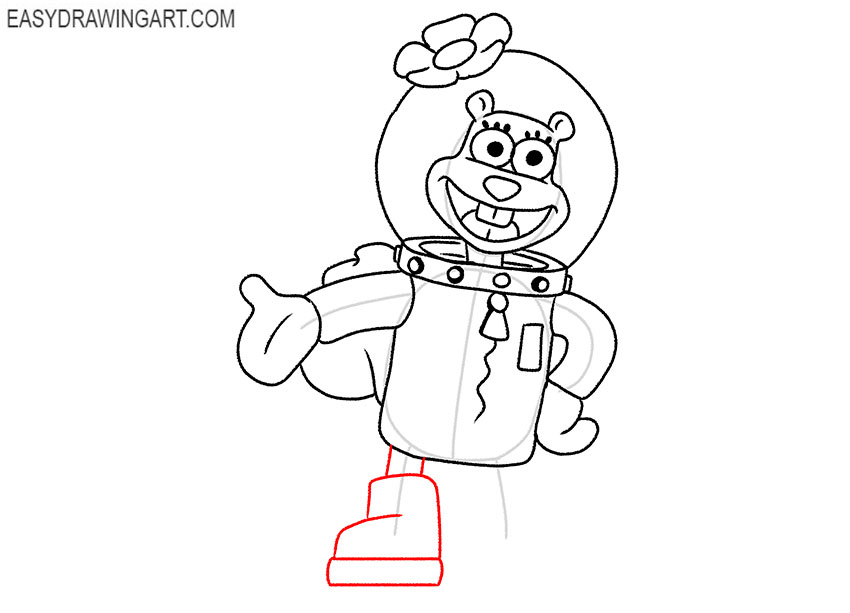
Step 10: Draw Sandy Cheeks’ first leg
Outline the first leg around the construction line, widening it into the spacesuit pant leg. Finish the foot by drawing the boot with its thick sole and front.
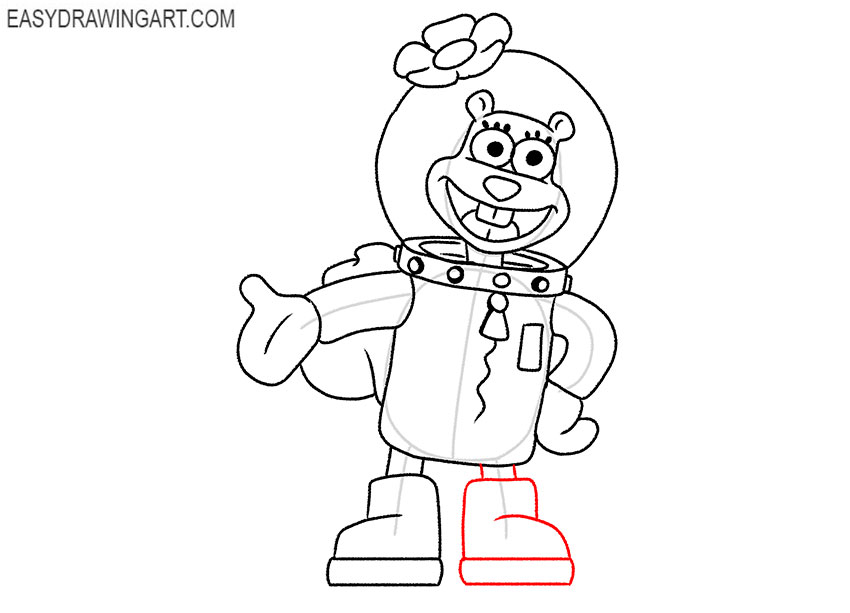
Step 11: Draw Sandy Cheeks’ second leg
Repeat the same process on the opposite side by outlining the second leg and matching its width to the first. Finish the second boot with the same shape and thick sole.
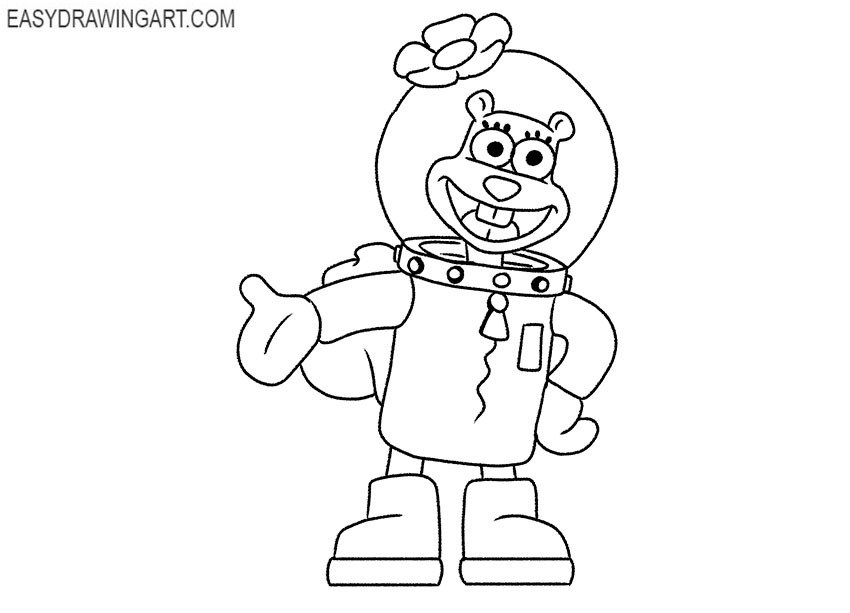
Step 12: Clean up the Sandy Cheeks drawing
Erase every remaining construction line and remove any overlapping strokes that are no longer needed. Refine the final outline so the spacesuit and facial details look complete.
Step 13: Color Sandy Cheeks
Color Sandy’s fur with shades of brown and beige. Use light blue and gray for the spacesuit, add a purple flower, orange tail, and finish the boots and gloves with matching colors.
This is the end of another fascinating tutorial. Your Sandy Cheeks drawing is complete. If you enjoy sketching other characters from this cartoon, you can continue with our tutorial on how to draw SpongeBob.
To continue, try drawing Gary the Snail with his spiral shell or sketching Mr. Krabs with his large claws and recognizable shape.
We hope that you did your best and that you like the result of the work. Follow us on social media if you haven’t already. Stay tuned for updates on the site and complete new exciting lessons.