How to Draw Piglet
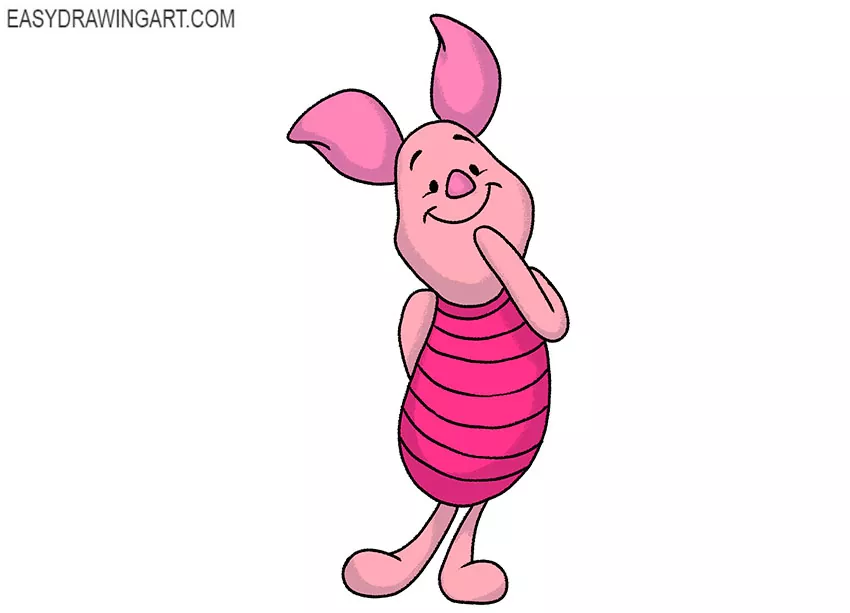
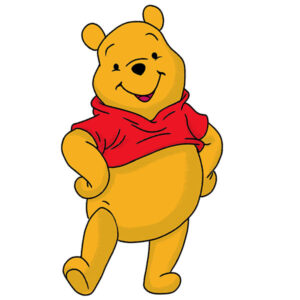
With this step-by-step guide we will show you how to draw Piglet. This little pig is Winnie the Pooh’s best friend.
Piglet is timid and insecure. During dangerous adventures, he is nervous and frightened. Sometimes Piglet shows ingenuity and thereby saves his friends.
We hope you enjoy drawing this funny character and you will have a pleasant experience.
Step 1: Sketch Piglet’s head and torso
Draw a vertical oval for Piglet’s head, then place a smaller oval below it for the torso. Use light lines so these construction shapes remain easy to adjust and erase later.

Step 2: Add the character’s limb guides
Extend thin curved lines from the torso to mark the positions of both arms and legs. Bend the guides to match Piglet’s pose and indicate where each limb changes direction.

Step 3: Outline the head and ears
Refine the head around the oval guide, narrowing the lower section toward the neck. Draw two long ears on top of the head of Piglet, using curved sides that taper toward the pointed tips.

Step 4: Draw the facial features
Place two dot-shaped eyes near the upper part of the face, then add the short eyebrows above them. Draw the small nose and form the wide mouth of Piglet with a smooth curved line.

Step 5: Draw Piglet’s first arm
Trace two smooth lines around the first arm guide, keeping the upper section narrow. Join the lines near the end to form the small paw and connect the arm cleanly to the torso.

Step 6: Outline the cartoon torso
Follow the original oval to define the sides of Piglet’s torso. Narrow the shape beneath the head, widen it through the middle, and connect the lower contour near the legs.

Step 7: Add Piglet’s second arm
Draw the visible edge of the second arm of Piglet with one smooth curved line extending from the shoulder. Let the line disappear behind the torso because most of this arm remains hidden.

Step 8: Draw Piglet’s first leg
Outline the first leg around its guide with two curved lines. Keep the upper section narrow, widen the shape toward the bottom, and close the contour to form the small foot.

Step 9: Outline Piglet’s second leg
Trace the second leg around the remaining guide, using the same narrow upper section and wider lower end. Join the sides at the bottom to complete the second foot.

Step 10: Add stripes to Piglet’s torso
Draw several slightly curved horizontal lines across the torso. Follow the form of the body as each stripe runs from one side to the other, keeping the spacing equal.

Step 11: Clean up the Piglet drawing
Erase the original oval shapes and limb guides, leaving only the final contours. Redraw any faded sections around the body parts using clean lines.

Step 12: Color the Piglet drawing
Color Piglet’s head, ears, arms, and legs light pink. Use several shades of lilac and pink for the striped torso, then darken the eyes, eyebrows, nose, and mouth.
Another step-by-step tutorial has come to an end, and now you know how to draw Piglet.
If you enjoyed drawing Piglet, continue with other classic Winnie the Pooh characters. You can draw Winnie the Pooh, practice with drawing Tigger, or complete the group by drawing Eeyore.
We recommend that you complete the other lessons presented on this site to improve your creativity. We will be glad to see you among our subscribers in social networks.