How to Draw Tigger

In this drawing guide, we will tell you how to draw Tigger. He is one of the best friends of Winnie the Pooh and a beloved character by many viewers.
Step 1
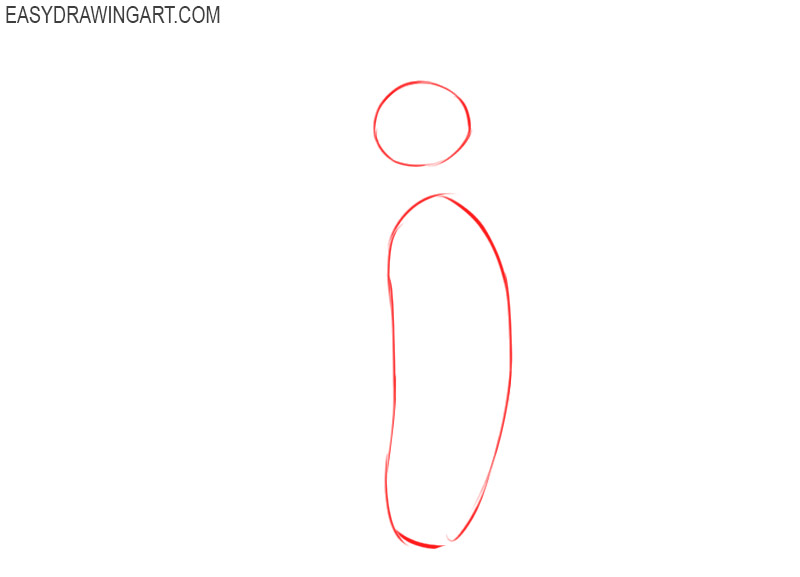
Firstly, we sketch out the outlines of the head and torso of our cartoon character. According to our idea, the Tiger stands on its hind legs, so the body looks like a long, vertically elongated oval.
Step 2
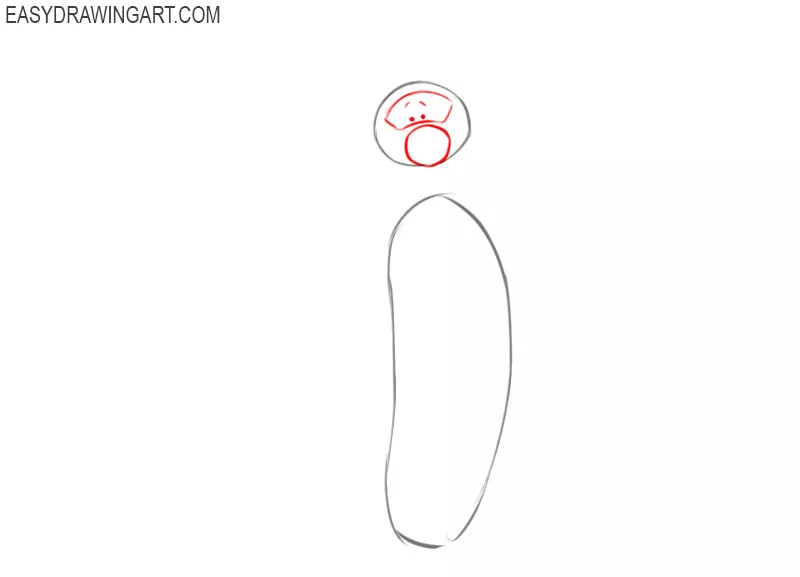
Tigger has a pretty funny appearance. He has a large, rounded nose and small eyes – the points above which the eyebrows are located in the front of the roof of the house.
Step 3
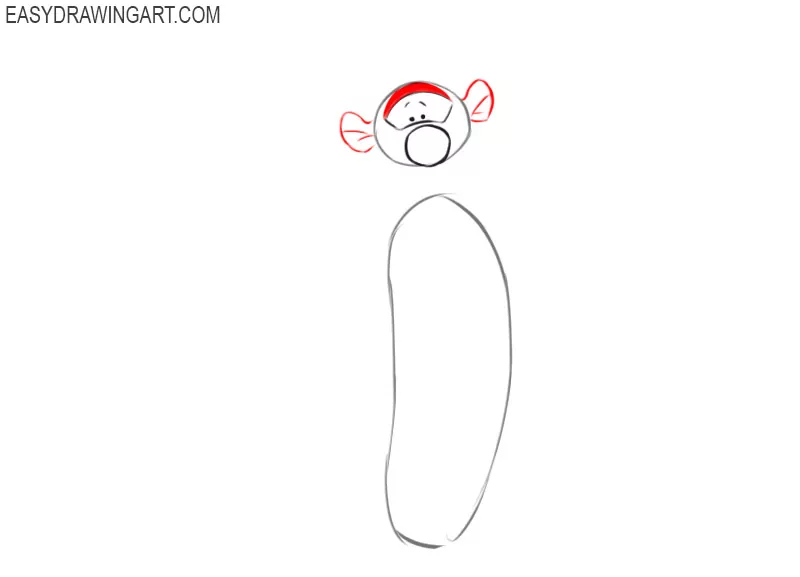
Now let’s draw rounded and small ears. We will also draw the first black stripe, which is located directly above the eyes. A pair of lines are located inside the ears that form sharp angles.
Step 4
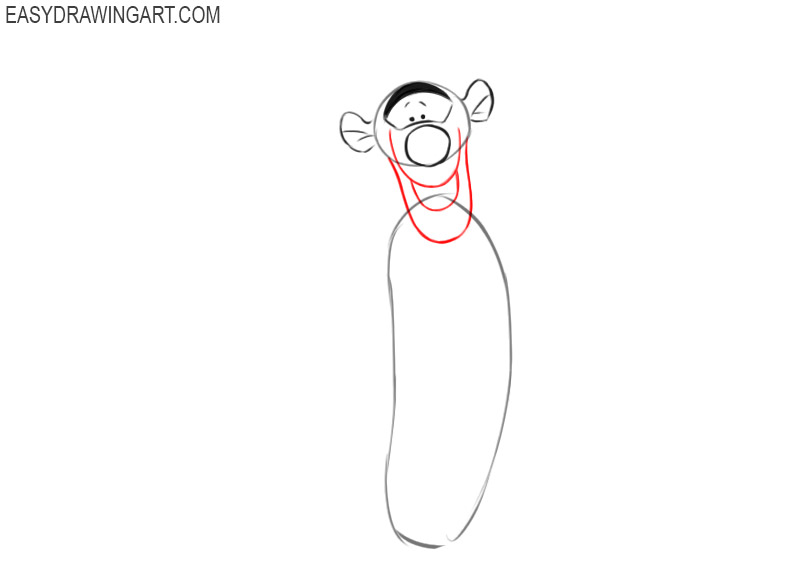
Now is the time to draw the large, smiling mouth of our tiger. In this step, use only rounded shapes.
Step 5
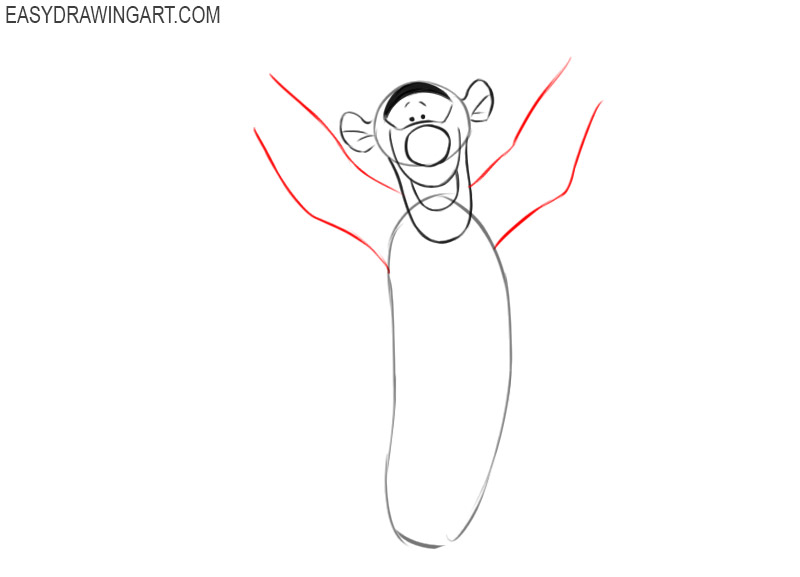
As you know, Tigger is a very friendly guy. Even in our illustration, he happily raises his arms for a friendly hug. Let’s draw the outlines of the front legs, that is, the arms.
Step 6
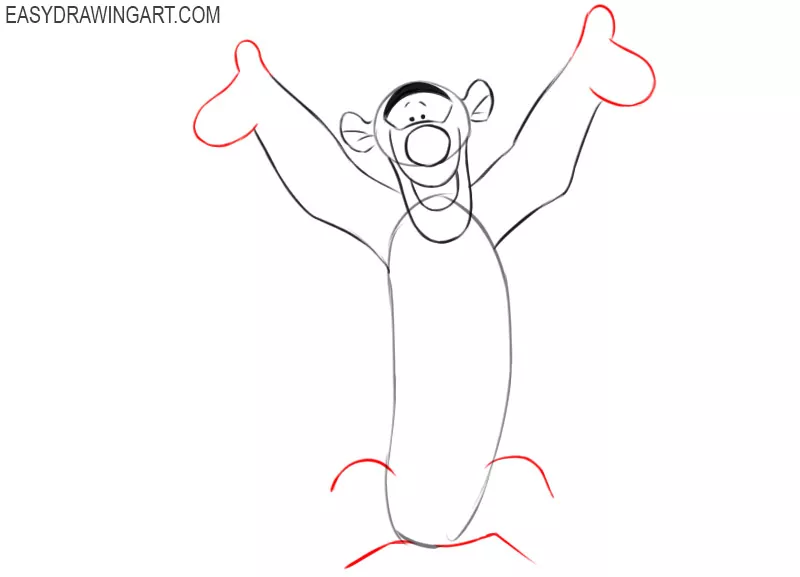
The artists of the animated series about Winnie the Pooh made a huge gift for us. They marked the paws of the heroes in the form of two rounded surfaces. So, we don’t need to draw complex fingers. Let’s draw a couple of rounded shapes on each hand in this step.
We also outline the contours of the hind paws. We can see that the hind legs are quite short due to the angle and the drawing style.
Step 7
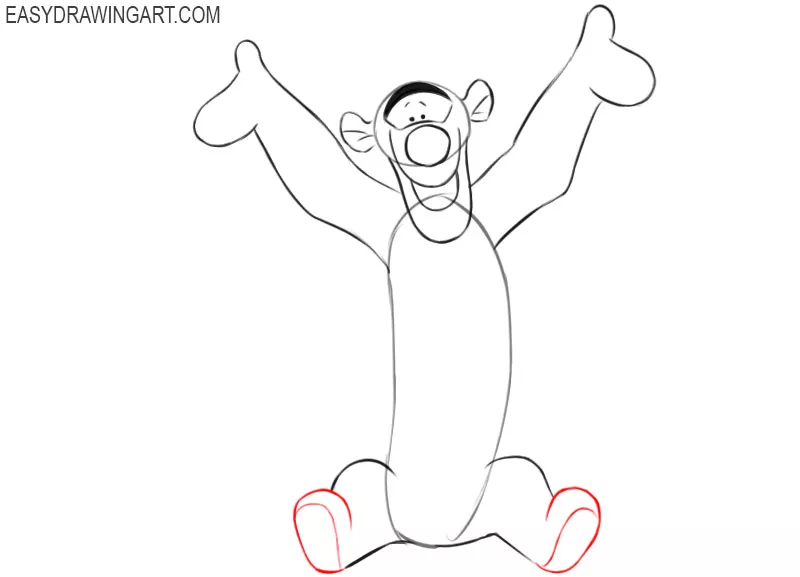
Now let’s outline the contours of the pads of the hind paws of our character. There is also no detailed drawing of the fingers, and this is very great luck for us.
Step 8
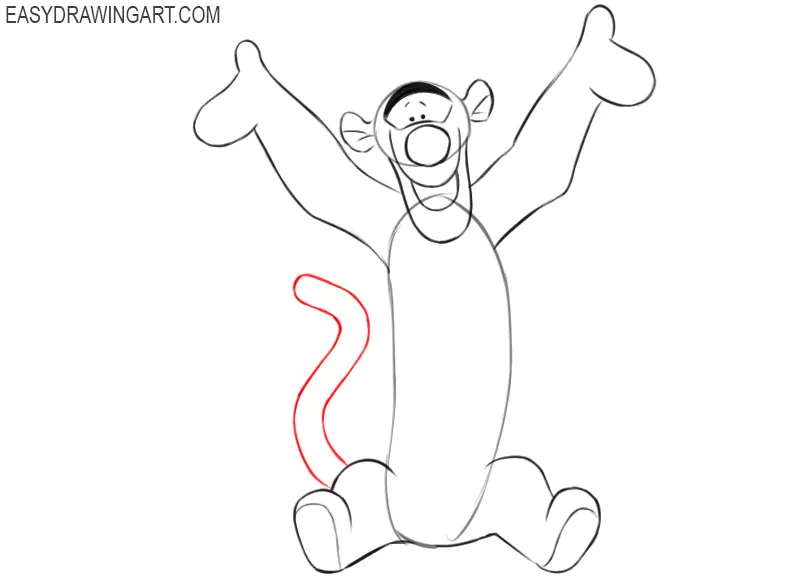
In this step, we sketch out the outlines of the long, wriggling tail. In our version, the tail has two small curves, you can choose the position of the tail according to your taste.
Step 9
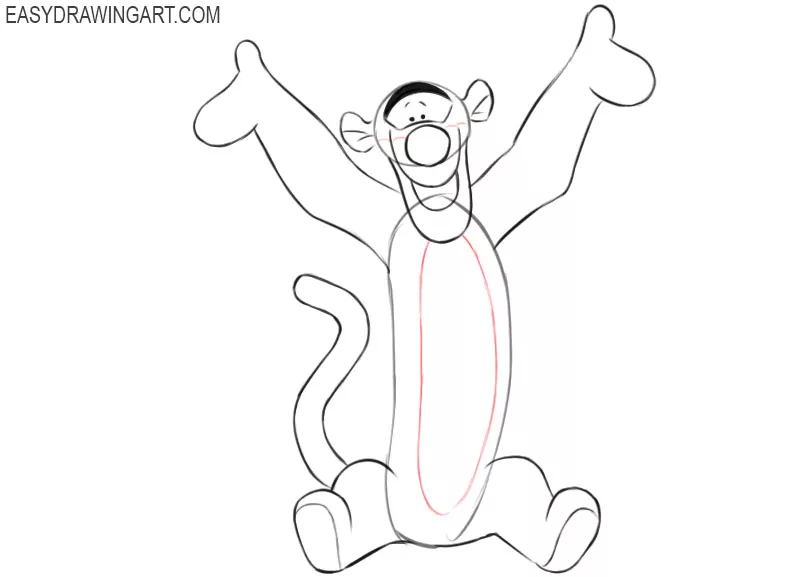
So we continue the guide on how to draw Tigger from the cartoon about Winnie the Pooh. In the center of the body is a long, elongated oval. Let’s draw this.
Step 10
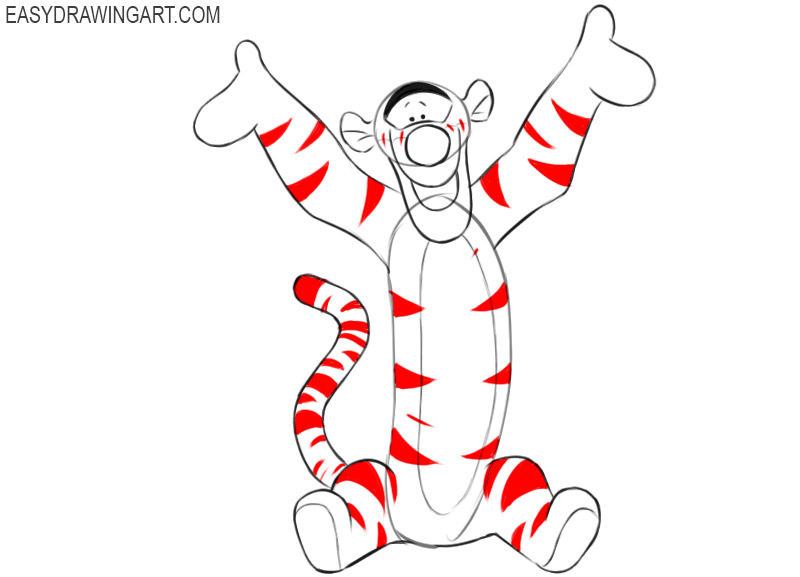
In this step, we sketch out the outlines of the black stripes on the body of our tiger. Try to copy this pattern from our sample as accurately as possible, because changing the shape of the stripes will make your drawing very different from the appearance of a cartoon character.
Step 11
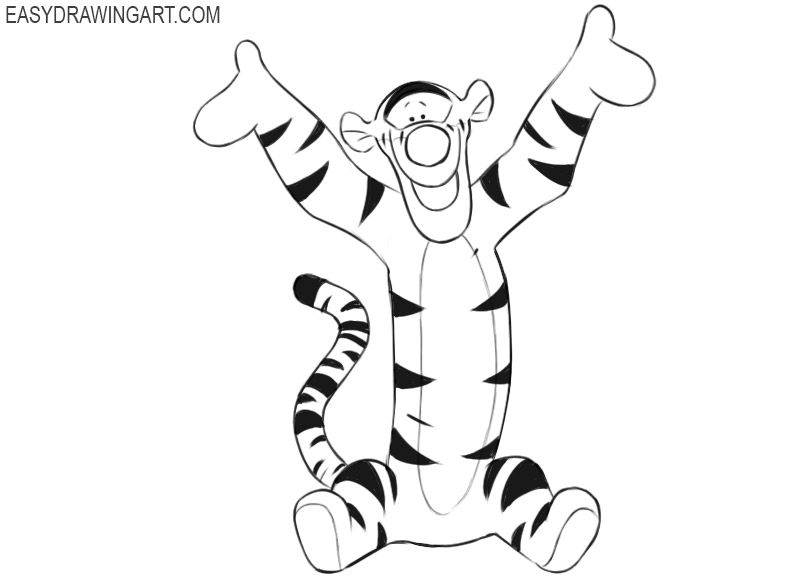
We always leave a special step so that you can evaluate the whole sketch before working with paints. We have not broken this tradition in this lesson. Look at your drawing and see if all shapes and proportions are correct. Fix any inaccuracies with erasing.
Step 12
Traditional colors for tigers are orange and black. The creators of Winnie the Pooh decided not to change this rule, so Tigger has the same color. We are positioning this tutorial as very simple so we decided to drop shadows.
So we did a great job. I hope that our guide on how to draw Tigger was useful to you. We are waiting for your feedback and your questions!