How to Draw Eeyore
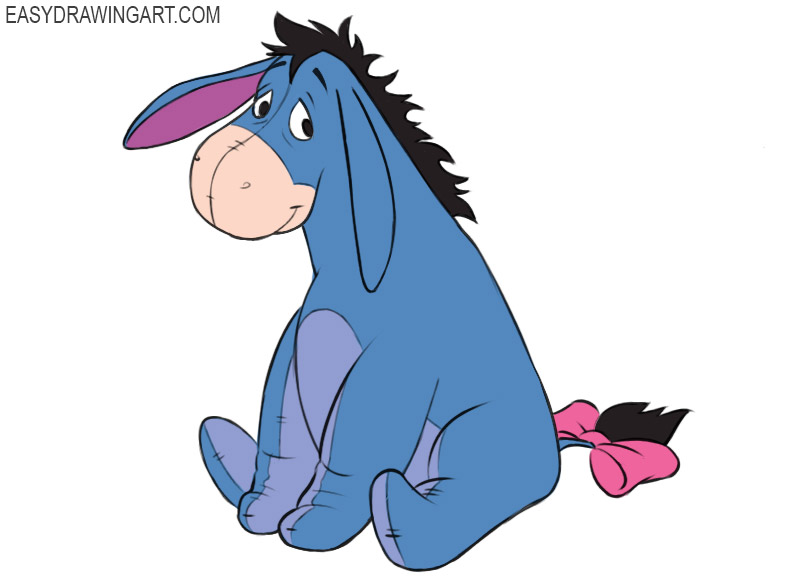
Eeyore is one of the most interesting characters from Winnie the Pooh. In this tutorial, we will show you how to draw Eeyore step by step.
The finished drawing shows the cartoon character sitting with his head slightly lowered and his long ears hanging down.
Follow the steps, and you’ll have a simple drawing of Eeyore that looks just like the classic cartoon character.
Time needed: 1 hour
How to Draw Eeyore
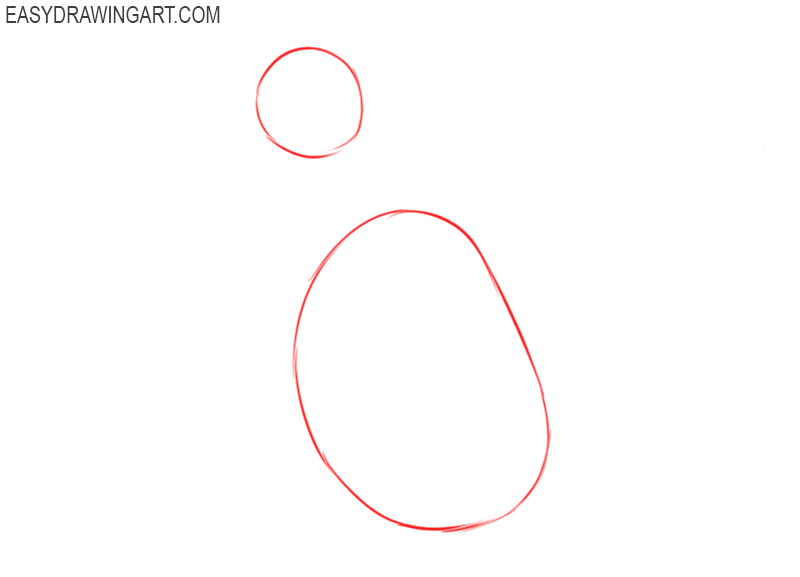
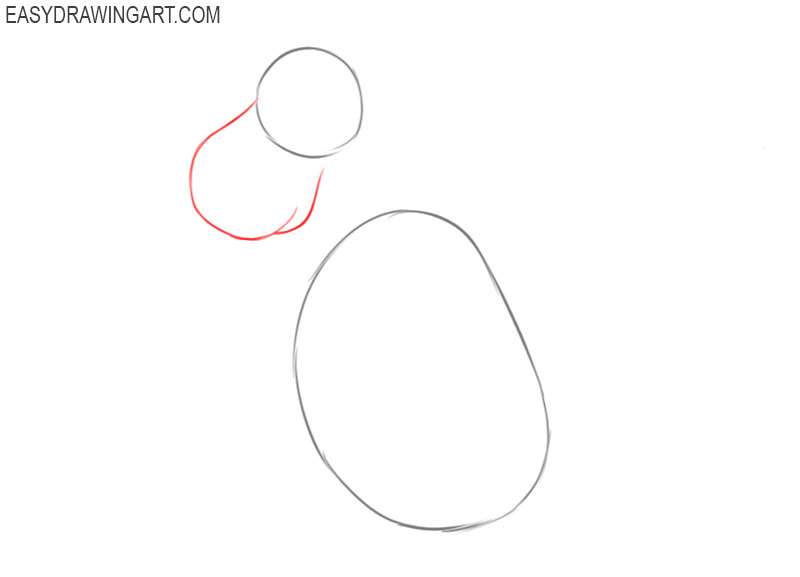
- Sketch out the basics.
Draw two figures using dashed lines, with which you will determine the location and size of the head and torso of Eeyore.

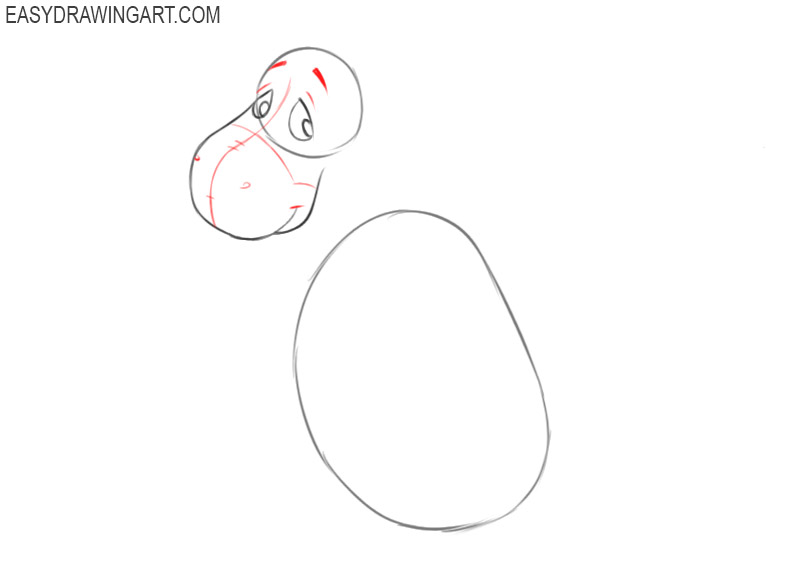
- Depict the front of Eeyore’s head.
Near the previously drawn circle, draw two curved lines of different lengths, as shown in the figure.
- Add the character’s eyes.
Now you need to depict the two eyes of Eeyore, placing them inside the previously drawn outline of the character’s head. One eye looks smaller.
- Add the character’s facial features.
Above the previously drawn eyes, draw thin lines to draw the eyelids, add the eyebrows, as well as curved lines in the middle and at the bottom of the face.
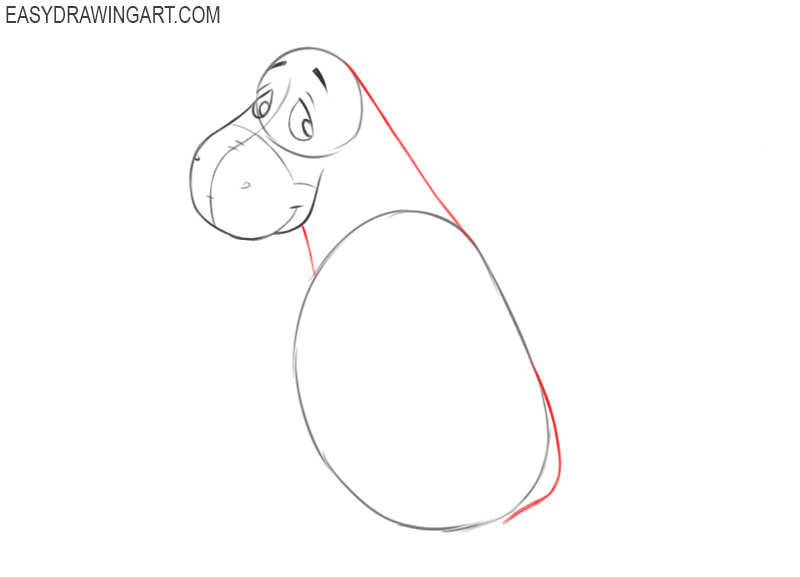
- Draw the contours of the neck and back.
Connect the previously drawn outlines of the torso and head using straight and curved lines, as shown in the figure.
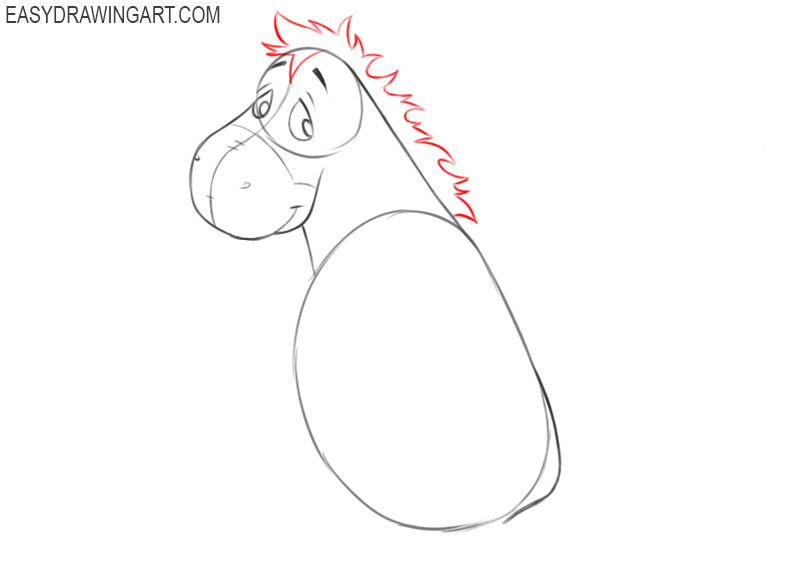
- Sketch out the Eeyore’s mane.
At the top of the head and near the neck, draw the pointed strands of the fur, depicting many rounded and curved lines to draw the mane.
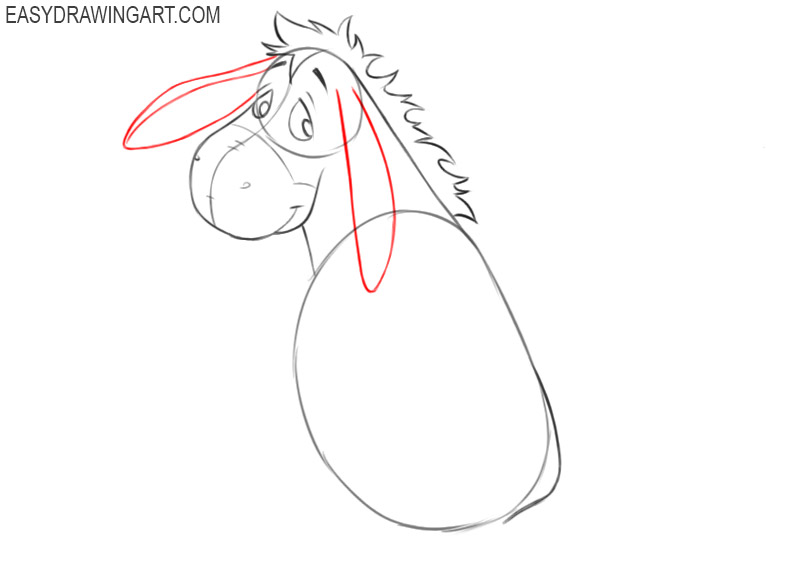
- Depict the character’s ears.
On the sides of Eeyore’s head, draw two ears, pointing in different directions and lowered down. For this, you should use curved lines.
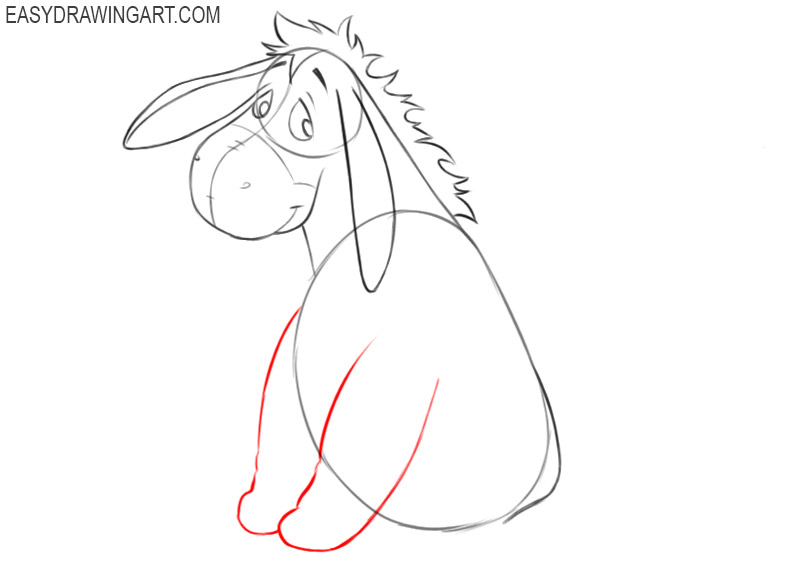
- Add the front paws of the donkey.
Depict the front legs next to each other using curved lines, as shown in the figure. The other partially covers one paw.
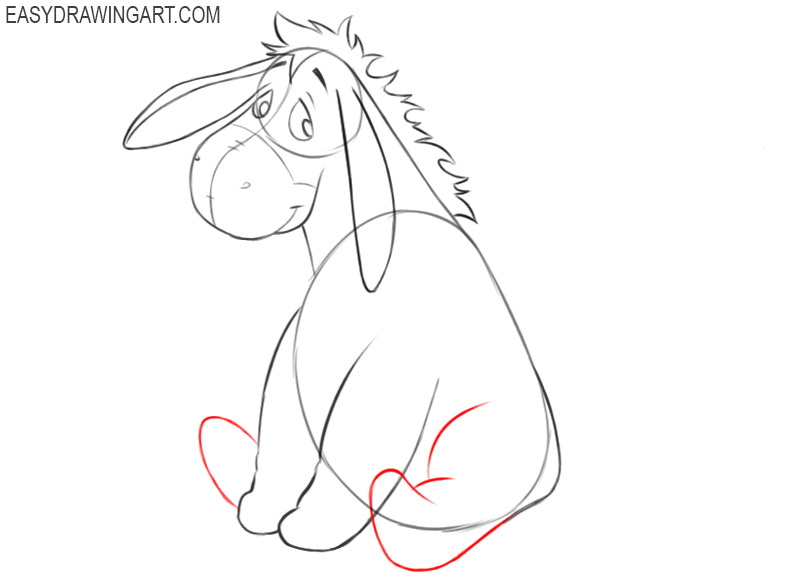
- Sketch out the Eeyore’s hind legs.
Eeyore appears to be sitting, so his hind legs point forward and are slightly apart. To draw this, use rounded lines.
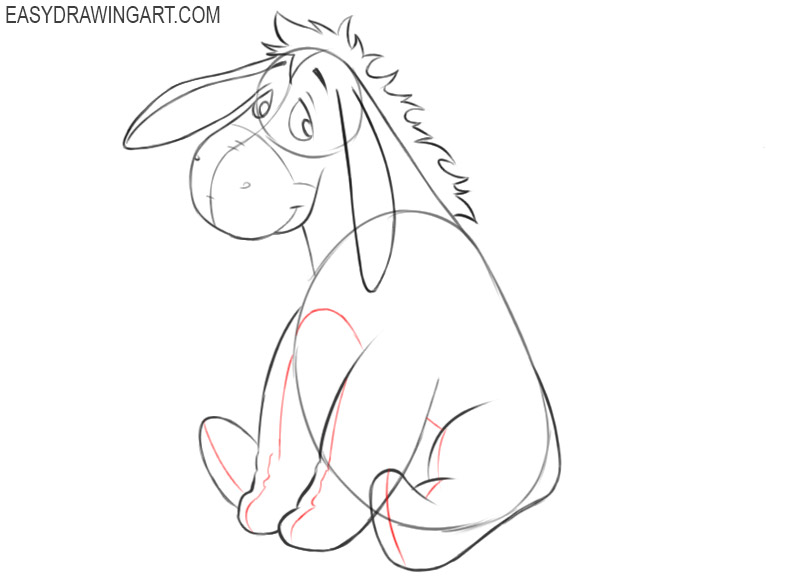
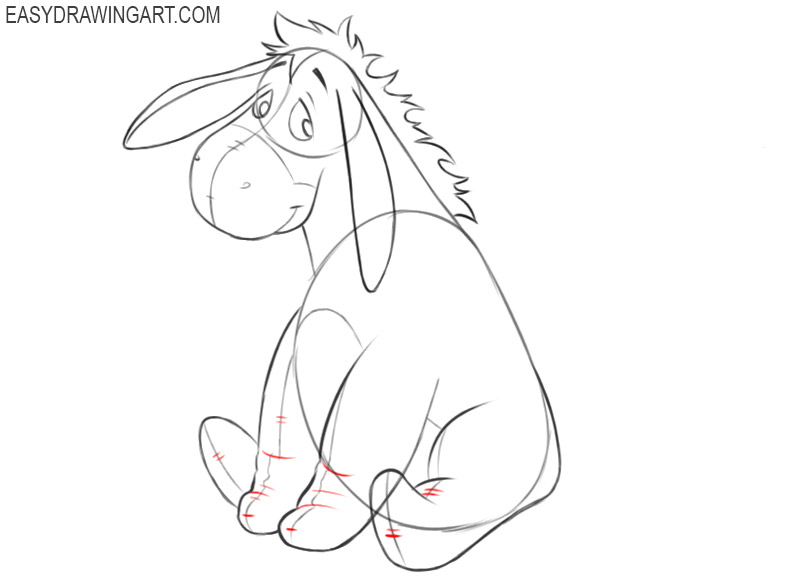
- Add decorative elements.
On the torso and limbs of the character, draw thin dashed lines, as shown in the figure.
- Finish drawing the decorative elements.
Draw the folds on the Eeyore’s torso. To do this, you need to draw a few short straight lines and arcs around the previously drawn lines.
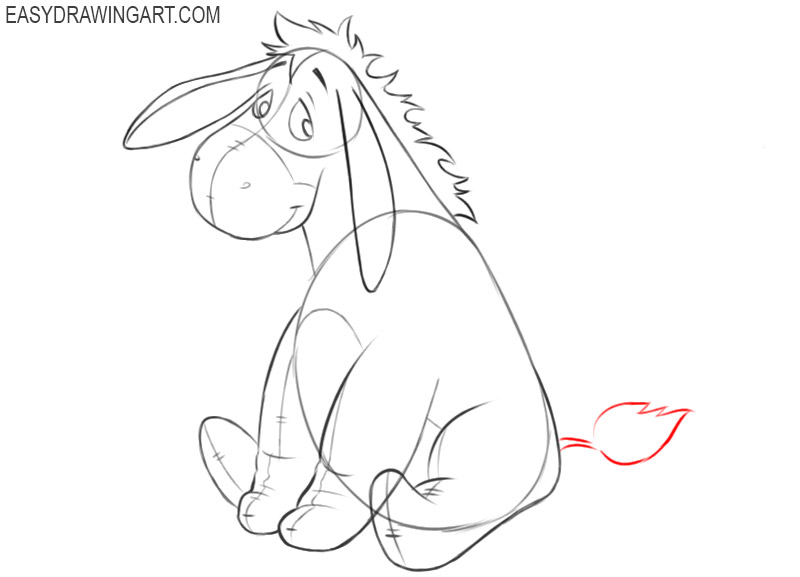
- Draw the character’s tail.
On the right side of the character’s previously drawn torso, sketch out the tail with the tassel at the end. Use curved lines.
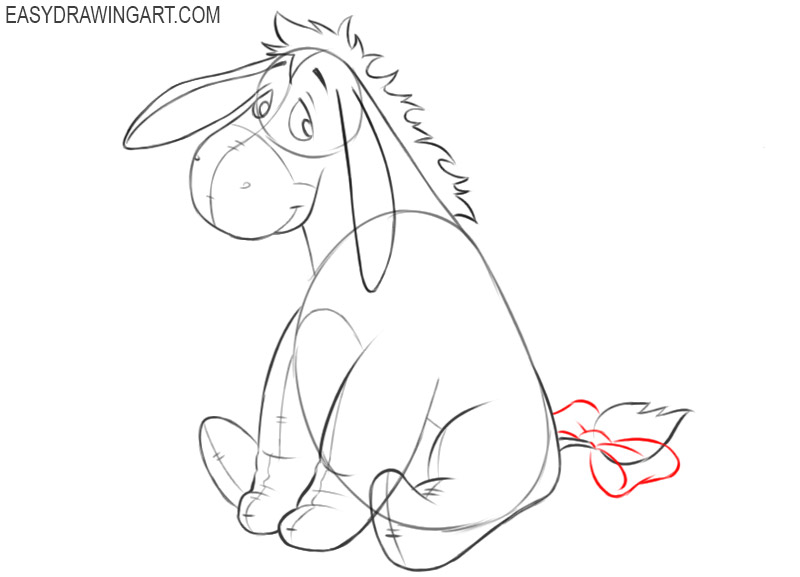
- Add the bow on the character’s tail.
To make Eeyore look cuter, draw the nice bow at the end of his tail. To do this, you should use rounded lines.
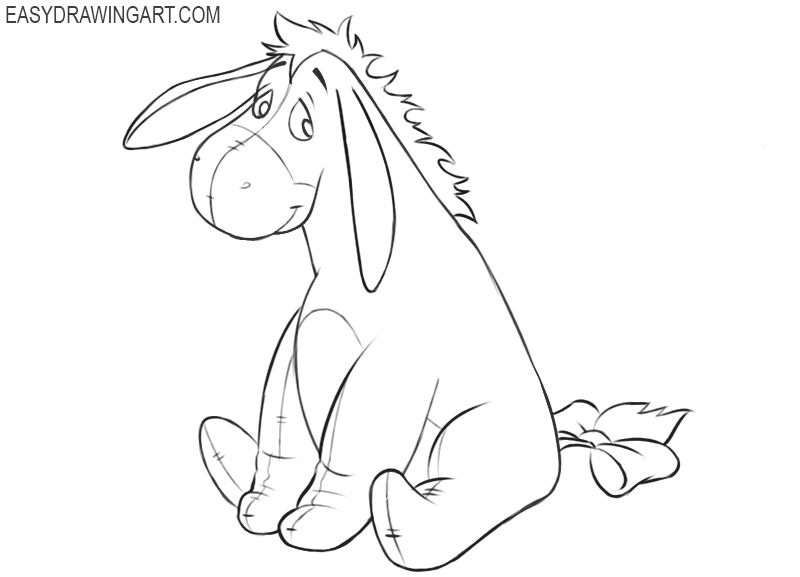
- Correct inaccuracies.
Before you start coloring this drawing, you should use the eraser to remove all unnecessary auxiliary lines.
- Color the drawing.
To color the Eeyore, use beige, blue, purple, pink, and black.

This is the end of this drawing lesson, in which you learned how to draw Eeyore step by step. We hope that you correctly followed all the steps of this instruction, and now you have an excellent result. We will be glad to see your feedback on this lesson, and we will also take into account all your wishes to create the next drawing lessons.