How to Draw Perry the Platypus
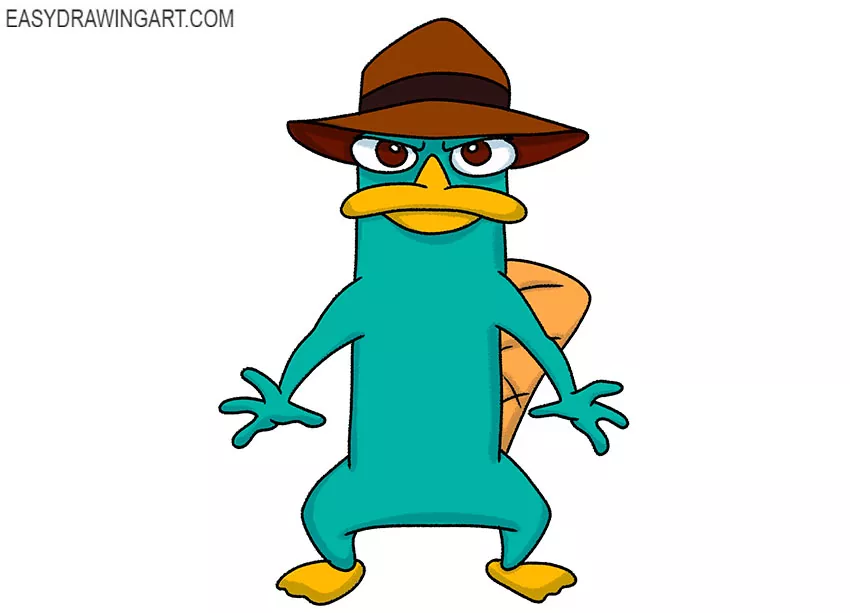
Let’s continue creating cartoon characters and in this step-by-step tutorial we will show you how to draw Perry the platypus. This is the hero of the animated series Phineas and Ferb. Perry the platypus is fearless and confident.
In the cartoon, the platypus Perry is presented as an undercover agent. The body of the platypus has an unusual turquoise color, the tail is long and wide. The platypus wears a hat.
If all the art supplies are already at the ready, then you can start the lesson.
Step 1: Sketch Perry the Platypus’s body base
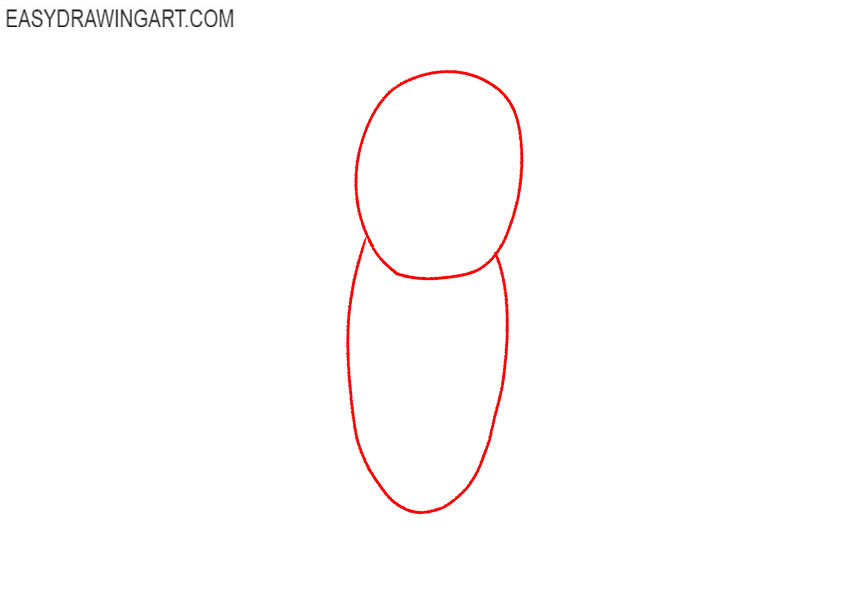
Draw an oval for Perry’s head, then use a long curved line to outline the basic torso beneath it. Keep these construction lines light so the shapes remain easy to refine in later steps.
Step 2: Add Perry’s limb guides
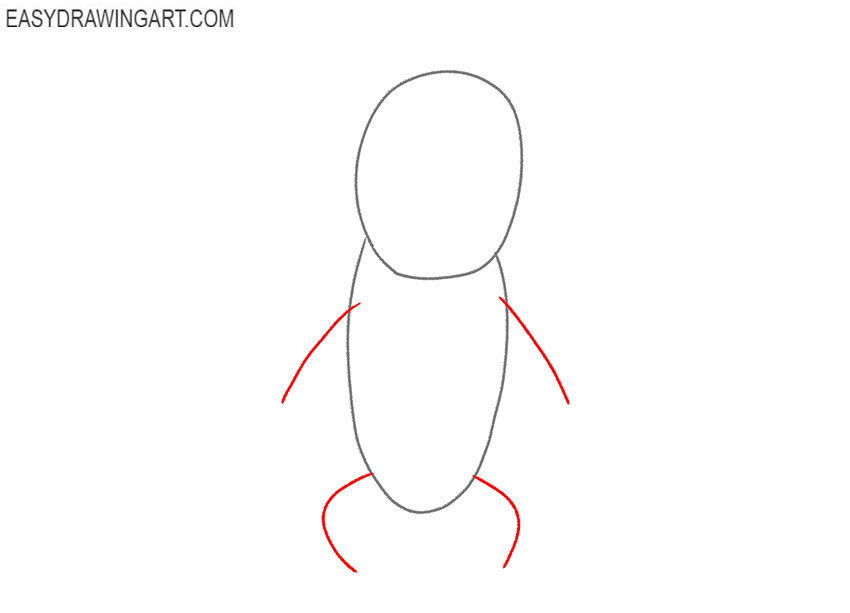
Extend thin lines from the torso to mark the positions of both arms and legs. Bend the guides slightly to show the joints and set the direction of each limb before outlining them.
Step 3: Draw Perry’s eyes and fedora
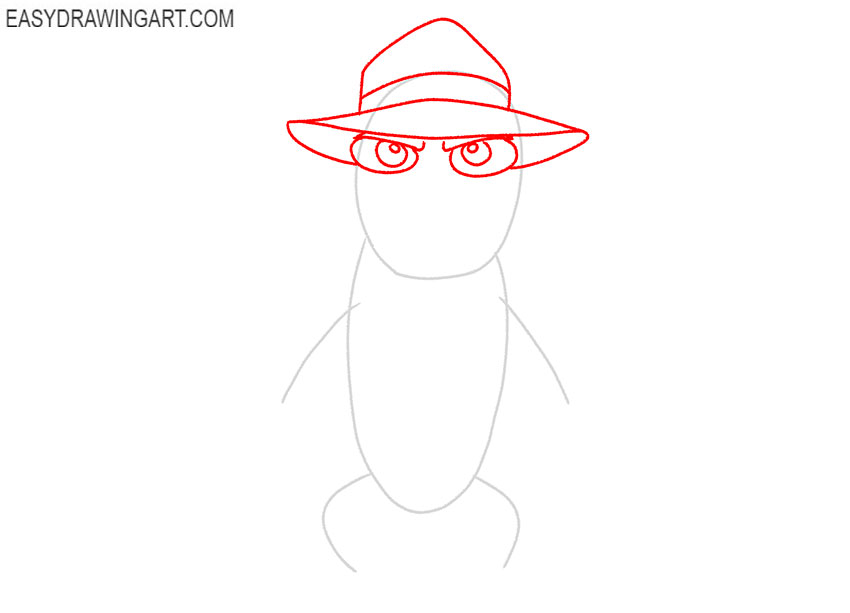
Draw two large eyes across the upper head, placing the small pupils inside them. Continue by drawing the hat with a wide brim and a low crown above the eyes.
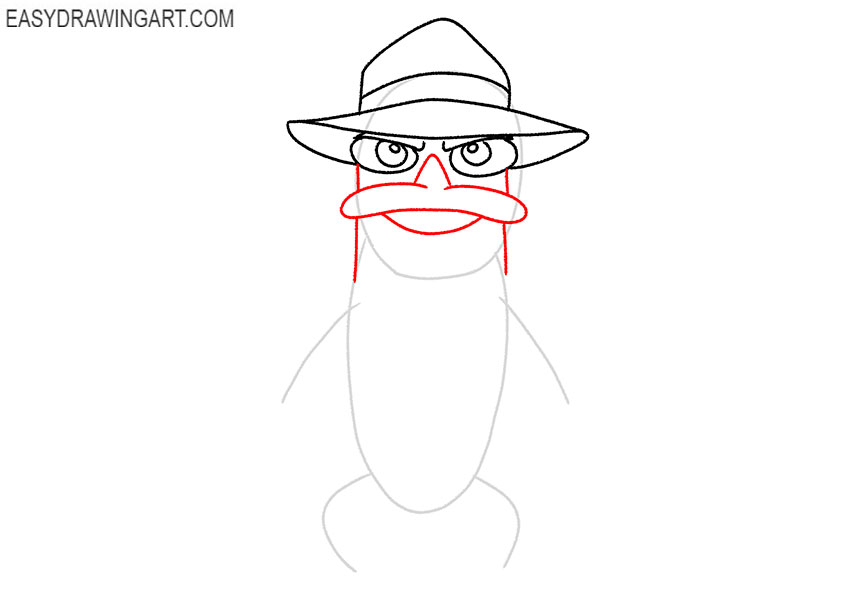
Step 4: Outline Perry’s head and beak
Refine the sides of the head beneath the hat, narrowing them slightly toward the torso. Draw the upper and lower parts of the broad beak with long curves that meet at the outer ends.
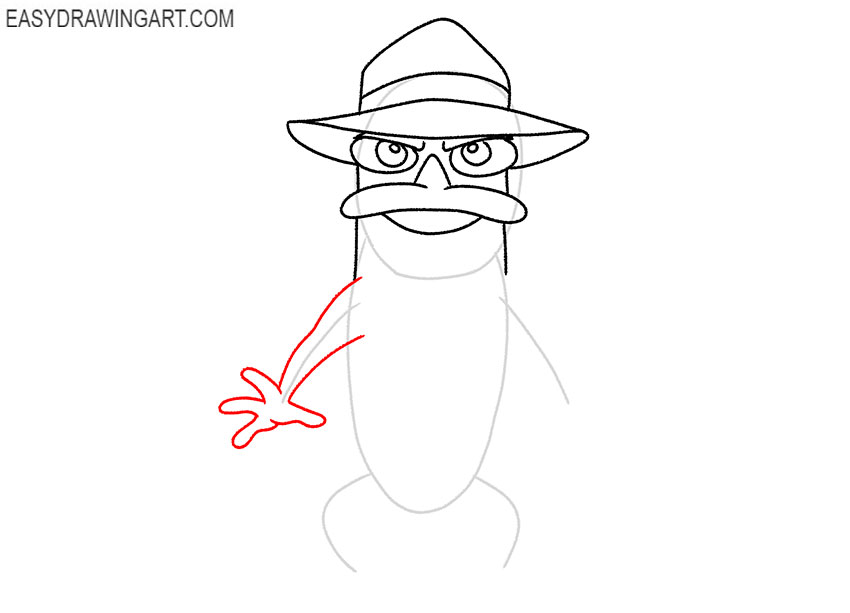
Step 5: Draw Perry’s first arm and hand
Trace two smooth lines around the first arm guide, widening the shape near the shoulder. Finish by drawing the hand with several long fingers extending outward.
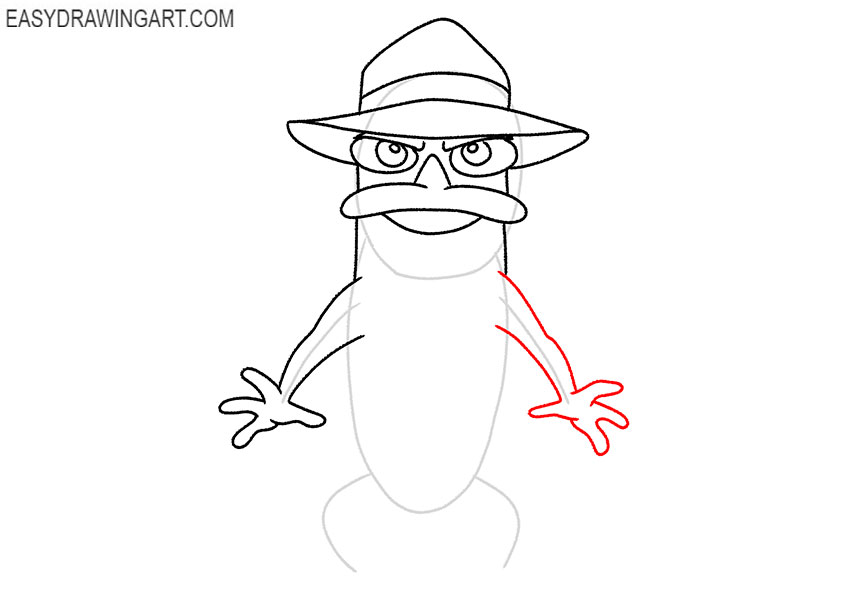
Step 6: Outline Perry’s second arm
Use the remaining guide to outline the second arm with two smooth lines. Narrow the limb near the wrist, then add the open hand and separate the visible fingers with short curved contours.
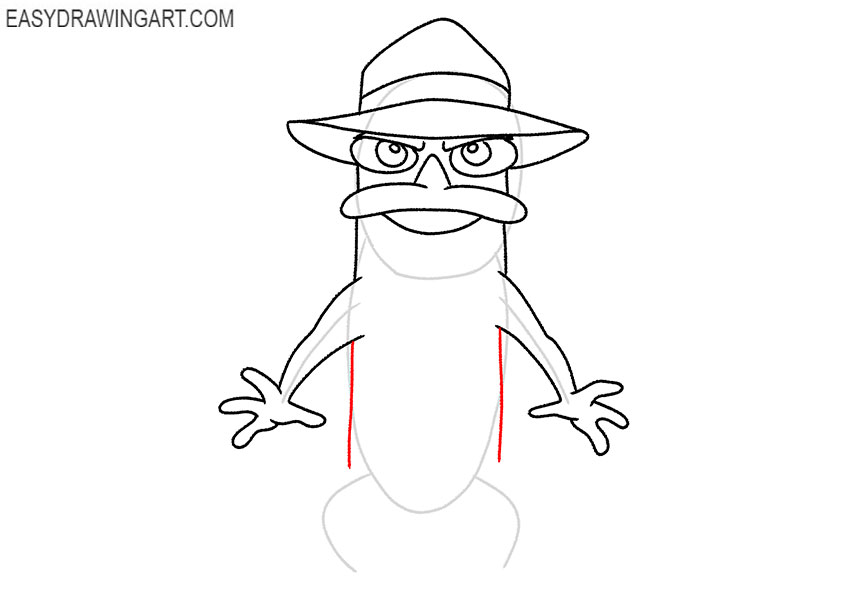
Step 7: Define Perry’s torso
Draw two nearly straight lines down from the shoulders to define the sides of Perry’s long torso. Follow the construction shape while keeping the body narrow and vertical between the arms.
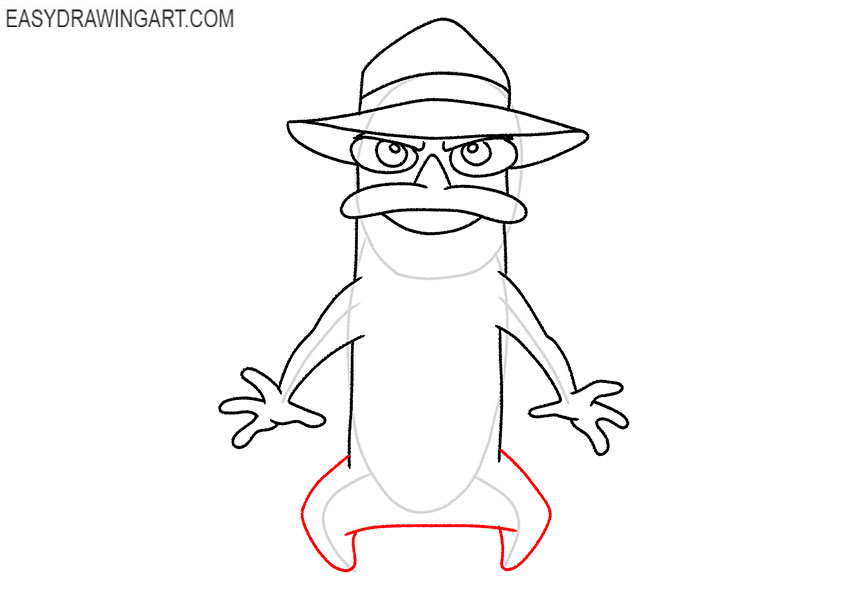
Step 8: Draw Perry’s upper legs
Outline both upper legs around the lower guides, making each one thicker near the torso. Connect them with a short horizontal line to complete the lower edge of Perry’s body.
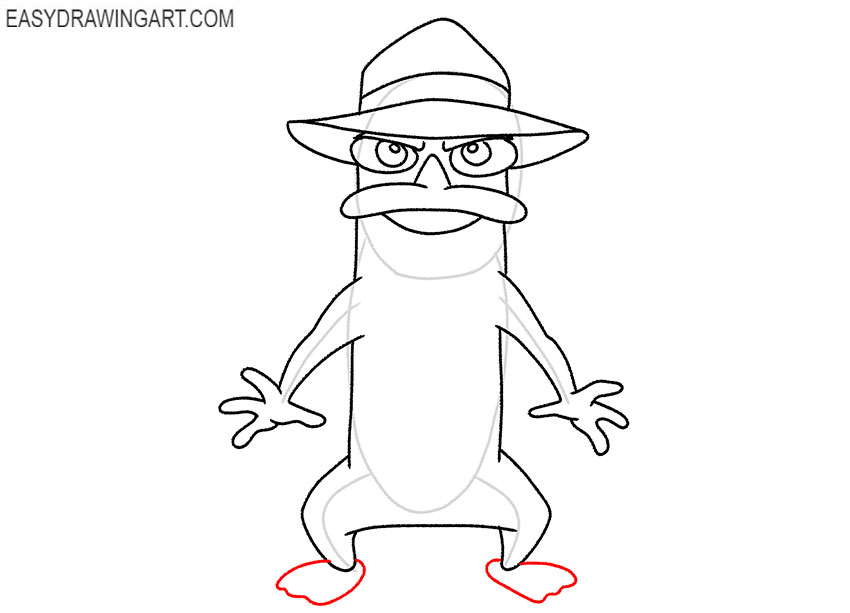
Step 9: Add Perry’s webbed feet
Continue drawing the legs by adding the lower sections and broad feet. Turn the feet in opposite directions and divide their front edges into webbed toes.
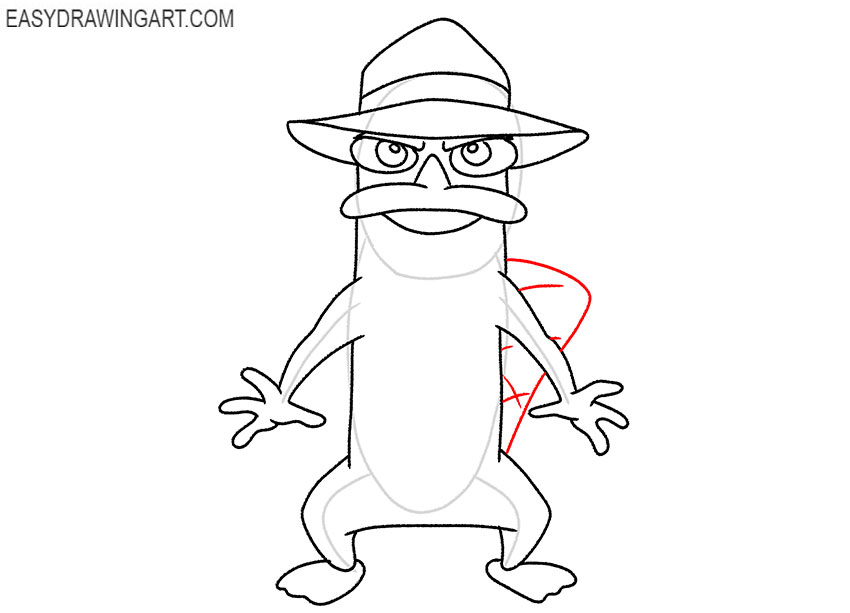
Step 10: Draw Perry’s beaver-like tail
Behind the torso, continue by drawing the tail with two broad curves. Join them at the end, then add crossing diagonal lines across its visible surface.
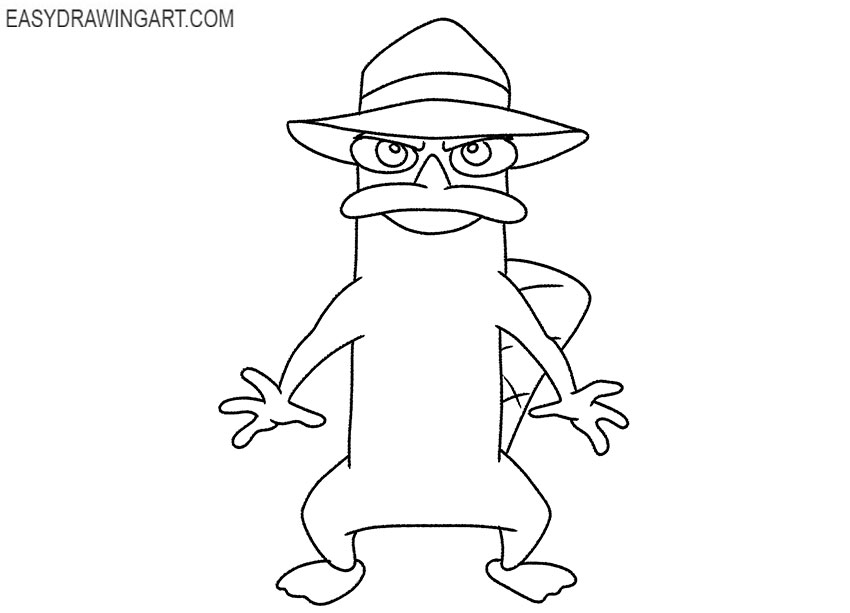
Step 11: Clean up the Perry drawing
Erase the original head shape, body guide, and limb lines without removing the final contours. Redraw any faded sections around the hat, beak, arms, torso, feet, and tail.
Step 12: Color Perry the Platypus
Color Perry’s body turquoise, then fill the beak and webbed feet with yellow-orange. Use orange for the tail, brown for the fedora, black for its band, and white for the eyes.
After drawing Perry in his secret-agent form, try drawing a platypus with natural animal features, or continue the series by drawing Phineas and sketching Ferb.
Great! You have learned how to draw Perry the platypus. If you liked this step-by-step guide, then leave a little feedback in the comments. Follow us on social networks to keep abreast of all the news.