How to Draw Ferb

We bring to your attention detailed instructions on how to draw Ferb step by step. Ferb Fletcher is one of the main characters in the animated series Phineas and Ferb.
This is a serious and silent boy. Ferb has a rectangular head and green hair. He speaks various languages, is a champion in computer games and is fond of sports.
Now you have to draw this funny character. Strive to ensure that your drawing is as similar as possible to our example.
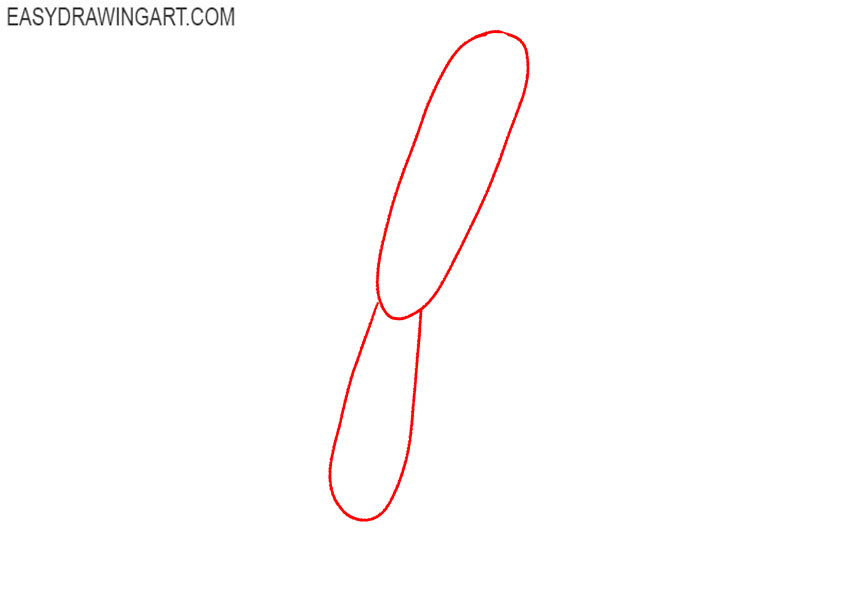
Step 1: Sketch Ferb’s head and torso
Draw two long oval shapes to establish Ferb’s head and torso. Place them along the same slightly tilted axis, making the head narrower and noticeably longer than the body.
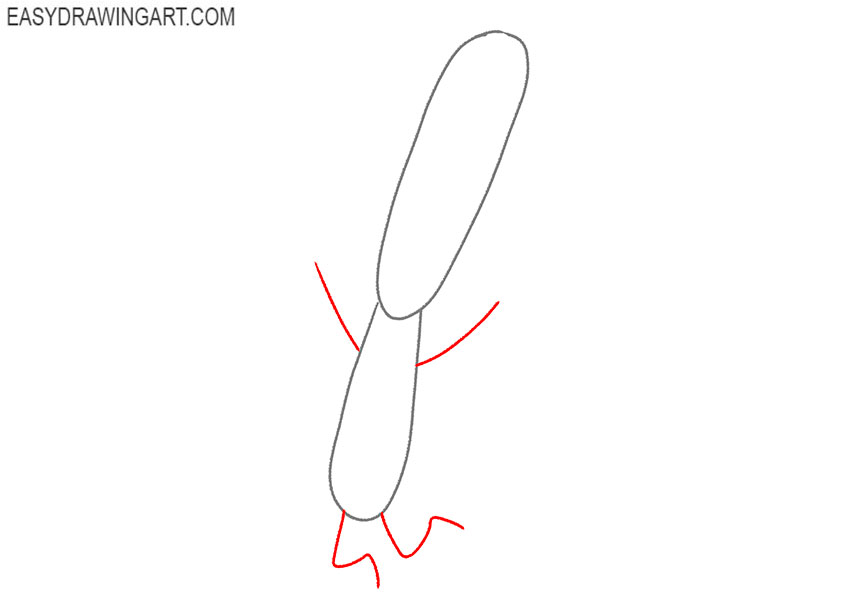
Step 2: Add the cartoon arm and leg guides
Use thin lines to mark Ferb’s raised arms and widely spaced legs. Angle the limb guides away from the torso to establish the open pose of the Phineas and Ferb character.
Step 3: Define Ferb’s hair and facial features
Outline the sides of Ferb’s long head and add several pointed locks of hair at the top. Draw the round eyes, angular nose, and small ear.
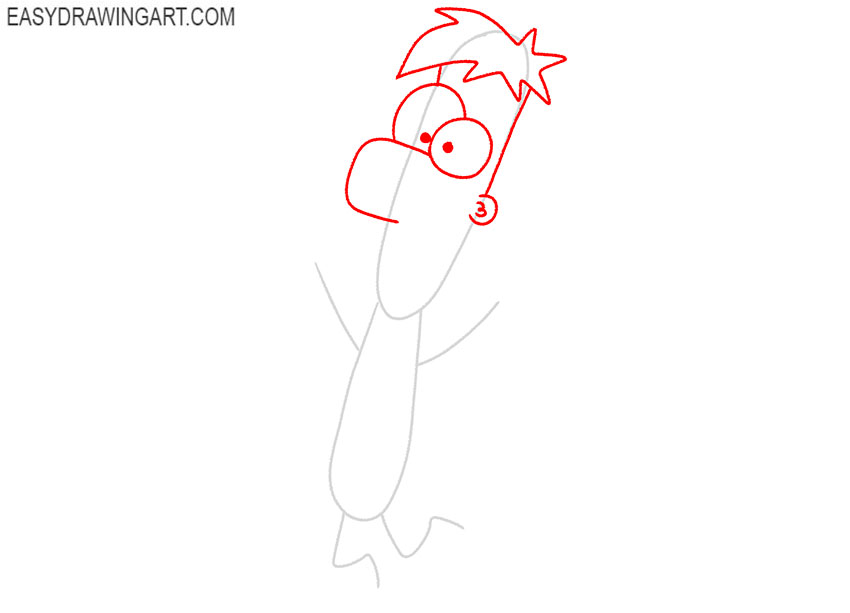
Step 4: Complete the cartoon head and mouth
Continue the head contour downward from the ear and shape Ferb’s narrow jaw and chin. Near the lower part of the face, draw the mouth with a short curved line.
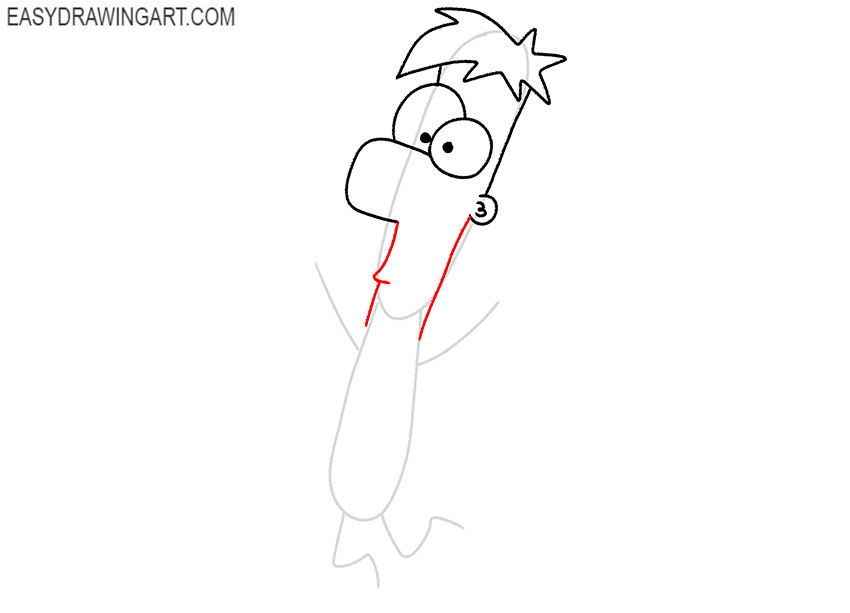
Step 5: Draw the arm and clenched hand
Build the first raised arm around its guide and finish it by drawing the hand. Add the pointed shirt collar and the edge of the short sleeve beside the shoulder.
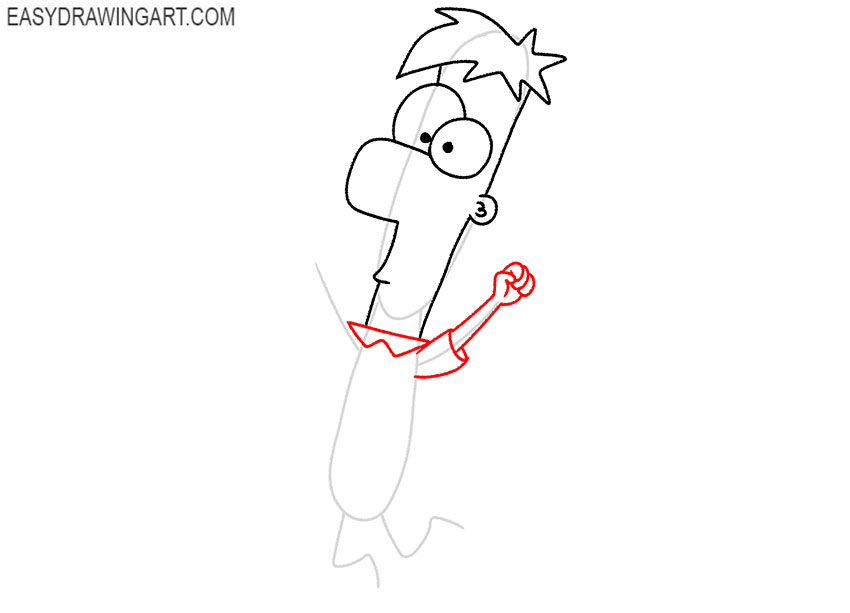
Step 6: Outline Ferb’s second raised arm
On the opposite side of the torso, outline the arm around the guideline. Add its short sleeve and finish the upper end with another compact fist.
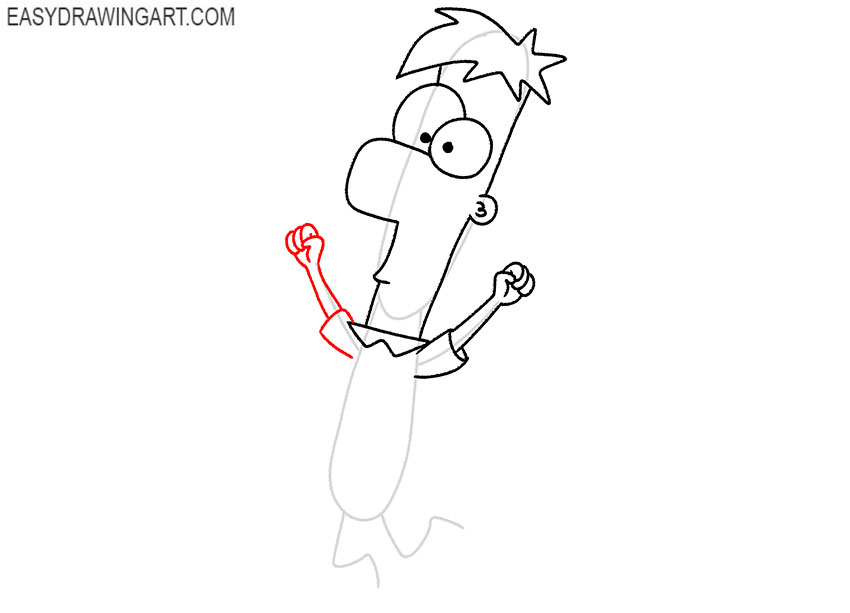
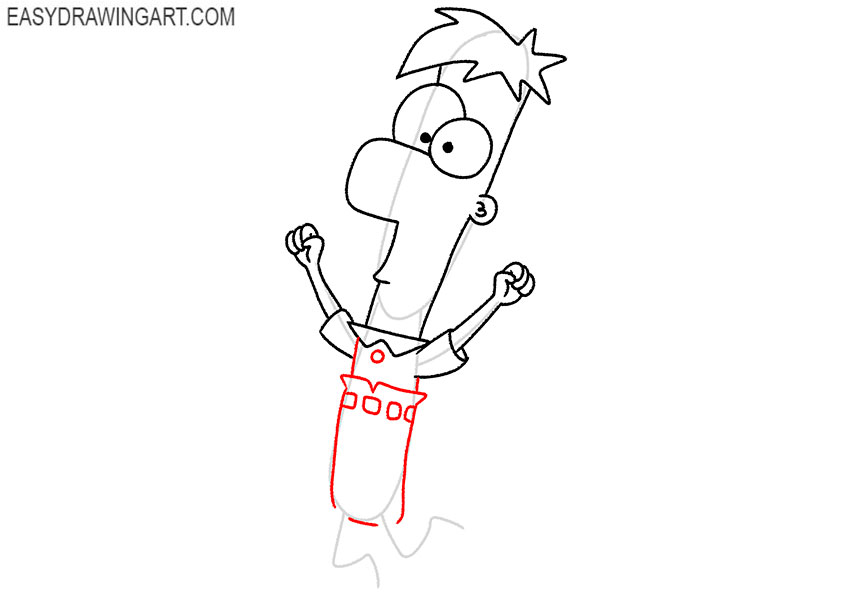
Step 7: Detail the cartoon shirt and belt
Use smooth lines to define the sides and lower edge of Ferb’s torso. Add the small shirt button, then draw the belt as a row of connected rectangular sections around his waist.
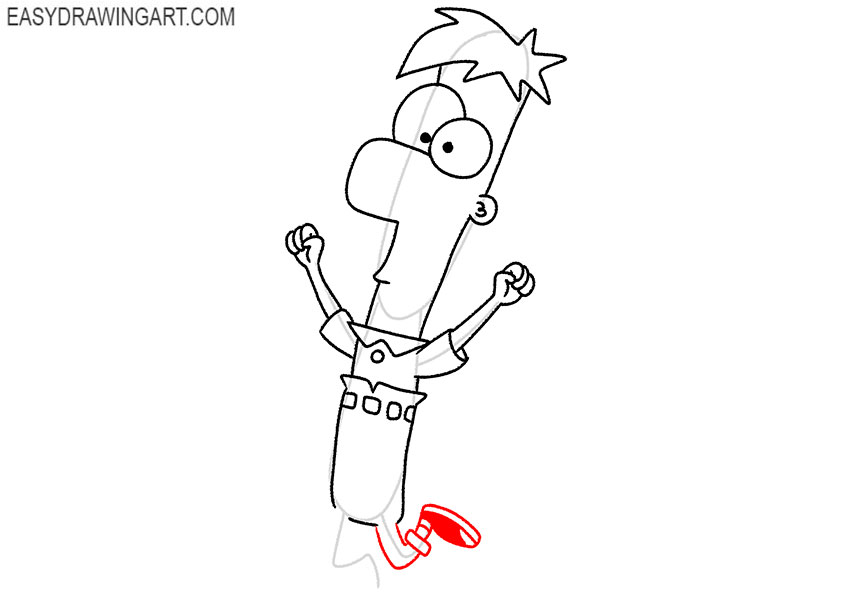
Step 8: Draw Ferb’s first leg and sneaker
Follow the first lower guide to draw the leg of Ferb with a narrow, slightly tapered shape. At the bottom, add a large oval sneaker pointing outward.
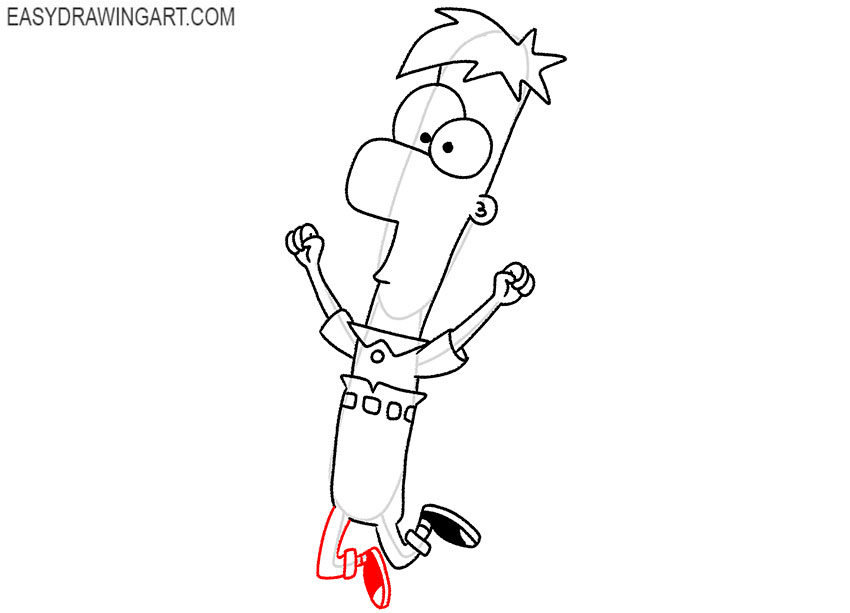
Step 9: Complete the second cartoon leg
Shape the second leg around the remaining guideline, matching the narrow construction of the first. Finish it by drawing the sneaker angled toward the other side.
Step 10: Clean up the Ferb line drawing
Erase the original ovals and the thin guides inside Ferb’s head, torso, arms, and legs. Redraw any interrupted contours so the cartoon character has a clear, continuous outline.

Step 11: Color your Ferb drawing
Color Ferb’s skin light beige and fill his hair with green. Use a pale yellow for the shirt, purple for the pants, dark gray for the belt, and black and white for the shoes.
Now you know how to draw Ferb step by step. Continue with his inventive stepbrother by drawing Phineas.
If you liked this tutorial, then leave a small review in the comments. Subscribe to us on social networks and stay tuned for updates on the site.