How to Draw Arms
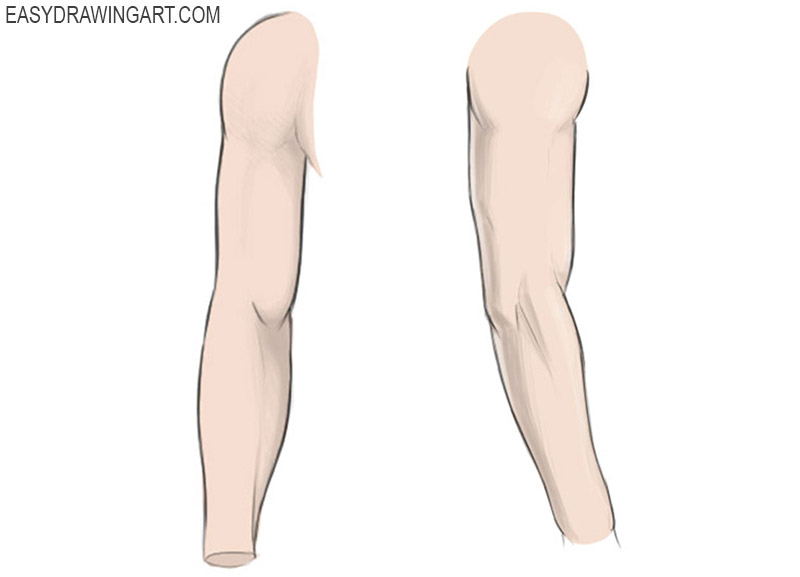
In this super simple instruction, the team of Easydrawingart.com will show you how to draw arms. This instruction is super important if you want to learn how to portray a human.
Step 1
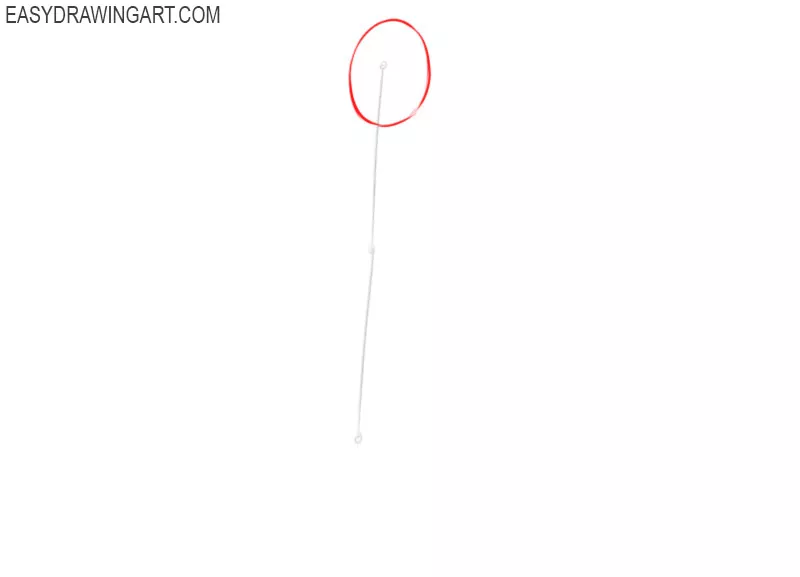
To begin with, depict the base of the arm with the help of two simple lines – one for the upper part and the second for the lower. Depict the joints with small circles.

Step 2
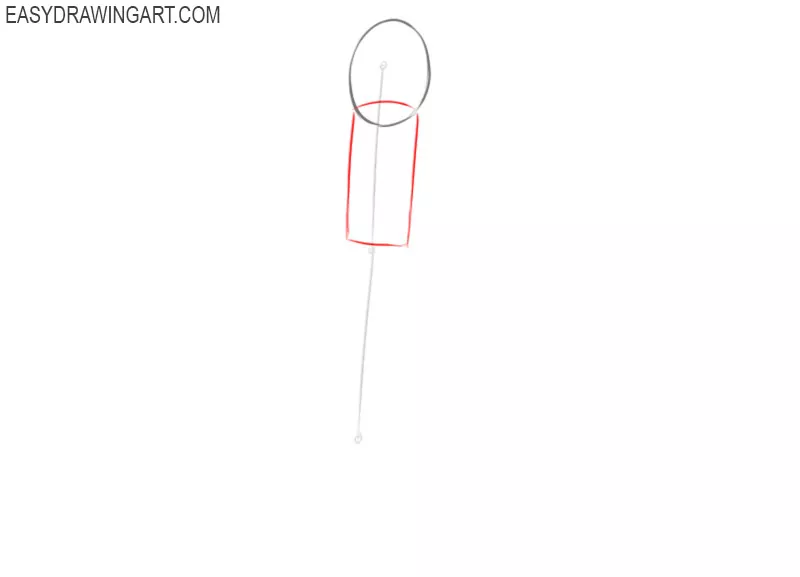
So, let’s now begin to add volume to the arms. First, depict the deltoid as a simple oval. If you want to make a more pumped arm, just make this oval larger.
Step 3
Now let’s portray the upper arm, which consists of triceps and biceps. This part should be depicted as a simple cylinder.
Step 4
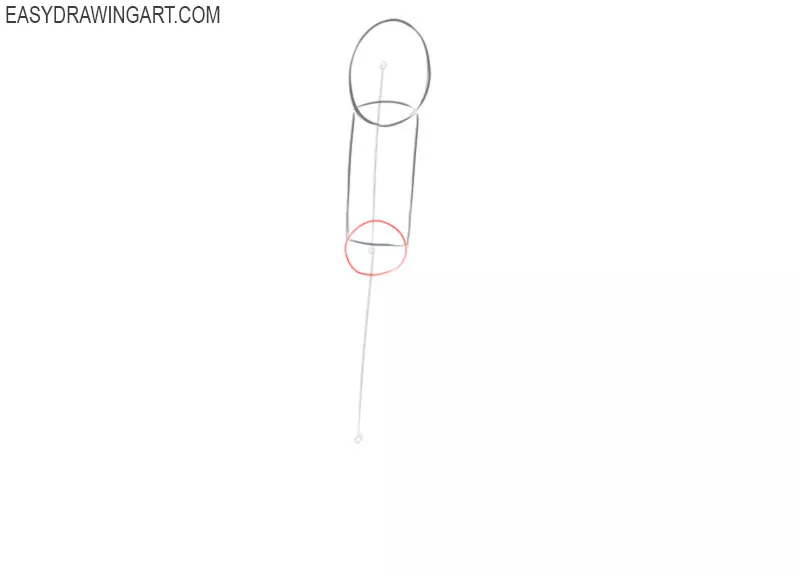
Now let’s depict the elbow joint. Depict this detail as a simple circle. This circle should be noticeably smaller than the circle of the deltoid muscle.
Step 5
So, now it remains only to depict the forearm. This part of the art looks like a cylindrical figure gradually tapering closer to the bottom.

Step 6
The basic contours of the arm are completed, and now it’s time to give it a more regular and voluminous appearance. To do this, smoothly trace everything as the artists of Easydrawingart.com did.

Step 7
Now take an eraser and wipe off the auxiliary lines from the arm. Next, with a darker pencil or ink, trace the arm drawing to make it look more clear.
Step 8
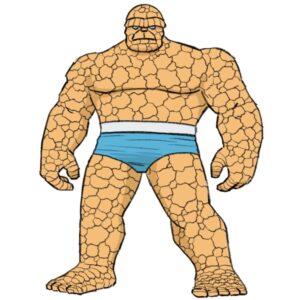
Let’s now paint the arm. For this, you can use both more standard colors and unusual ones, as if you were drawing Hulk or an orc.
So, above the team of Easydrawingart.com showed you how to draw an arm with from the front. Below we show you how to draw an arm from the side.
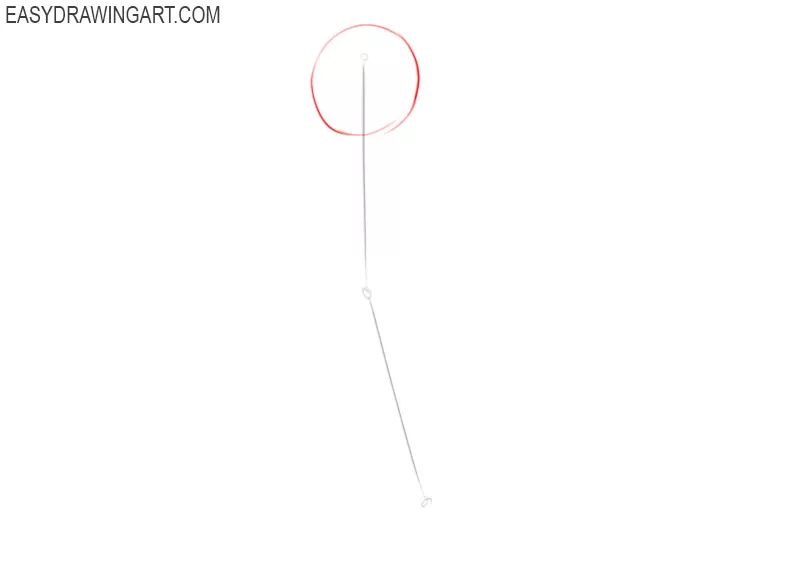
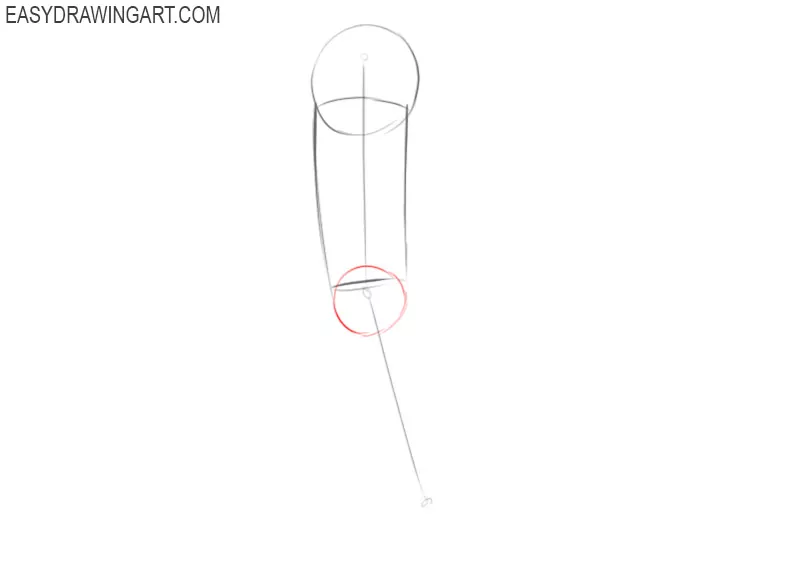
Step 1
So, as in the previous example, we start from the base, that is, from the “skeleton” of the arm. Draw the arm with two simple lines and three small circles for the joints.

Step 2
So, let’s start adding volume to the arm. We will do this exactly as in the first example. Start with the deltoid by depicting it as a simple ball or oval.
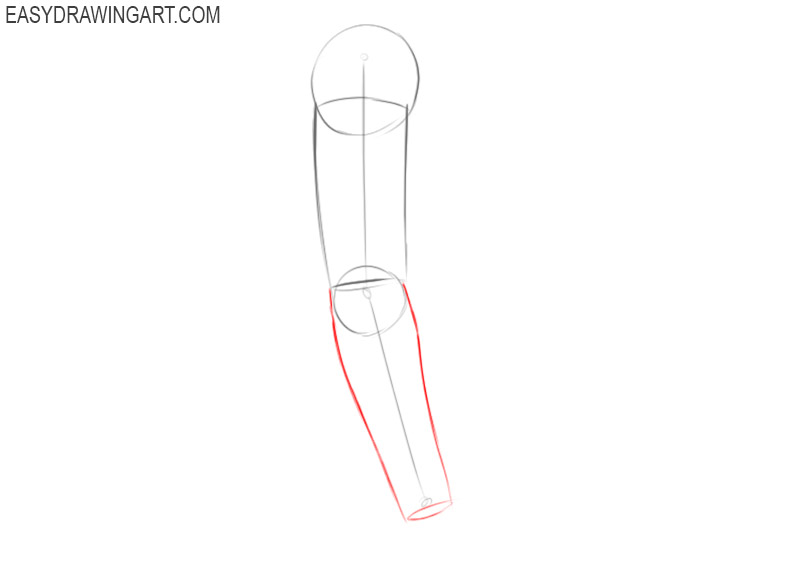
Step 3
Now add volume to the upper part of the arm using a cylindrical shape. If you are portraying a more muscular person, make this detail more plump.
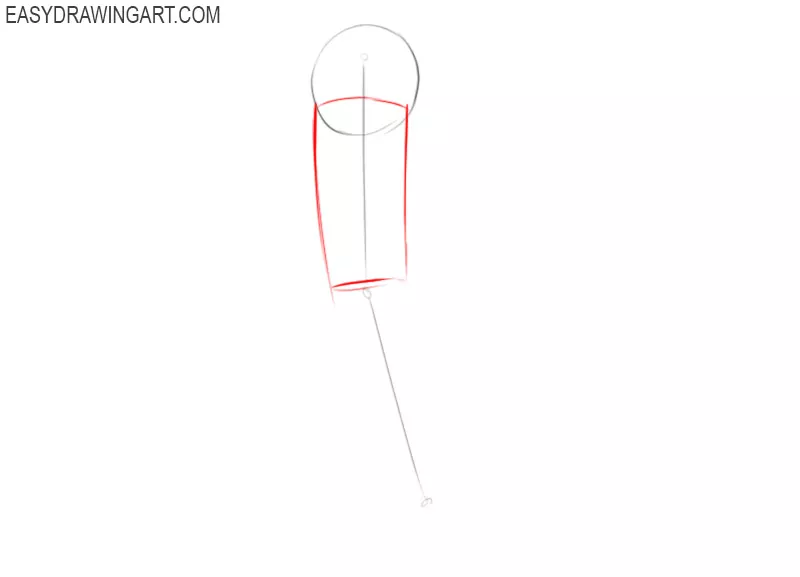
Step 4
Now let’s portray the elbow joint. Here it is also presented as a simple ball. It, as in the first example, should be noticeably smaller than the ball of the shoulder.
Step 5
So, in the fifth stage, we will depict the forearm. It also looks like a cylindrical figure tapering smoothly to the area of the wrist.
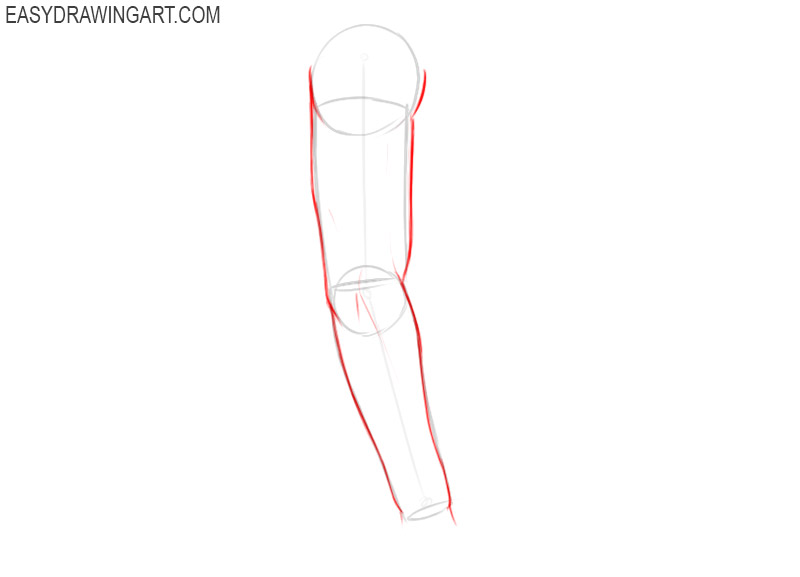
Step 6
Using smooth lines, trace the geometric shapes from the previous stages, drawing the deltoids, biceps, triceps and other muscle groups.
Step 7
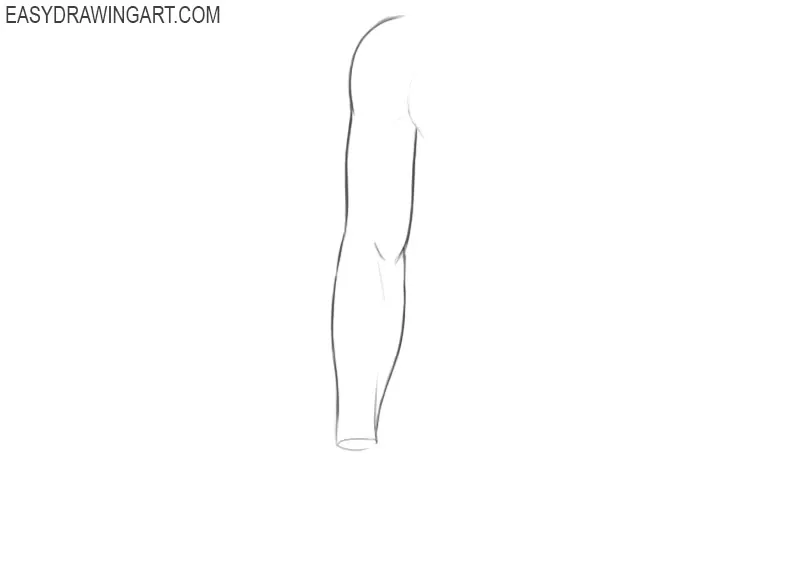
So, now put the pencil aside and grab the eraser, clearing all the guidelines and tracing the drawing so that it looks clear and voluminous.
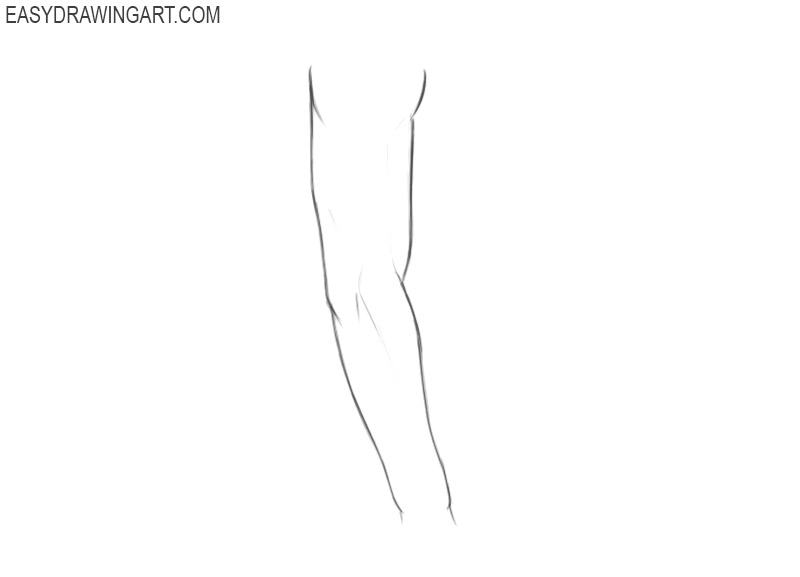
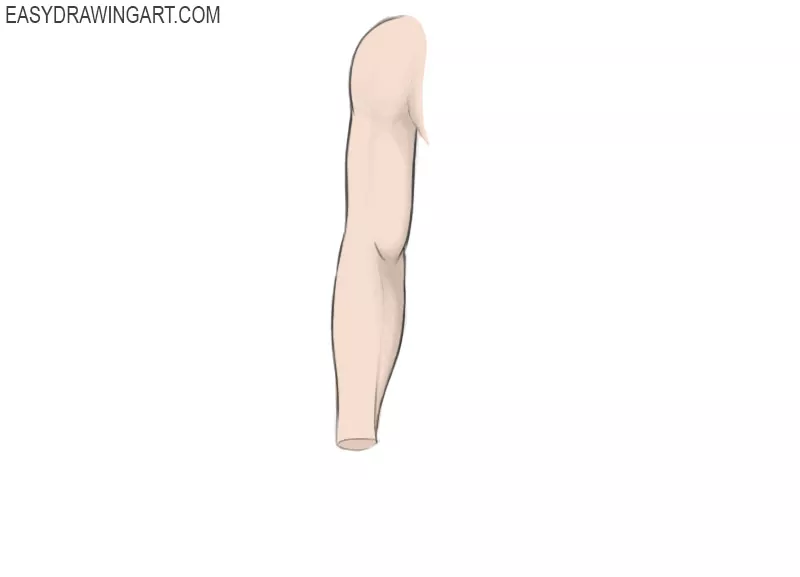
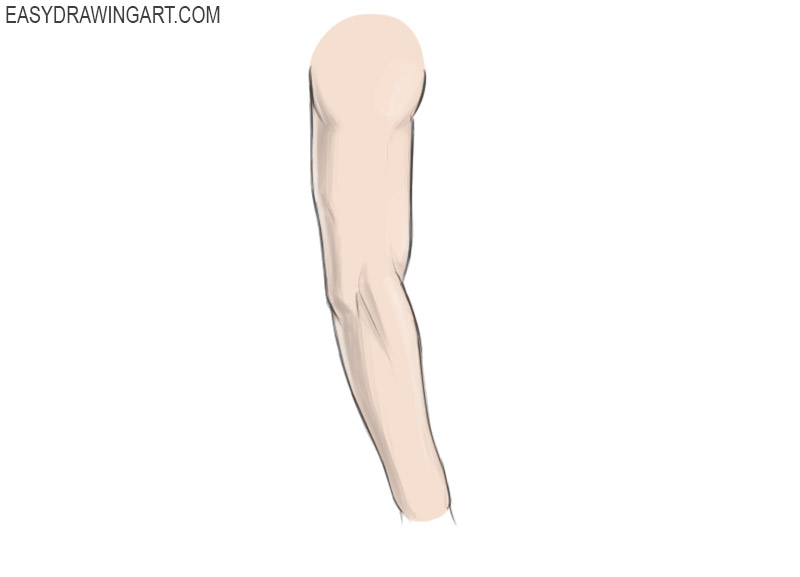
Step 8
So, now take the skin colors and paint the arm. Add shadows and highlights, as in the example from the artists of Easydrawingart.com, so that the arm drawing looks more voluminous. So, the instruction on how to draw arms came to an end.
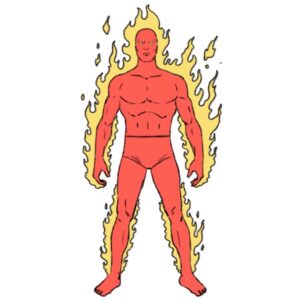
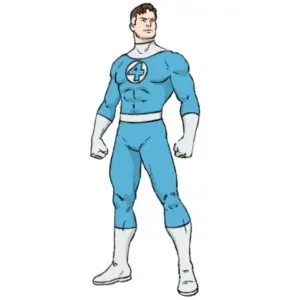
So, now try to apply the instruction on how to draw arms in order to portray the full body of a human. And write to us your opinion, because it is very important for the Easydrawingart.com team.


Wow