How to Draw a Trumpet
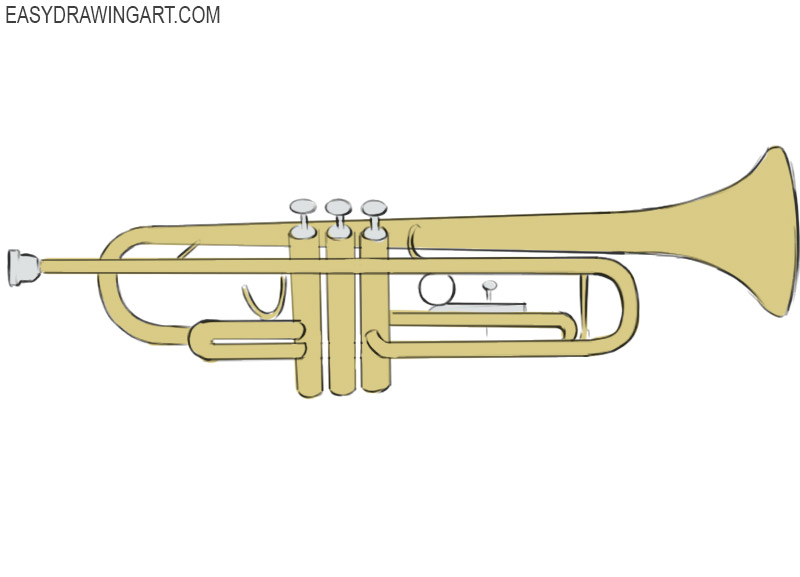
A trumpet is one of the best-known brass musical instruments. In this tutorial, you will learn how to draw a trumpet step by step.
This drawing shows a classic trumpet with its long tubing, three valves, and wide flared bell. The instrument is drawn from the side, so each of its main parts easy to sketch.
Step by step, you’ll draw a detailed musical instrument with its characteristic brass instrument shape.
Time needed: 1 hour
How to Draw a Trumpet
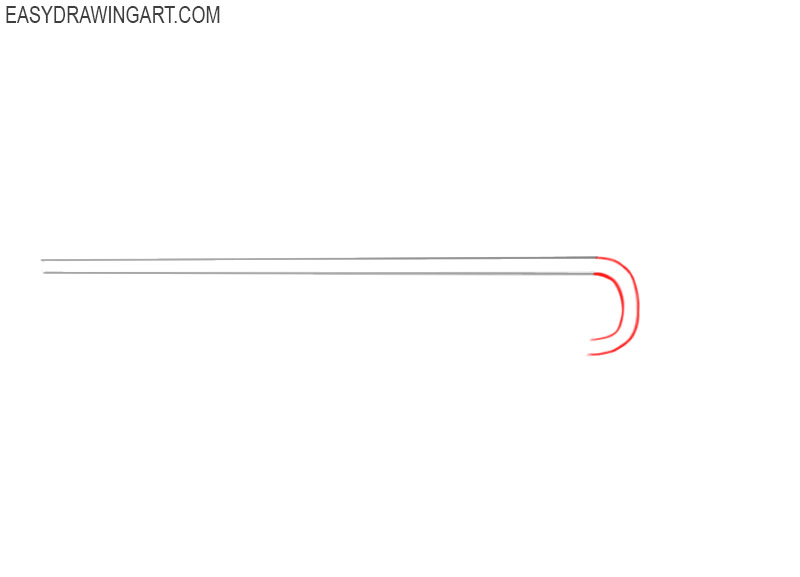
- Draw the narrow tube.
To complete this step, you need to draw two identical horizontal straight parallel lines, as shown in the figure.

- Continue drawing the narrow tube.
From the two ends of the previously drawn straight lines on the right side, draw two curved lines of different lengths.
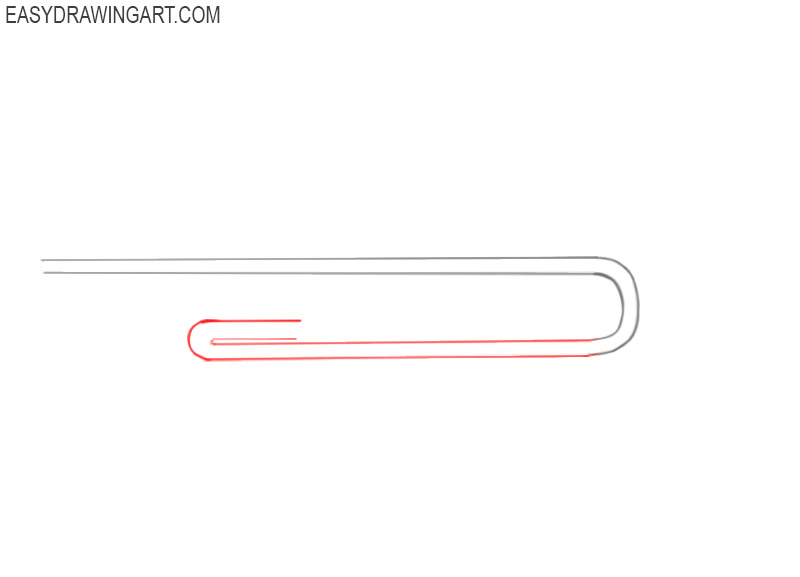
- Depict another part of the narrow tube.
From the two ends of the curved lines, add two straight horizontal parallel lines, and then round them and draw two more lines.
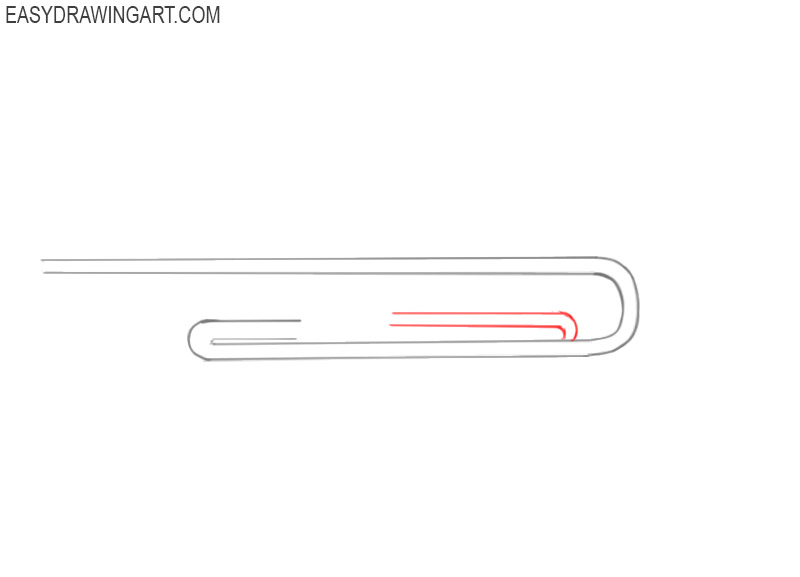
- Add another trumpet element.
Draw two straight, parallel horizontal lines, and then draw two short, curved lines from their ends.
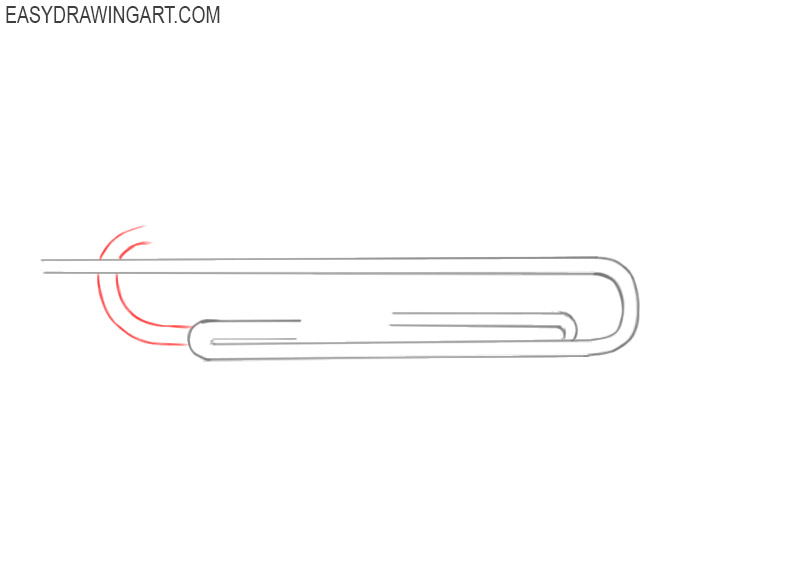
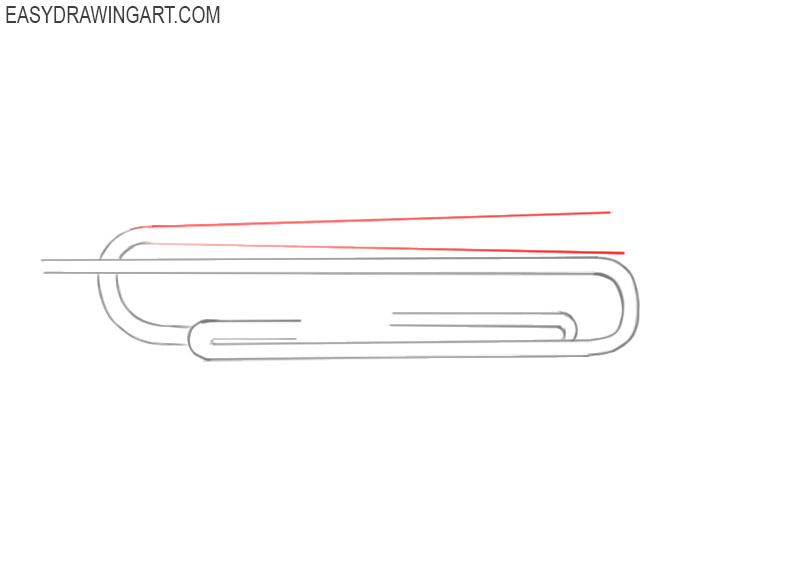
- Sketch out the trumpet element on the left side.
Depict several arcs of different sizes on the left side of your drawing, as shown in the sample.
- Start drawing the wider part of the trumpet.
From the two ends of the previously drawn arcs, draw two straight lines diverging in different directions.
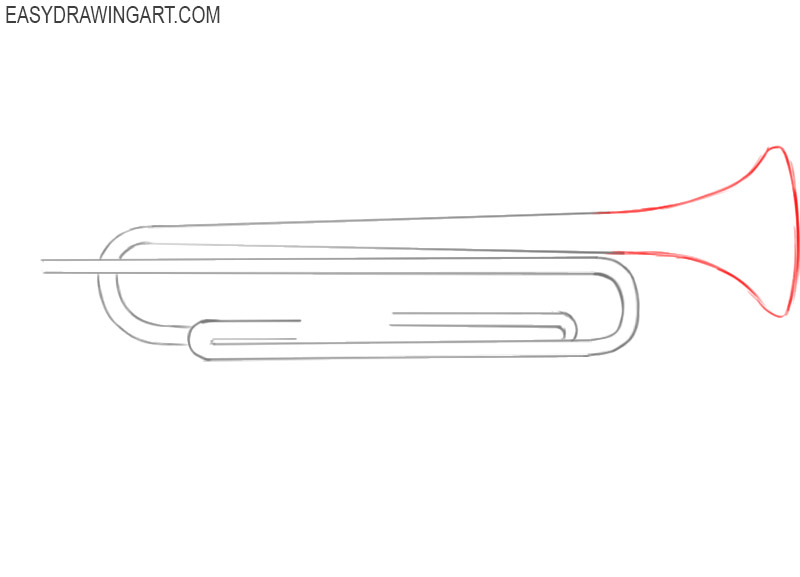
- Depict the bell.
From the two ends of the previously drawn straight lines, draw curved lines, and then connect their ends with an arc.
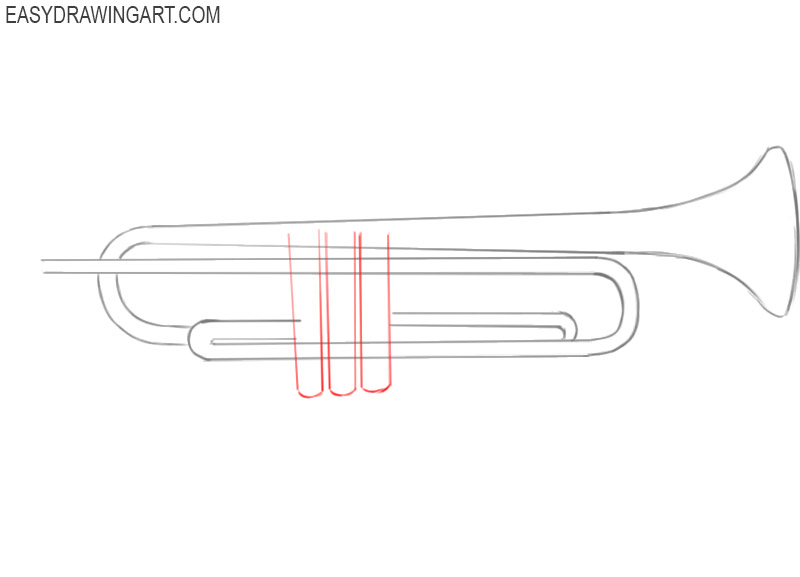
- Add the valve train.
Depict three similar figures by drawing several straight vertical lines for this and connecting them with arcs.
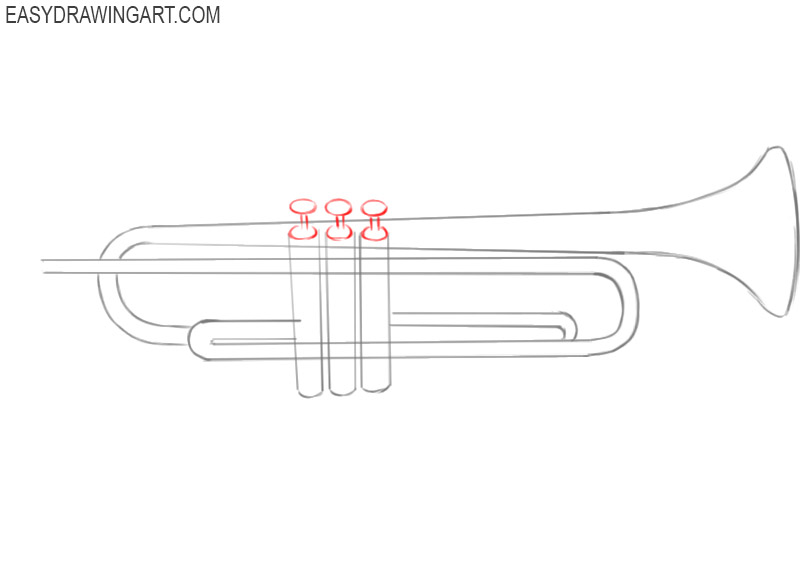
- Sketch out the upper part of the valve train.
Near the top points of the previously drawn straight lines, draw ovals and incomplete ovals and connect them with straight lines.
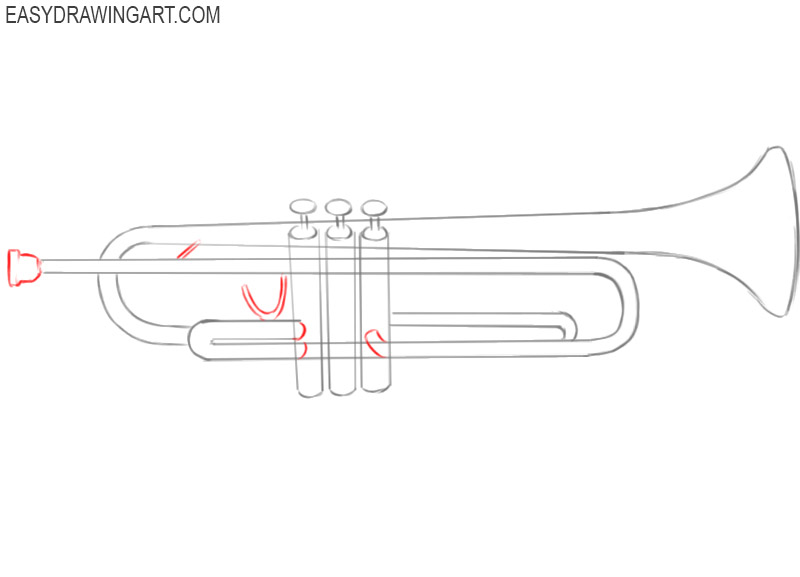
- Draw the mouthpiece and other elements.
Now you should add some straight and curved lines, as well as arcs of different sizes, as shown in the picture.
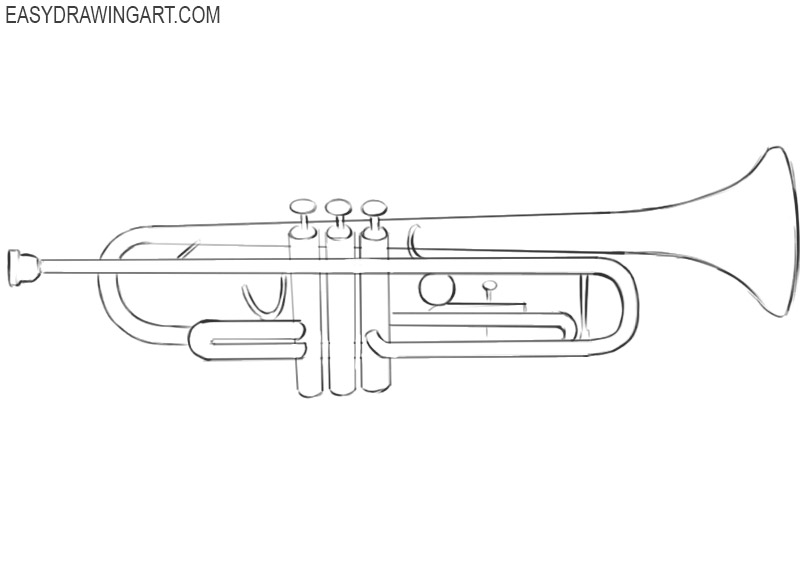
- Correct inaccuracies.
At this stage, your drawing is almost ready, but you should remove some guidelines with the eraser.
- Color the drawing.
To color the trumpet, you should use gray as well as beige and gray.

Great work! This is the end of this fascinating and very useful drawing lesson, in which we told you how to draw a trumpet step by step. We hope you found this tutorial helpful and that you had a great time. We look forward to your comments to see if you enjoyed this tutorial. Be sure to check out our other tutorials posted on this site.