How to Draw a Room
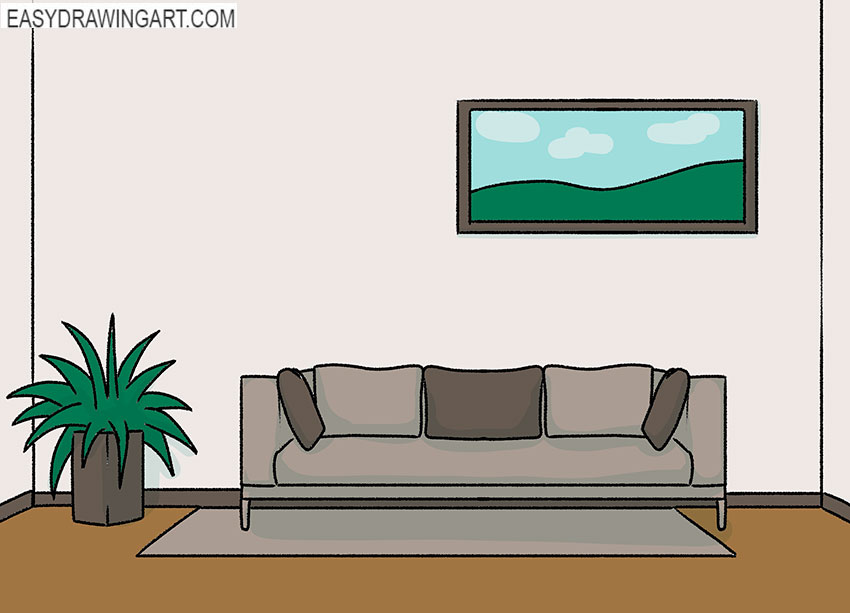
We are pleased to present you a simple instruction on how to draw a room. You will need the acquired skills in the future when you want to draw the interior of any room.
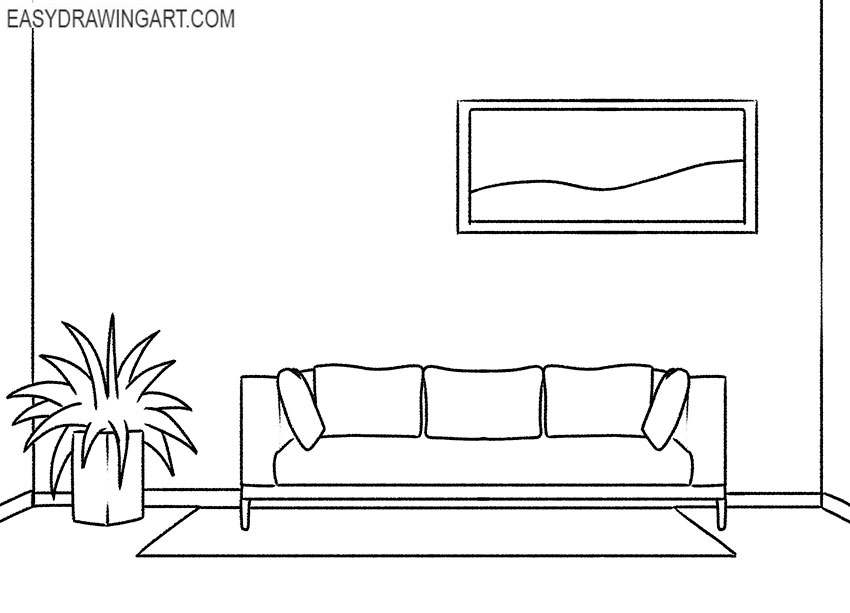
The figure shows a part of the room where a wide sofa is located. On the floor there is a carpet of the same color as the sofa.
As an addition to the interior design, a picture on the wall and a plant in a high planter were used. Be careful and remember all the drawing steps.
Step 1: Prepare the room drawing guidelines
Use straight lines to outline the corner where the walls meet the floor. Sketch the floor edges and wall boundaries lightly so the perspective stays clean while you build the rest of the room drawing.

Step 2: Draw the room furniture layout
Lightly mark the sofa, carpet, and floor planter with simple guide shapes. Add several curved strokes for the plant so every interior element is positioned before refining the furniture.
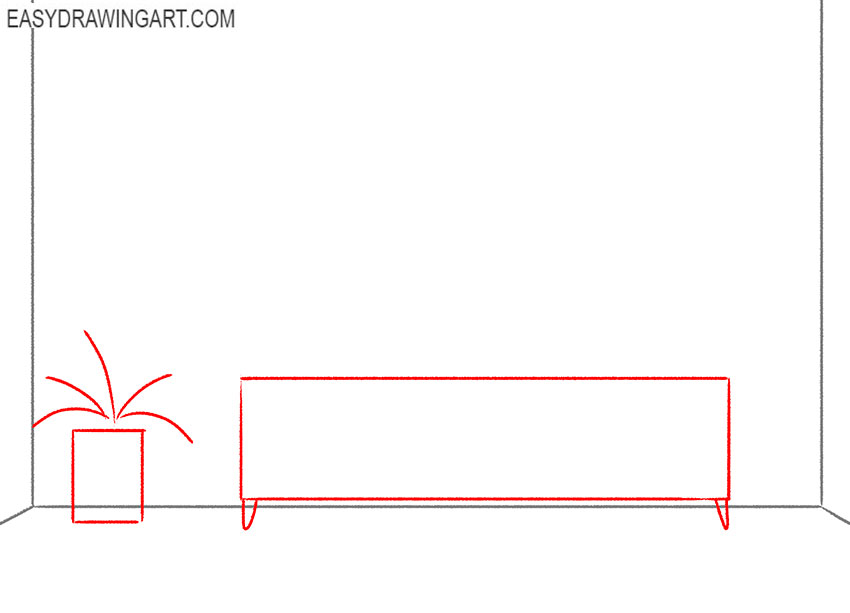
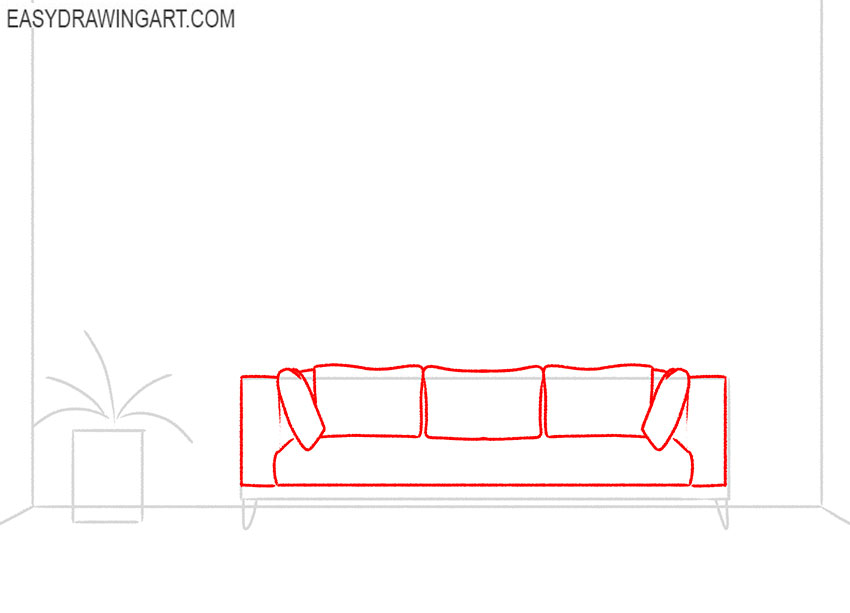
Step 3: Draw the living room sofa
Follow the guide lines to draw the couch. Draw the seat, armrests, and backrest, then add the cushions with soft contour lines so the furniture looks believable inside the room.
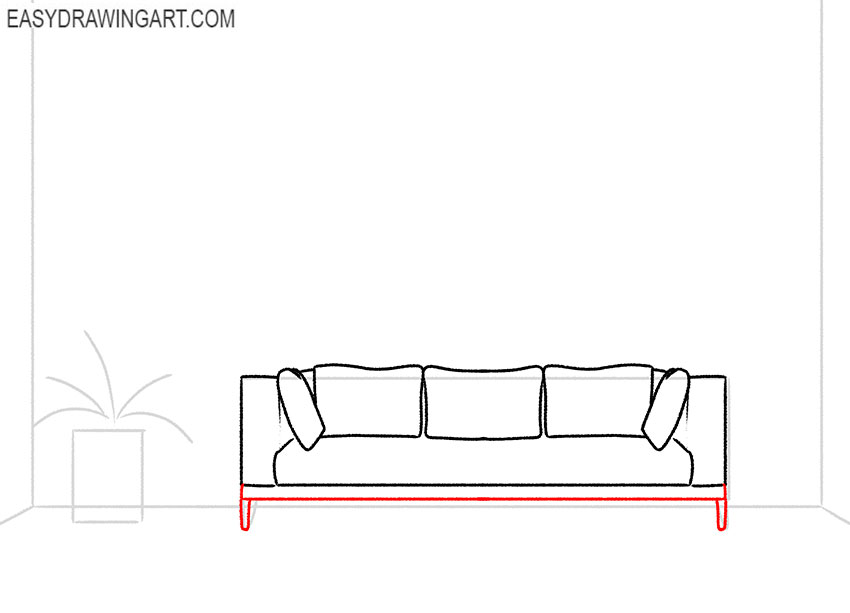
Step 4: Add the sofa base
Draw the long strip along the bottom of the couch, then add the two narrow legs beneath each end. Keep these lines straight so the sofa sits realistically on the floor.
Step 5: Draw the room carpet
Use straight lines to outline the carpet beneath the sofa. Give it a trapezoid shape that follows the room perspective and fits neatly between the furniture and the front edge of the floor.
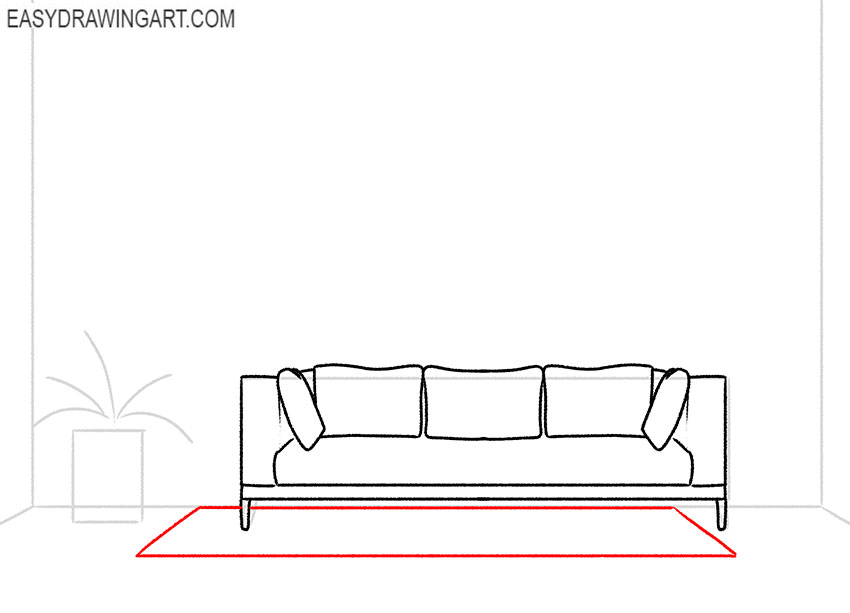
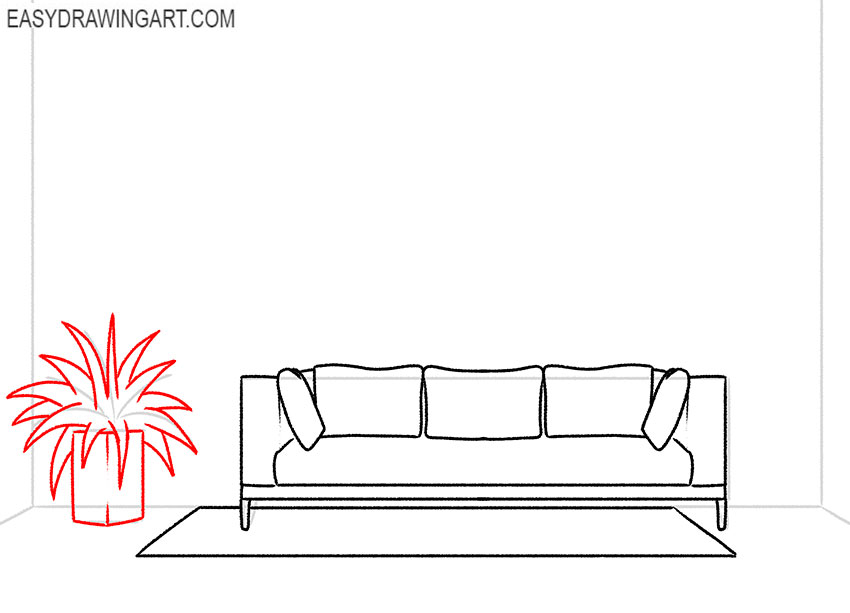
Step 6: Draw the floor plant
Outline the planter with straight lines, then fill it with long, pointed leaves using curved strokes. Vary the direction of the leaves slightly to give the indoor plant a fuller appearance.
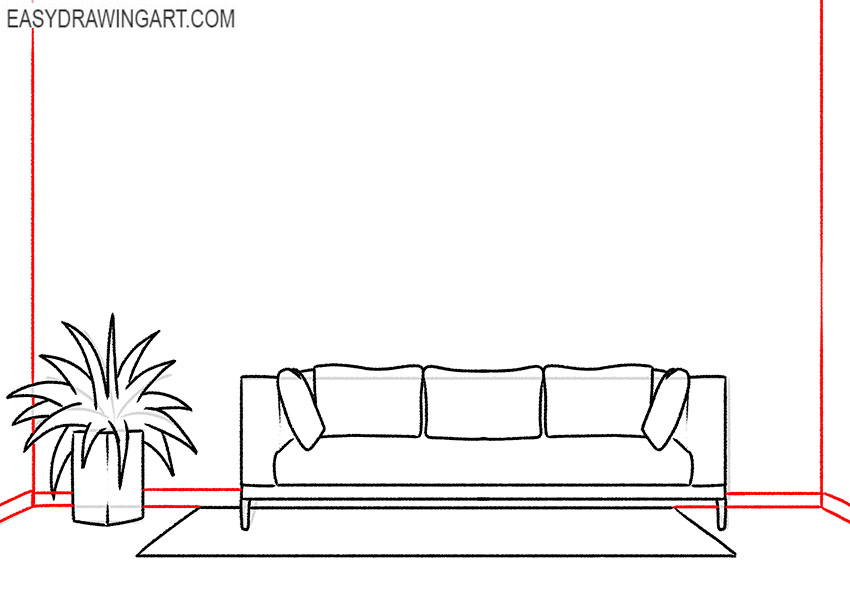
Step 7: Refine the room walls
Trace the wall and floor edges with clean straight lines, then add the baseboard along the bottom of the walls. Strengthen the perspective lines. Keep the room layout simple and neat.
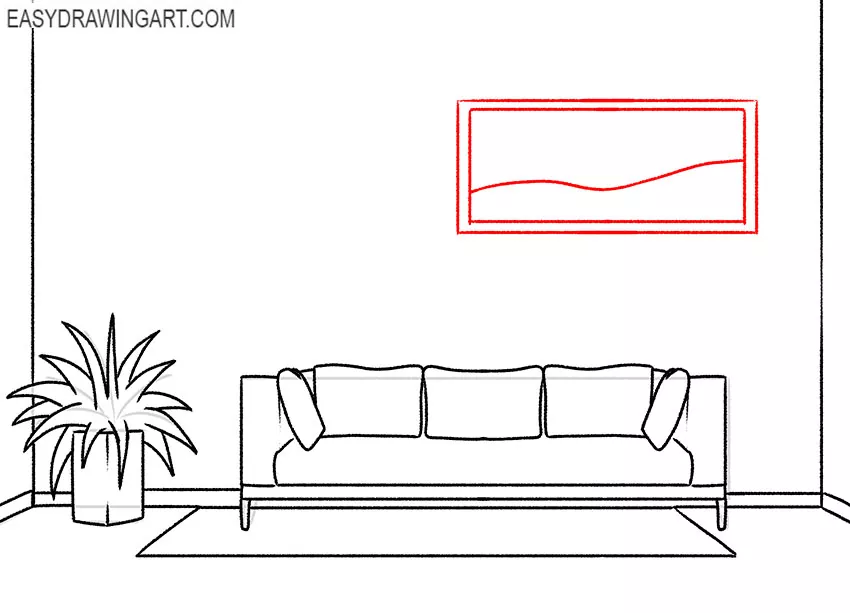
Step 8: Draw the wall picture
Draw a rectangular picture frame above the sofa, then add a single flowing curved line inside it. Keep the frame parallel with the wall so it matches the room perspective.
Step 9: Clean up the room sketch
Erase the construction lines that are no longer needed, leaving only the final outlines of the furniture and interior details. Touch up any remaining lines before moving on to coloring.
Step 10: Color the room drawing
Color the walls blue and the floor brown. Fill the sofa, carpet, and picture frame with gray, then use green for the plant to complete this simple living room drawing.
Your room drawing is finished. If you’d like to practice more perspective-based objects, continue with drawing a house or try drawing a table to build more interior and architectural drawing skills.
Great! Now you have mastered another interesting and useful lesson. You can additionally practice and draw several similar drawings using the same drawing principles. Follow us on social media if you haven’t already.