

How to Draw Stitch
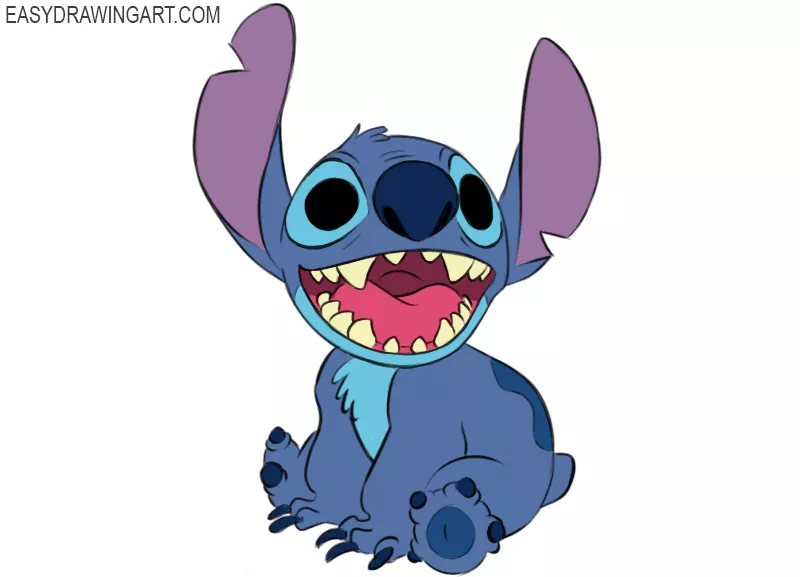
Now, you will learn how to draw Stitch with this simple tutorial. This guide consists of a few really easy steps.
His unusual appearance combines features of a koala, a rabbit, and a puppy.
Stitch can also change his appearance by retracting his second pair of arms or extending the spines on his back and his antennae.
By following the easy steps of this tutorial, you’ll draw Stitch with his iconic features.
Time needed: 1 hour
How to Draw Stitch
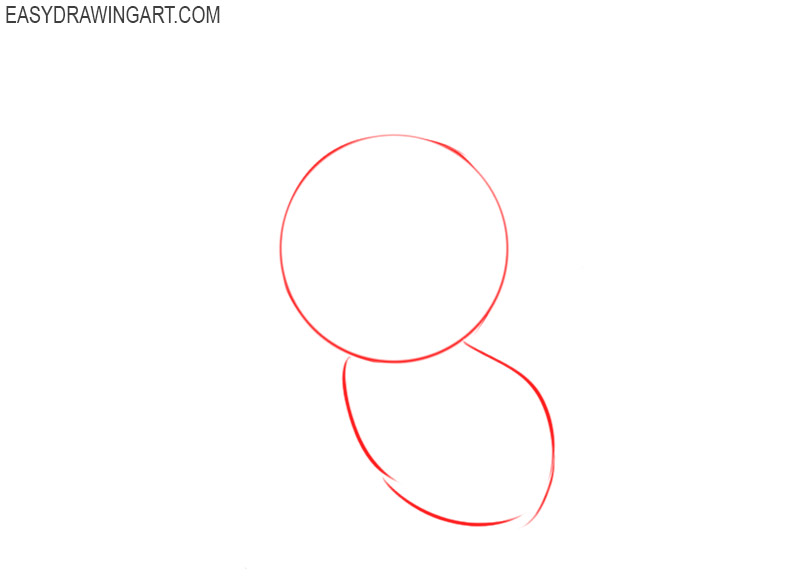
- Draw the main outlines.
Determine the location of the head and torso. To do this, draw a circle and add an oval shape at the bottom. At the initial stage, use only thin lines.

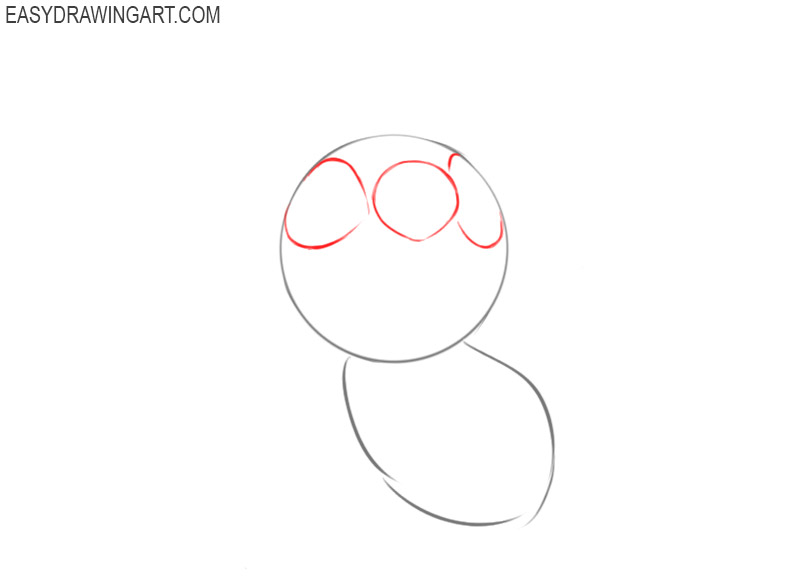
- Depict the outlines of the eyes and nose.
At the top of the head, draw three rounded shapes. Arrange these figures approximately on the same level.
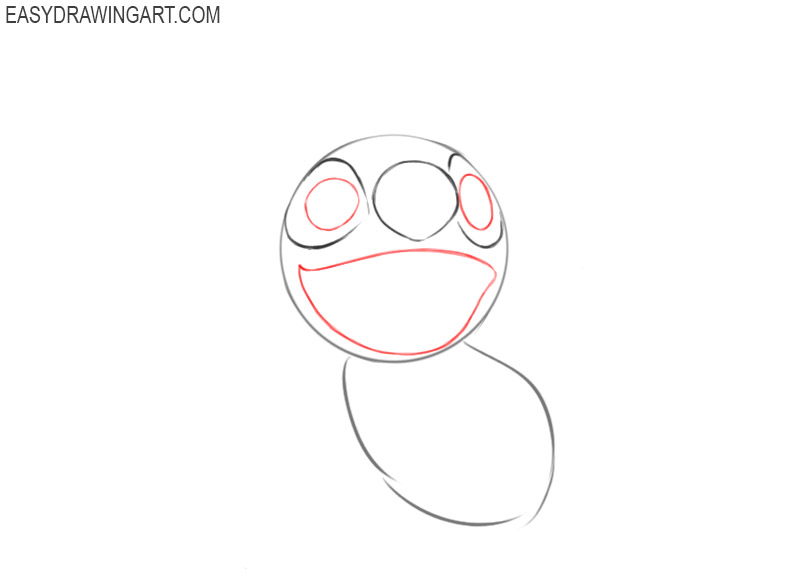
- Add the inside of the eyes and mouth.
In each eye, add circles to represent the iris. With smooth lines draw an open mouth, which occupies almost the entire lower part of the head.
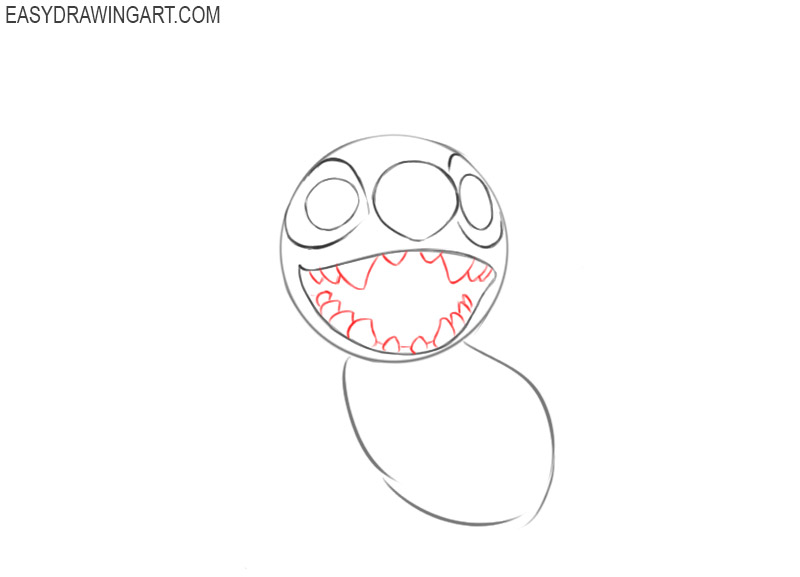
- Sketch out the teeth.
Sequentially draw pointed teeth on the upper and lower jaws. The teeth are of different sizes and arranged symmetrically.
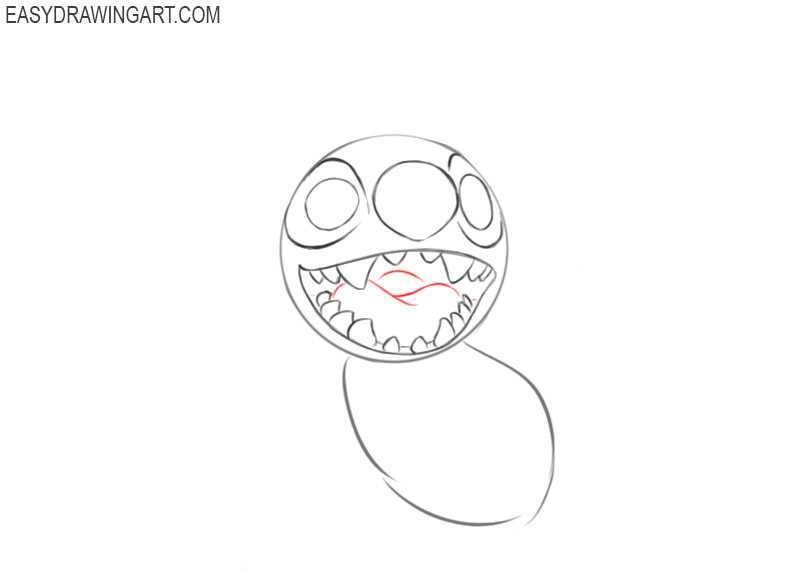
- Depict the tongue.
Now you need to depict the inside of the mouth. Draw a few smooth, curved lines to represent the tongue in the mouth.
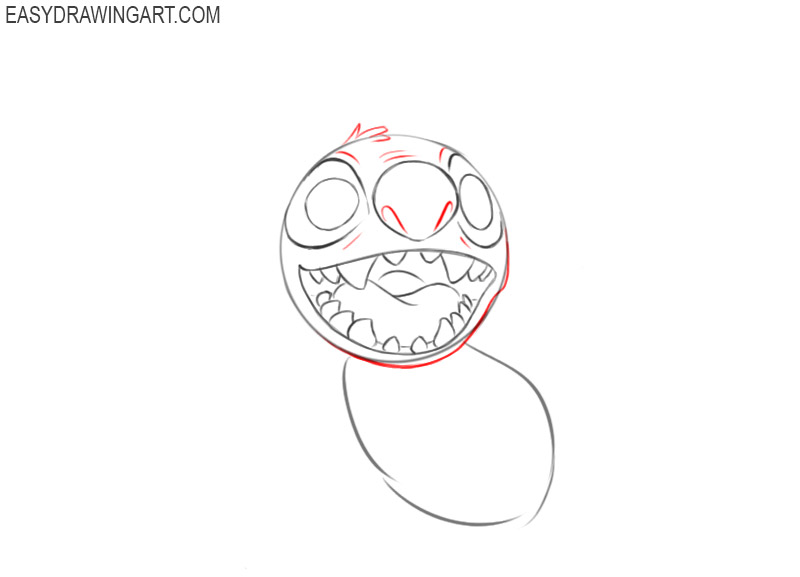
- Add the rest of the elements on the head.
Correct the oval of the face and make the outer contour clearer. Add the nostrils, skin folds, and the small tuft of hair at the crown.
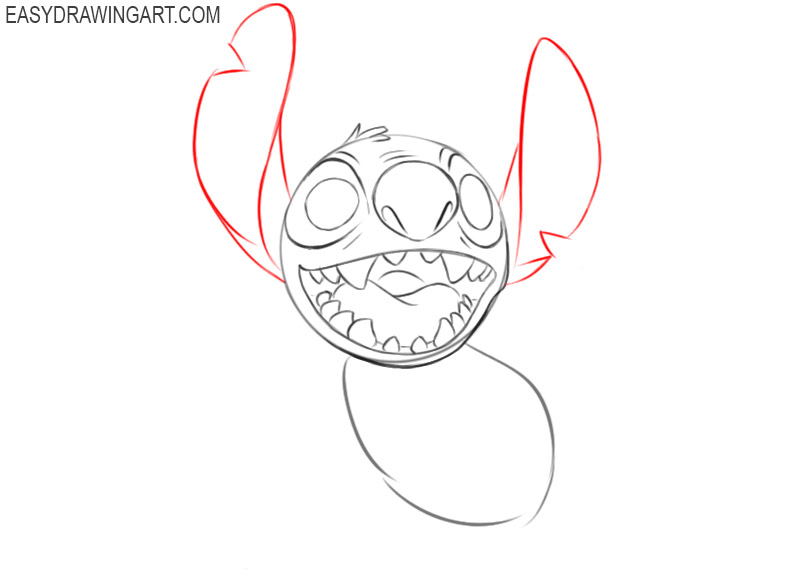
- Draw the ears.
Stitch has big ears that are turned up. Use smooth lines and add small notches along the outer edge. In this step, be careful and try to keep the proportions.
- Depict one back leg.
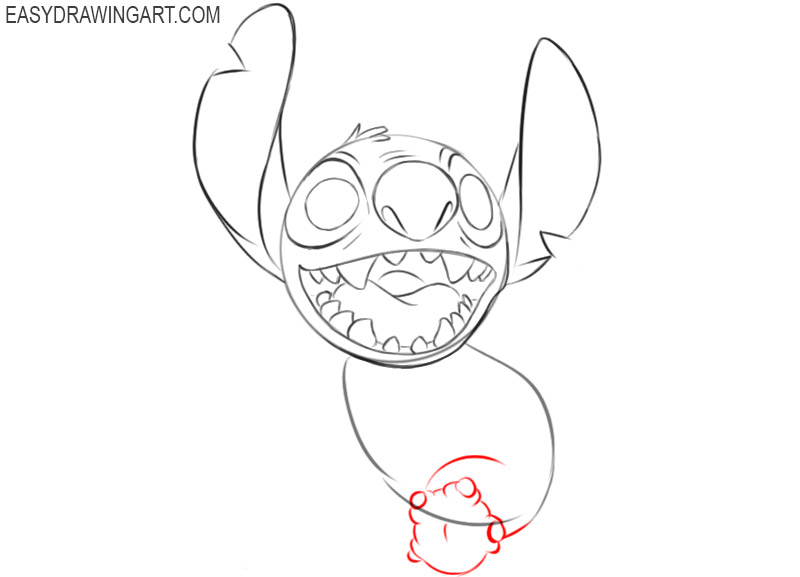
In the lower part of the torso, draw a smooth curved line and draw the foot. Depict the short wide fingers and small round claws.
- Sketch out the tail and upper parts of the front paws.
In this step, you have to draw a few small lines. The main task is to correctly depict the position of the front paws. On the side, add the short tail.
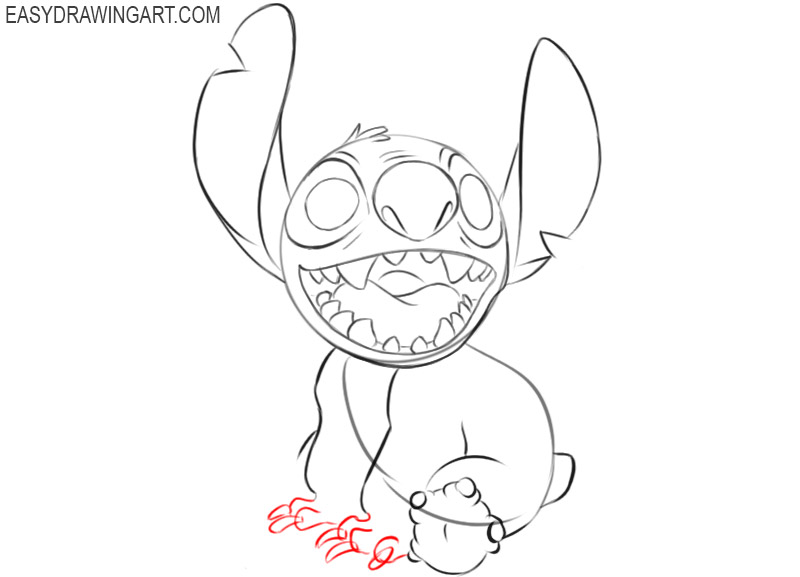
- Depict the lower parts of the front paws.
Use curved lines to draw the toes on the front paws. Then add the long claws on the fingers.
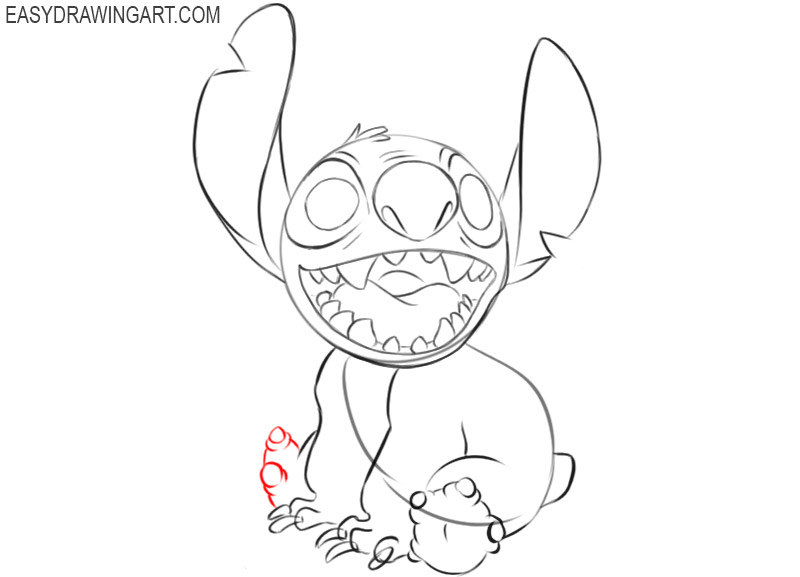
- Add the second hind leg.
On the side of the body, add the second hind leg. Draw two short fingers and claws, just like you did in step 8.
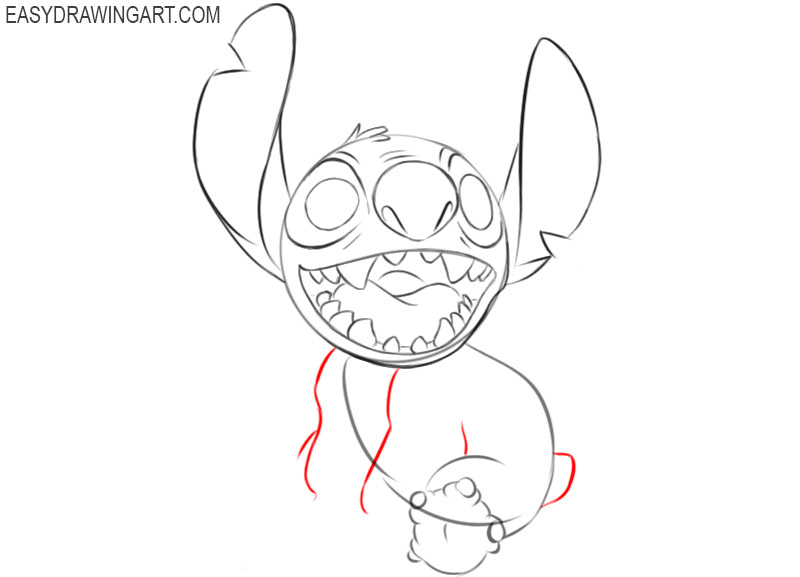
- Detail the color.
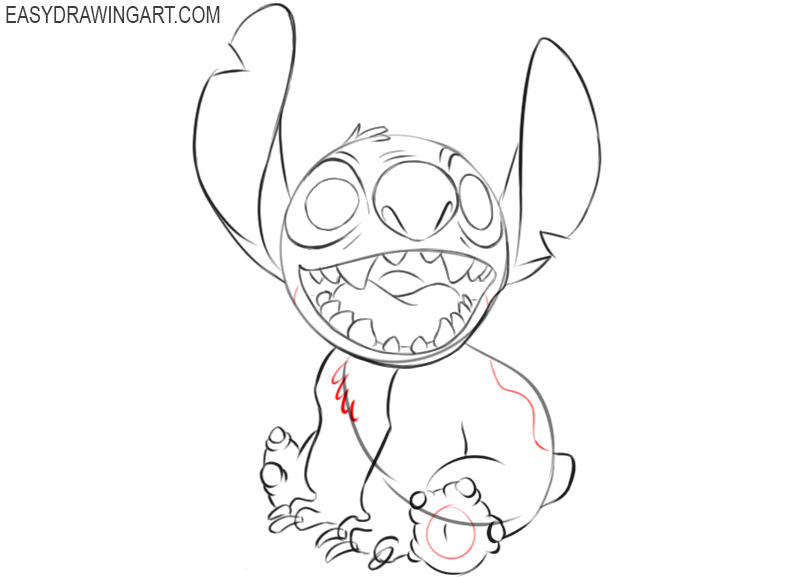
Highlight areas where the color will be different. To do this, draw a wavy line on the chest and a smooth curved line on the back.
- Prepare the drawing for coloring.
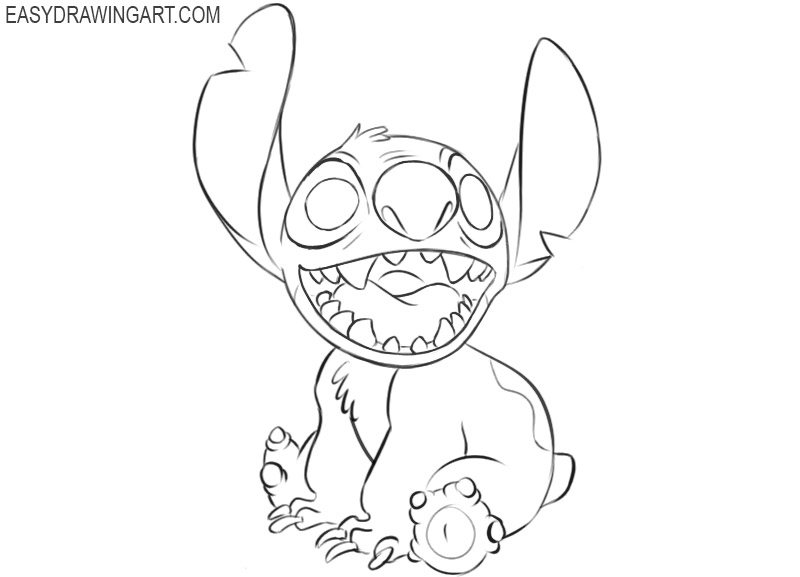
At this point, you have drawn all the main contours, and it remains only to correct inaccuracies and remove all unnecessary lines. Do this carefully so as not to accidentally touch important lines.
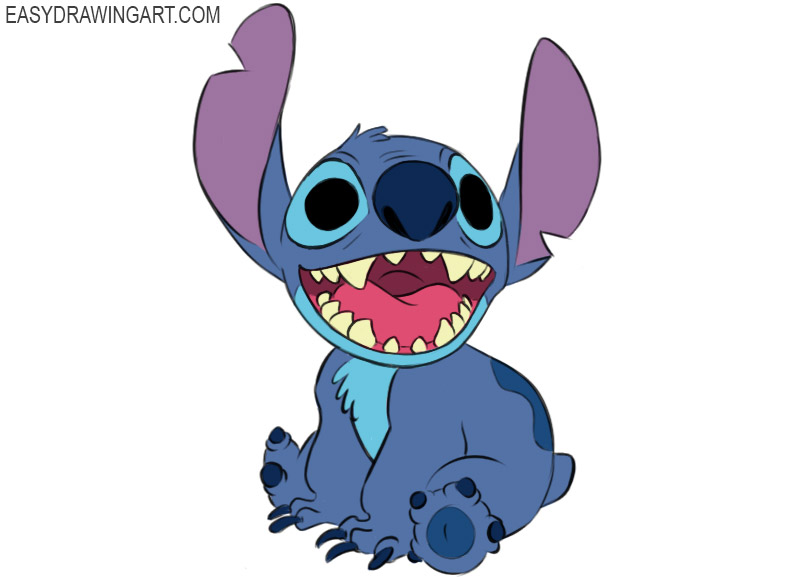
- Color the Stitch.
For coloring, use several bright colors—blue, blue, and purple. You will also need black, burgundy, and pink.
We hope that you have made every effort and patiently completed all the stages of drawing. This job was a great exercise for your creativity. If you do not want to stop there, then follow the other lessons presented on this site. Subscribe to us on social networks and follow the news.


varey helpful