How to Draw Forky
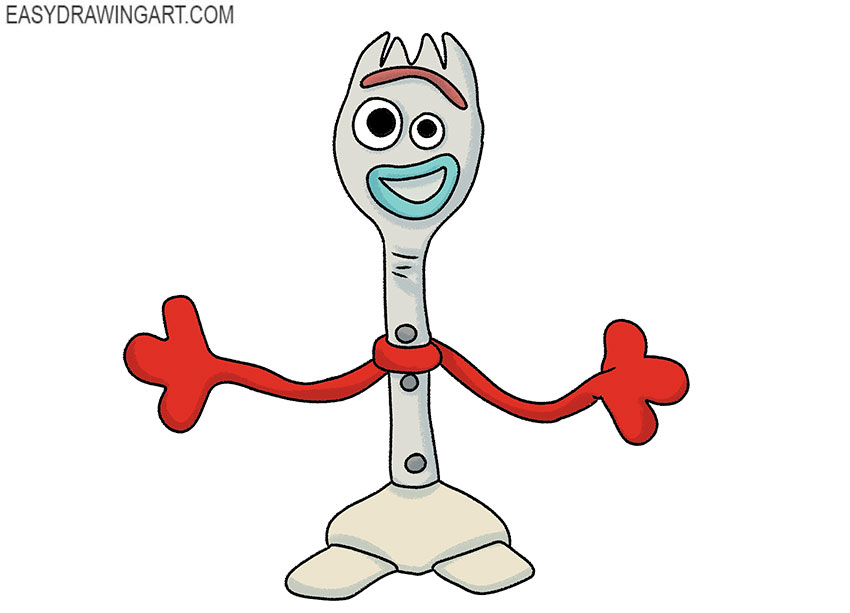
If you enjoy drawing unusual characters, we recommend learning how to draw Forky. He is one of the characters from the Toy Story animated film series and also appears in the video game.
Forky is a white plastic fork with bulging eyes of different sizes, a mouth made of blue modeling clay, and an eyebrow made of red modeling clay.
His legs are made from the two halves of a popsicle stick, while his arms and hands are made from a red pipe cleaner. The character has a very unusual appearance.
Step 1: Sketch Forky’s basic head and body guide
Begin Forky’s construction with a broad oval for the spork-shaped head. From its lower edge, extend a straight vertical line downward to mark the center and length of the body.

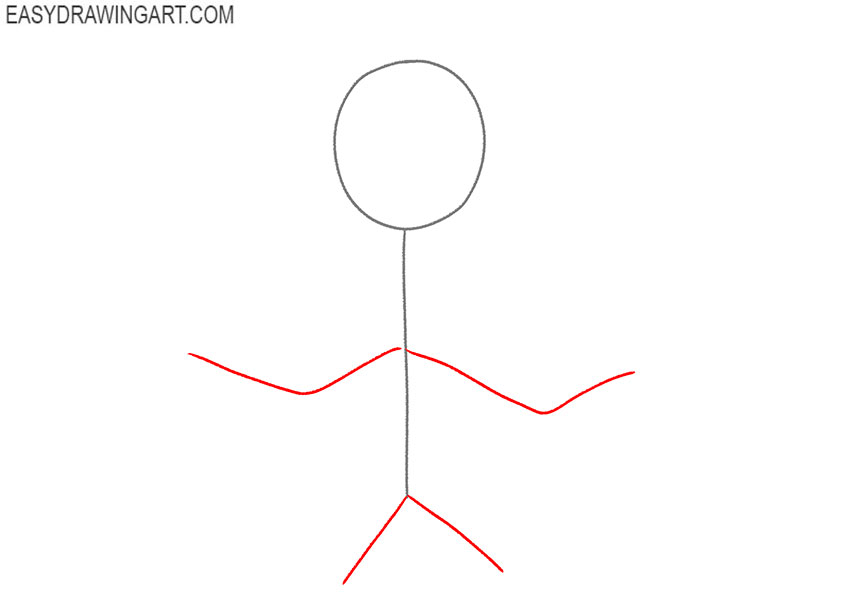
Step 2: Mark Forky’s arms and legs
Add thin straight guides for Forky’s outstretched pipe-cleaner arms. Draw two shorter lines beneath the body to establish the placement and direction of the Toy Story character’s legs.
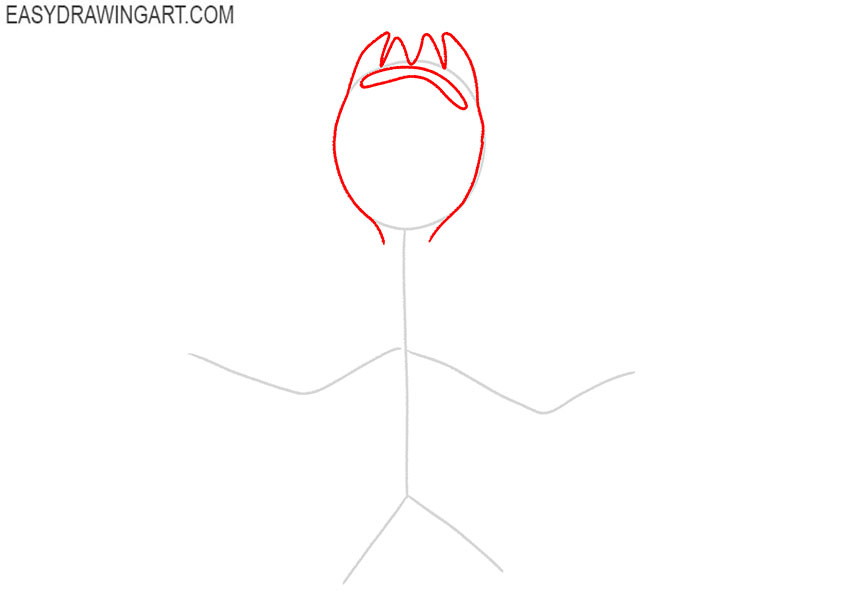
Step 3: Define the spork head and eyebrow
Replace the top of the oval with four rounded spork prongs and clarify the curved sides of Forky’s head. Above the face, add the thick uneven eyebrow made from modeling clay.
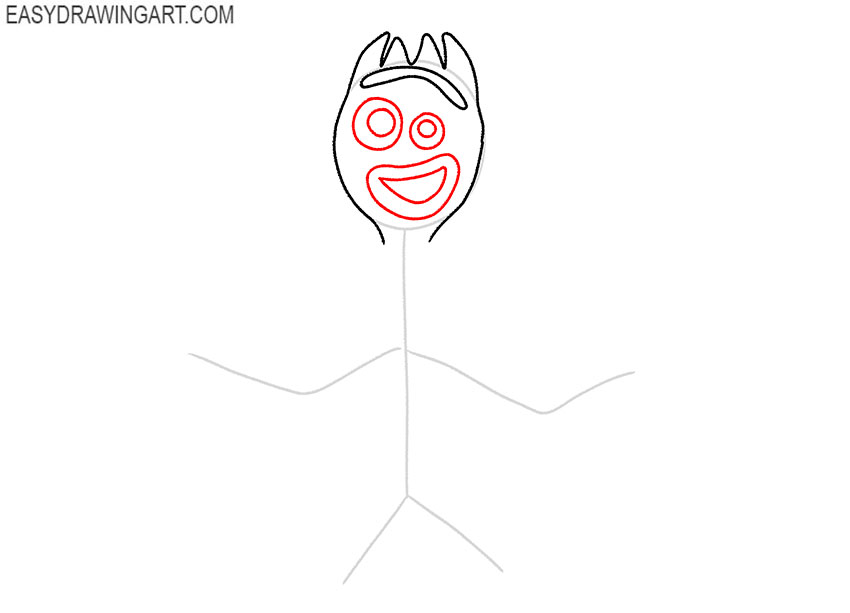
Step 4: Draw Forky’s eyes and mouth
Add Forky’s mismatched googly eyes as circles of different sizes and place dark pupils inside them. Below the eyes, draw the wide mouth with an irregular curved outline.
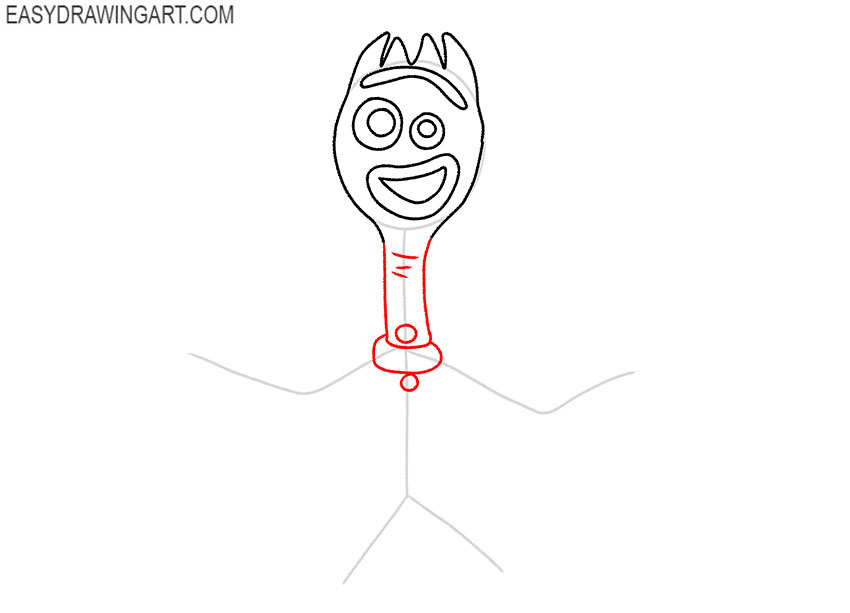
Step 5: Form Forky’s narrow neck and collar
Run two slightly curved lines downward from the head to shape Forky’s long, narrow neck. Add the wide clay collar near the bottom, then place a small circular detail beneath it.
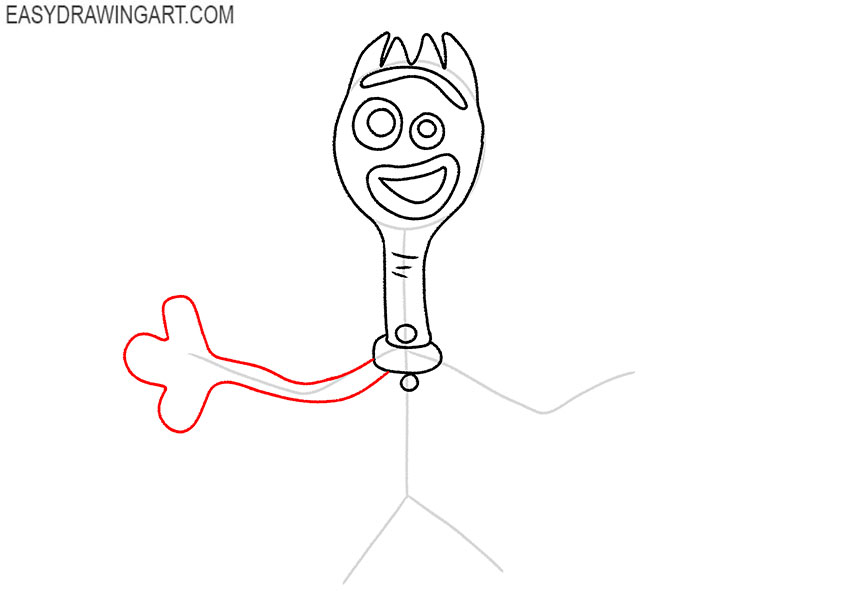
Step 6: Outline Forky’s first arm and hand
Work around the first arm guide with two winding contours to show the thickness of the pipe cleaner. At the outer end, draw the hand with rounded tips.
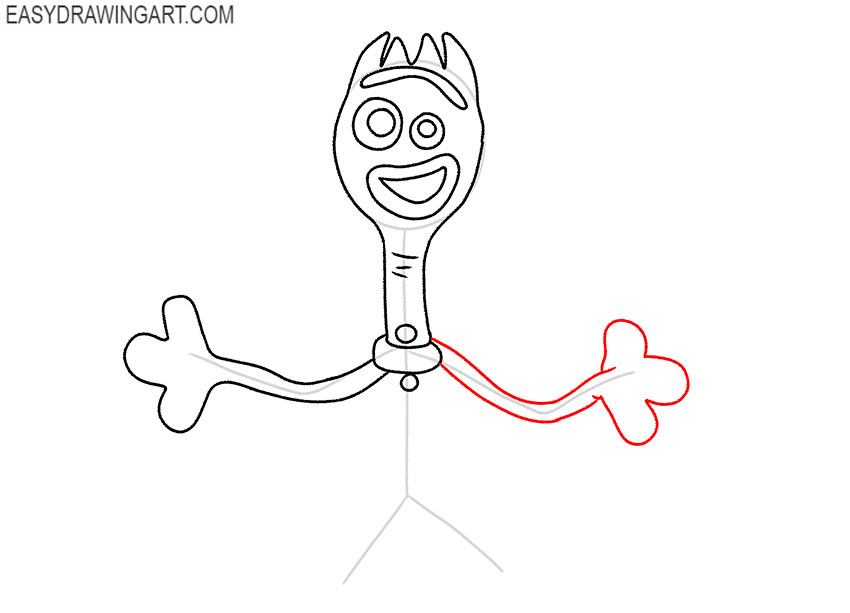
Step 7: Complete the second pipe-cleaner arm
Give the other arm the same twisted, narrow form around its original guide. Finish the raised end with three rounded fingers, matching the simple handmade appearance of Forky’s first hand.
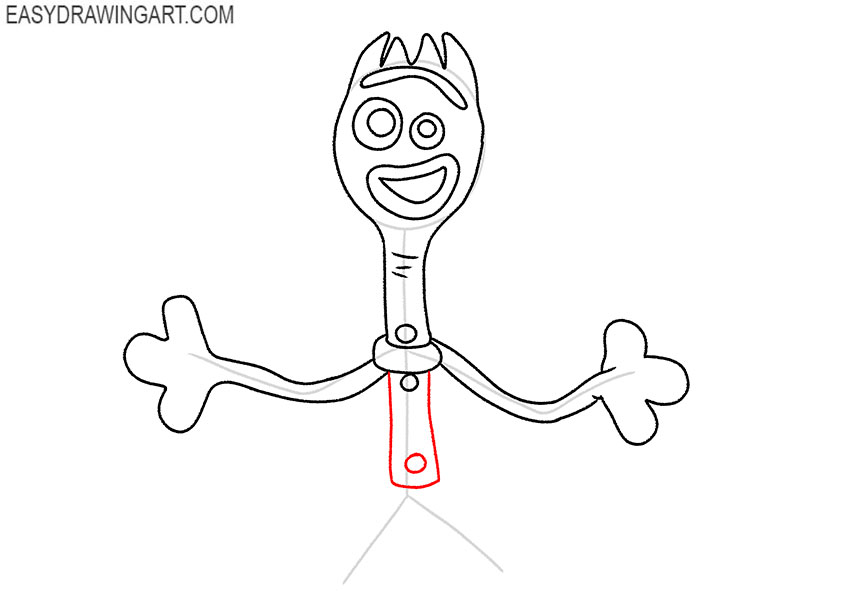
Step 8: Shape the fork’s central body
Draw smooth contours down both sides of the vertical guide to form Forky’s narrow torso. Close the lower edge with a curved line and retain the small round piece attached at the bottom.
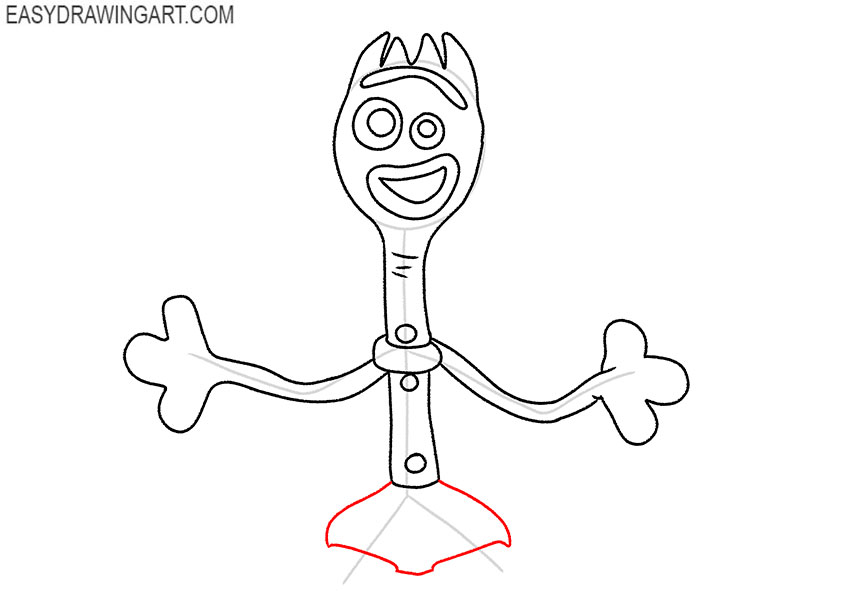
Step 9: Add Forky’s clay base
Beneath the torso, draw two broad curves spreading outward to form the modeling-clay base. Join them with an uneven lower contour, creating the flattened mound that supports the figure.
Step 10: Draw Forky’s wooden legs
Use the lower guidelines to outline the legs as two short wooden sticks. Give each one a narrow rectangular shape with slightly uneven sides and rounded ends.
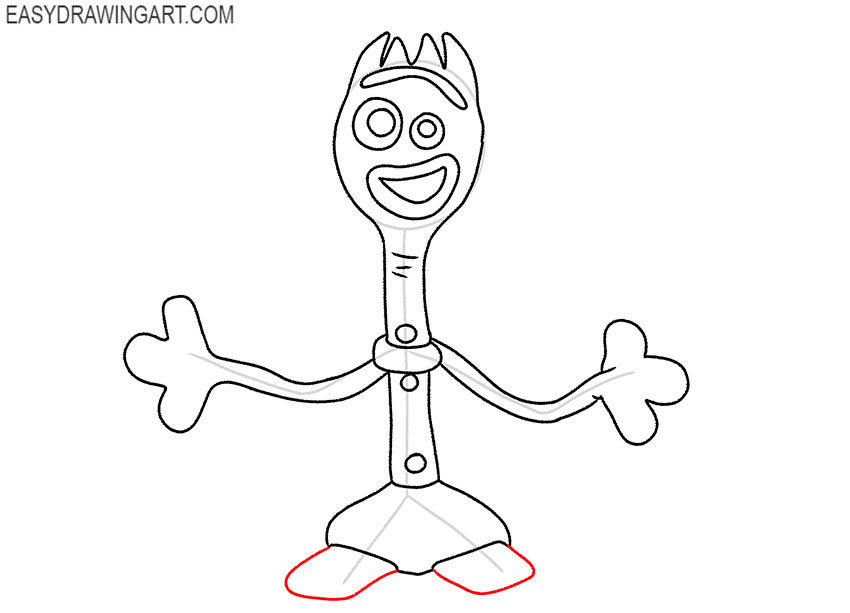
Step 11: Remove the construction lines
Erase the oval, centerline, and limb guides that remain inside the finished shapes. Clarify Forky’s spork head, facial details, pipe-cleaner arms, torso, clay base, and wooden legs.
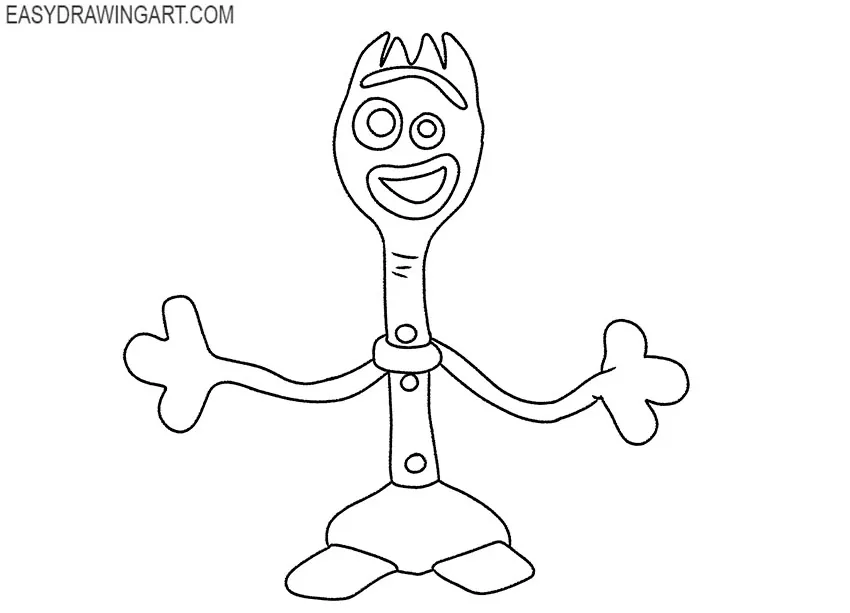
Step 12: Color the Forky drawing
Leave the plastic spork white and shade its edges light gray. Color the eyebrow blue, the mouth red, and the arms red, then use brown for the legs, pale blue for the clay base, and black for the pupils.
Another step-by-step tutorial has come to an end, and now you can evaluate the result of your work. Try other tutorials provided on this site and learn how to draw other unusual characters.
Follow EasyDrawingArt on social networks, and we will keep you up to date with important information.