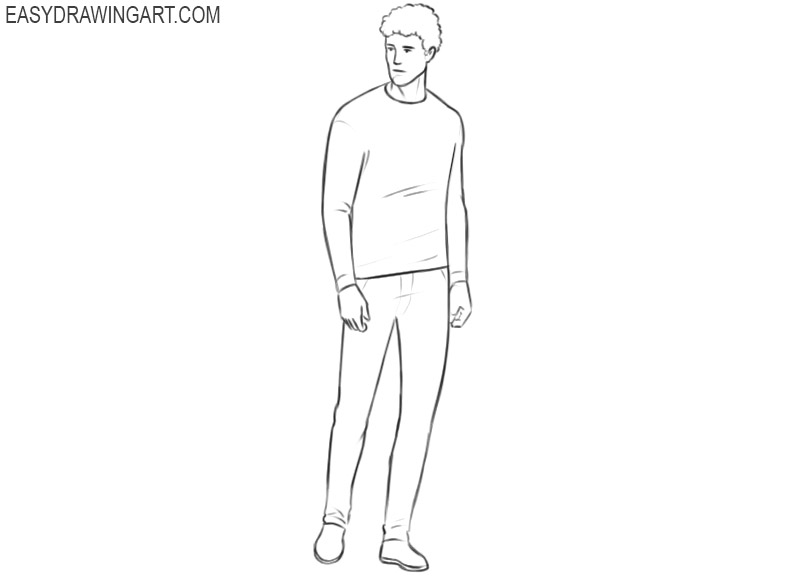
How to Draw a Person

This drawing guide will show you how to draw a person. And as always, this tutorial will be very simple.
A person is a rather complex object for drawing, and therefore, we decomposed the whole process of drawing a person into fifteen very simple steps. In each step, we will work on very simple objects using simple lines, and in the end, we will get a fairly realistic person drawing.
To start this lesson on how to draw a person, you need to have paper, pencil, and eraser in front of you or use a drawing tablet.
How to Draw a Person
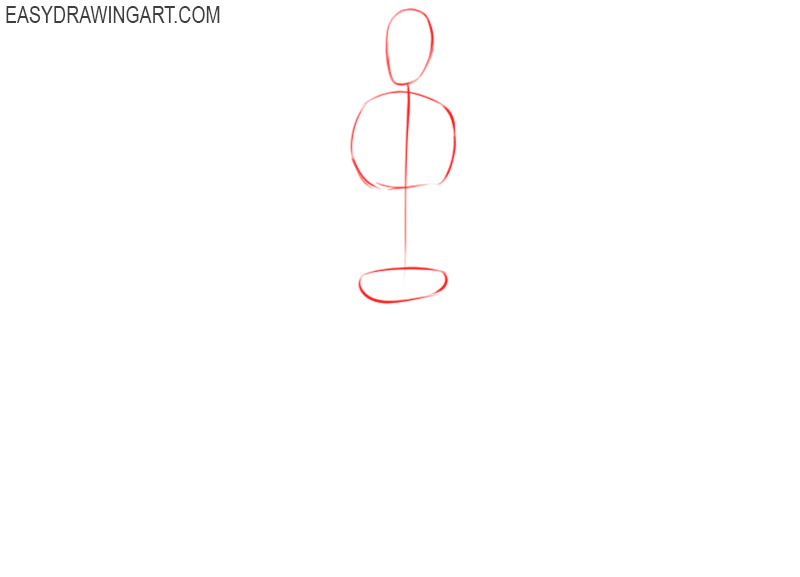
Step 1 – Draw the Basic Outlines
To draw a person correctly, at first, you should sketch a skeleton of his body. Sketch out the contours of the head, torso, and pelvis using simple lines. Depict a line of the spine through all three of these geometric shapes.
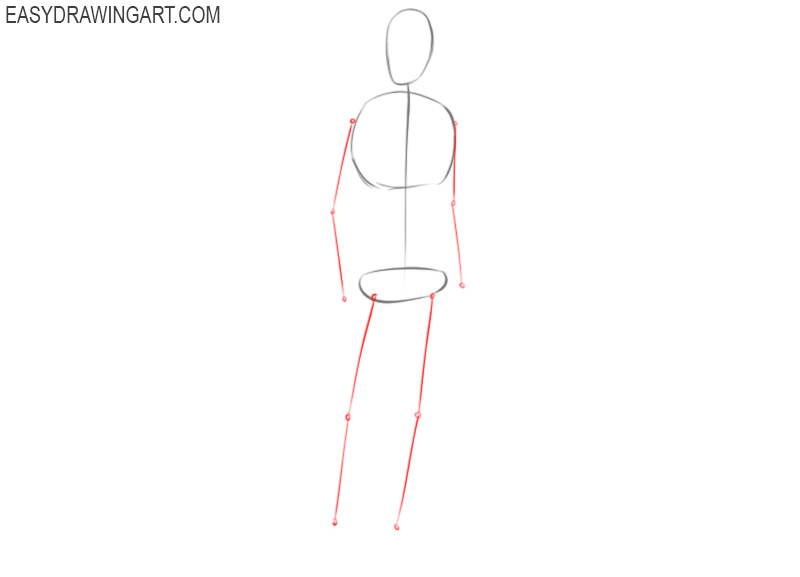
Step 2 – Sketch the Limbs
The arms and legs should be sketched in the same way as you previously drew the spine, that is, using simple straight lines. Remember to mark the joints with small circles.
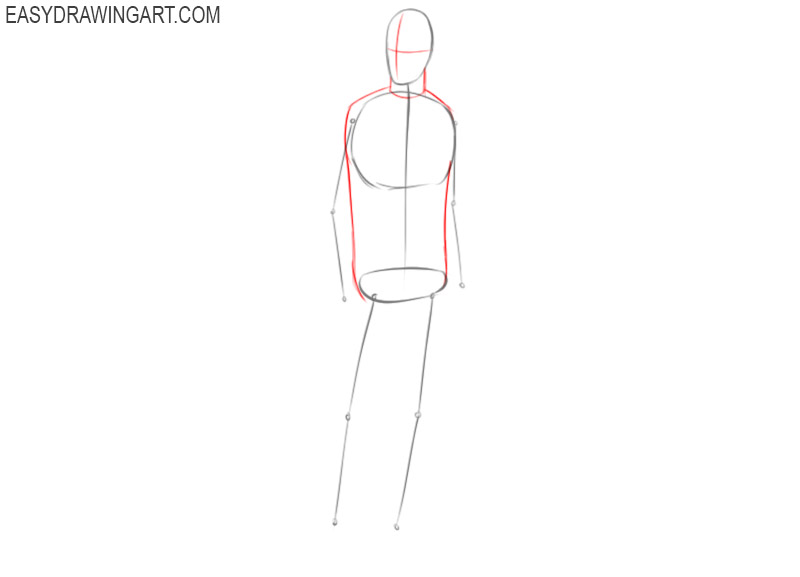
Step 3 – Sketch the Torso
Mark the intersecting lines of facial symmetry. Next, sketch out the neck in the form of a cylinder. After that, draw the torso as a vertically elongated rectangle with rounded corners.
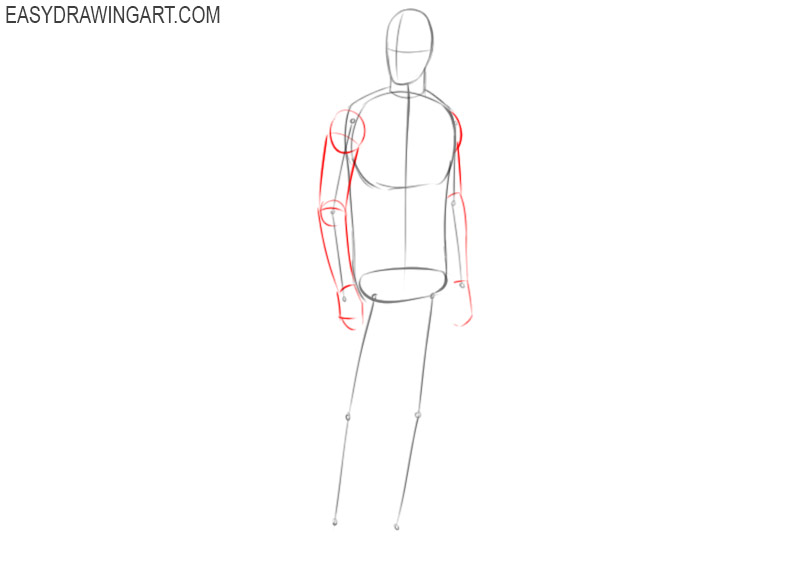
Step 4 – Draw the Arms
To draw a person’s arms correctly, you need to represent them in the form of simple geometric shapes such as cylinders and balls. Here, you should also use very light and simple lines.
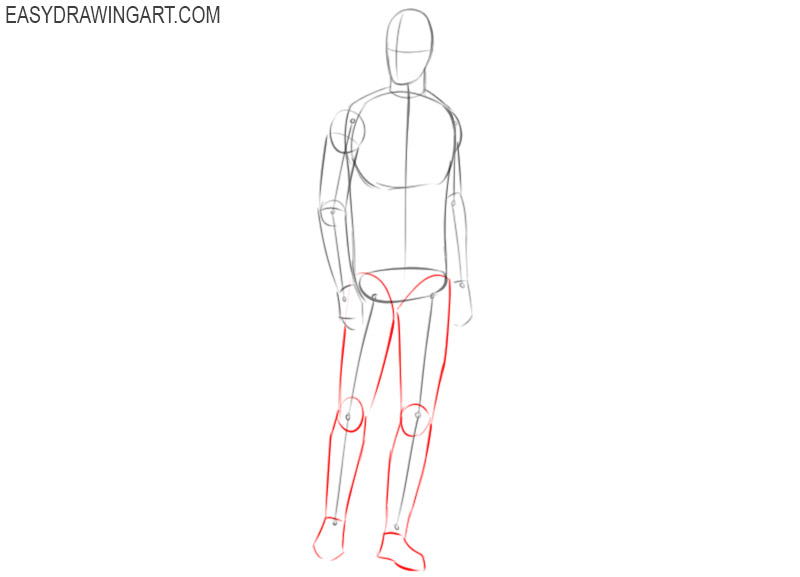
Step 5 – Draw the Legs
Now go to the legs, and do the same, that is, draw them using cylinders and balls. Remember to sketch out the feet using rough, simple lines.
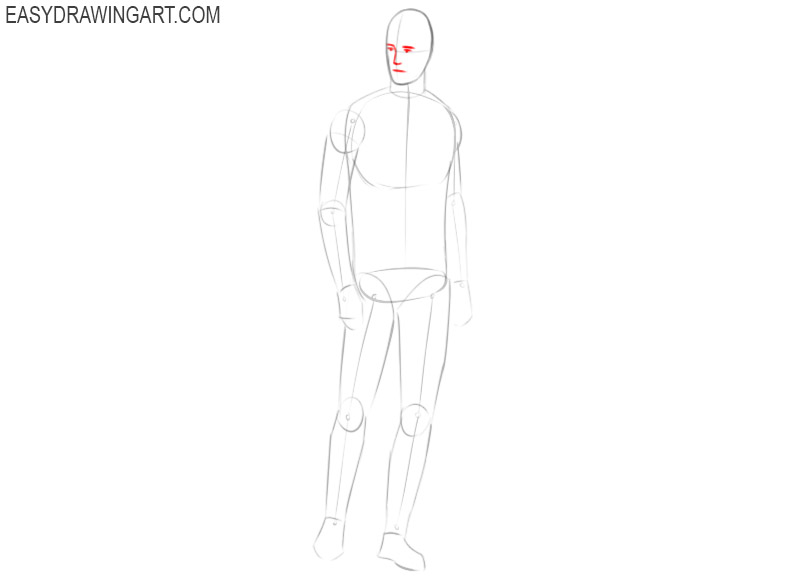
Step 6 – Draw the Face
Using the previously sketched lines of symmetry, draw the eyes. Then go down a little lower and sketch out the nose and lips. Don’t forget to draw the eyebrows above the eyes.
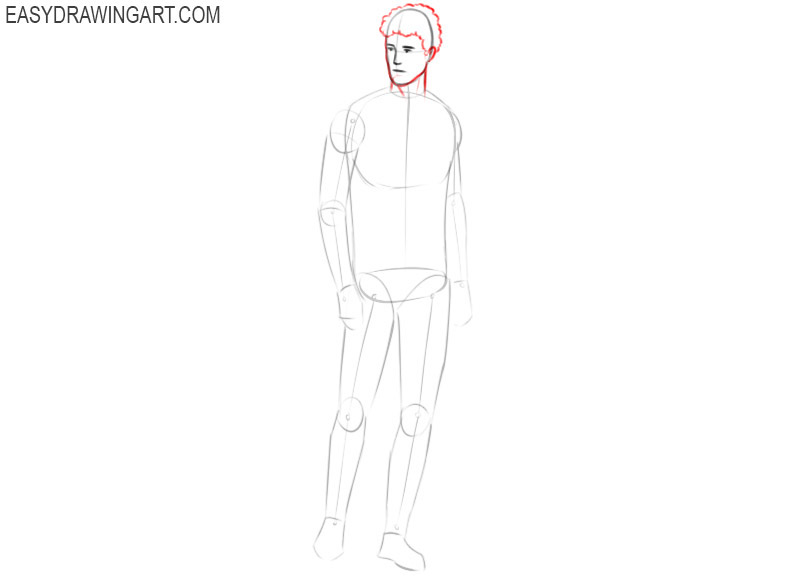
Step 7 – Draw the Hair and Neck
Using dark and clear lines correct the jawline and sketch the ear. Next, go to the top of the head and draw hair. Don’t forget to add muscle lines on the neck.
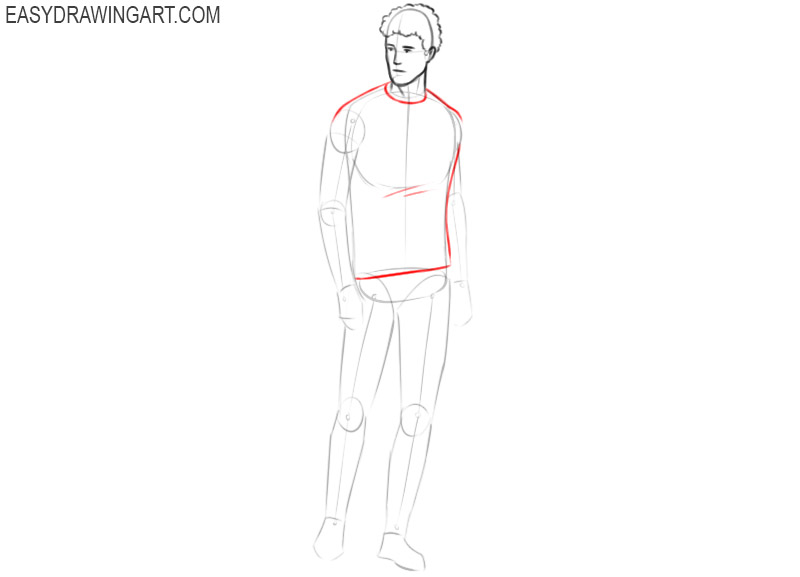
Step 8 – Detail the Torso
With the help of smooth and clear lines, draw out the clothes on the torso. Don’t forget to add some folds in the fabric to make your drawing of the person look more realistic.
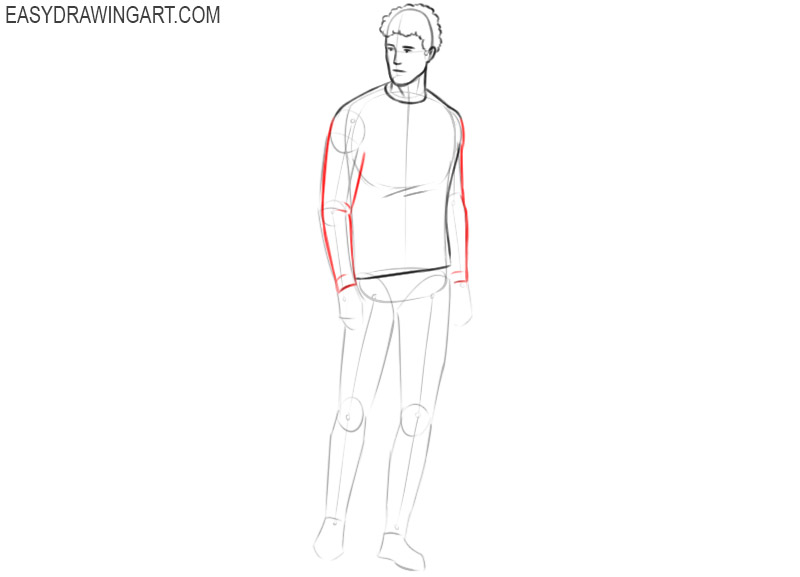
Step 9 – Detail the Arms
Now go to the arms, and using the same smooth and crisp lines to give them a more complete look. To make the arms look more natural, add some folds as in our example.
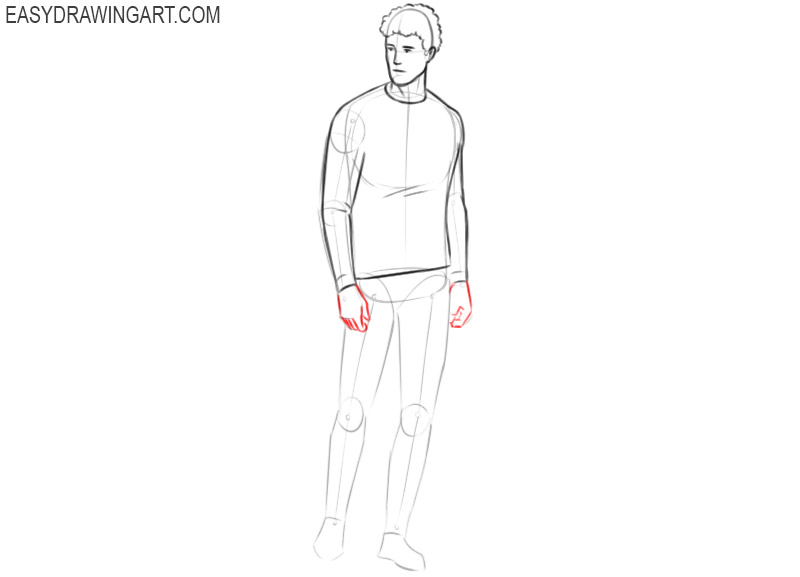
Step 10 – Draw the Hands
First, sketch the base of the palm. After that draw the fingers. Our lesson on drawing a hand will help you understand how to draw this complex part of the human body.
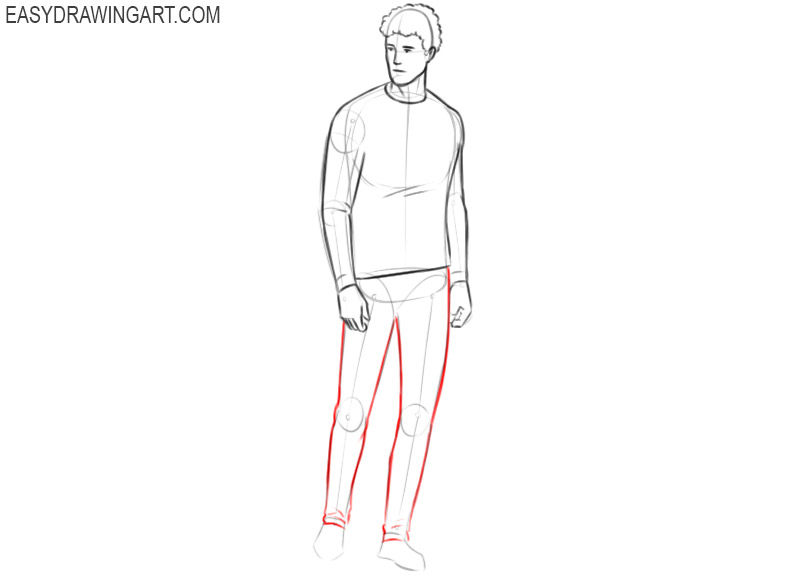
Step 11 – Detail the Legs
Now you need to do the same, but with the legs, that is, using smooth and clean lines, give the legs a more complete look. In addition, draw folds in the knee area and at the bottom of the pants.
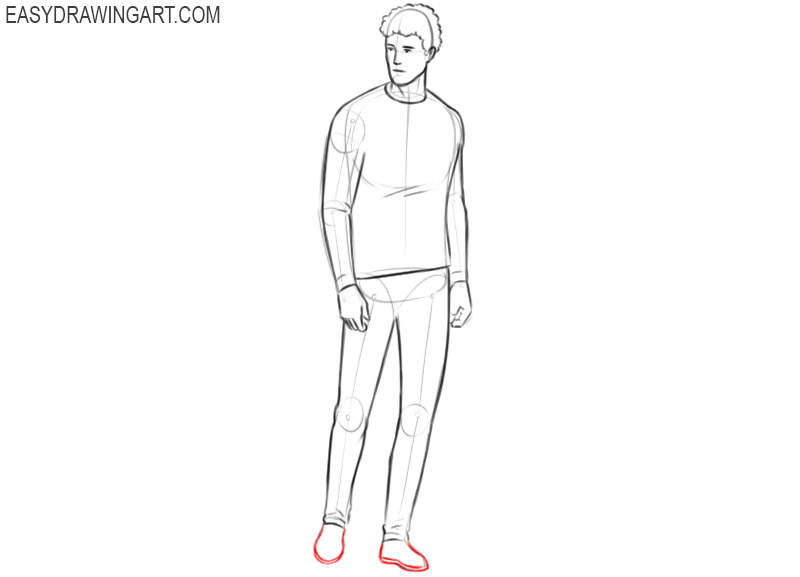
Step 12 – Detail the Shoes
This is a very simple stage. Here you need to create the soles and give the outlines of the feet a clearer and more finished look. In addition, you can add laces and add some other details.
Step 13 – Erase the Construction Lines
To make your person drawing look finished, erase all construction lines. You can also darken the lines of your drawing of the person to make it look cleaner and more beautiful.
Step 14 – Color the Person Drawing
As always, in the last stage, we do not tell you how to color your drawing. Here you are free to choose any tools and colors. You can also add shadows to make your drawing of a person look more voluminous.
Don’t forget that this person drawing lesson is primarily a basic instruction. That is, using this lesson, you can portray any person, even your friends or yourself. To do this, you just need to change some details in order to give the drawing recognizable features.


Hhhmmmm. Really nice drawing tutorial! Thank you!
i like your hair
Thank you sweaty! <3
what is <3 mean?
cool!I did great!thank you! :)I am great at art,but this helped a lot.
thank you.I am great at art,you made me better!