How to Draw a Clownfish
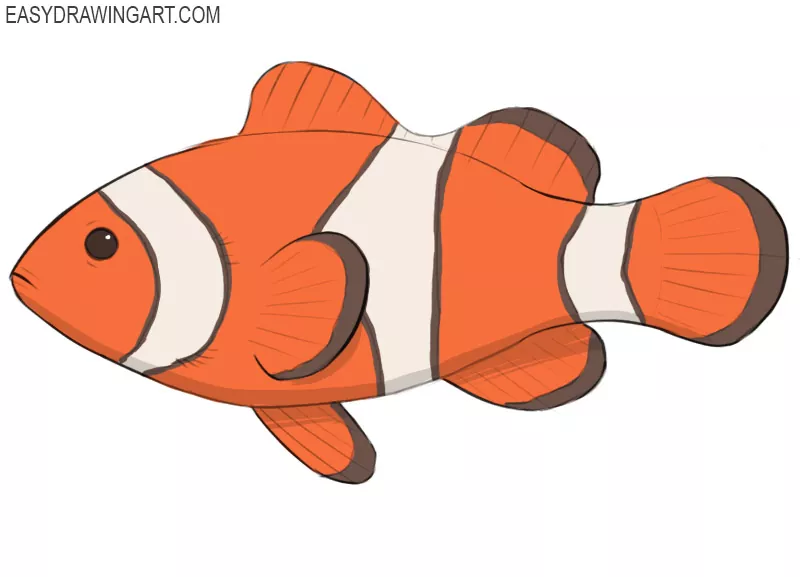
Many beginners think the white bands are the hardest part of learning how to draw a clownfish. In reality, it’s much more important to create the correct body shape. The stripes will lay down naturally and help give the shape the correct finished look.
That’s why the first oval matters more than it might seem. If its proportions feel right, nearly every other part of the fish has a clear place to attach.
Now let’s see how that works on paper.
How to Draw a Clownfish Step by Step
Step 1: Sketch the clownfish body
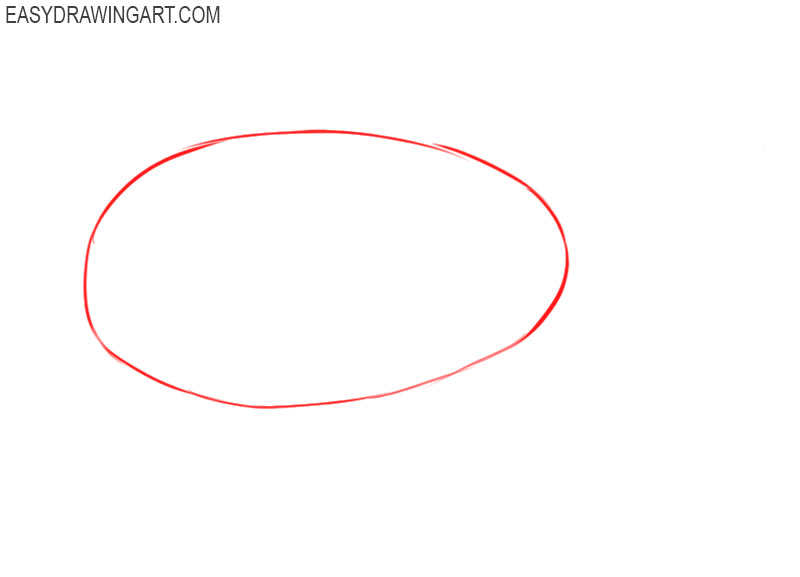
Draw a wide oval as the basic guide for the clownfish’s head and torso. Keep the form slightly narrower at the right end, where it will connect to the tail.
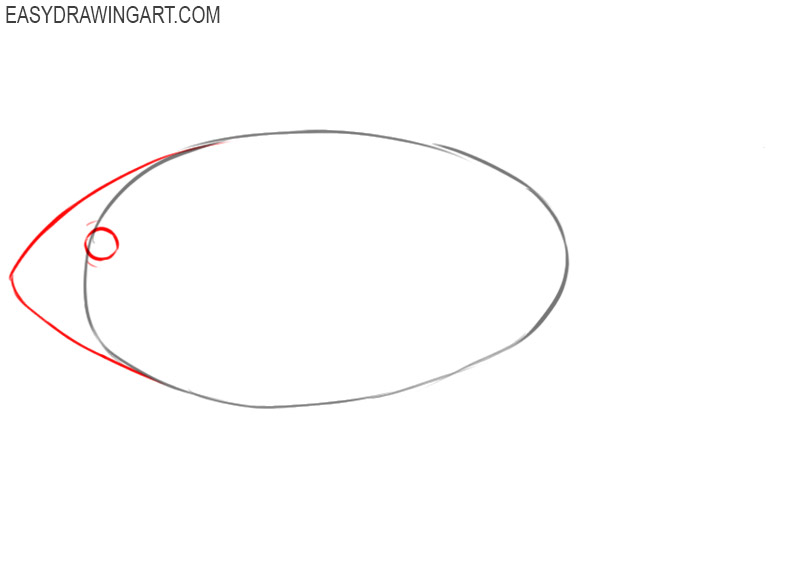
Step 2: Define the fish’s head and eye
Add the rounded triangular contour of the head at the left side of the oval. Place the circular eye near the upper part of this shape and mark the short mouth line.
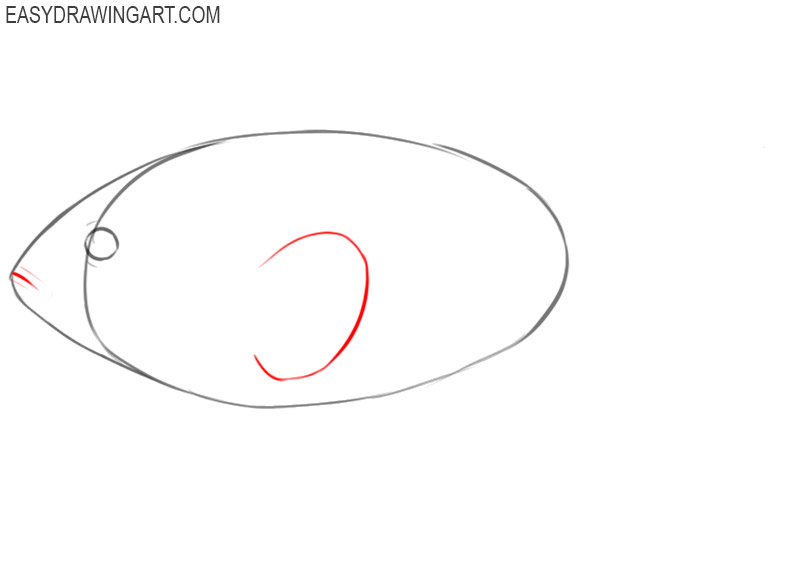
Step 3: Darw the clownfish‘s pectoral fin
Outline the broad pectoral fin on the side of the fish. Attach its narrow base behind the head, then curve the outer edge into a rounded, slightly pointed shape.
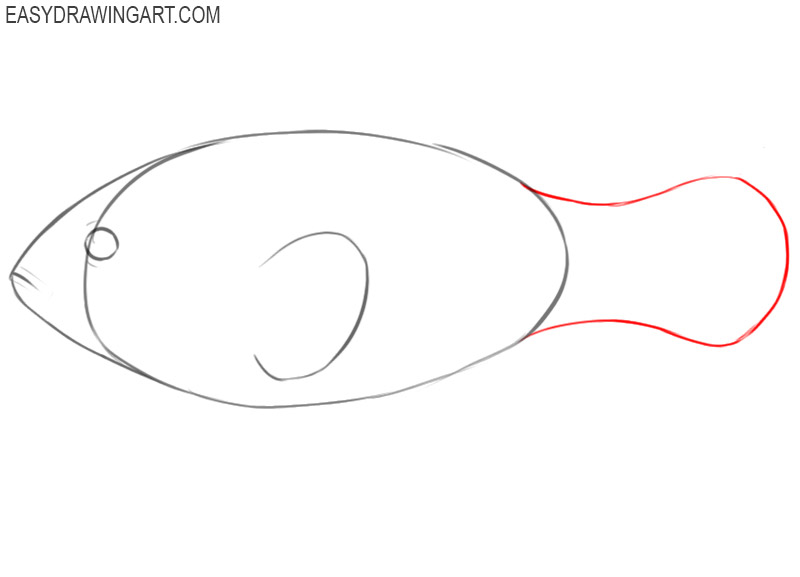
Step 4: Construct the fish’s tail
Extend two short lines from the narrow end of the body to form the tail base. Add the caudal fin with curved upper and lower edges that widen toward the back.
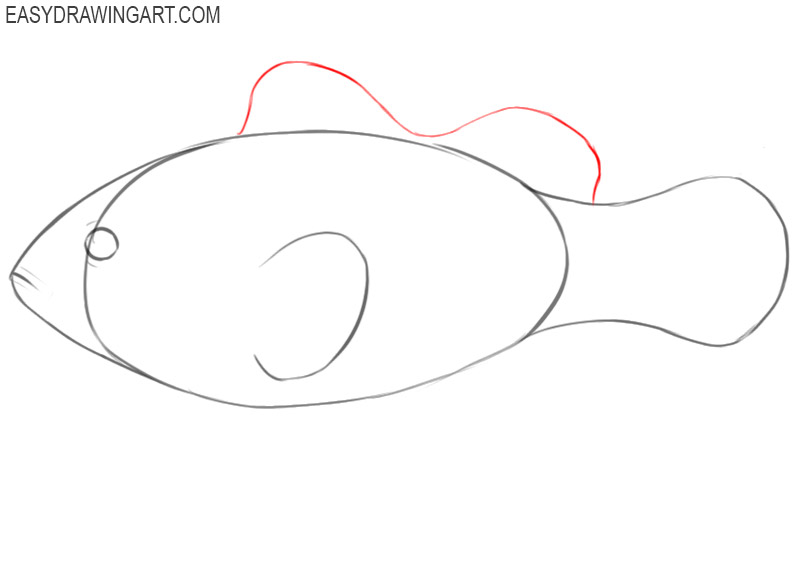
Step 5: Draw the dorsal fins
Draw two dorsal fins along the top of the clownfish. Use smooth curved lines, keeping the front fin taller and joining both shapes neatly to the upper body contour.
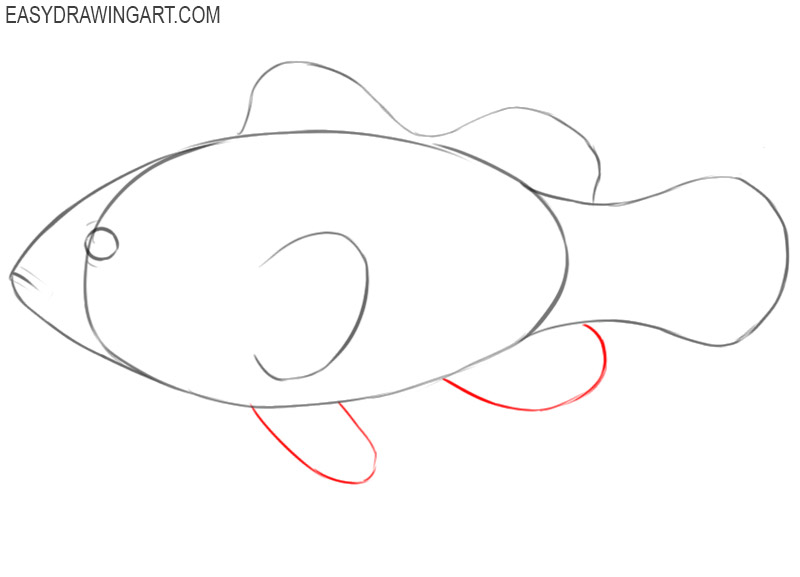
Step 6: Outline the lower fins
Add the pelvic and anal fins beneath the body. Curve both fins backward and keep their bases attached to the lower contour rather than floating below the fish.
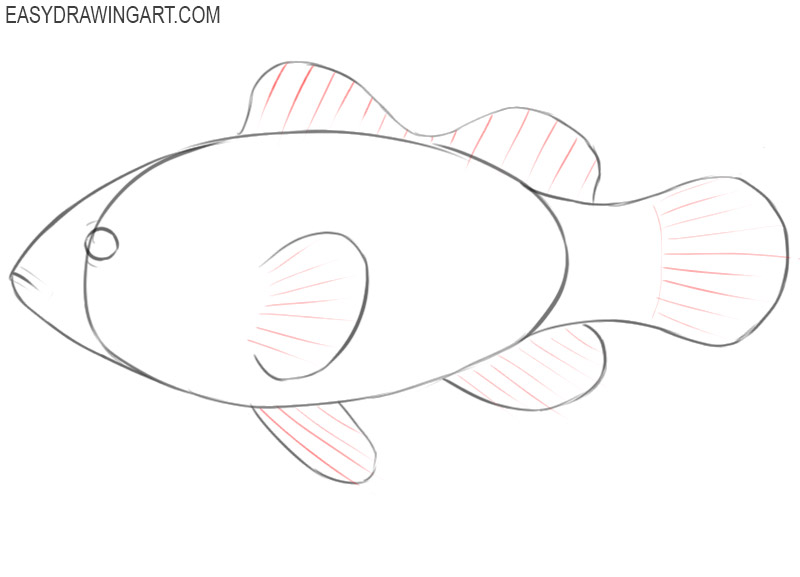
Step 7: Detail the fish’s fins
Draw narrow lines inside each fin to indicate the fin rays. Let these lines spread outward from the base and follow the direction of the surrounding edges.
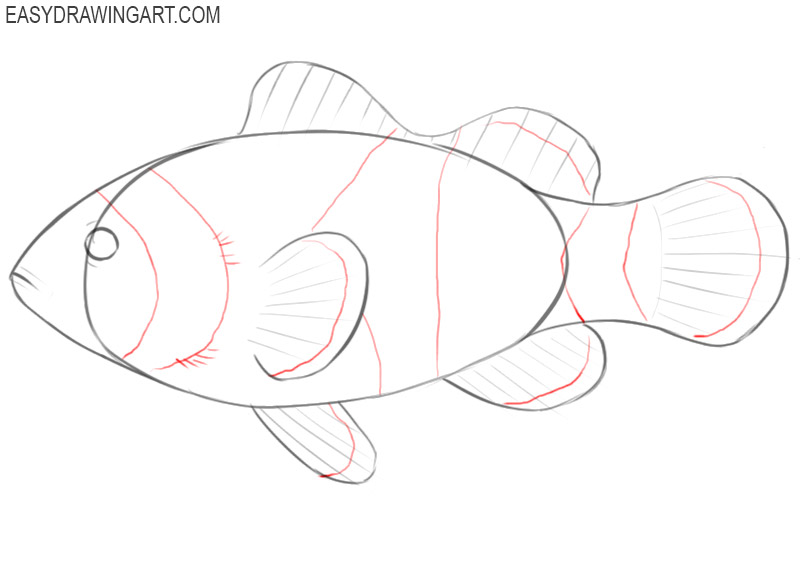
Step 8: Mark the clownfish bands
Outline three pale bands across the head, middle of the body, and tail base. Curve each border around the body so the markings follow its rounded volume.
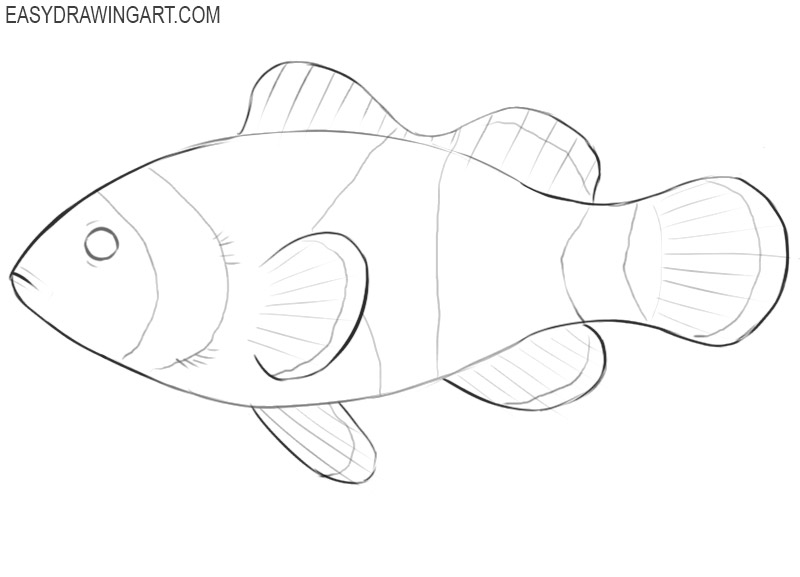
Step 9: Clean up the fish’s outline
Erase the original oval and any construction lines that cross the fins, head, or tail. Darken the remaining contours and keep the edges of the body bands clean.
Step 10: Color the clownfish drawing
Color the main body and fins bright orange, leaving the three bands white. Add dark gray borders around the bands and fins, then fill the eye with black.
Drawing More Fish with the Same Construction
Most fish can be built from the same simple foundation. Once the main body feels convincing, the fins and markings become much easier to place because they naturally follow the existing form.
Small changes to the body shape are often enough to create a completely different species. A longer oval, a deeper body, or larger fins can dramatically change the character of the drawing without changing the overall process.
The curved body bands are also a useful reminder that surface details should wrap around a form instead of sitting flat on top of it. The same principle applies to stripes, spots, scales, and many other patterns found in animals.
If you’d like to continue with a simpler aquatic subject, try drawing a fish. For more flowing fins and a different body silhouette, continue by drawing a betta fish.