How to Draw a Yak

In this lesson we will tell you and show you in detail how to draw a yak. We hope you enjoy this step-by-step guide and have a good time.
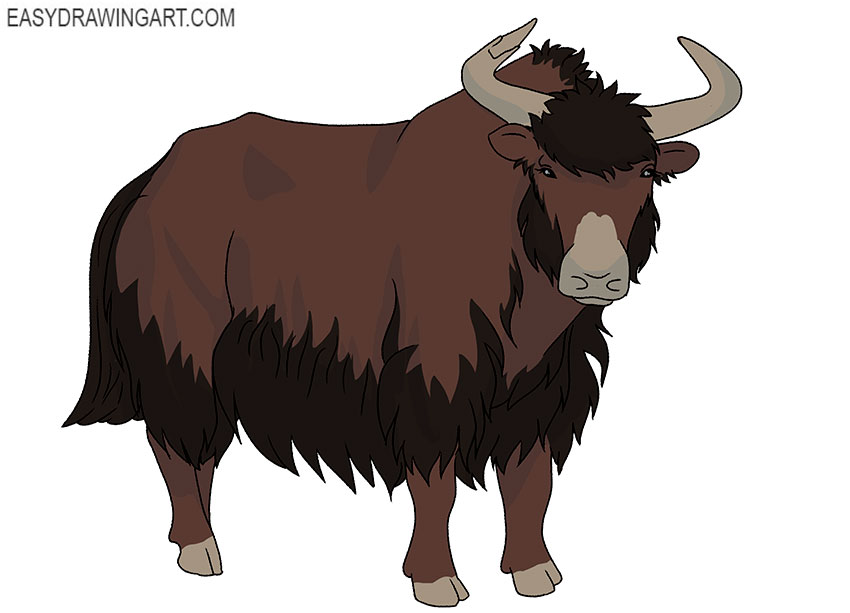
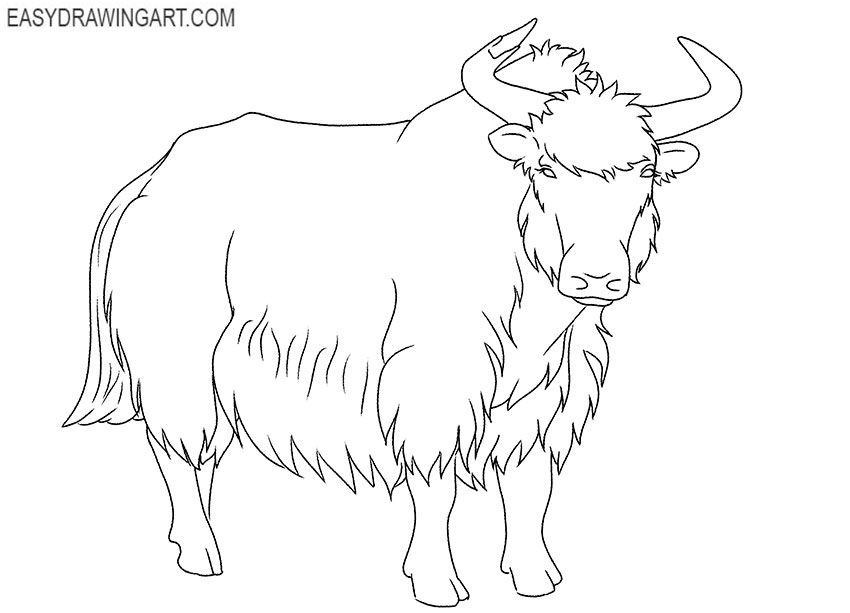
If you want to learn how to draw various animals, then be sure to follow the new lesson on how to draw a yak. This is a large animal with a long body, relatively short legs and a heavy, low-set head. There is a small hump at the withers. The horns are set wide apart and curve forward and upward.
The feature of the animals is long shaggy hair, which hangs from the body and covers almost all legs. Now you will depict all these features in your drawing.
Time needed: 1 hour
How to Draw a Yak
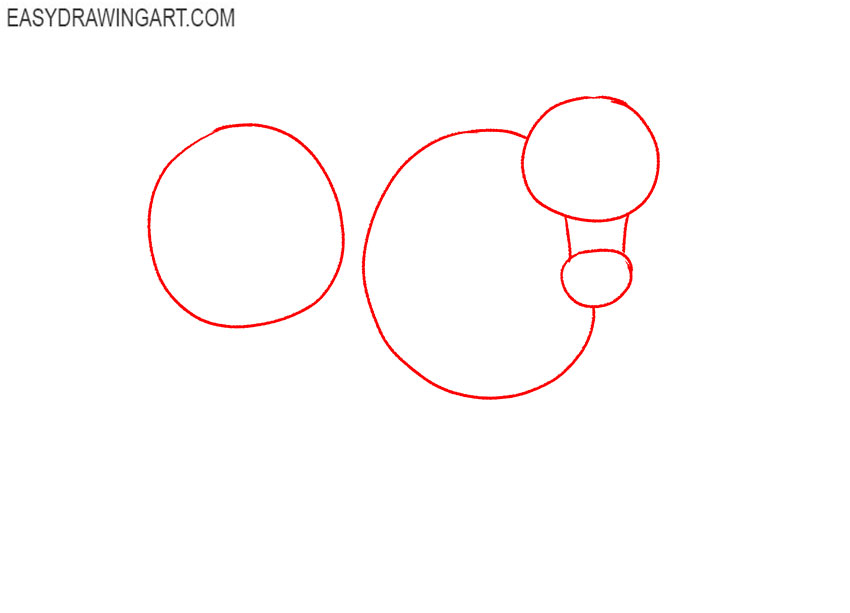
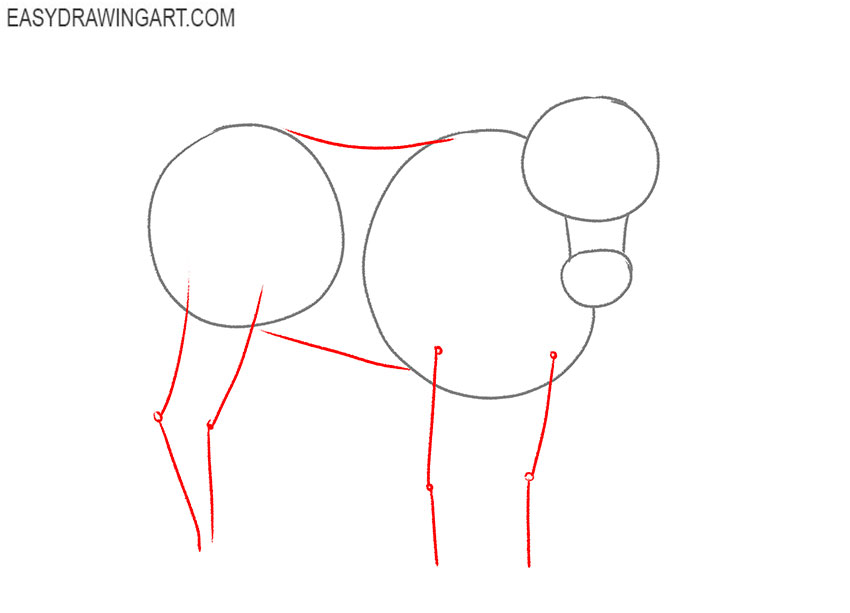
- Prepare the base.
Draw the head, thoracic region and pelvis in the form of circles of different sizes. At the initial stage, use thin lines that can be easily removed later.

- Depict the limbs and body contours.
Draw connecting lines between the chest and pelvis to outline the back and belly. Draw the fore and hind limbs with smooth lines.
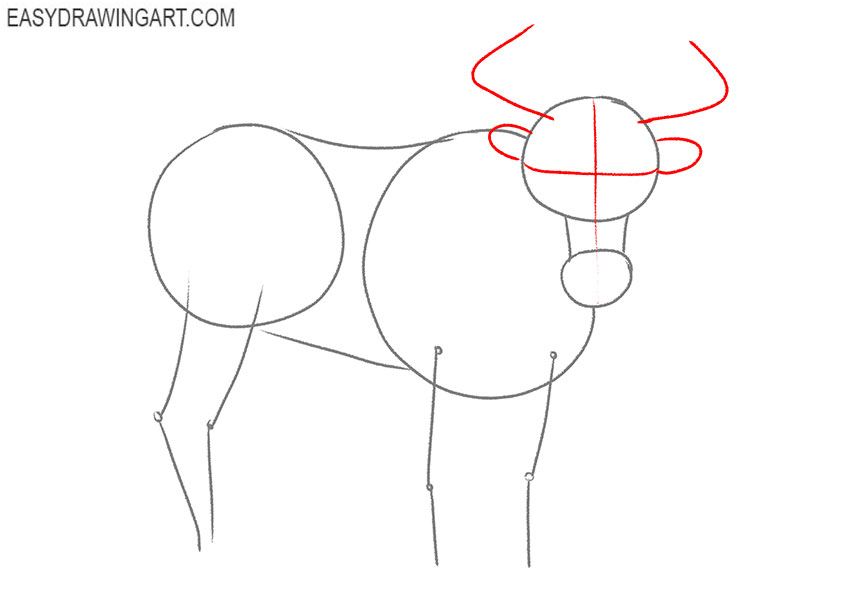
- Add the head elements.
Use thin lines to draw the outline of the ears and horns. Make a marking on the muzzle using two lines located crosswise.
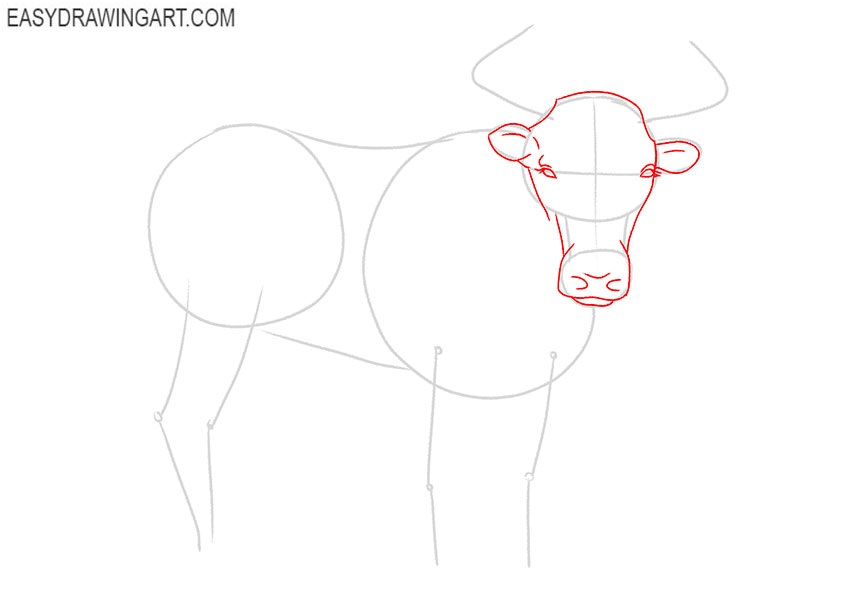
- Make the outline of the muzzle clearer.
Focus on the auxiliary lines and give the muzzle the desired shape. Outline the ears, draw the front of the muzzle, add the nostrils and mouth. Draw the small eyes.
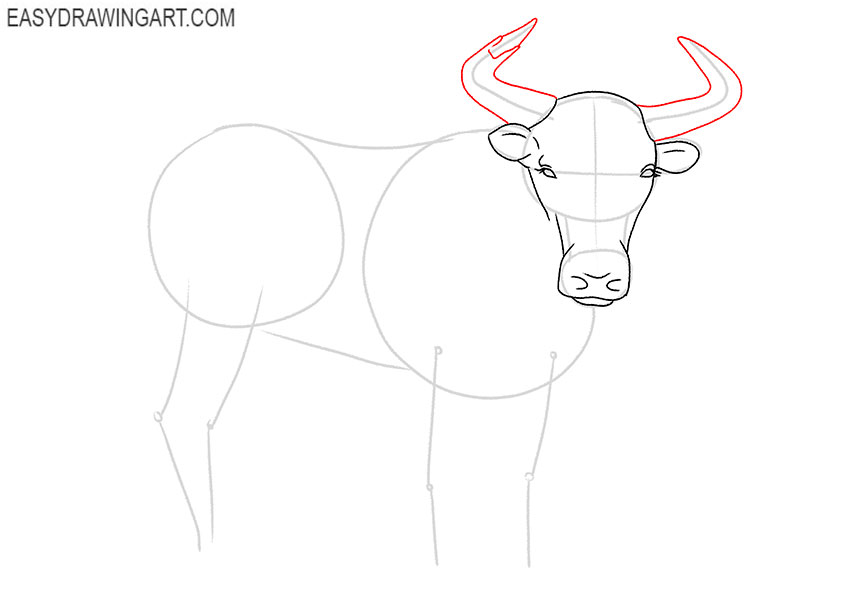
- Sketch out the horns.
Focus on the auxiliary lines and give the horns the desired shape and thickness. Keep symmetry in this step.
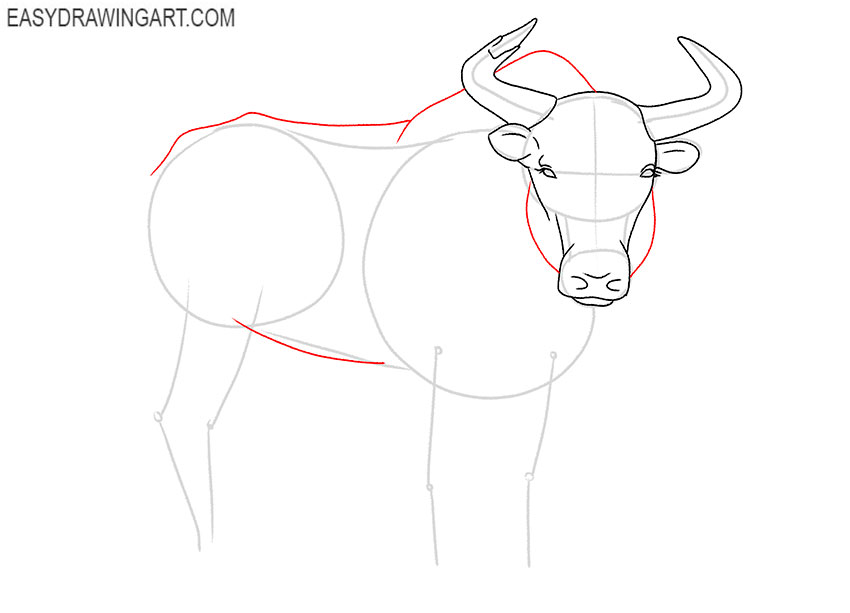
- Draw the contours of the body.
With the help of smooth lines depict the high withers and make the contour of the back and belly more clear. Draw the sides of the head.
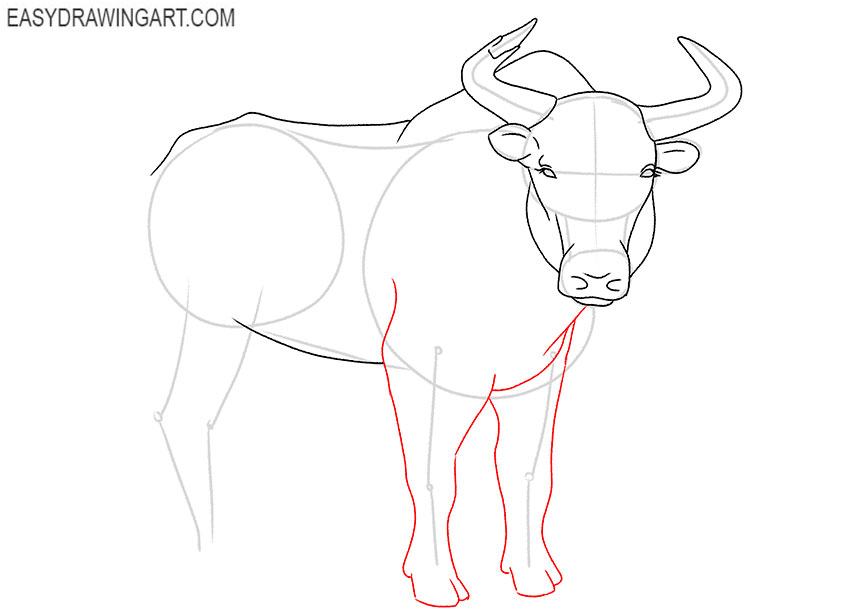
- Depict the front legs.
Focus on the auxiliary lines and give the front legs the desired thickness. Try to correctly depict the shape of the legs. Add the hooves at the bottom.
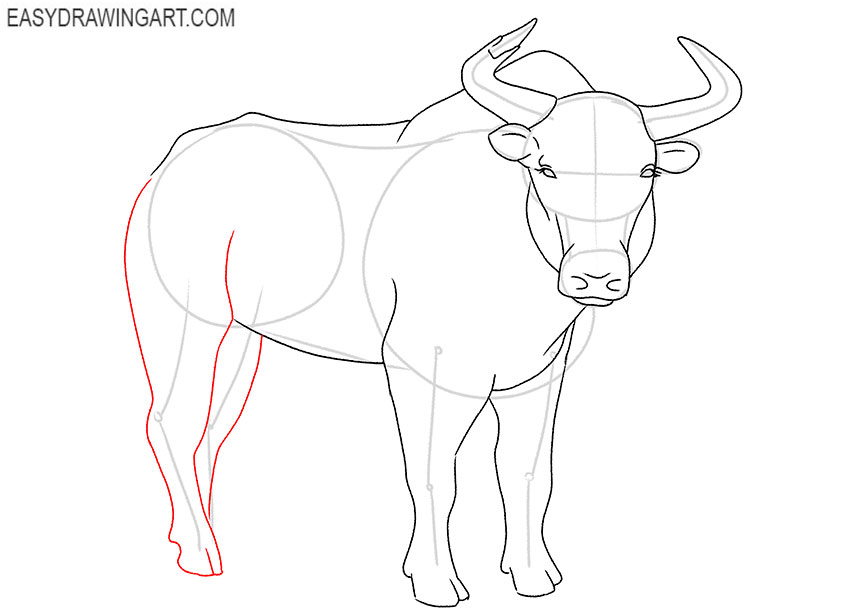
- Add the hind legs.
This step is similar to the previous one and here you will give the hind legs shape and thickness. At the bottom also add the hoof.
- Sketch out the tail.
Continue adding the outlines of the body and in this step depict the puffy tail with a few smooth lines.
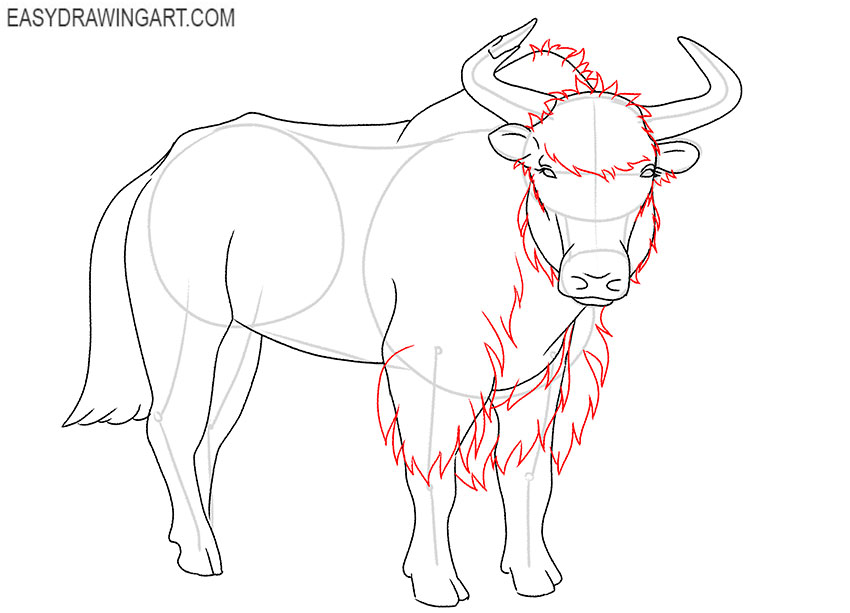
- Depict the hair on the head and front of the torso.
With the help of short, curved strokes, depict the hair on the top of the head and on the sides. Also add the hair on the withers and on the chest. The coat should cover the upper parts of the legs.
- Draw the fur.
Now draw the fur on the back of the torso in the same way as you did in the previous step. Detail the tail.
- Correct inaccuracies.
Carefully remove all extra lines in your drawing and correct inaccuracies if necessary.
- Color the drawing.
For coloring the fur, use different shades of brown. Color the front of the head, horns, and hooves with a lighter shade.


If you liked this lesson, then share it with your friends so that they develop their artistic skills with you. Train and have fun with our fun lessons. We recommend that you become our subscribers on social networks to keep abreast of all the new products.