How to Draw Dory
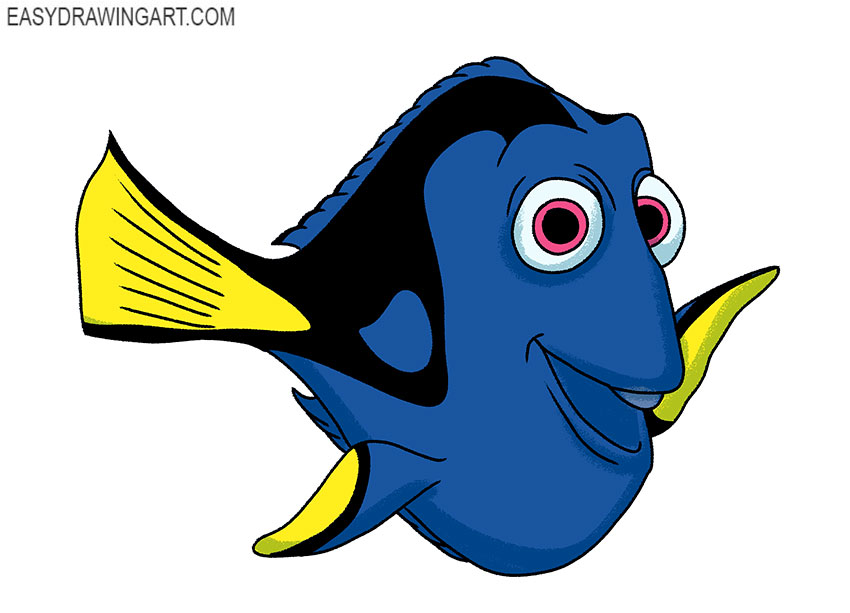
This guide focuses on drawing a cartoon underwater character: you will learn how to draw Dory. She is a character from the animated film Finding Nemo.
Dory is a kind, sociable, friendly, and cheerful fish who suffers from memory lapses.
With the help of our clear and accessible instructions, you can easily draw this character. You can use the acquired skills in the future when you want to draw other fish that have a similar body shape.
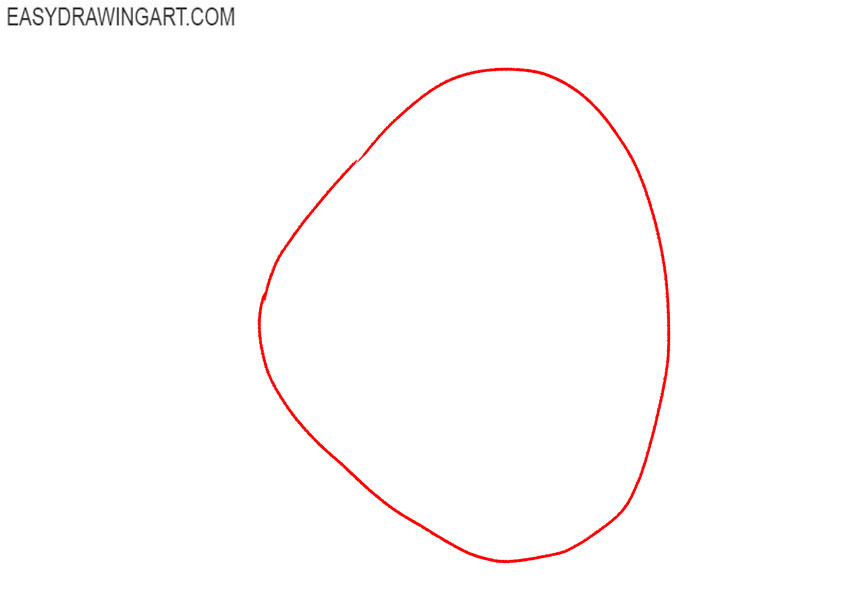
Step 1: Sketch Dory’s body shape
Use thin lines to sketch Dory’s large rounded body. Narrow the shape slightly near the rear, leaving enough space for the tail and the fins that will be added next.
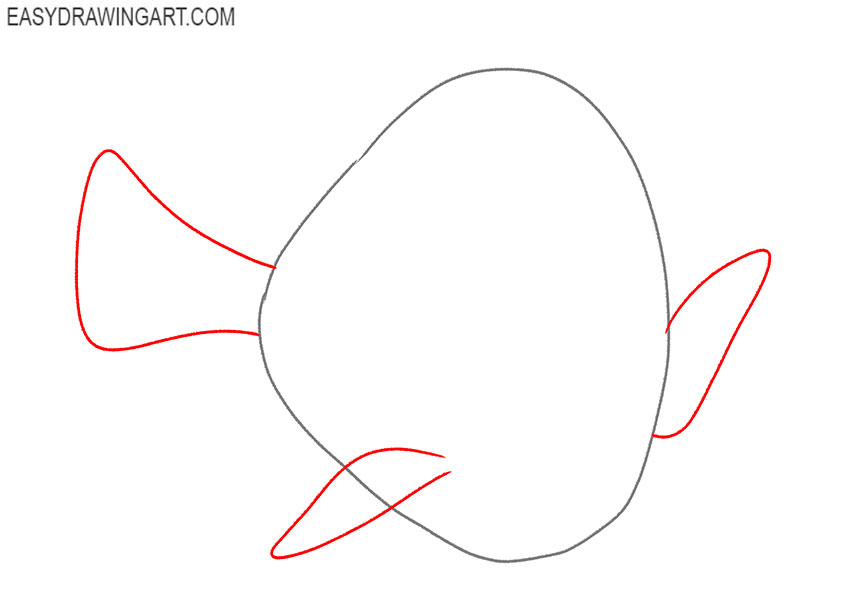
Step 2: Add Dory’s fins and tail
Sketch two fins along the underside of Dory’s body. At the rear, add the tail with a narrow base and a wide forked end, keeping all of these lines light.
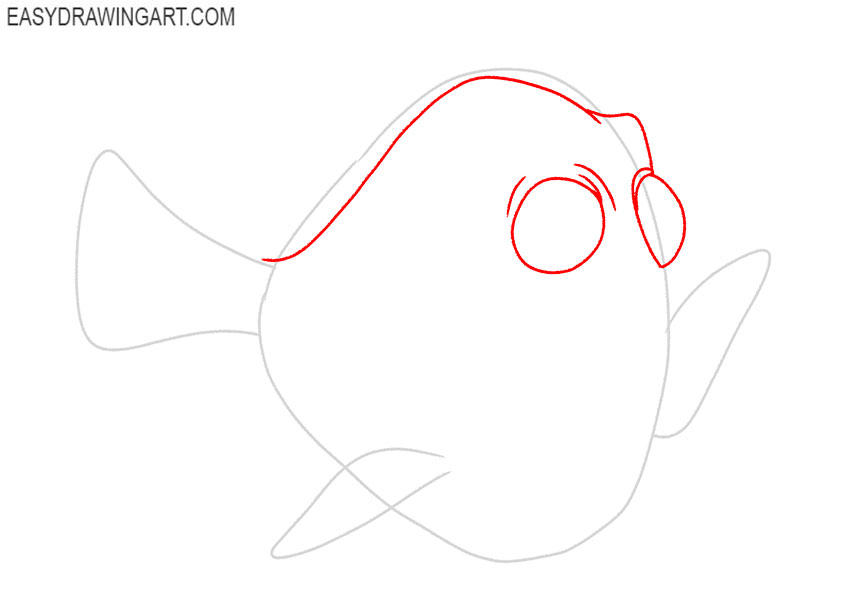
Step 3: Outline fish’s upper body and eyes
Use the construction shape to define the upper contour of the blue tang. Near the front of the head, draw the round eyes.
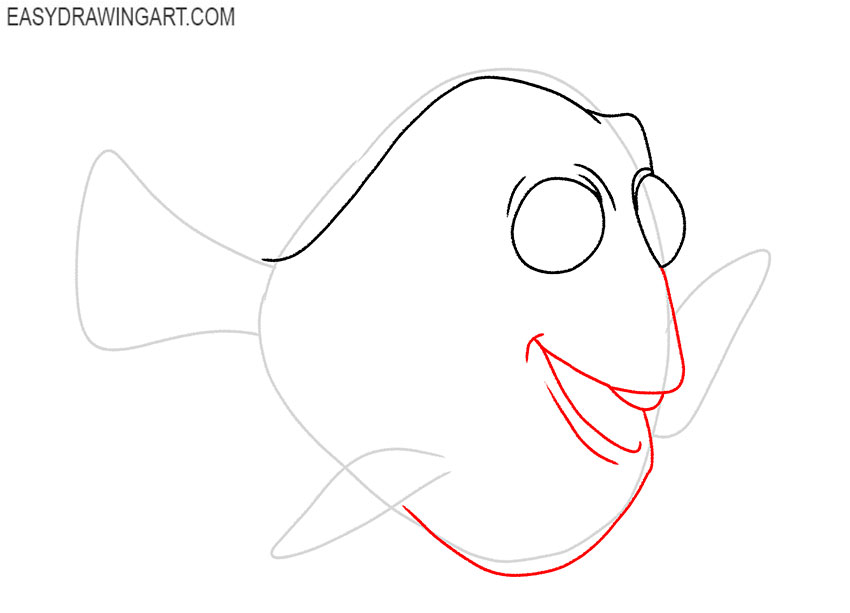
Step 4: Draw Dory’s head and open mouth
Continue the head outline downward with smooth curved lines. At the front, draw Dory’s open mouth and connect it to the lower jaw.
Step 5: Define cartoon fish’s first fin
Follow the first fin guideline and replace it with a clean curved outline. Shape the fin so it widens near the body and tapers toward its rounded outer end.
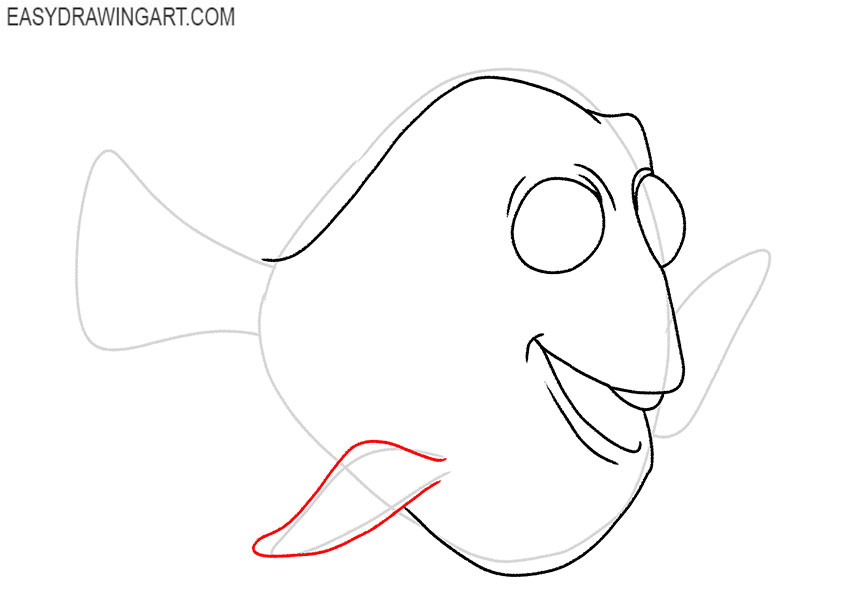
Step 6: Complete the fish’s lower body contour
Trace the lower edge of Dory’s body with a smooth line extending toward the tail. Along this contour, outline the small ventral fin with a pointed curved shape.
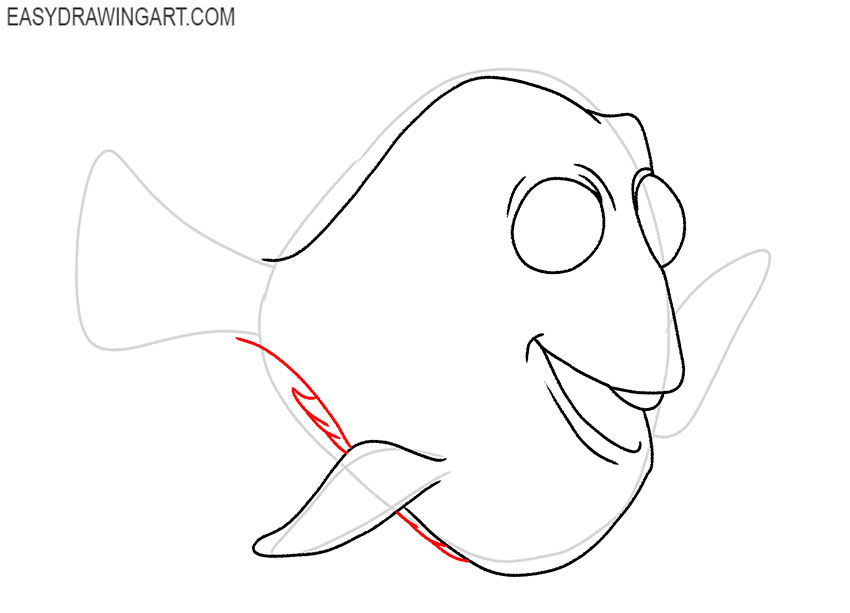
Step 7: Outline Dory’s second fin
Use the remaining guideline to shape the second fin with smooth curved edges. Connect its base to the body and narrow the outline gradually toward the tip.
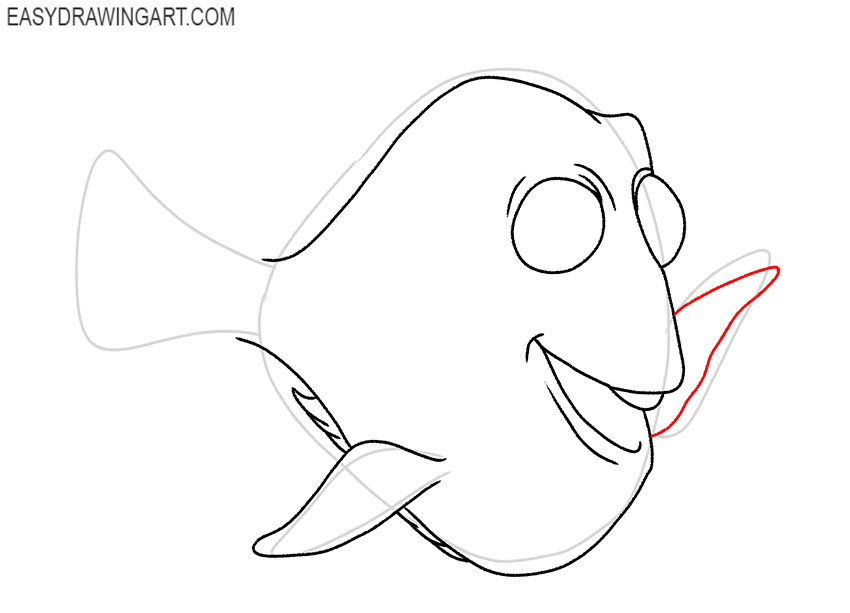
Step 8: Refine the cartoon tail
Trace the tail construction with clear curved lines. Form the narrow connection to the body, then define the two wide lobes and the inward curve between them.
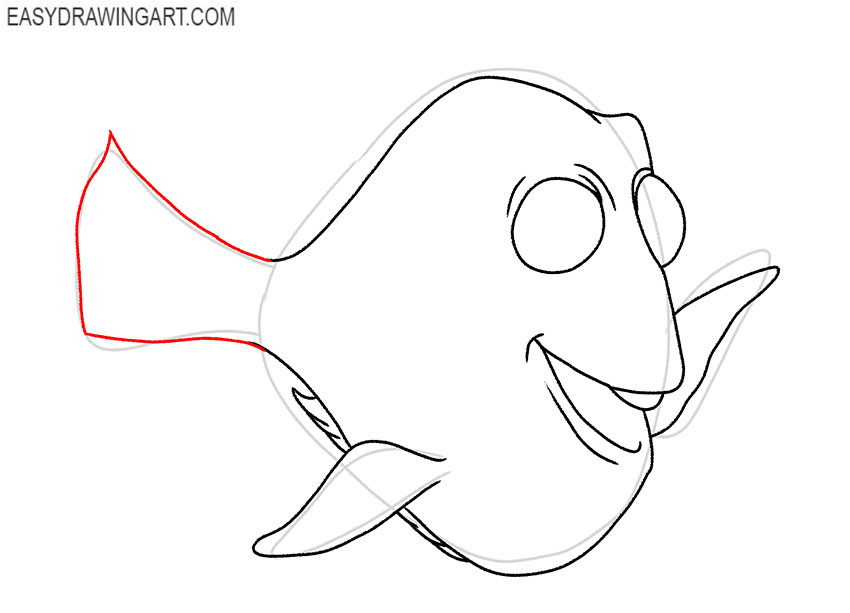
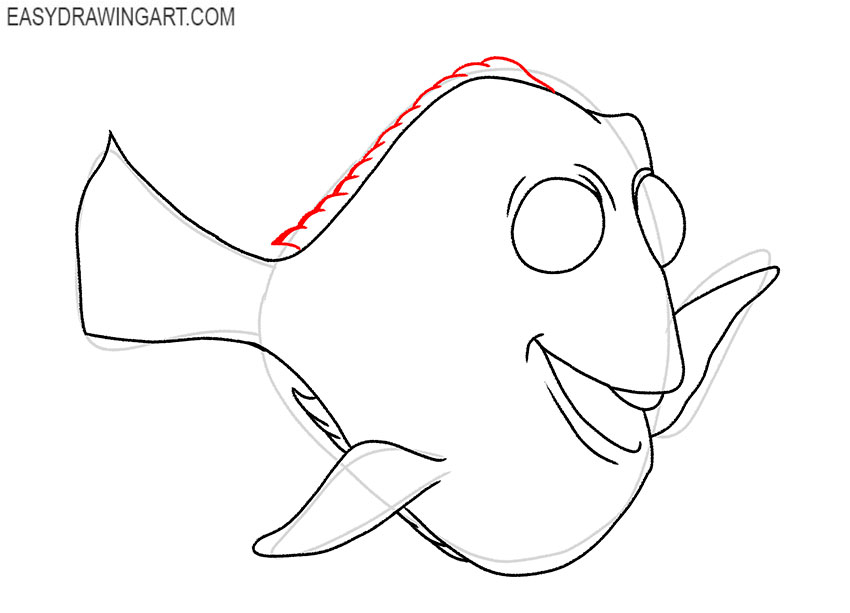
Step 9: Draw Dory’s dorsal fin
Along the top of the fish, draw the long dorsal fin as a row of short connected sections. Follow the curved back from behind the head toward the tail.
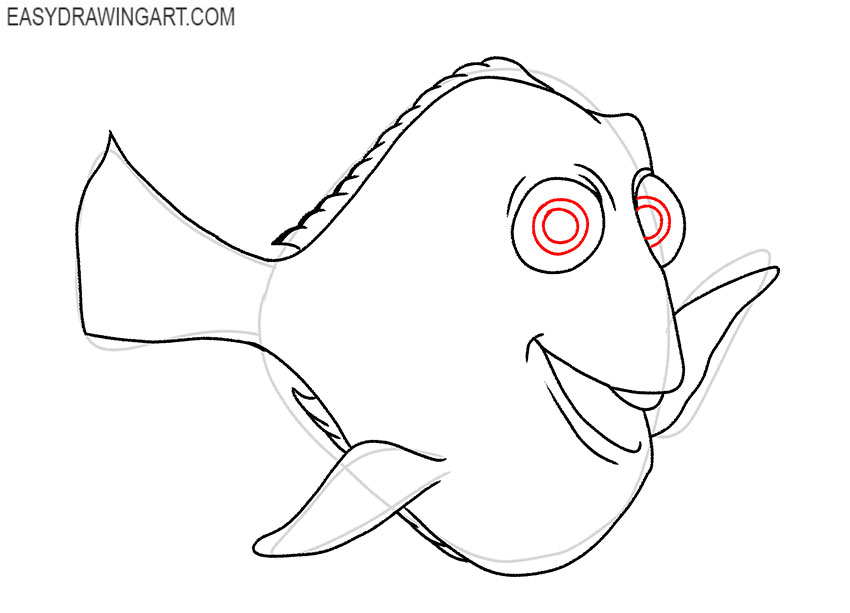
Step 10: Detail the cartoon fish eyes
Inside each eye, sketch a large rounded iris and place a smaller pupil near its center. Keep both pupils aligned to preserve Dory’s recognizable expression.
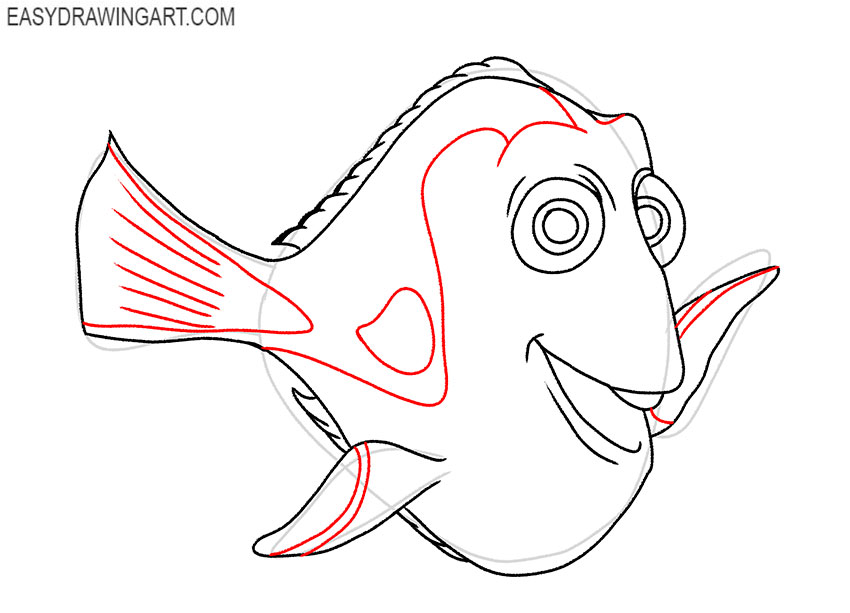
Step 11: Mark the fish’s color pattern
Draw smooth dividing lines across Dory’s body to mark the dark color pattern. Add several narrow stripes across the tail and define the contrasting areas on the fins.
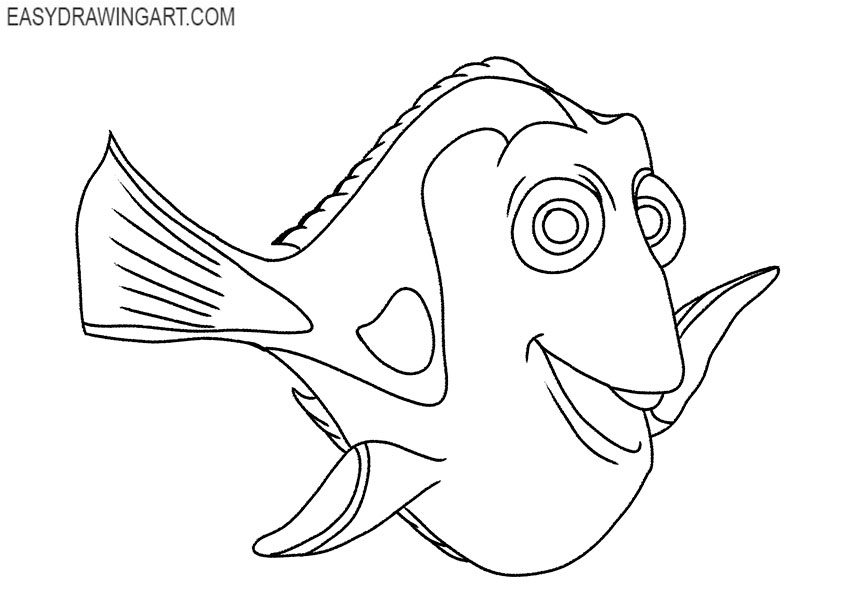
Step 12: Complete the Dory line drawing
Erase the original body, fin, and tail guidelines. Refine any interrupted contours and leave only the completed outlines, facial features, fins, and color markings.
Step 13: Color the Dory drawing
Color Dory’s body bright blue and fill the curved markings with black. Use yellow for the tail and fin details, pink for the irises, and black for the pupils.
Another step-by-step guide has come to an end, and your Dory drawing is complete. Continue with another ocean character by drawing a clownfish.
We recommend that you subscribe to us on social networks so as not to miss new drawing lessons.