How to Draw a Lego Ninja
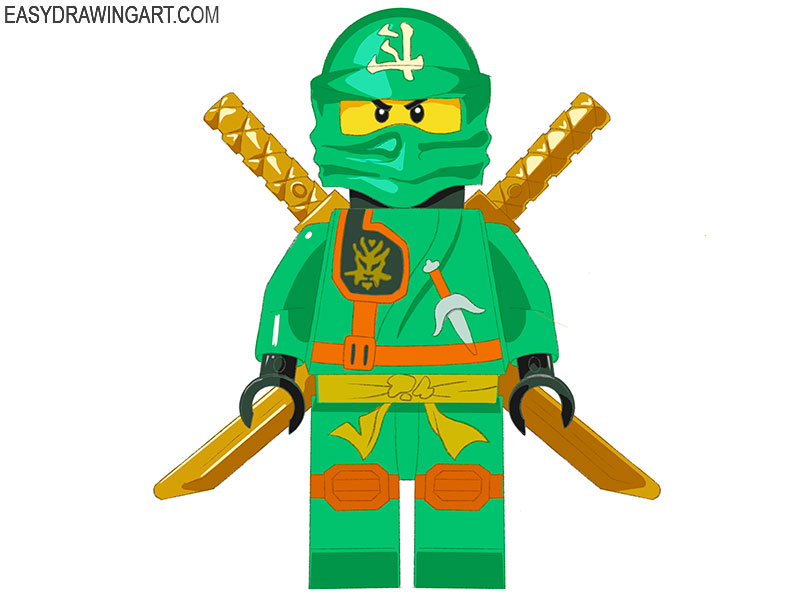
LEGO ninjas are some of the most popular characters in the LEGO universe. This step-by-step tutorial will show you how to draw one using simple shapes and straight lines.
To complete this guide, you’ll mostly use straight lines, and you can use a ruler if you’d like to make them perfectly straight. This simple tutorial is suitable for beginners and anyone who enjoys drawing LEGO characters.
The finished drawing shows a green LEGO ninja with a covered face and two swords crossed behind his back. You can later include this character in drawings with other LEGO ninjas or action scenes.
Time needed: 1 hour
How to Draw Lego Ninja
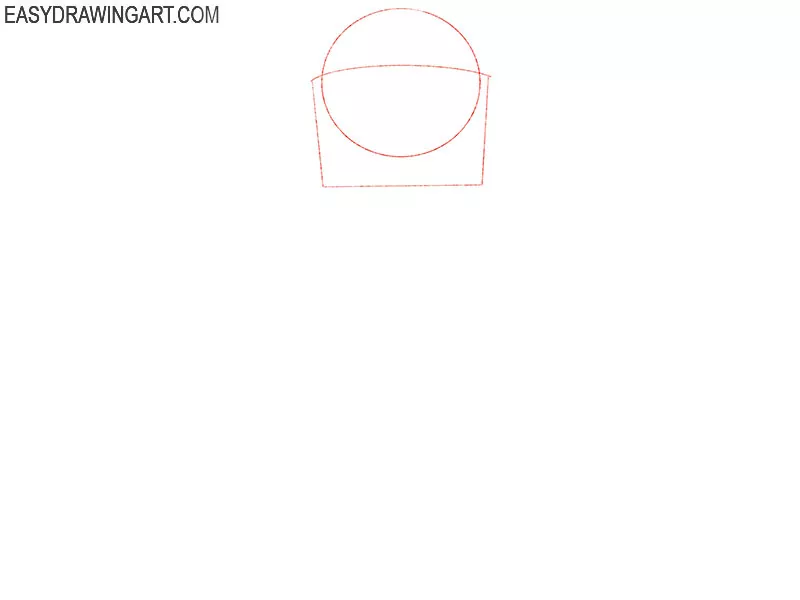
- Draw the outline of the Lego Ninja’s head.
To complete this step, draw one circle and add a trapezoid-like shape with a curved side.

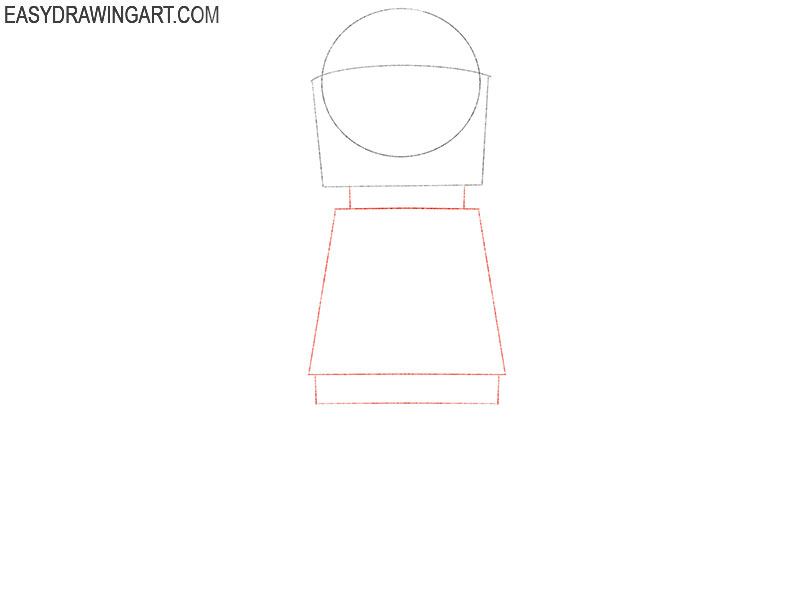
- Add the outlines of the character’s torso.
Below the drawn head, draw a trapezoid and several straight vertical and horizontal lines.
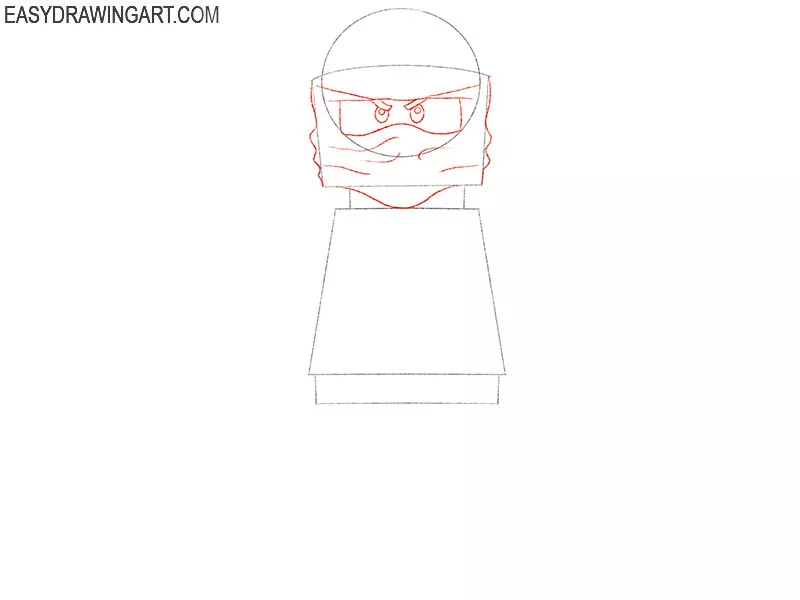
- Depict facial features and costume elements.
Inside the previously drawn outline of the head, add ovals, circles, and also draw curved lines.
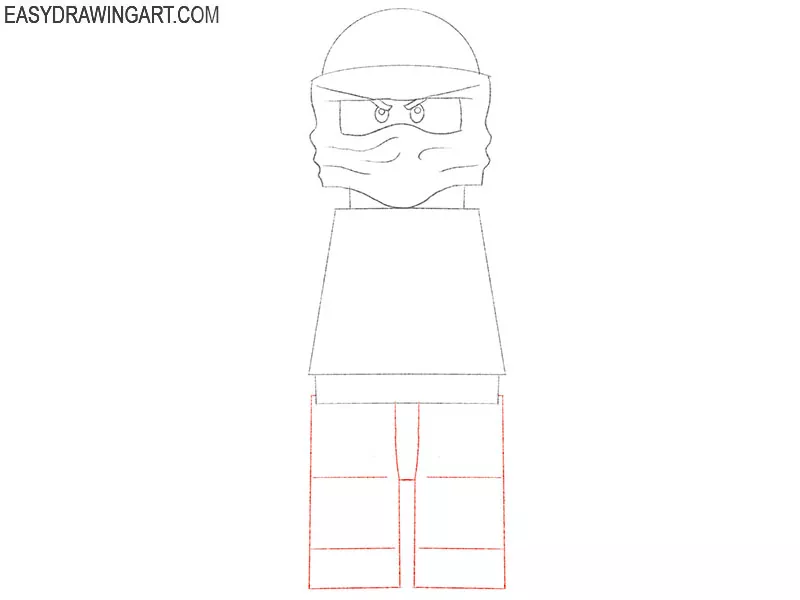
- Sketch out the legs of the Lego Ninja.
Below the previously drawn torso, depict two identical legs using straight lines.
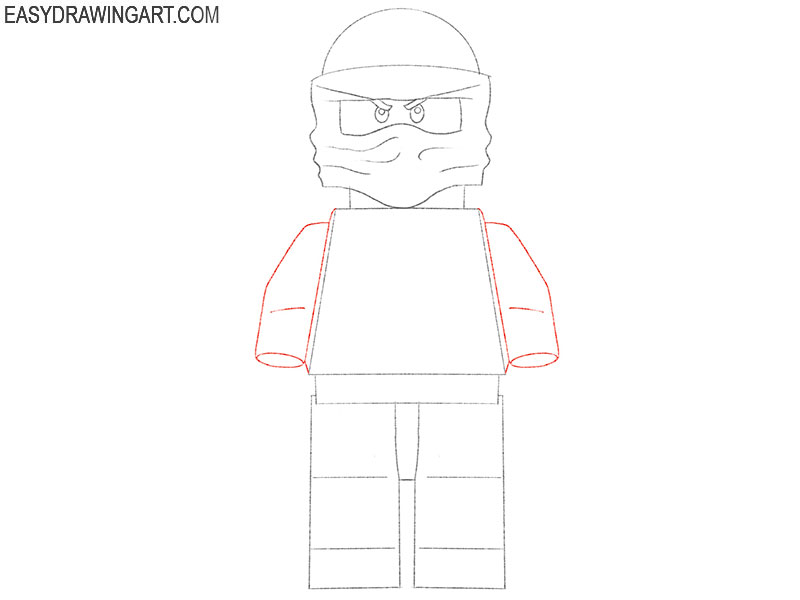
- Add the outlines of the character’s hands.
Depict two symmetrical arms on the right and left sides of the Lego Ninja body using ovals and lines.
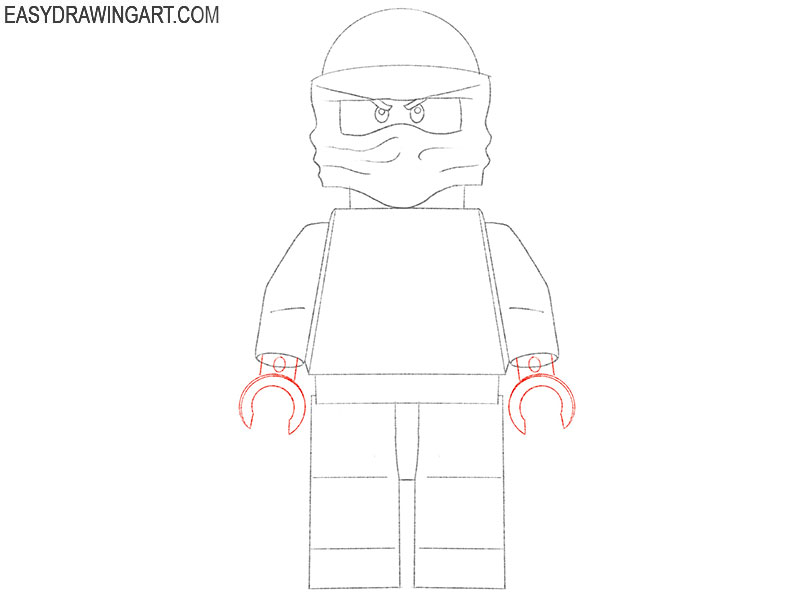
- Draw the lower Lego Ninja arms.
At the bottom of the previously drawn elements, add arcs, ovals, as well as straight lines, as shown in the figure.
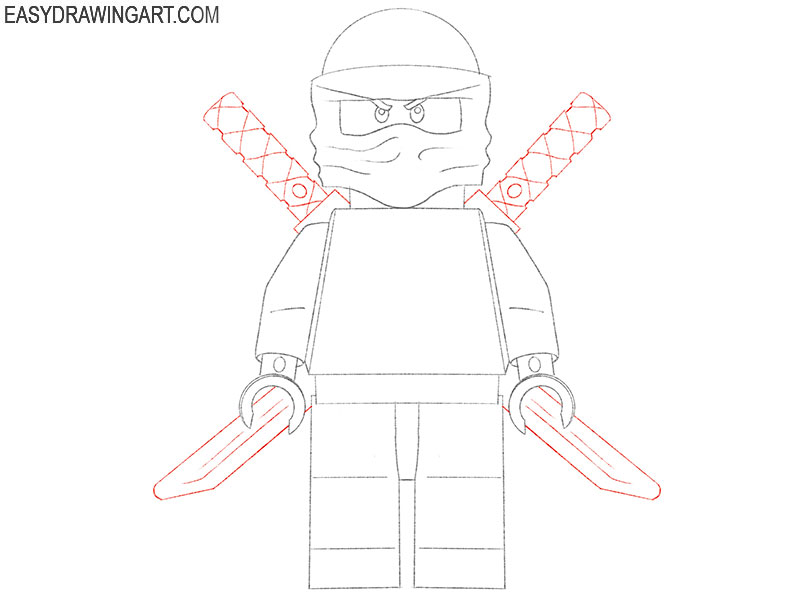
- Depict the Lego Ninja swords.
Draw two identical swords behind the character’s back, using ovals, as well as straight and curved lines.
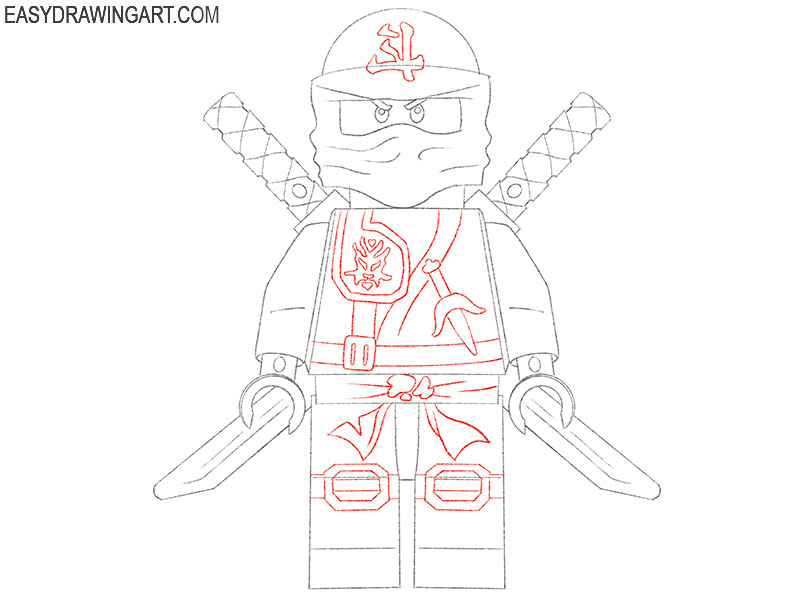
- Add the costume elements.
Now we should add the lot of decorative elements on the head, torso, and legs of the character.
- Color the drawing.
To color Lego Ninja, use shades of brown, yellow, shades of green, orange, and black.
I’m sure you did a great job with this! Now you know how to draw a Lego Ninja in just nine easy steps. If this lesson was useful to you, you can visit other drawing lessons on our website dedicated to drawing various characters. I will be glad to read your comments to see if you succeeded in completing this drawing lesson. I will also be happy to take into account your wishes for new drawing lessons. If you liked this tutorial and found it useful, you can share it with your friends.