How to Draw a Cougar
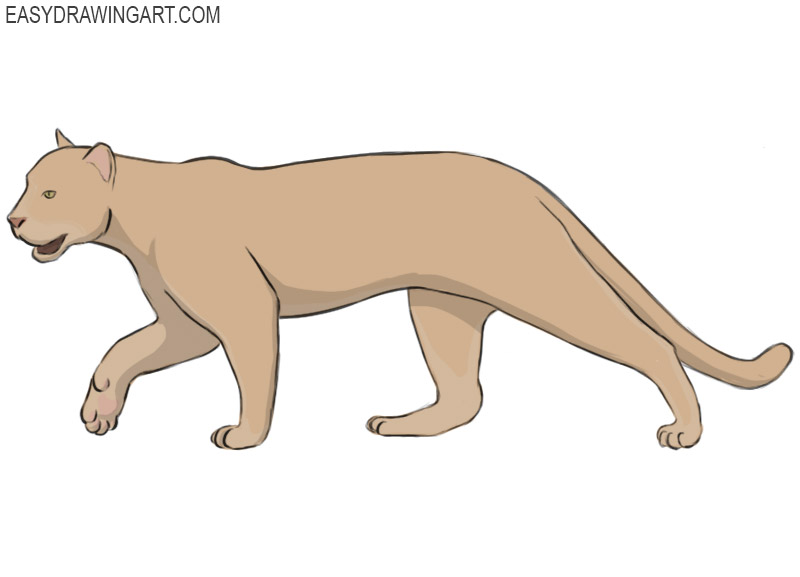
In this tutorial, we’ll show you how to draw a cougar step by step. We’ll first show you how to sketch this wild cat, then tell you how you can make your drawing look even better using simple techniques.
Learning how to draw a cougar is good practice if you want to become more confident drawing wild cats.
Many of the same construction principles can later be applied to lions, leopards, panthers, and other members of the cat family.
How to Draw a Cougar Step by Step
Step 1: Sketch the cougar’s basic shapes
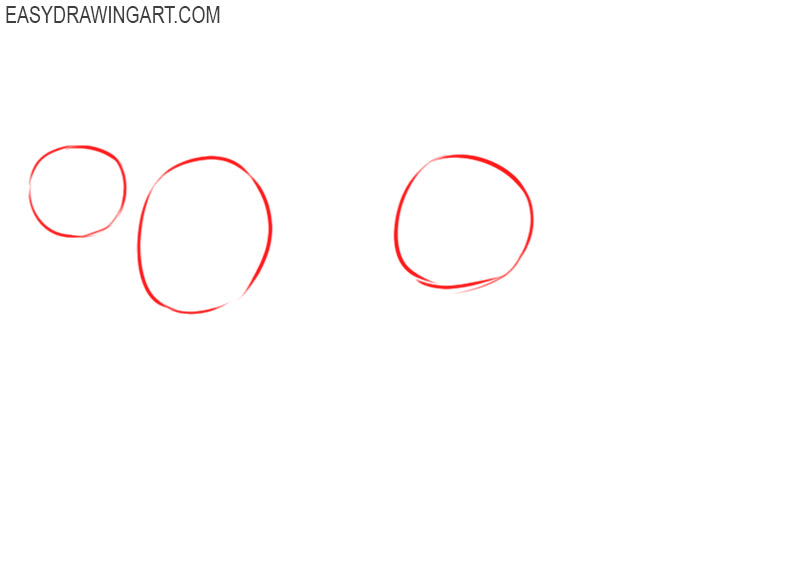
Draw three circles to create the cougar’s construction guides. Use a smaller circle for the head and two larger circles for the chest and rear section of the torso.
Step 2: Mark the cat’s spine and limbs
Draw one long line from the head through the body and extend it toward the end of the cougar’s tail. Use thin angled lines to mark the position and bend of all four legs.
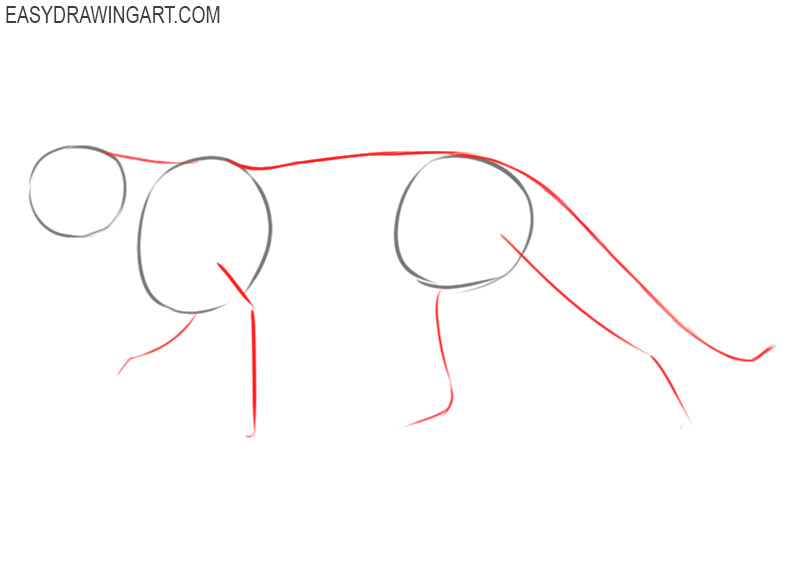
Step 3: Outline the cougar’s torso
Connect the head to the chest with a short curved line. Then outline the underside of the torso and continue the same contour along the lower edge of the tail.
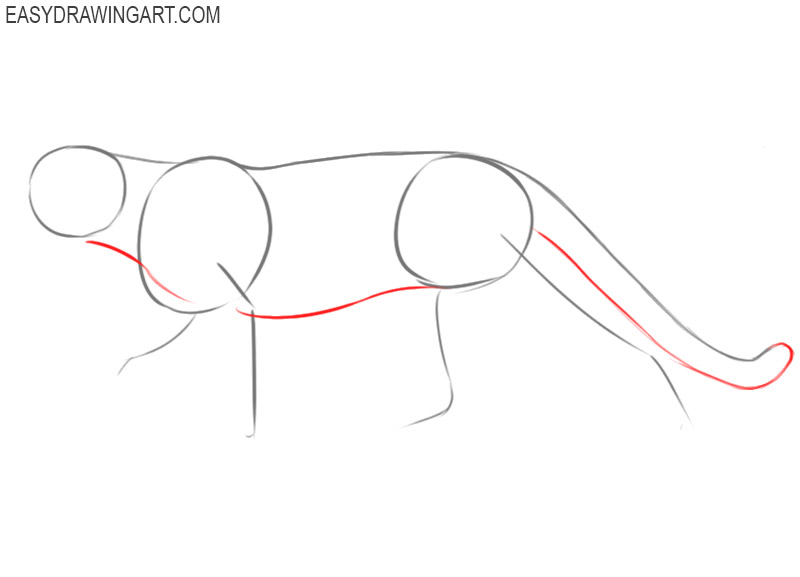
Step 4: Draw the big cat’s muzzle
Add a slight curve above the eye area to form the brow. Use smooth lines to extend the front of the muzzle, then outline the bridge of the nose and upper jaw.
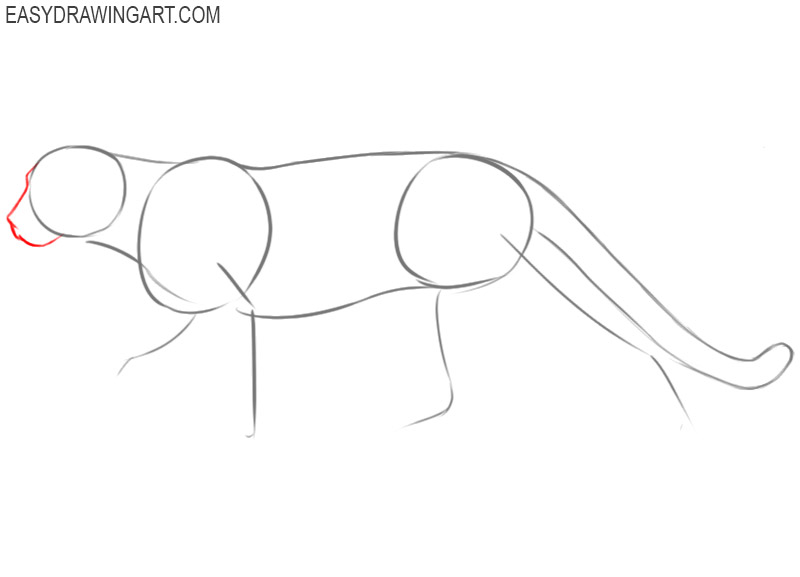
Step 5: Add the eye and nose
Draw a cougar’s almond-shaped eye beneath the brow and add the pupil inside it. Then outline the nose as a small rounded triangle at the front of the cougar’s muzzle.
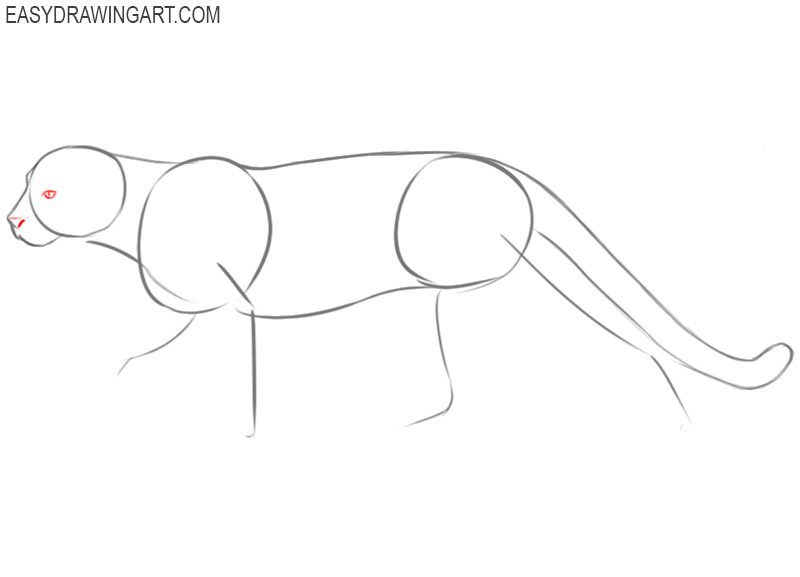
Step 6: Outline the open mouth
Use curved lines to draw the cougar’s lower jaw beneath the muzzle and leave a clear gap between the two jaws. Add the inner edge of the mouth so the opening has visible volume.
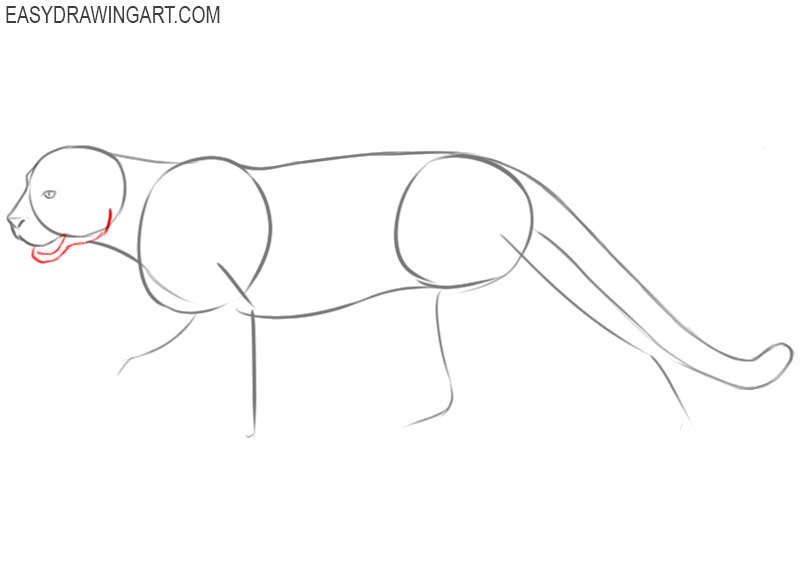
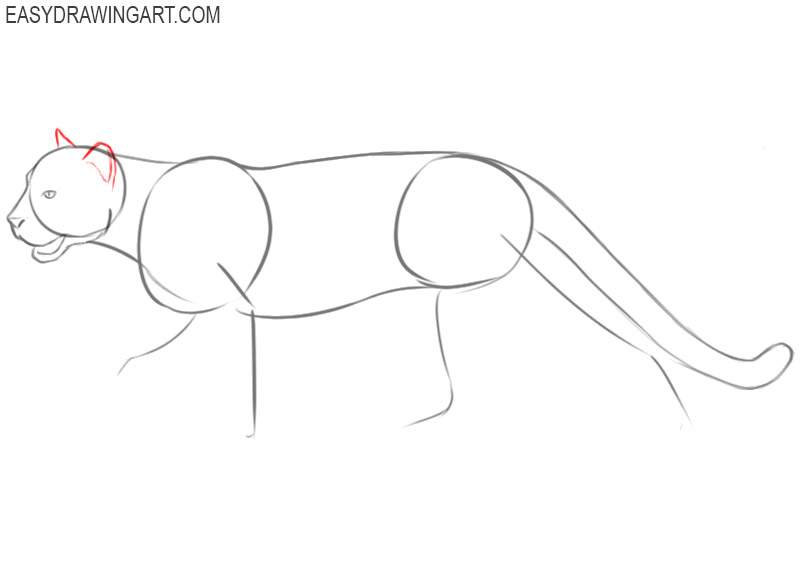
Step 7: Draw the cougar’s ears
Outline the nearer ear with a short shape on top of the head. Only the upper part of the farther ear remains visible, so draw it as a smaller triangular curve.
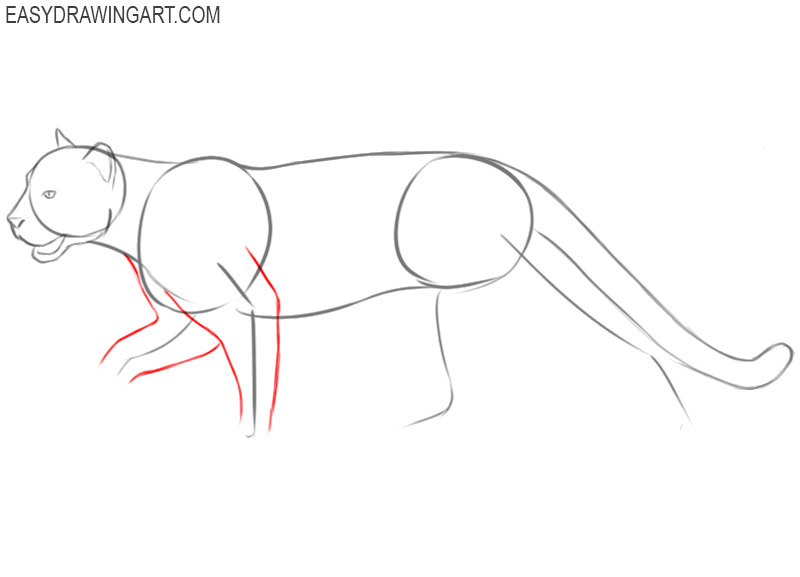
Step 8: Outline the front legs
Use the guidelines from the second step to outline both front legs. Widen them near the shoulders and narrow the contours gradually as they approach the paws.
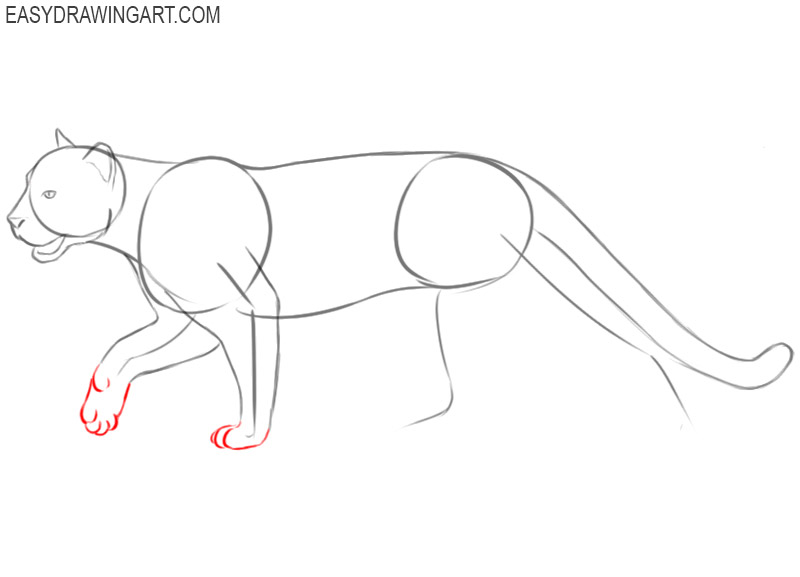
Step 9: Draw the big cat’s front paws
Outline a broad paw at the end of each front leg. Use several short rounded lines to draw the toes without separating them too deeply.
Step 10: Shape the cougar’s hind legs
Outline the hind legs with broad upper sections around the hips and narrower lower sections. Emphasize the curved thigh and the bend of each rear leg.
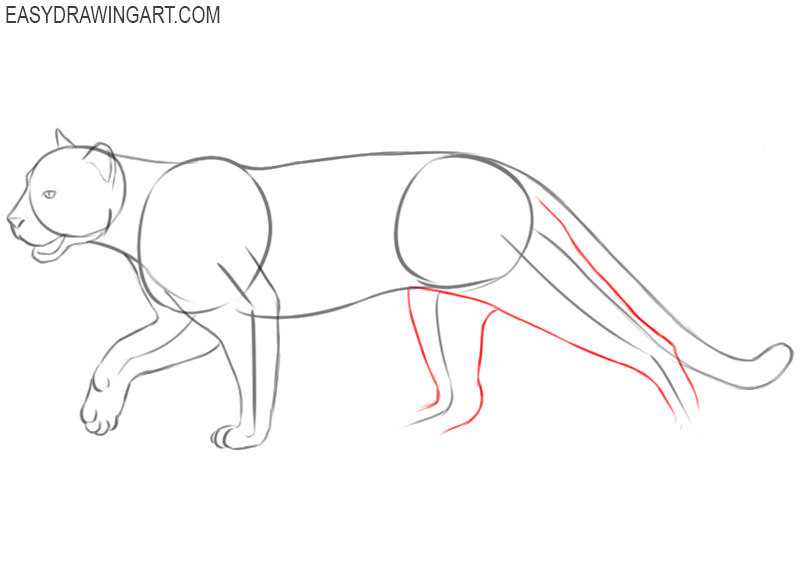
Step 11: Complete the rear paws
Draw one rear paw resting flat on the ground and bend the other beneath the body. Add several short curved lines to separate the toes on both paws.
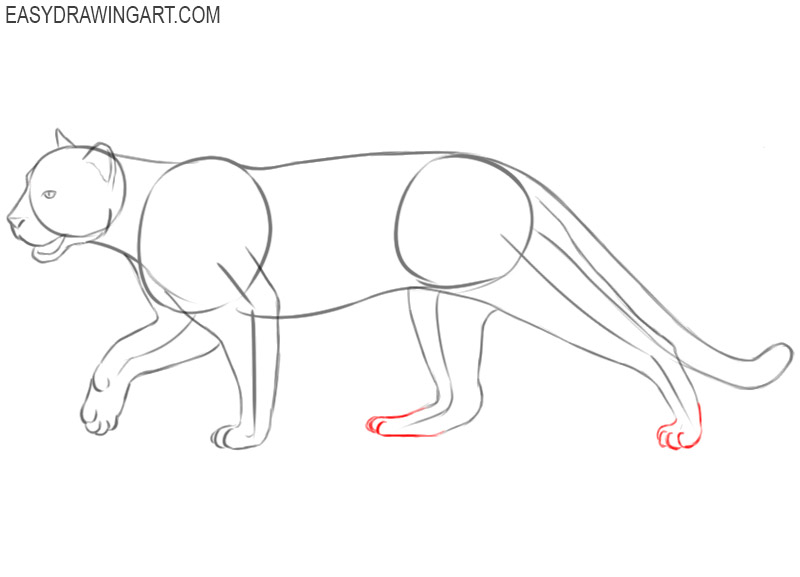
Step 12: Erase the construction lines
Erase the circles, limb guidelines, and other construction marks from the cougar drawing. Darken the remaining contours and correct any lines that became uneven.
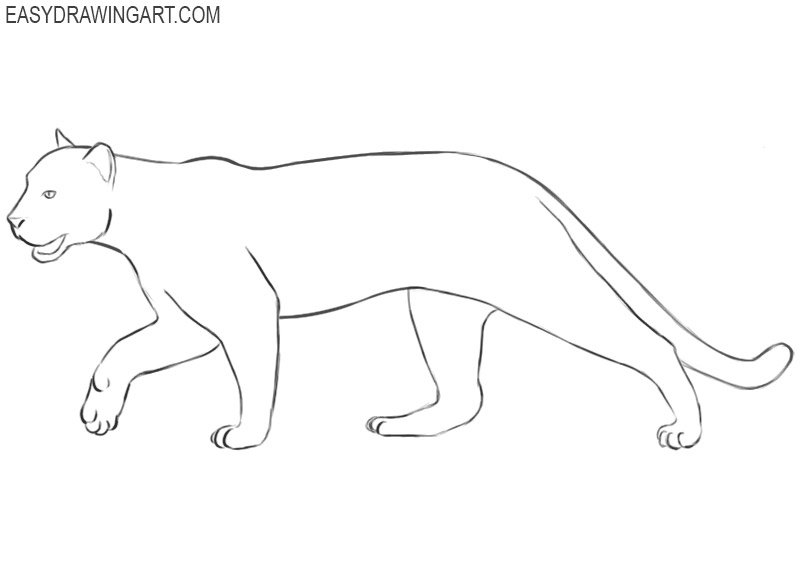
Step 13: Color the mountain lion
Use light brown for the coat and add darker shading beneath the body, along the legs, and around the face. Color the eyes yellow and darken the nose and mouth.
Details That Strengthen the Cougar Drawing
The shoulder sits higher than the rib cage, so don’t connect the neck directly into the back with one continuous curve.
Let the shoulder create a subtle break in the silhouette. That single change makes the body feel much more natural.
The neck should gradually widen as it approaches the shoulders. If it stays the same width all the way down, the head appears attached instead of supported by the body.
If the cougar looks more like a dog than a wild cat, avoid changing the ears first. The problem is usually the muzzle. Shortening it slightly and rounding the forehead often restores the feline appearance without affecting the rest of the drawing.
The same construction works for many other wild cats. Once you’re comfortable with the body and leg placement, try to draw a panther or draw a cheetah and notice how small changes to the back, neck, and proportions completely change the character of the animal.
If the head gives you the most trouble, practice it separately before combining it with the full body. Spending a little extra time drawing a lion’s head or drawing a cat head makes it much easier to sketch convincing feline faces.