How to Draw a Panther
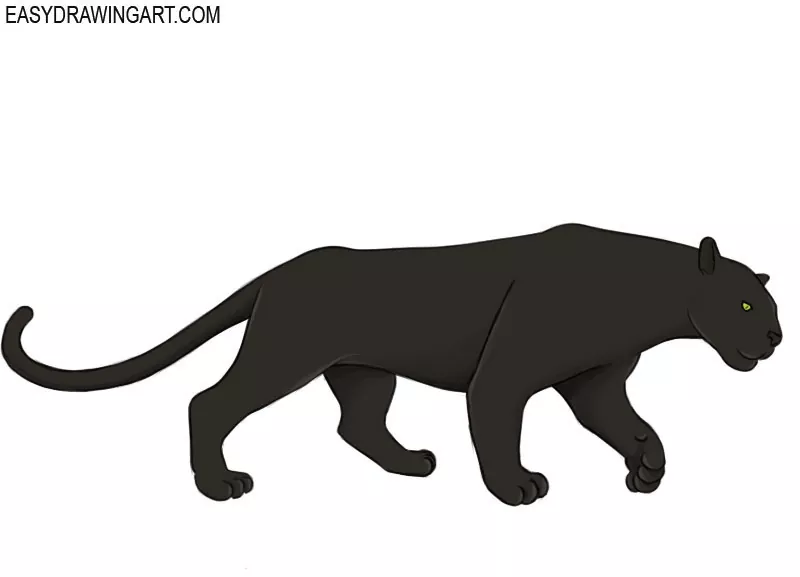
Learning how to draw a panther is useful practice for anyone interested in large cats. The same basic construction can later be adapted to leopards, jaguars, cougars, and other members of the cat family.
A panther’s dark coat hides much of its surface detail, so the drawing depends mainly on a silhouette and convincing body construction.
How to Draw a Panther Step by Step
Step 1: Establish the panther’s body
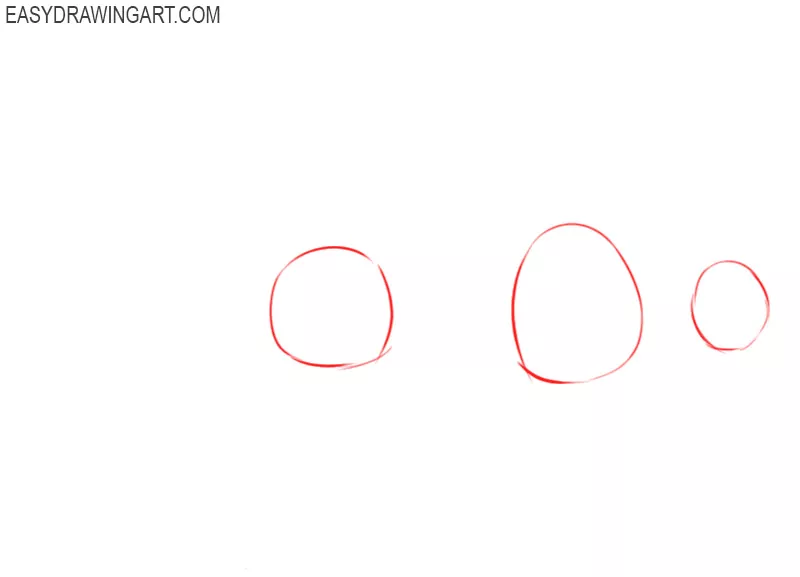
Draw three circles to establish the size and placement of the panther’s head, chest, and hips. Leave enough space between the body circles for the long, flexible torso.
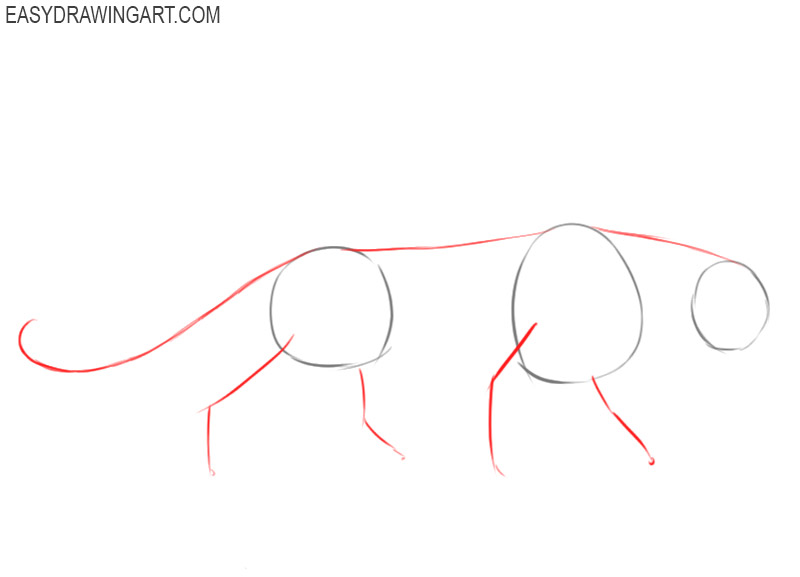
Step 2: Sketch the back and limbs
Connect the circles along the top with one smooth line to form the neck, back, and upper edge of the tail. Add four simple lines below the torso to mark the limbs.
Step 3: Define the lower body
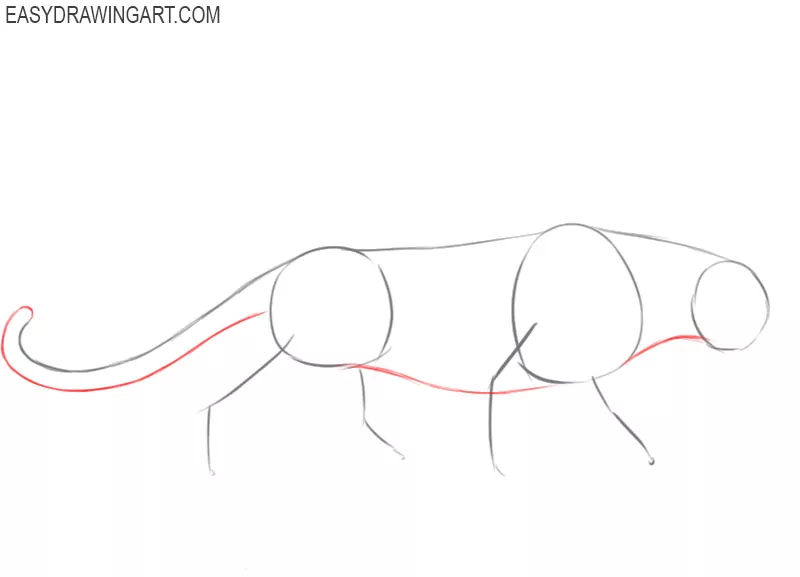
Draw a smooth curved line beneath the circles to form the lower neck, chest, and belly. Continue the line toward the hips, then add the lower edge of the tail.
Step 4: Outline the panther’s muzzle
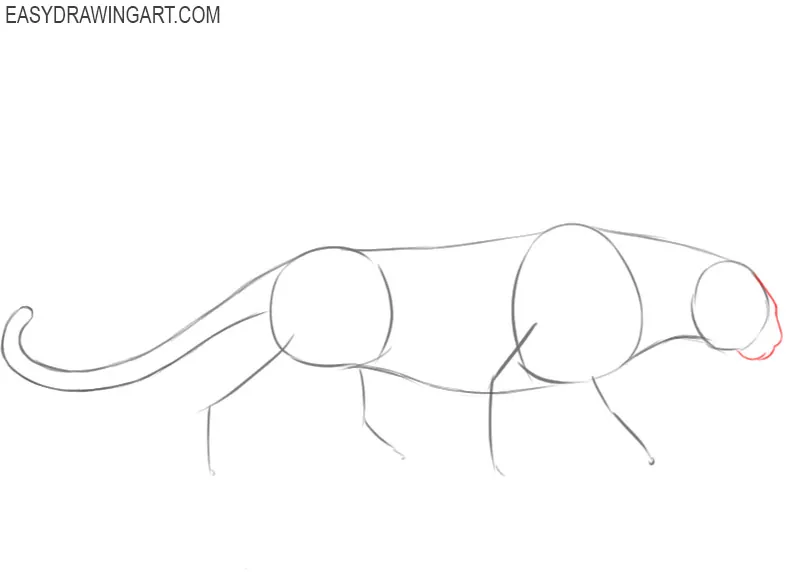
Use smooth curved lines to outline the brow, bridge of the nose, and upper jaw. Keep the muzzle compact so the head retains the broad profile of a large cat.
Step 5: Add the nose and jaw
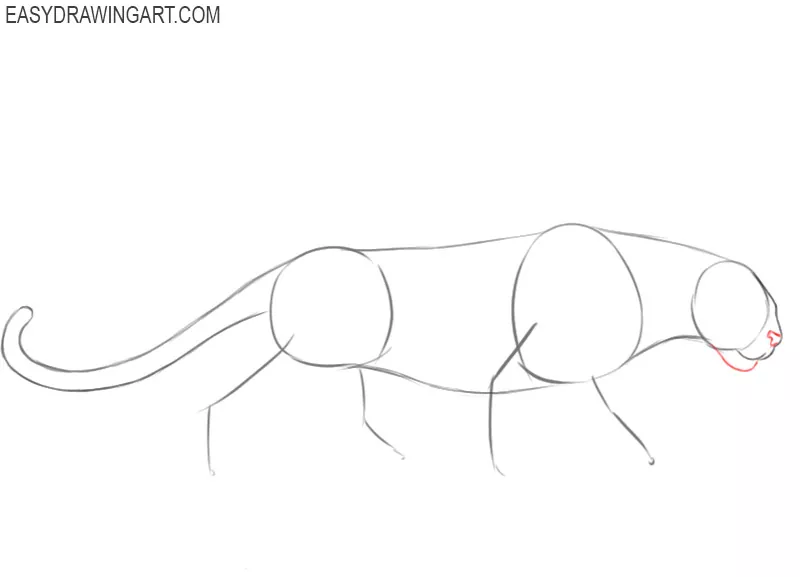
Draw the panther’s nose at the end of the muzzle, then outline the lower jaw with a rounded line. Add the short mouth line between the upper and lower parts of the muzzle.
Step 6: Draw the feline features
Add the small eye beneath the brow and draw the rounded ears. Place one ear slightly higher than the other because the panther’s head is tilted to one side.
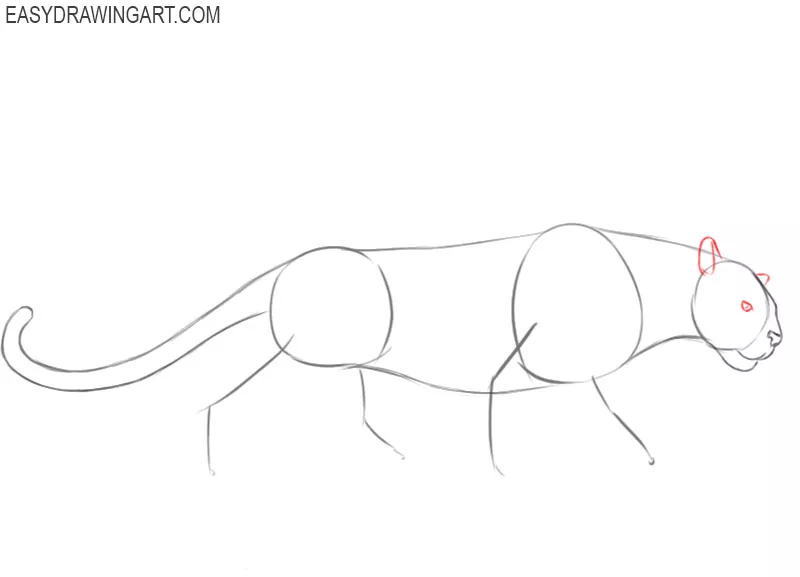
Step 7: Shape the front legs
Add volume around the front limb guidelines. Keep each leg broad near the shoulder and gradually narrow it toward the wrist, preserving the natural bends at the joints.
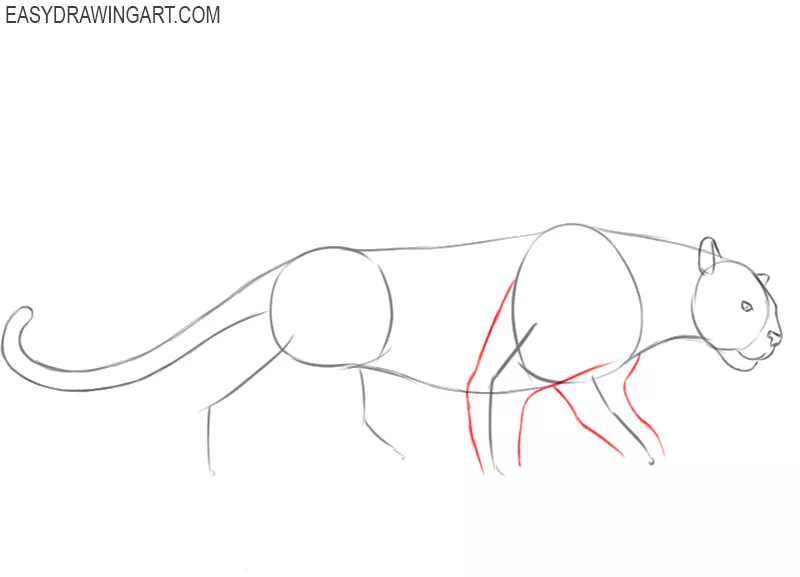
Step 8: Complete the front paws
Use rounded lines to draw the front paws at the ends of the legs. Define the soles, then separate the toes with a few short curved lines.
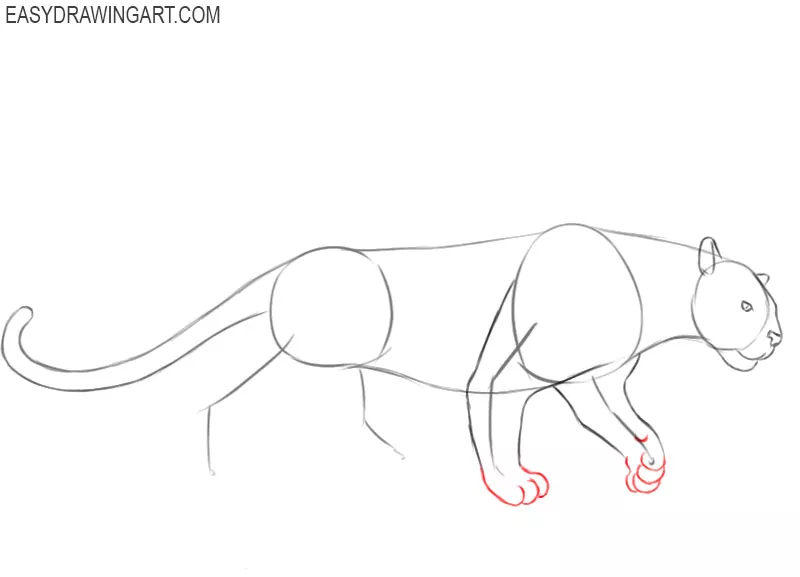
Step 9: Draw the panther’s hind legs
Outline the broad thighs around the rear guidelines, then narrow each leg toward the lower joint. Add the backward bends behind the legs to show the feline joint structure.
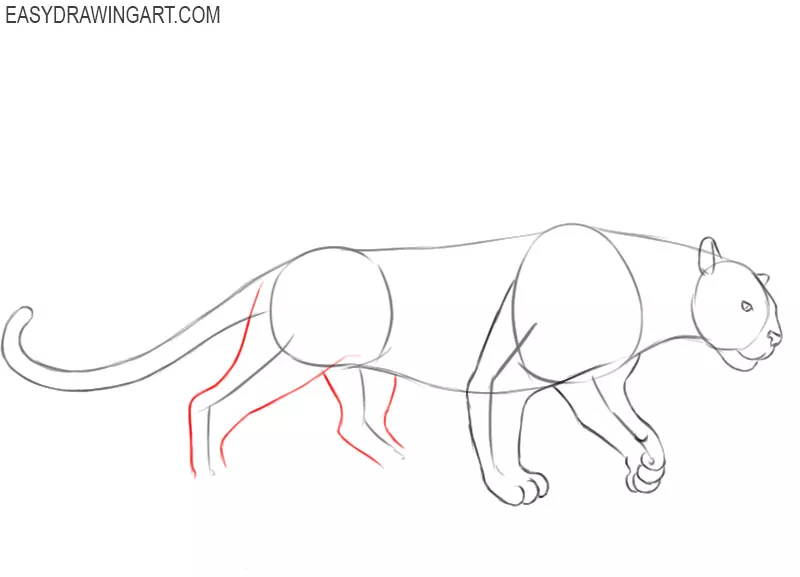
Step 10: Finish the rear paws
Complete the lower parts of the hind legs and add the rear paws with rounded lines. Draw the soles and divide the front edges into separate toes.
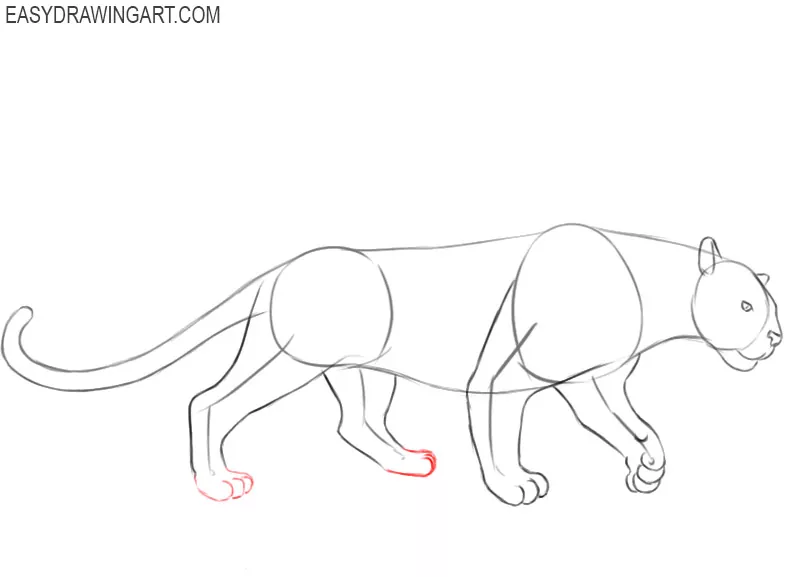
Step 11: Clean up the line drawing
Erase the construction lines and correct any uneven contours that remain. Darken the final outline, keeping the transitions between the neck, torso, and legs smooth.
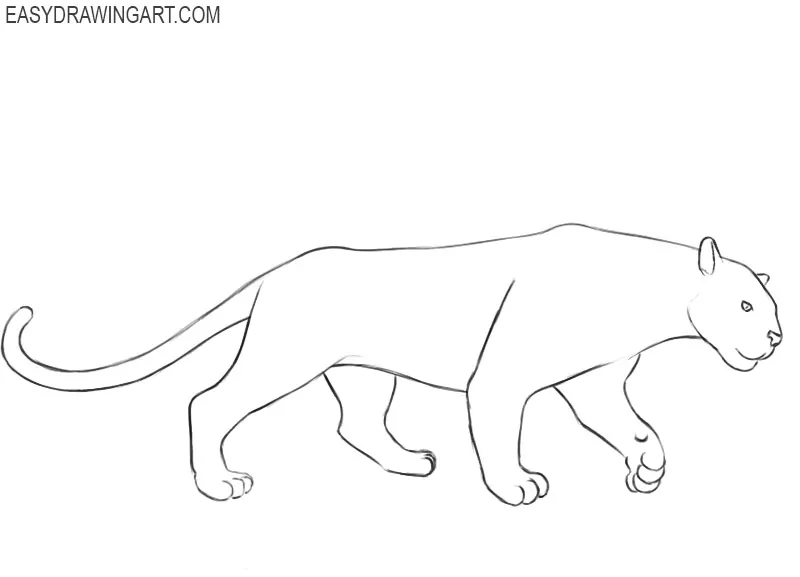
Step 12: Color the black panther
Fill the fur with dark gray rather than solid black so the contours remain visible. Use black for the deepest shadows, then add lighter gray to the muzzle, chest, and upper surfaces.
Useful Details to Check
A panther can quickly begin to resemble a dog if the muzzle extends too far beyond the forehead. Shorten the nose before changing the ears or eyes; the same correction is useful when you draw a leopard.
The body should remain longer than the combined width of the chest and hips. If the legs seem crowded beneath the torso, increase that space before redrawing them. You can test the same basic construction in a lighter, more upright pose by drawing a cougar.
When drawing the face, place the eye only after the muzzle feels correct. Even a perfectly drawn eye won’t fix a head with the wrong proportions, but a properly built head will still read well with very simple facial details.
Most drawing mistakes begin with the legs, but the real cause is usually the body. If the distance between the chest and hips is too short, every leg will look cramped no matter how carefully you redraw it. Adjust the torso before changing the limbs.