How to Draw the Human Torch
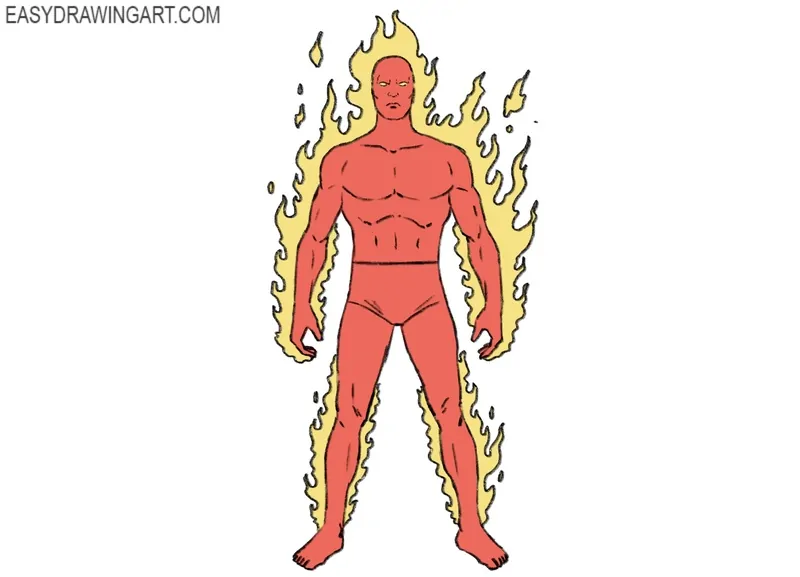
Learn how to draw the Human Torch from the Fantastic Four in his flaming form, using the style of classic Marvel comic books. This interesting character is known for his ability to engulf his entire body in flames, fly, and control fire.
The most important elements in this tutorial on how to draw the Human Torch are his muscular figure and the shape of the flames. Unlike costumes with textures and symbols, his body is mostly a smooth red surface without distinct costume elements. The only visual complexity comes from the flame shapes, which follow the contour of his body.
Professional artists usually start with a classic male figure sketch, keeping the anatomy correct and simple. They then outline bold, fluid flame shapes around the body. Flames follow the shapes of the body. Most drawings of the Human Torch do not include detailed facial features, as the flames tend to dominate the composition.
How to Draw the Human Torch Step-by-Step
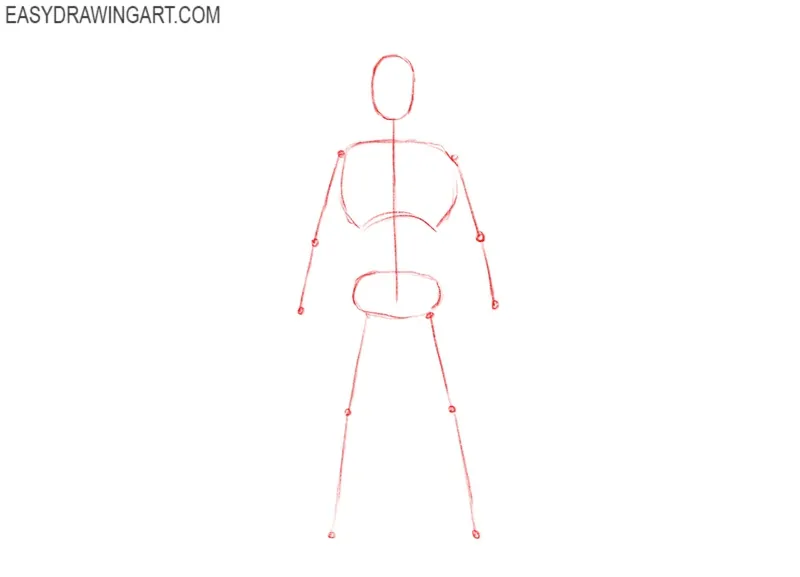
Step 1: Draw the Human Torch’s basic structure
Sketch an oval for the head, a vertical line of the spine down the center, and add shapes for the chest, pelvis, arms, and legs using sticks and circles to define joints. Use very light lines for this step.
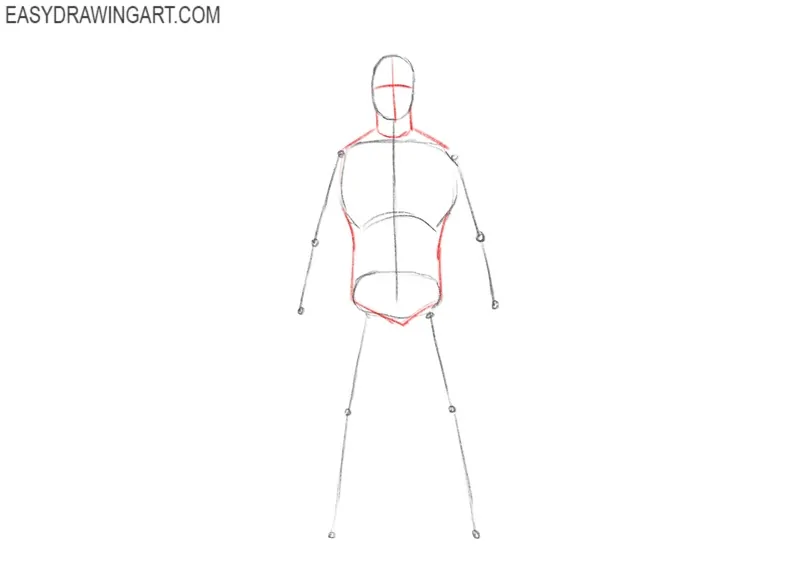
Step 2: Sketch the facial guidelines and torso
Add the shape of the neck and define the outer sides of the torso, following the ribcage and waist contours to create the upper body structure. Draw these parts of the Human Torch with very smooth lines to form some volume.
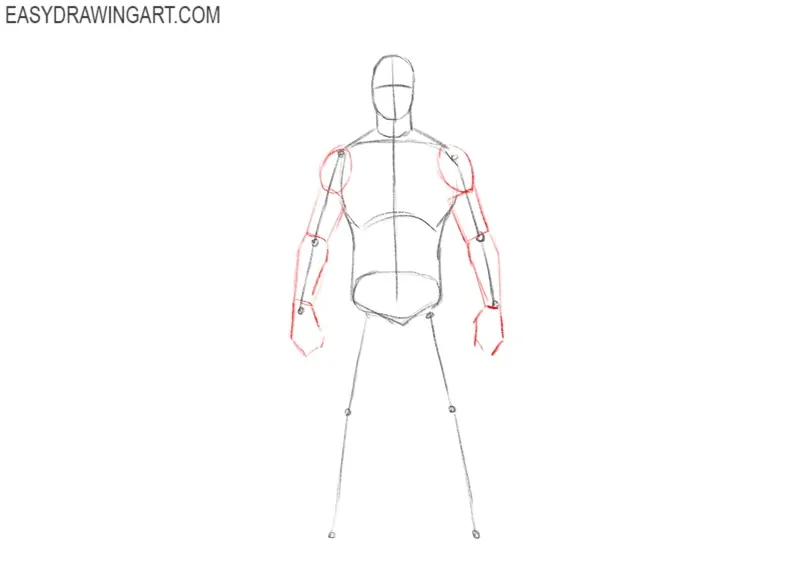
Step 3: From the arms of Johnny Storm
Sketch the arms of the Human Torch using cylindrical shapes, adding volume to the shoulders, biceps, forearms, and hands with visible wrist angles and simple fists.
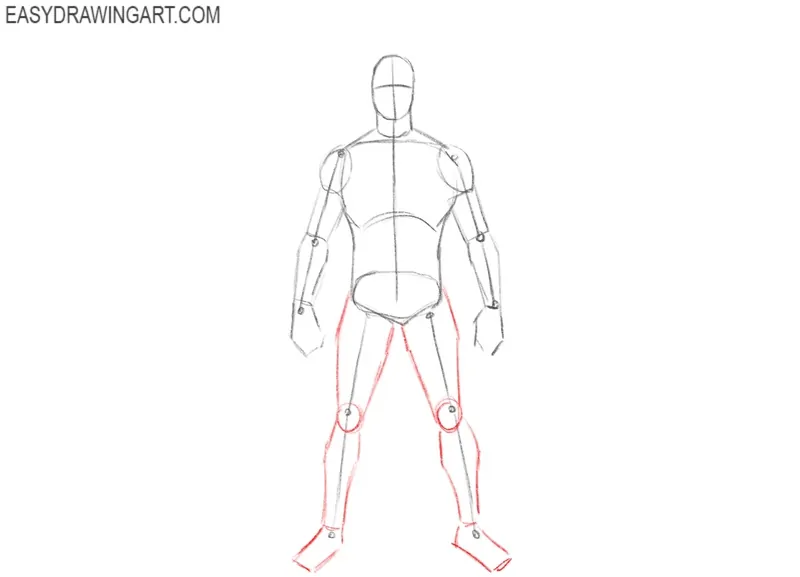
Step 4: Form the superhero’s legs
Define the legs of the Human Torch using angled lines, showing the muscle shape and positioning of the thighs, and lower legs. Use smooth circles to draw Human Torch’s knees.
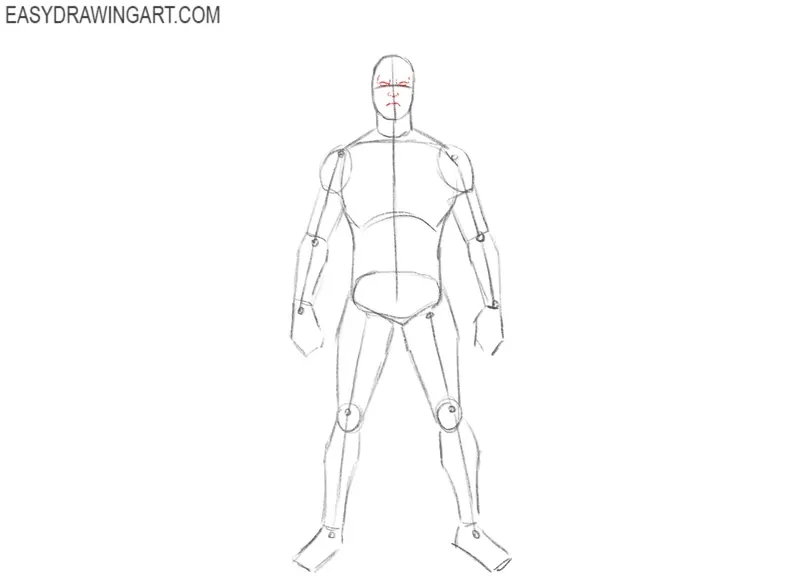
Step 5: Draw Johnny Storm’s facial features
Draw the Human Torch’s eyes, brows, nose, and mouth on the face, keeping the expression neutral and the features very simple. To draw these parts correctly, use the guidelines from the previous steps.
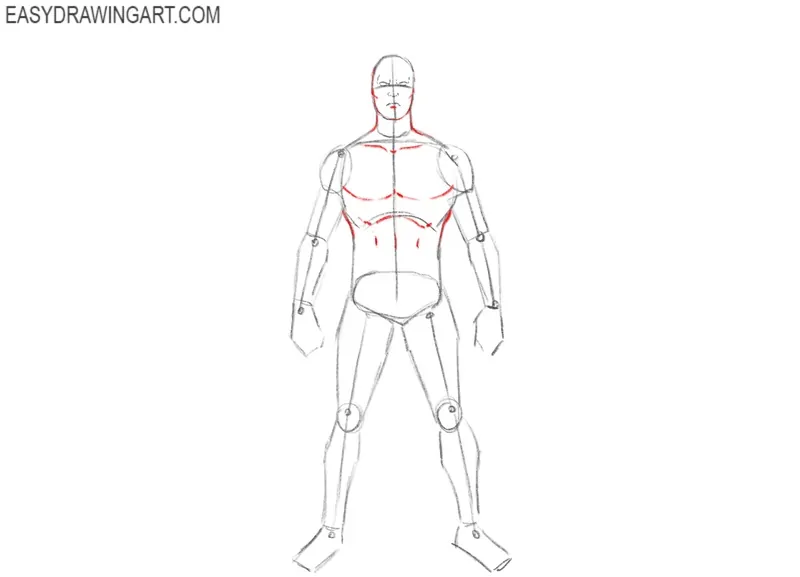
Step 6: Detail the torso of the superhero
Draw the visible muscle lines on the chest, shoulders, and abdomen to show form in the upper body. Use very smooth lines making these parts of the body more polished.
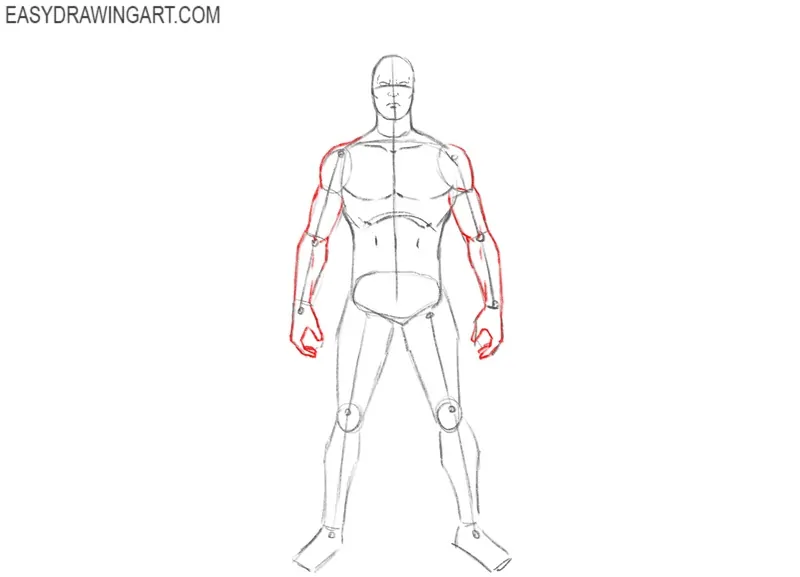
Step 7: Detail the character’s arms and hands
Trace over the arms and hands to smooth out their shapes, adding detail to the fingers and muscle contours. Define the deltoids, biceps, triceps, forearms, and hands.
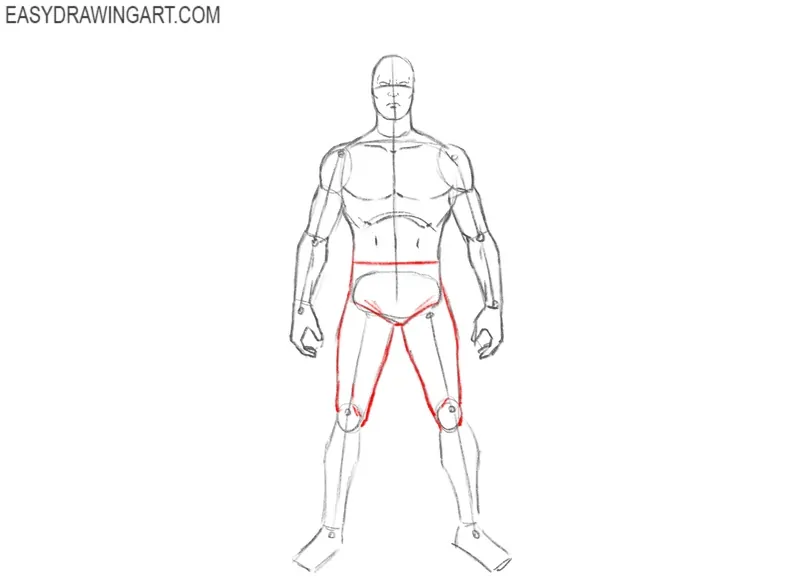
Step 8: Draw the Human Torch’s legs in detail
Complete the leg outlines by redrawing the thighs and hips with more precise curves and adding muscle details around the knees. Again, use very smooth and finished lines.
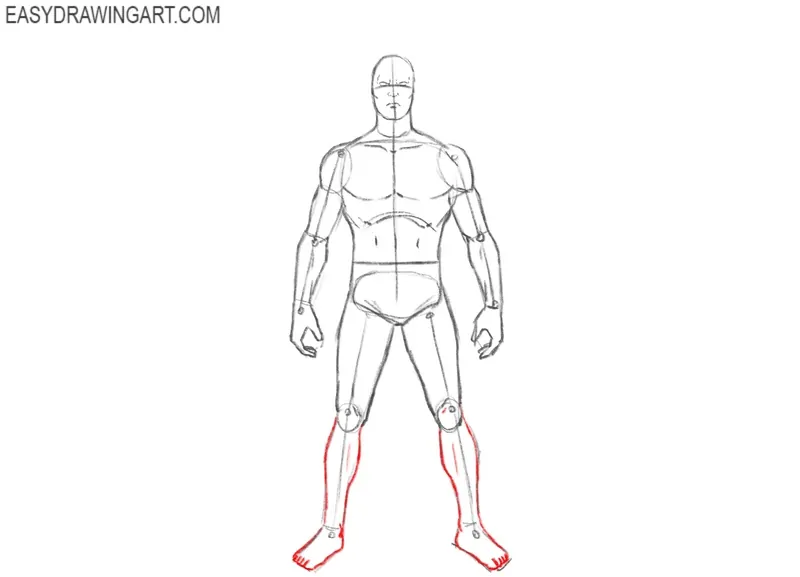
Step 9: Detail the calf muscles and feet
Draw the calves and ankles in detail, using more smooth and polished lines. Then, use smooth lines to detail the flat feet with toes facing outward.
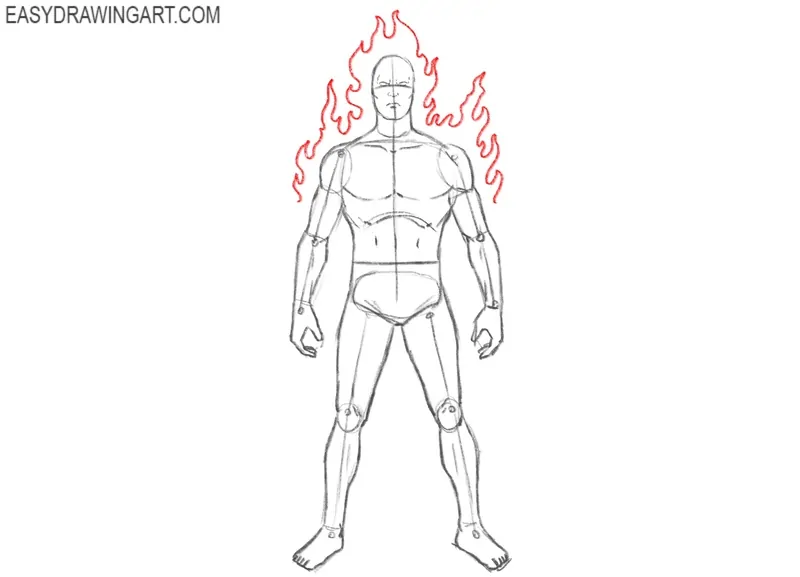
Step 10: Start drawing the Human Torch’s flames
Sketch curved, rising flame shapes around the head and shoulders, following a natural flow that complements the figure. Don’t make these shapes too detailed, just use a basic flame shape as in our fire drawing tutorial.
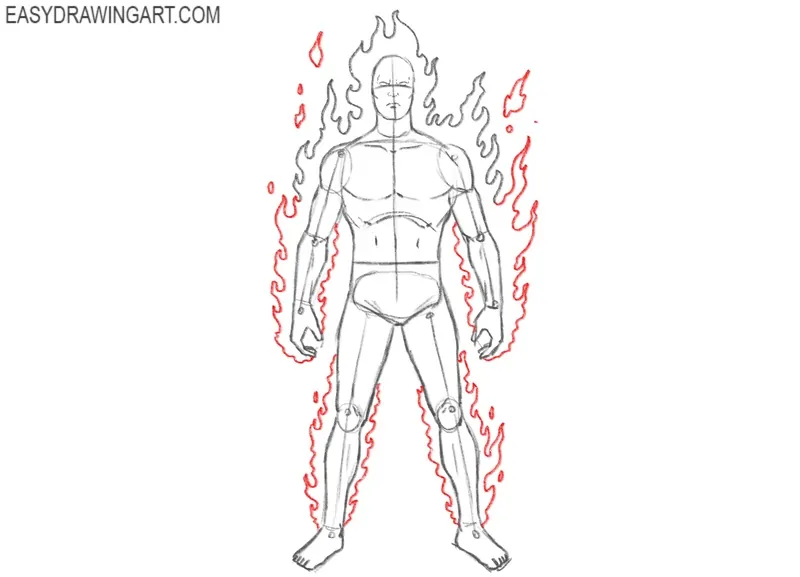
Step 11: Draw flames on the lower body
Draw flame shapes rising from the arms and legs of the Human Torch. Vary the size and direction to keep them realistic and follow the body’s contour naturally.
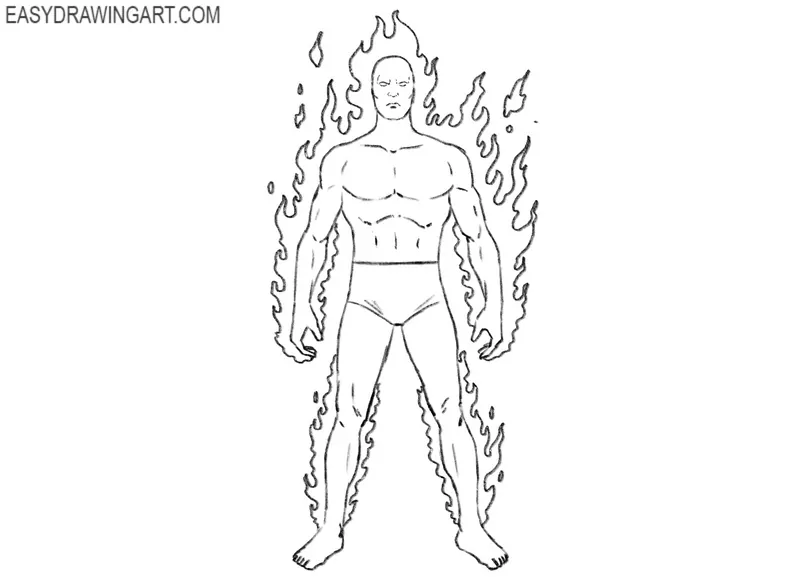
Step 12: Trace and finalize the drawing
Using a black pen or darker pencil, go over the final lines of the figure and flames. Erase any unnecessary construction lines to clean up the drawing of the Human Torch.
Step 13: Color the Human Torch drawing
Fill the body with a red tone and use a light yellow for the flames. Add orange or darker red shading if desired to give the Human Torch drawing a more realistic look.

Now that you’ve finished drawing the Human Torch, consider adding more detail or experimenting with different versions of the character. You can try drawing him in motion, surrounded by more intense flames, or even explore alternate comic book styles. The classic look you followed here is just one of many interpretations.
If you enjoyed this tutorial, check out our other guides featuring Marvel heroes. You might want to draw Spider-Man, Mister Fantastic, or even revisit this lesson using a different pose or flame design. Practicing figures with different outlines like this one is a good way to improve overall form and rhythm in character drawing.
Let us know what you thought in the comments section – we read every message. Don’t forget to follow us on social media for updates on new tutorials and lessons. Stay tuned for more drawing guides featuring well-known superheroes and classic comic book characters.