How to Draw Falcon

We suggest you sketch another Marvel Comics character, and learn how to draw Falcon. This is a superhero who has skills in acrobatics and hand-to-hand combat.
Falcon wears a suit that is covered with a thin layer of titanium and a layer of sensors capable of capturing solar energy.
On the back there are massive wings that make it possible to fly. As you work, try to correctly depict the position of your body in flight.
Step 1: Build Falcon’s basic figure
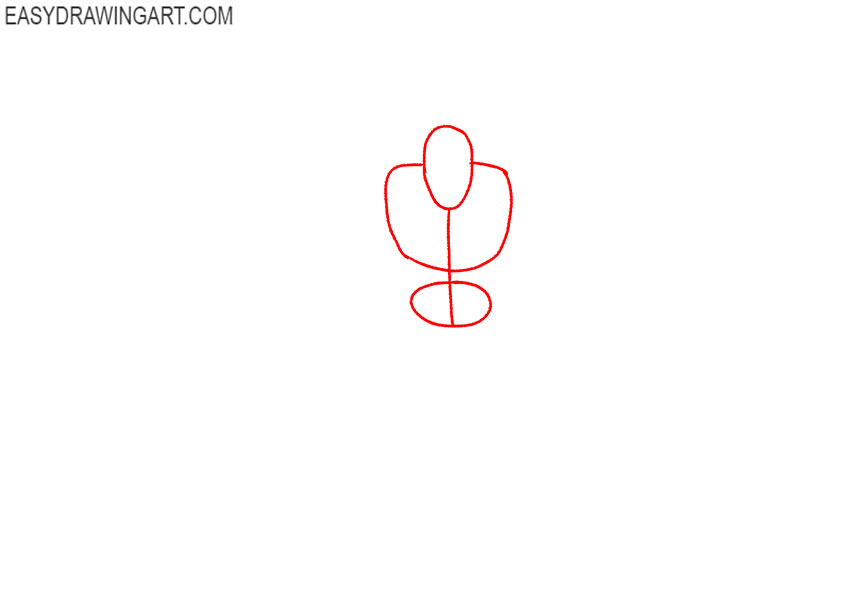
Place simple shapes for the head, chest, and pelvis, then connect them with a curved center line. Keep these construction marks light so they remain easy to adjust.
Step 2: Position the Avenger’s limbs and wings
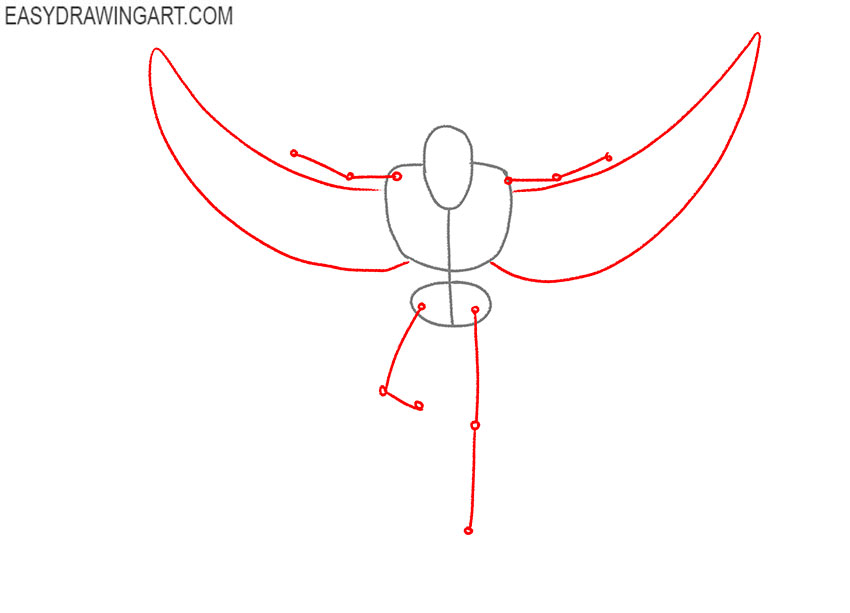
Indicate the arms and legs with thin lines, marking the shoulders, elbows, hips, and knees with rounded joints. Draw the wings of Falcon at the sides of the body using simple shapes.
Step 3: Shape Falcon’s masked head
Refine the head around the initial oval, forming the jaw and sides of the face. Add the upper mask, its pointed side sections, and the small emblem centered on the forehead.
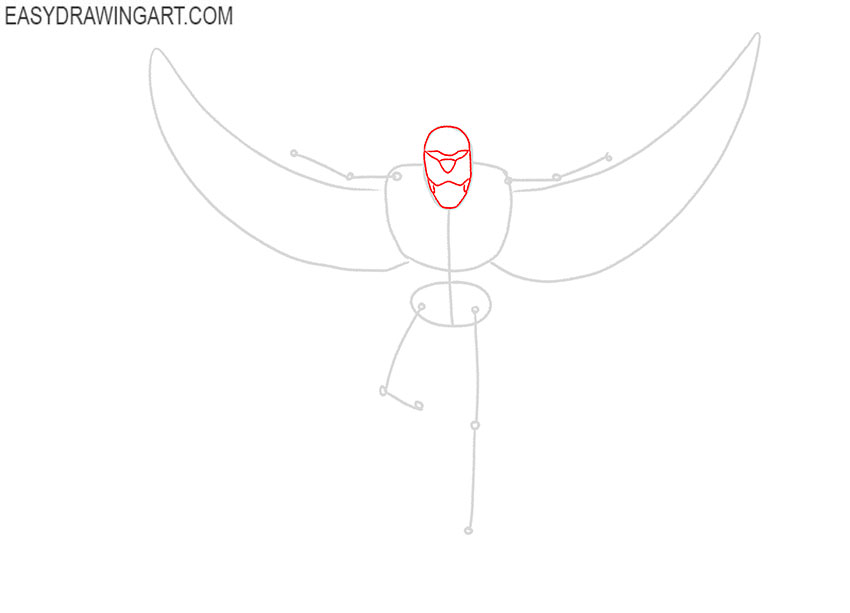
Step 4: Add the Marvel hero’s facial features
Draw the eyes inside the mask, followed by the nose and mouth. Complete the lower edges of the eye mask and add a few short facial lines around the nose and cheeks.
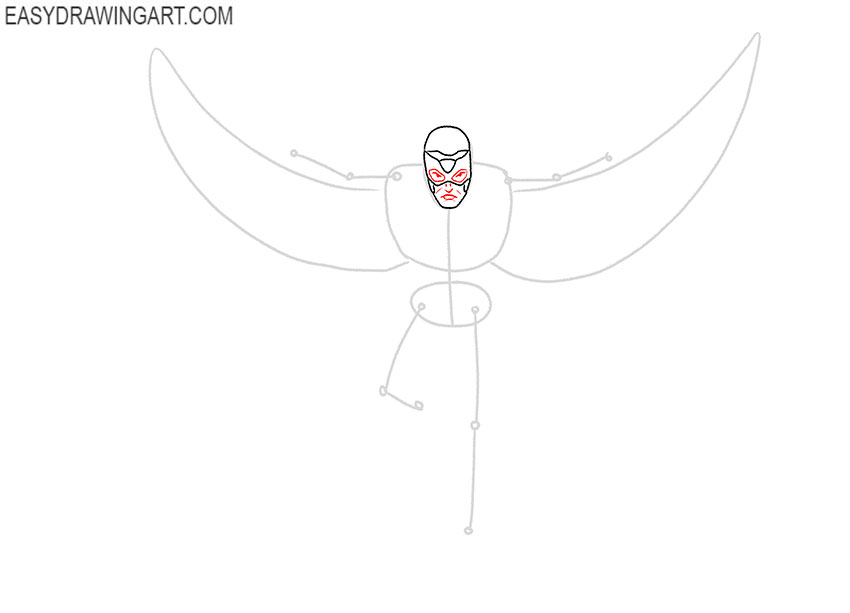
Step 5: Form the upper flight suit
Extend curved lines outward from the neck to sketch the shoulders. Below the head, add the pointed central panel and the angular upper sections of Falcon’s armored costume.
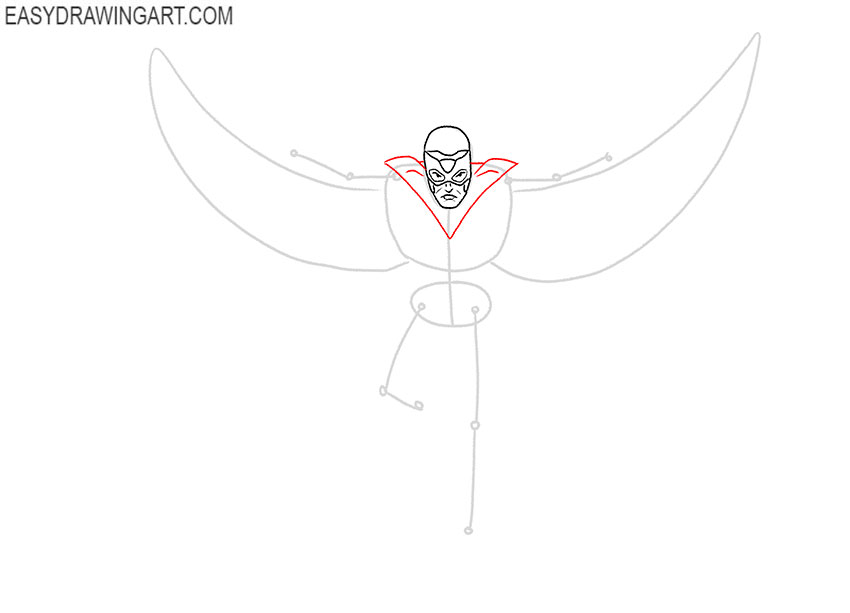
Step 6: Complete Falcon’s front arm
Now, draw the arm around its guide, defining the shoulder, upper arm, elbow, and forearm. Finish by drawing the open hand with the fingers extended and slightly spread.
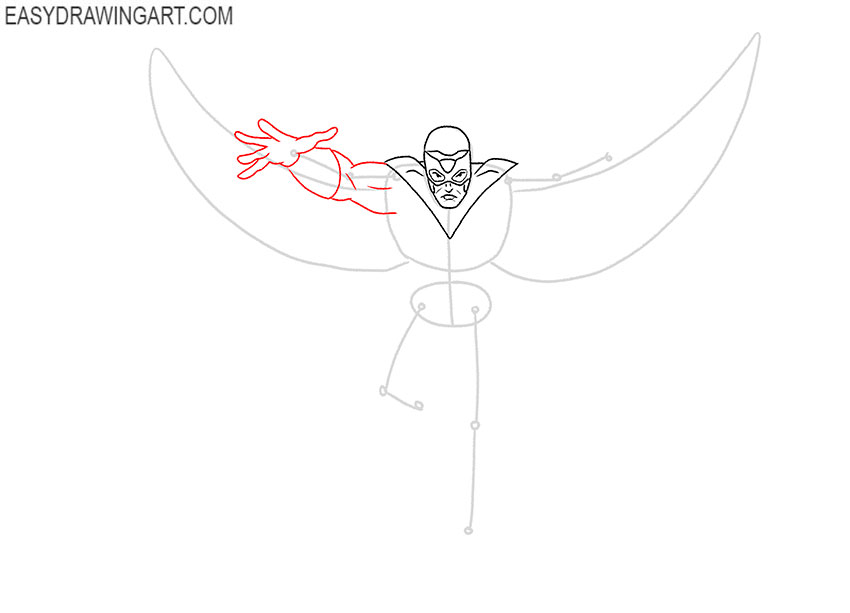
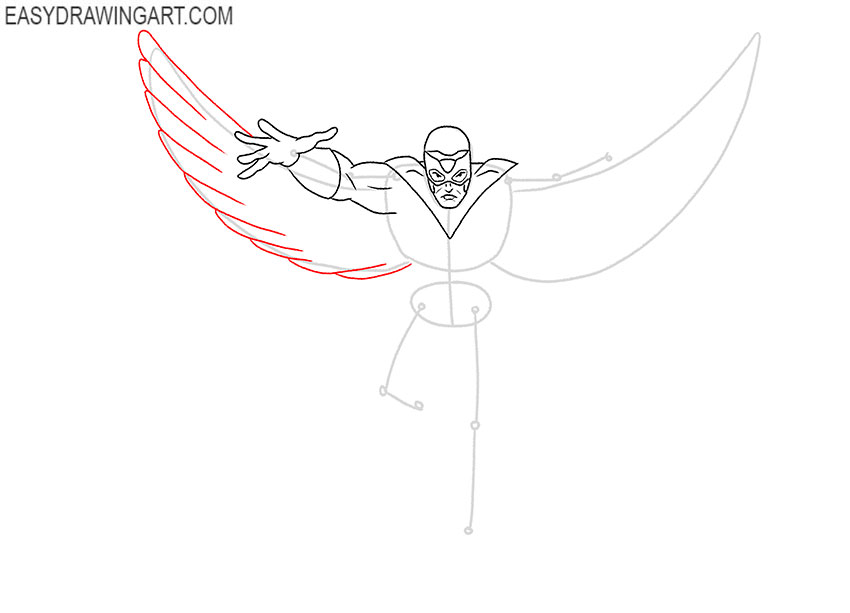
Step 7: Detail the first mechanical wing
Trace the first wing along the curved construction line. Separate it into overlapping blade-like feathers, using long arcs for the outer pieces and shorter lines near the base.
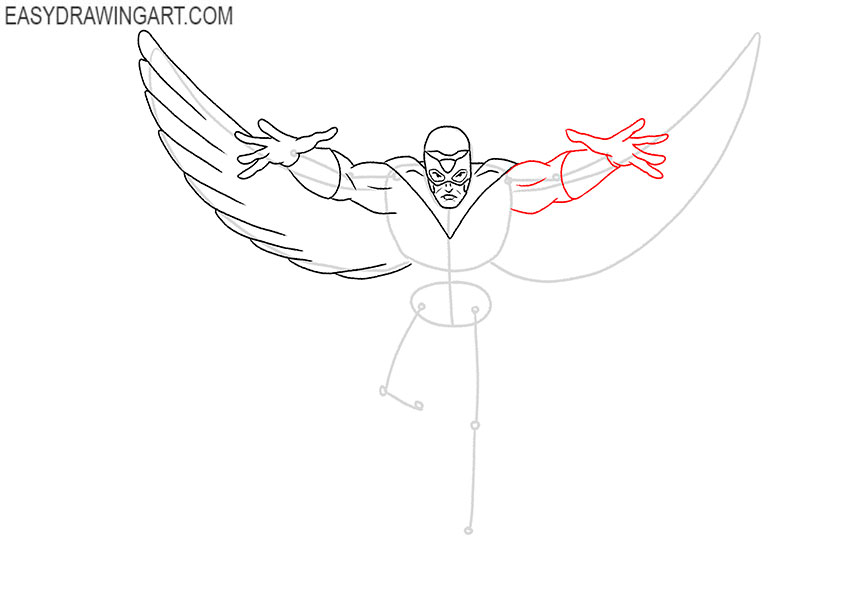
Step 8: Outline the second superhero arm
Shape the second arm around the remaining guide, matching the thickness of the first. Define the elbow and forearm, then add the open palm and separated fingers.
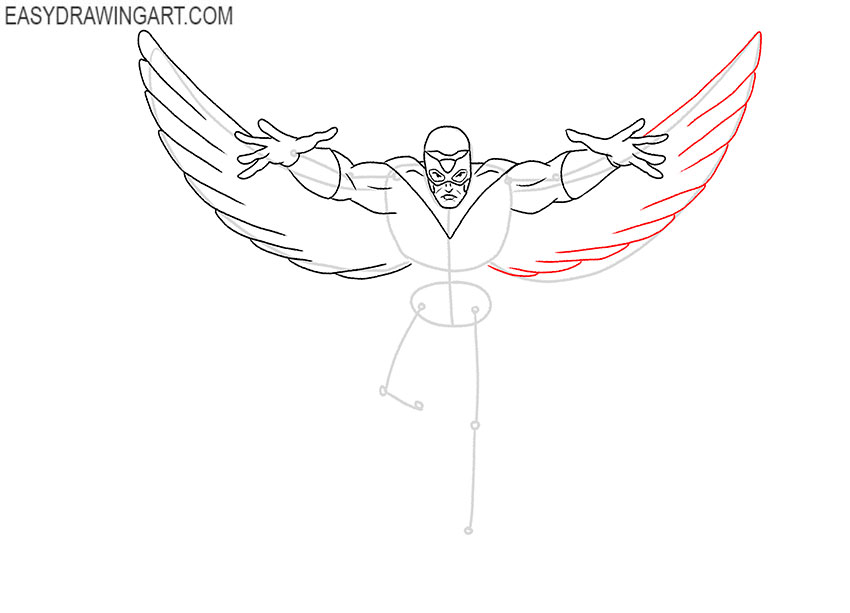
Step 9: Construct Falcon’s second wing
Follow the second curved guide to draw the opposite wing of Falcon. Divide the form into long overlapping panels, repeating the layered arrangement used on the first side.
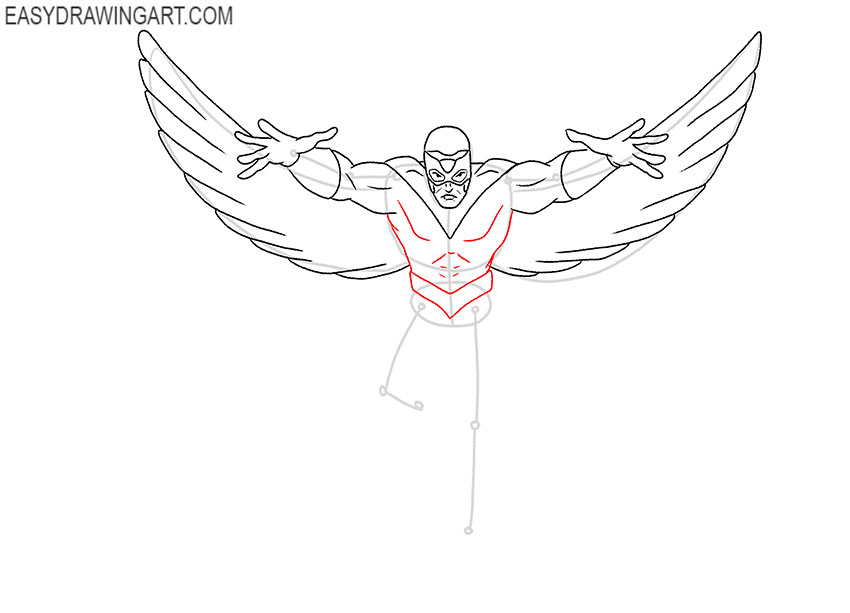
Step 10: Define the armored torso and belt
Outline the sides of Falcon’s torso and narrow the form toward the waist. Add the segmented belt, angular chest panels, abdominal details, and several short costume folds.
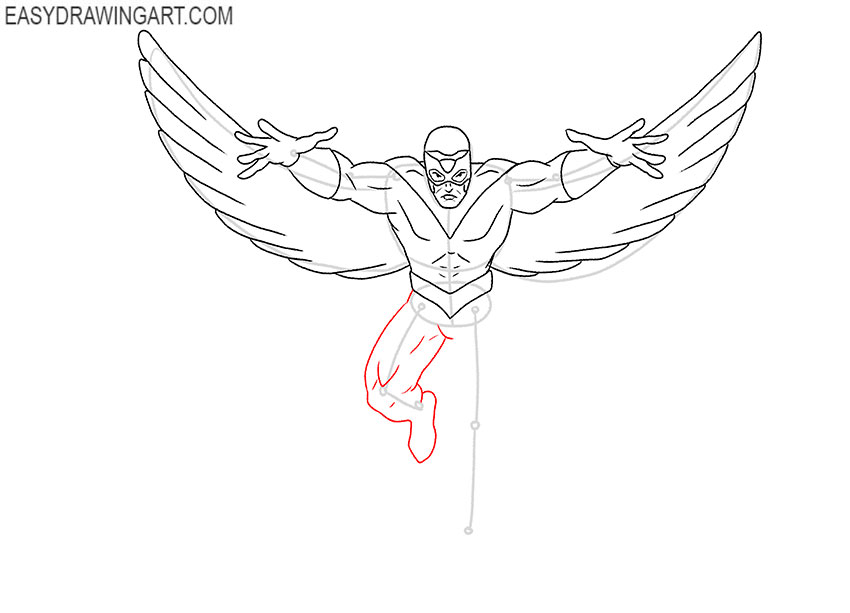
Step 11: Draw Falcon’s raised leg
Develop the first leg around its construction line, defining the thigh, knee, lower leg, and foot. Add the costume seams and a few curved folds around the knee and ankle.
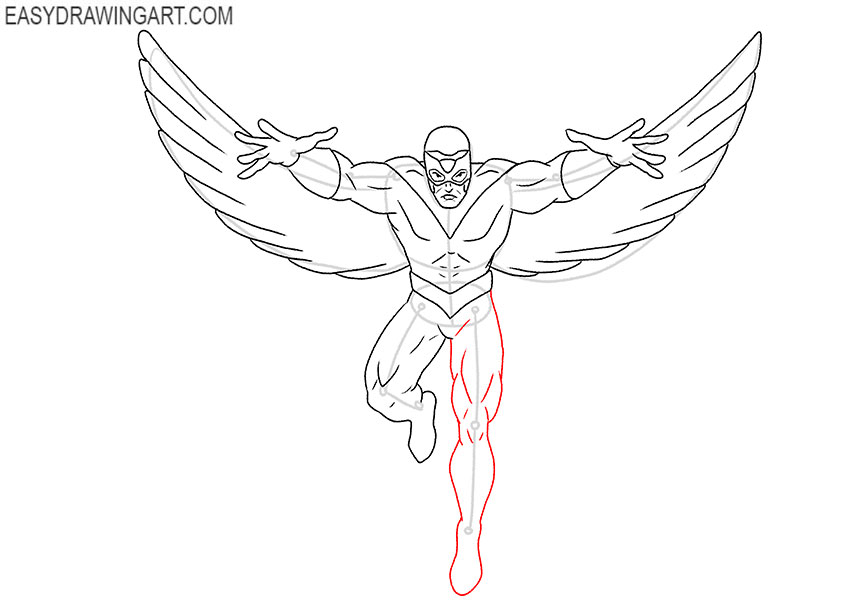
Step 12: Finish the second flight-suit leg
Give the second leg a defined thigh, knee, calf, and foot while following the original pose. Include the visible muscle contours, suit sections, and folds around the joints.
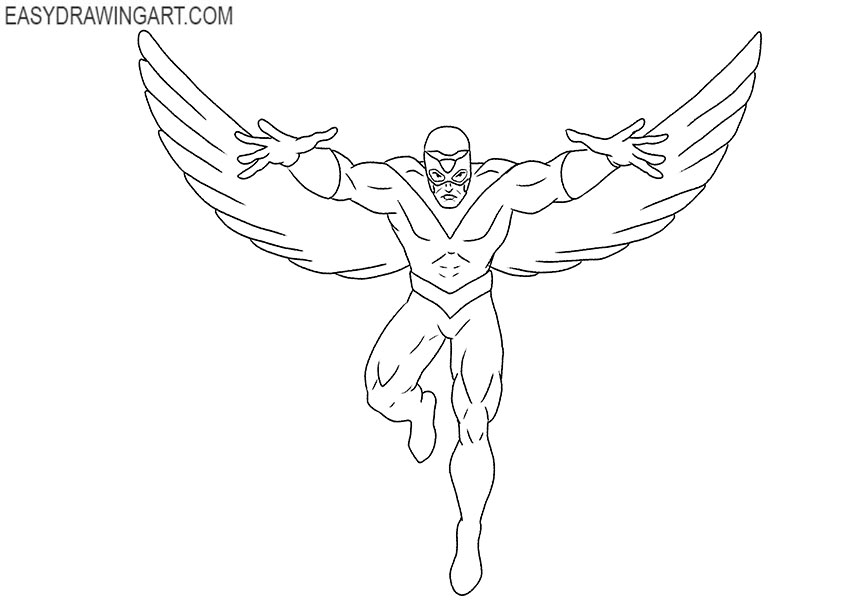
Step 13: Refine the Falcon line art
Remove the construction marks from the body and wings. Correct uneven edges, clarify the smaller costume details, and strengthen the final contours of the full figure.
Step 14: Apply Falcon’s costume colors
Use natural tones for the skin and hair. Fill the flight suit with light gray, beige, and red, then use darker gray and brown across the wings, mask, gloves, and shaded panels.
For another airborne Avenger, continue by drawing Hawkeye in an action pose. For a larger-scale Marvel character, try sketching Galactus and his armored costume.