

How to Draw Black Panther
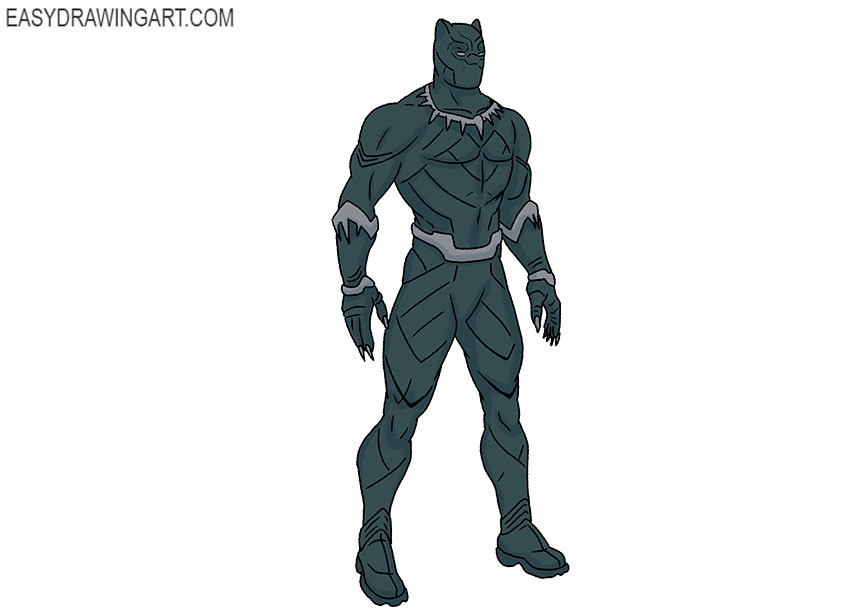
With the help of our clear and accessible instructions, you will learn how to draw Black Panther. This is a superhero from comics published by Marvel Comics.
The Black Panther has great strength and stamina. This superhero is dressed in the strongest material on Earth and has a mask on his face.
Now take all the necessary art supplies and start sequentially following all the steps in this instruction.
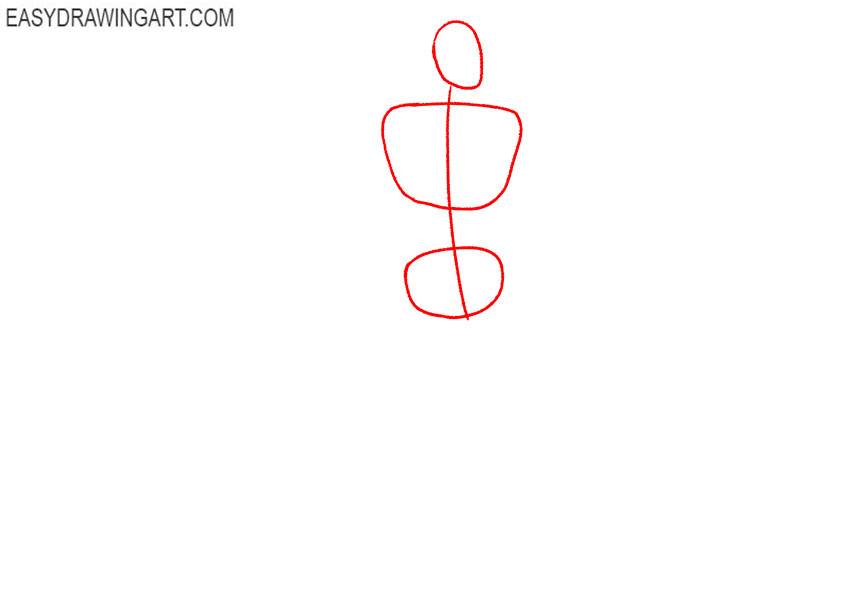
Step 1: Draw the basic Black Panther body construction
Draw the head, chest, and pelvis as simple shapes to create the basic Black Panther’s skeleton. Use thin lines so you can adjust the construction before adding the final contours.
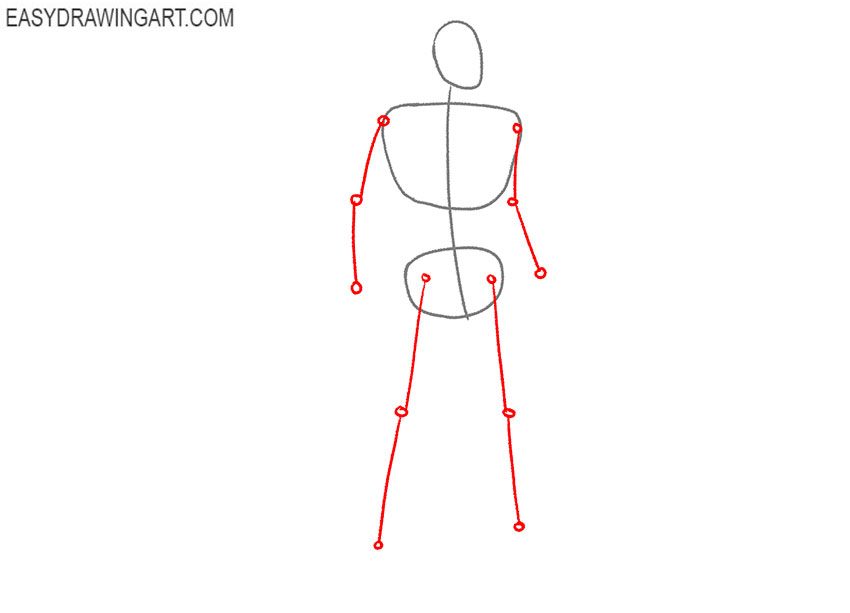
Step 2: Add Black Panther’s arms and legs
Use thin lines to mark the positions of the arms and legs. Add small rounded shapes or circles at the shoulders, elbows, knees, and other joints.
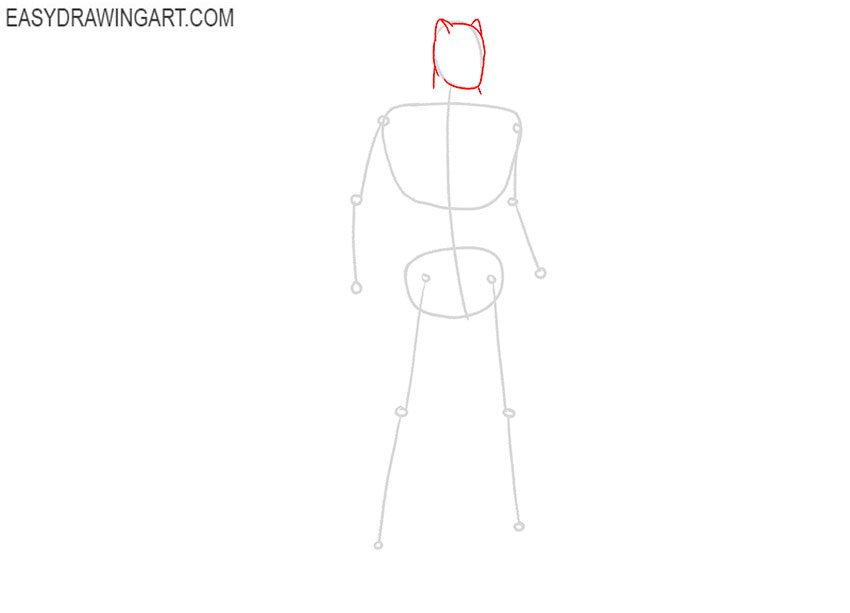
Step 3: Outline Black Panther’s mask
Use the construction shape to refine the head and jaw. Outline the fitted Black Panther mask, then add two small pointed ears near the top of the head.
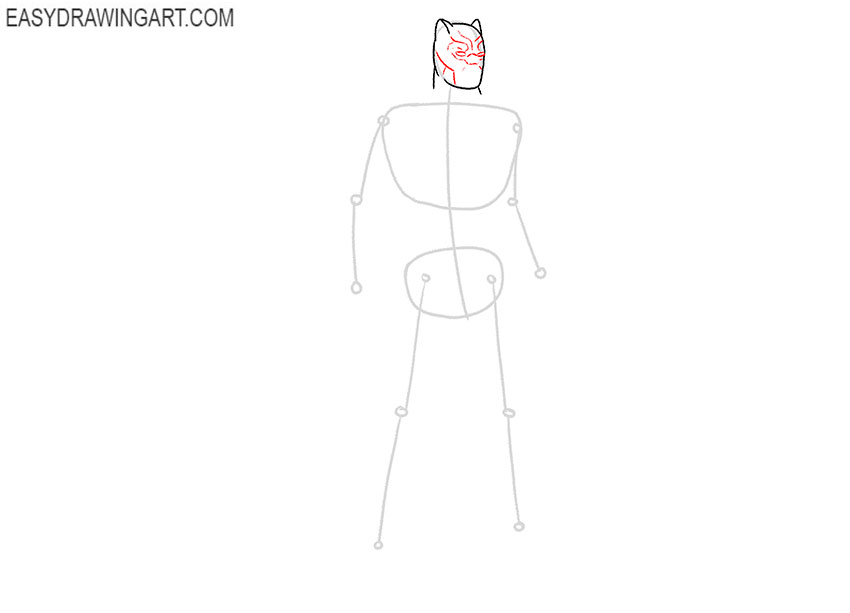
Step 4: Draw the mask details and eyes
Draw the eyes inside the mask. Add short angular lines around the eyes, forehead, cheeks, and lower jaw to form the raised decorative pattern.
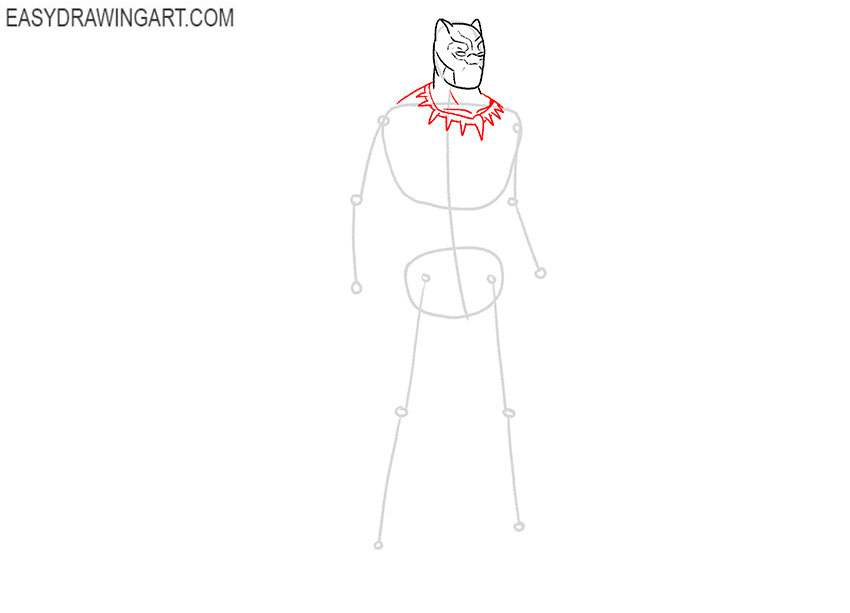
Step 5: Draw Black Panther’s claw necklace
Outline the upper shoulders and draw the curved necklace around the base of the neck. Add a row of evenly spaced pointed claws along its lower edge.
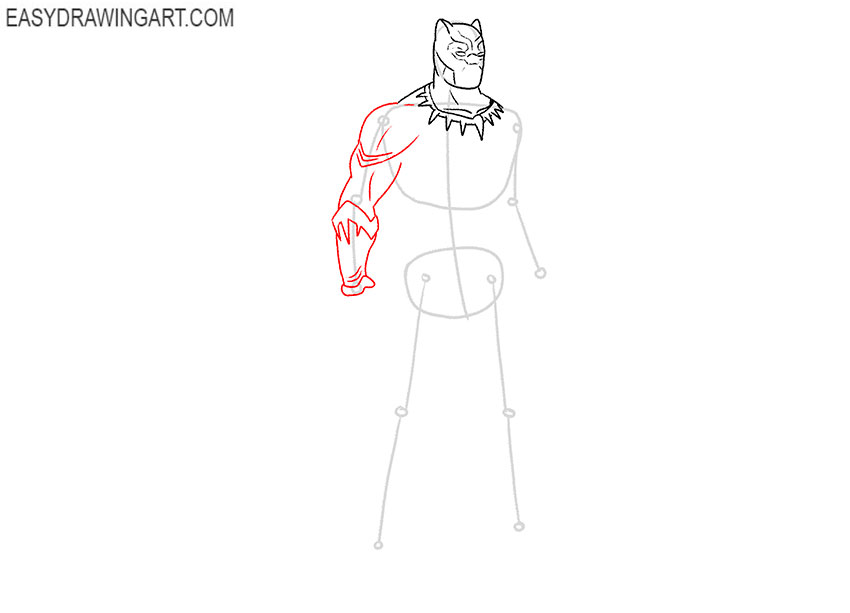
Step 6: Outline the first arm and forearm armor
Use the guidelines to shape the first upper arm, elbow, and forearm. Define the muscles with smooth lines, then add the angular armor pattern around the forearm.
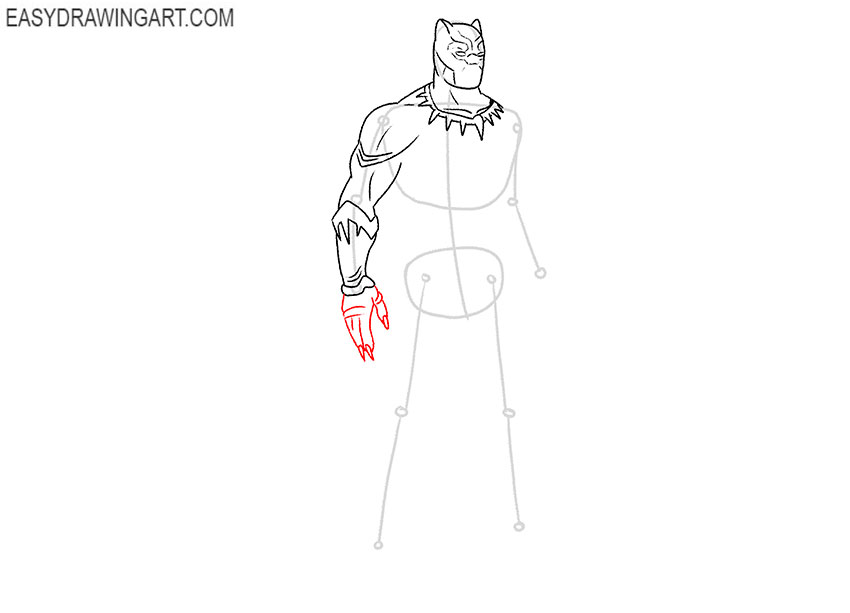
Step 7: Draw Black Panther’s first hand and claws
Continue from the forearm to draw the hand in an open position. Shape each finger separately and add a long pointed claw at every fingertip.
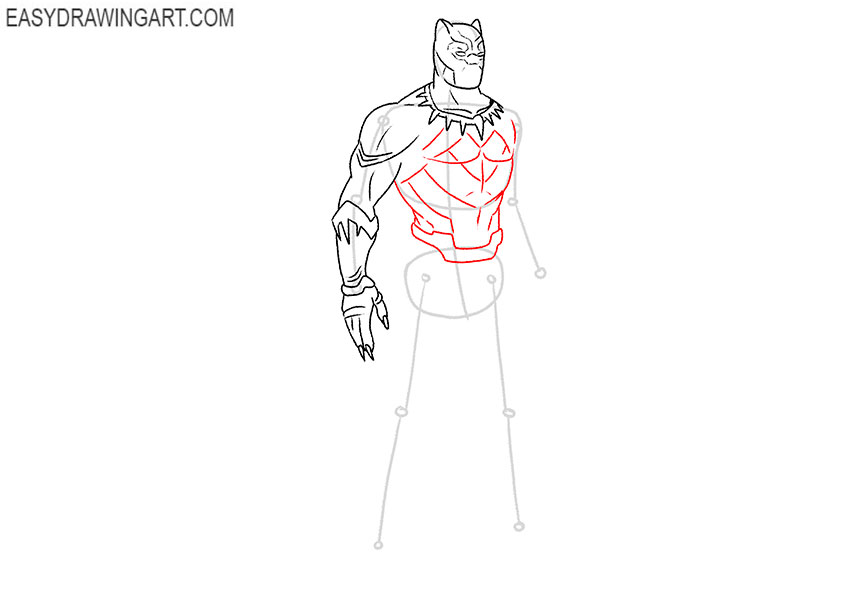
Step 8: Detail Black Panther’s torso and belt
Outline the sides of the torso and define the chest and abdominal muscles. Add the angular suit patterns across the body, then draw the decorative belt around the waist.
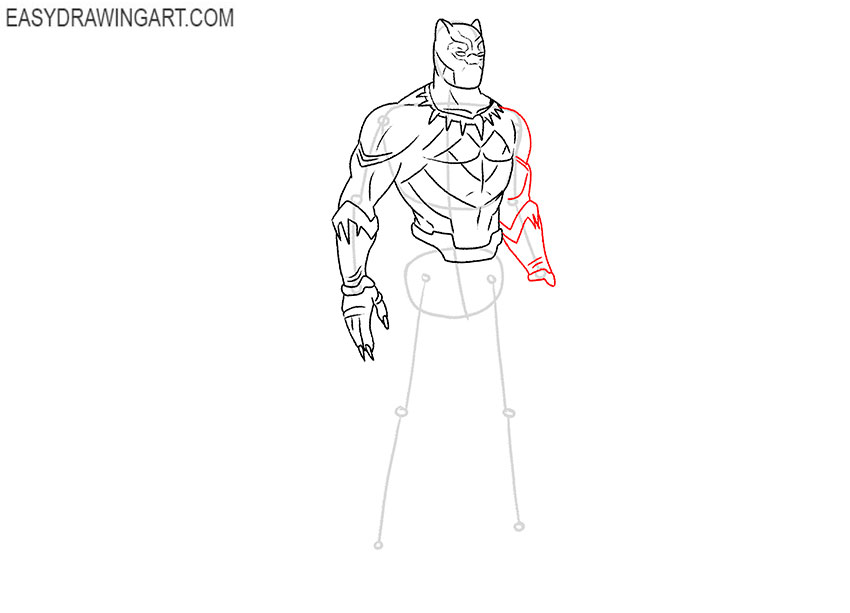
Step 9: Draw the second arm and forearm details
Use the construction line to outline the second upper arm, elbow, and forearm. Give the limb the correct thickness and add the angular suit details around the forearm.
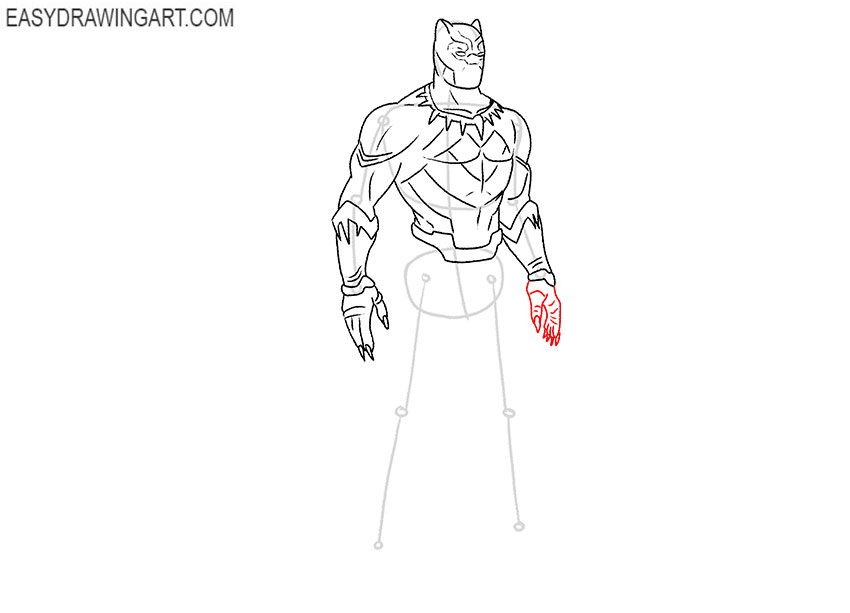
Step 10: Draw the second hand and claws
Outline the lowered hand with the fingers hanging naturally beside the body. Add short folds around the knuckles and draw a long pointed claw on each finger.
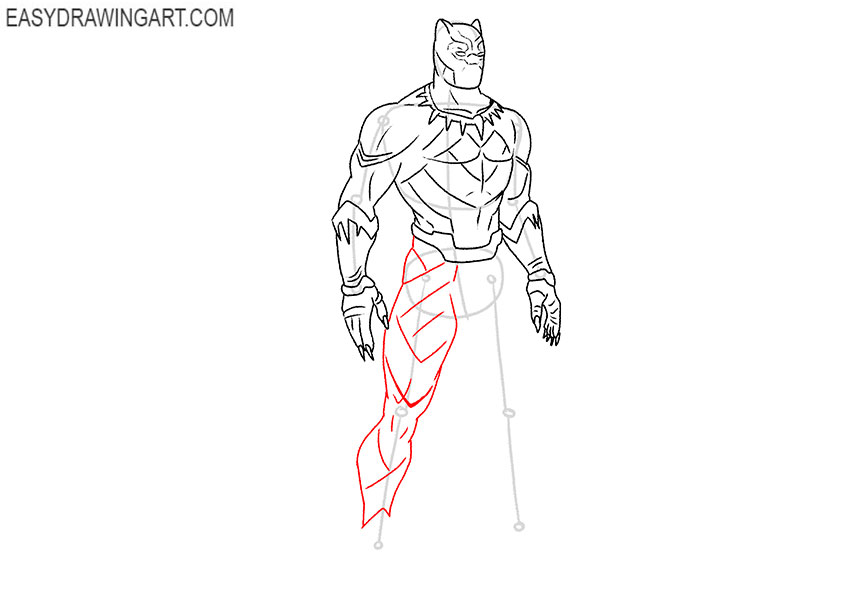
Step 11: Outline the front leg
Use the earlier guidelines to shape the first thigh, knee, and lower leg. Define the muscles under the fitted suit and add several smooth folds around the joints.
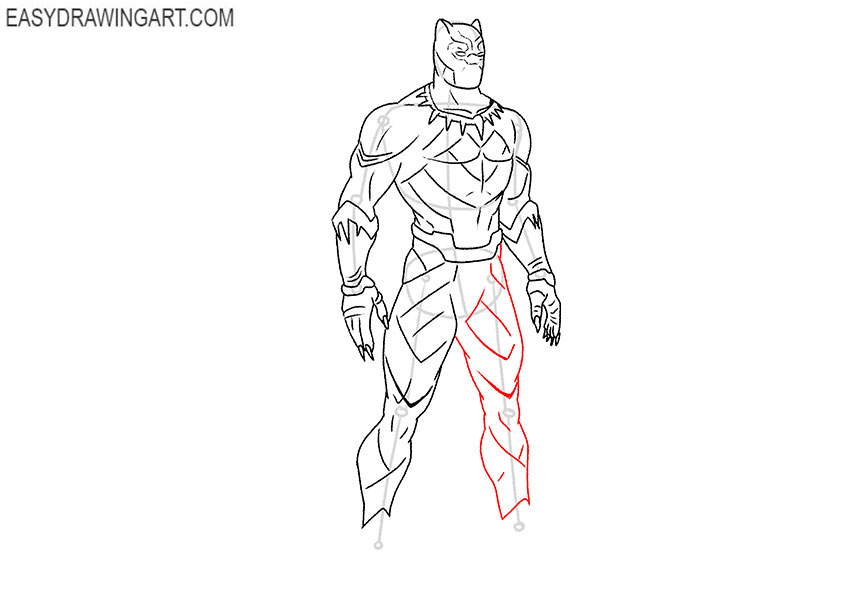
Step 12: Draw Black Panther’s second leg
Outline the second thigh, knee, and lower leg around the construction line. Give the limb the same muscular structure and add the visible suit folds near the joints.
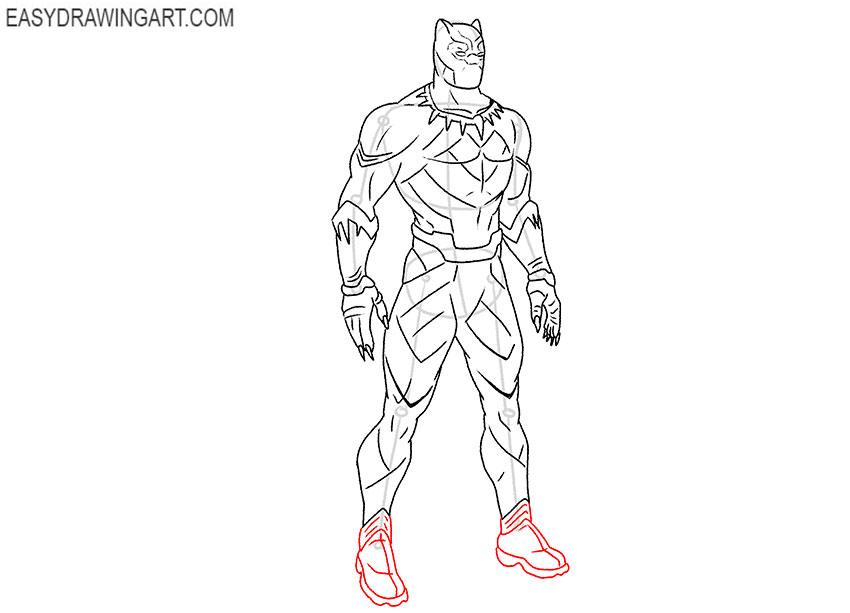
Step 13: Draw Black Panther’s boots
Complete both lower legs by drawing the boots around the feet. Shape the soles, toes, and ankles to match the shapes established earlier.
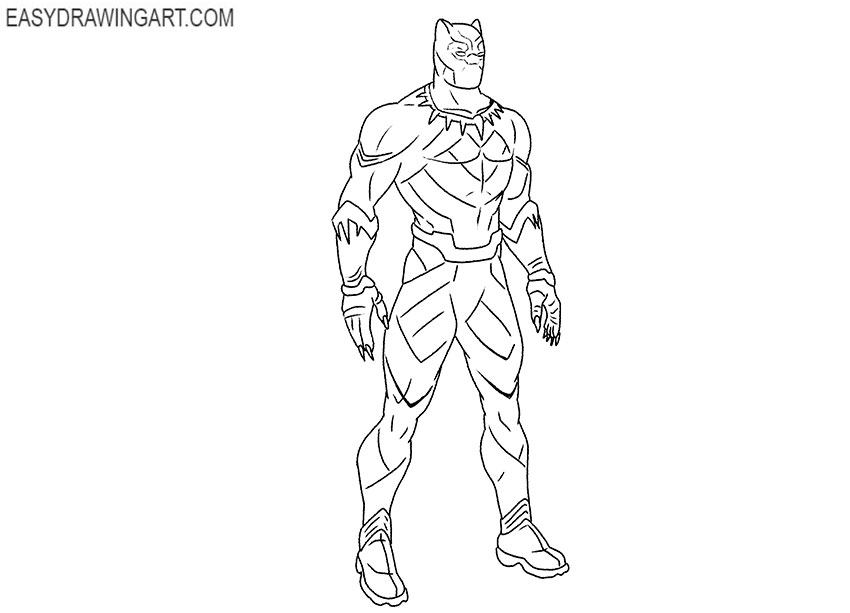
Step 14: Clean up the Black Panther sketch
Erase the remaining construction lines from the head, torso, arms, and legs. Refine the mask, necklace, suit patterns, muscles, claws, belt, and boots.
Step 15: Color the Black Panther drawing
Color the superhero suit with several shades of dark gray and black. Use lighter gray for the raised mask details, necklace, arm patterns, belt, and other accents.
Black Panther is complete. Now you have completed another creative task and you can evaluate the result of the work. Continue creating Marvel heroes by drawing Captain America or sketching Iron Man.
We hope you get a great drawing. Subscribe to us on social networks so as not to miss new exciting drawing lessons.

I like the drawings