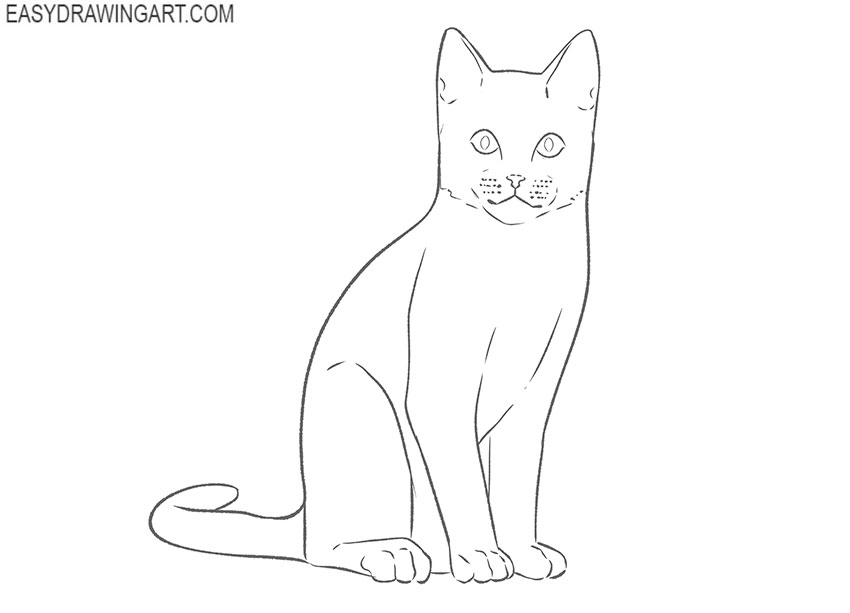
How to Draw a Sitting Cat
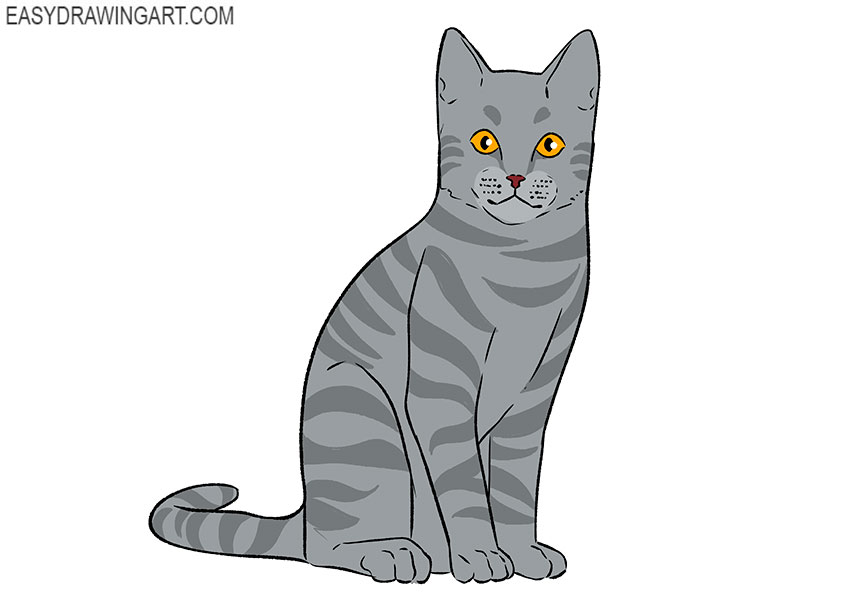
With the help of this clear and accessible guide, you will learn how to draw a sitting cat step by step.
The image of a sitting cat is very common, and you will be able to use the skills you gain to create other drawings in the future.
During the tutorial, it is important to keep all the body parts correctly sized so that the cat drawing looks realistic.
To color the coat, you can use the same shades shown in our example or choose any other colors you prefer.
Time needed: 1 hour
How to Draw a Sitting Cat
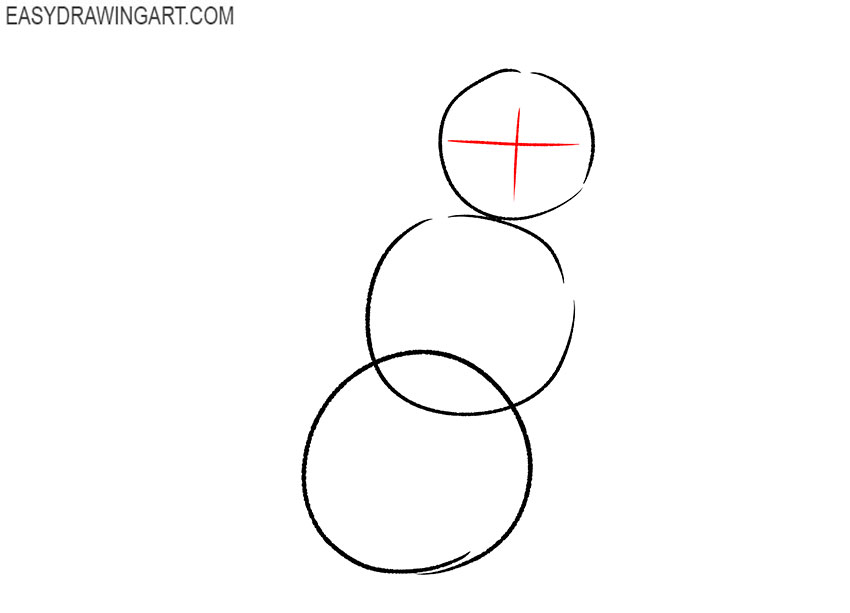
- Prepare auxiliary lines.
Draw individual parts of the cat’s body in the form of several circles. At the beginning of drawing, use thin, barely visible lines.

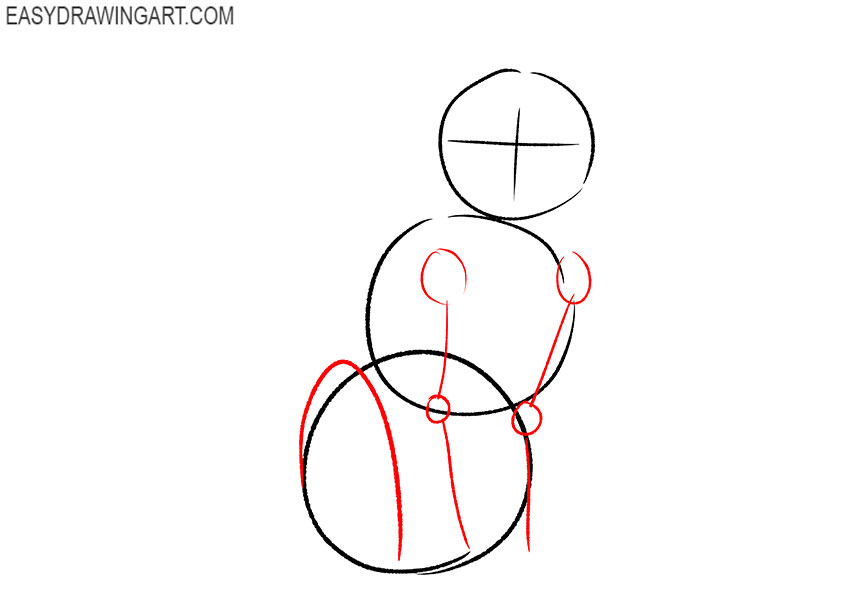
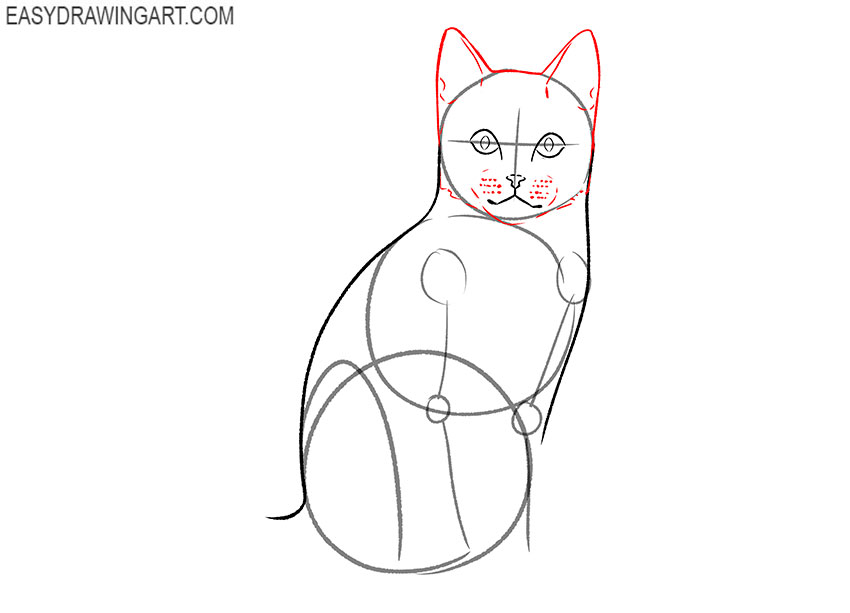
- Mark up the muzzle.
On the top circle, draw two lines that are crosswise. These lines will help you correctly position the elements of the muzzle.
- Add the limbs.
With the help of many straight lines depict the position of the front paws. Depict the places of the folds in the form of circles. Draw the back paw as a curved line.
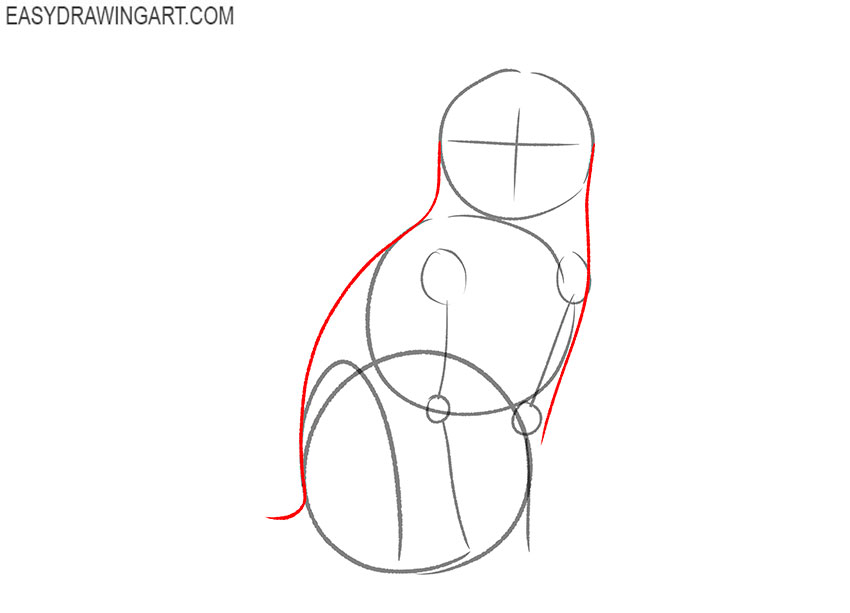
- Sketch out the contours of the body.
Depict connecting lines between the head and thorax and draw a connecting line between the thoracic and lower torso to represent the back.
- Add elements of the muzzle.
Use the guidelines as a guide and draw the eyes, nose, and mouth of the same shape as in our example.
- Draw the rest of the elements of the head.
Depict two spiky ears and immediately add the inside of the ears. Detail the front of the muzzle and add the bottom outline of the muzzle.
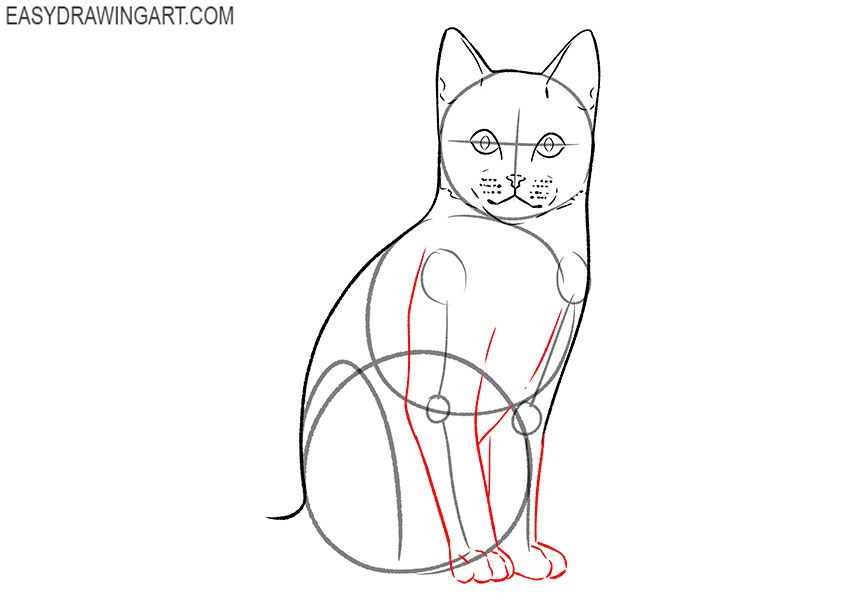
- Depict the front paws.
Give the front legs the desired thickness and shape. At the same time, focus on the lines that you drew earlier. Add the fingers at the bottom.
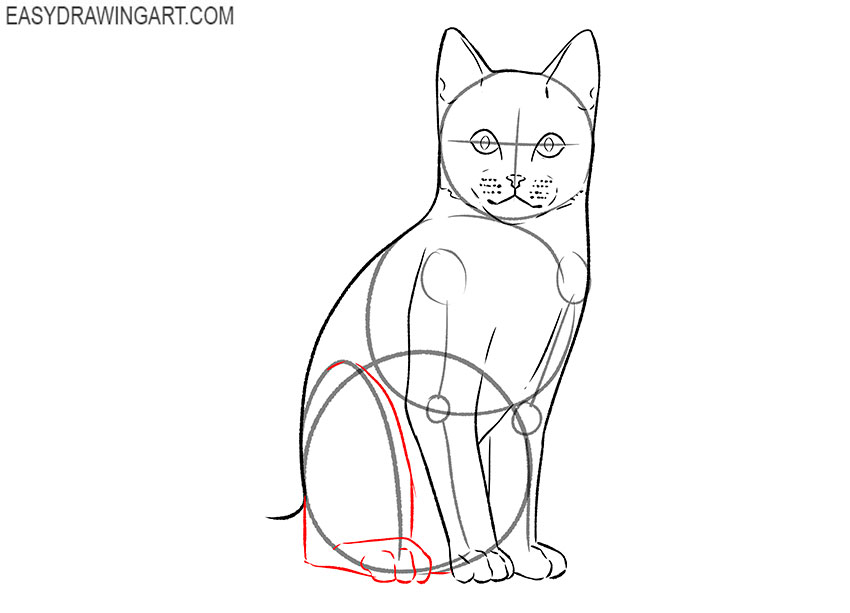
- Sketch out the back paw.
Make the outline of the hind leg clearer. Draw the bottom of the paw, add some toes on the paw.
- Draw the tail.
With the help of several curved lines depict the tail at the bottom of the torso.
- Correct inaccuracies.
Compare the drawing with our example and if you notice any mistakes, correct them right away. Remove extra lines in the drawing.
- Color the drawing.
Color the eyes orange and the pupils black. For coloring fur, use different shades of gray. Draw the stripes of different sizes on the cat’s body.


We hope that after completing this tutorial you have a pleasant experience. We will be glad if you write your opinion about this lesson in the comments. You can also suggest ideas for the next drawing lessons. Don’t forget to follow us on social media if you haven’t already.