How to Draw an Eye

The team of the Easydrawingart believes that every artist should be able to portray a person, and for this, every artist must know how to draw an eye.
To draw it correctly, you need to be able to accurately transfer all of its details onto paper.
So, in this article, the Easydrawingart team will show you how to sketch an eye – one of the most complex details on a person’s face.
How to draw an eye step by step
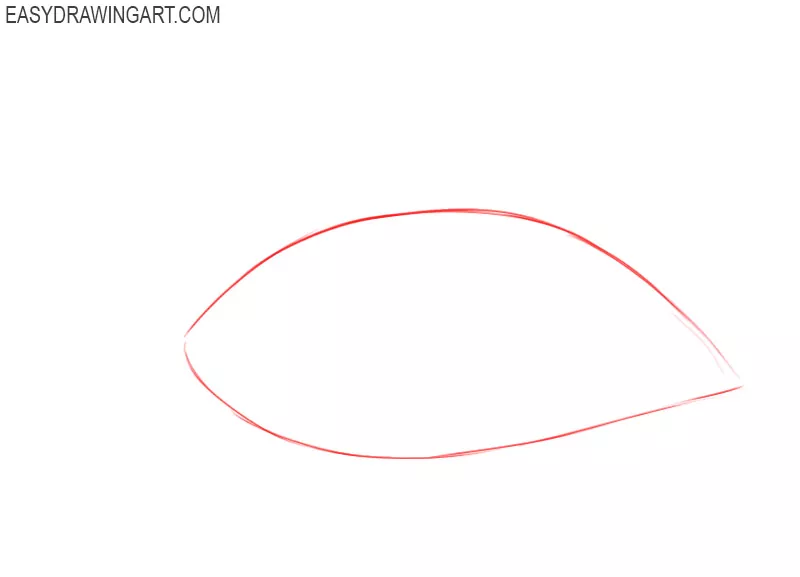
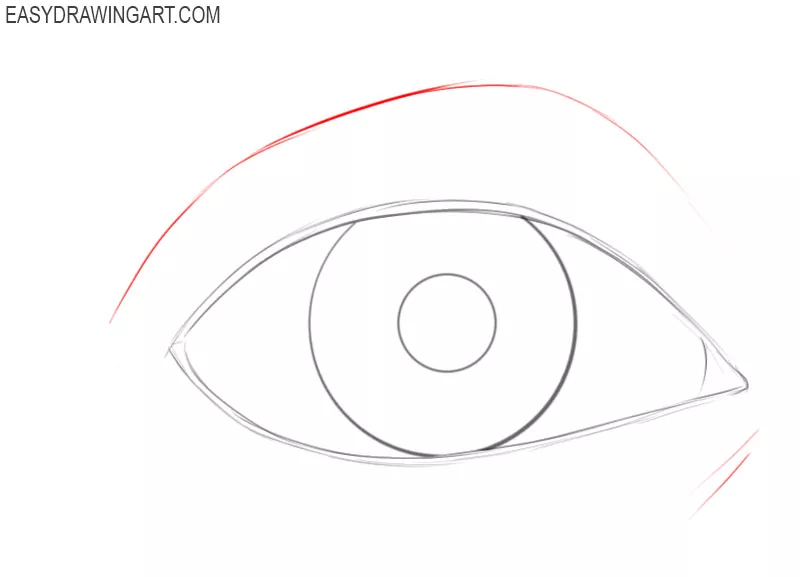
Step 1: Outline the basic eye shape
Let’s create the outlines of the eye, trying not to put too much pressure on the pencil. Note that the eyes come in many different forms, but the main principles remain unchanged. The very shape of the eye is essentially two curved lines, as shown in the picture below.
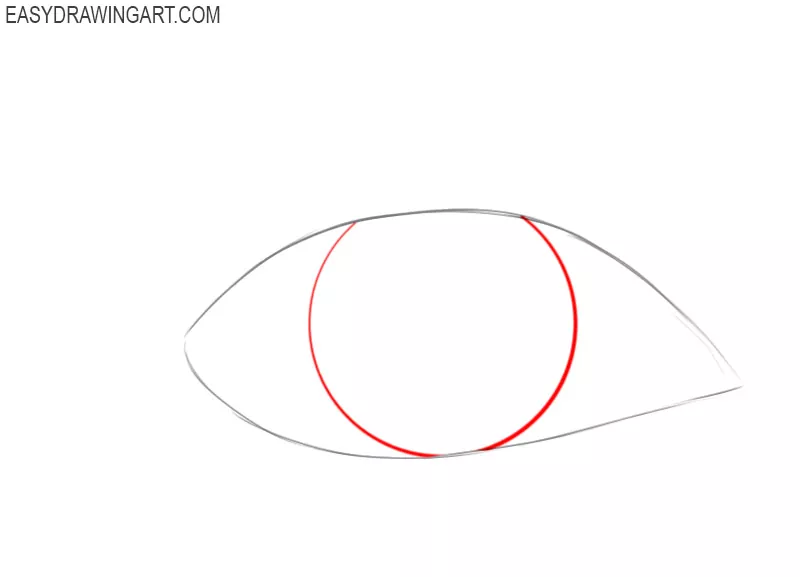
Step 2: Add the rounded iris shape
Now depict the iris, which is essentially an ordinary circle. Place the iris in the outline of the eye so that the upper and lower parts are covered by the eyelids. The upper part of the iris should be covered more by the upper eyelid. Now our sketch is more like an eye drawing.
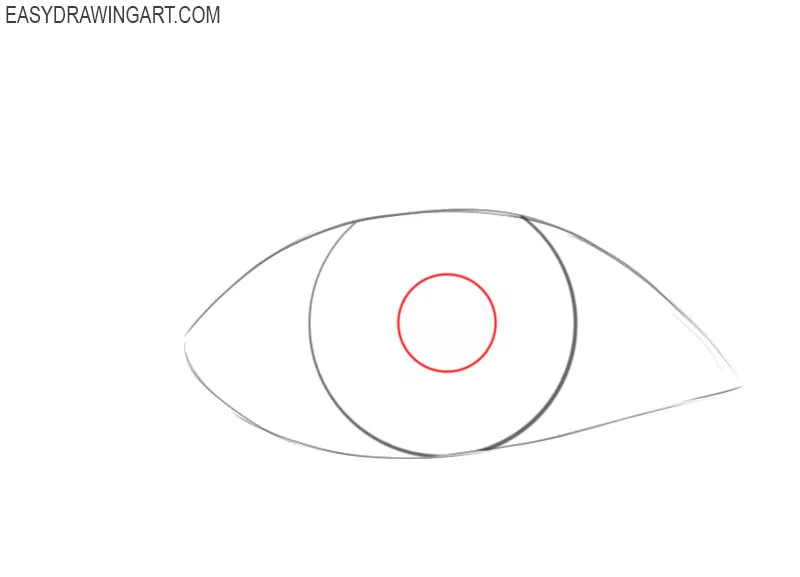
Step 3: Draw the pupil of the eye
Now draw the pupil exactly in the center of the eye iris, trying to keep an even distance between the two circles on all sides. The size of the pupil can vary greatly depending on many factors, so by making it larger or smaller, you can change the overall mood of your drawing.
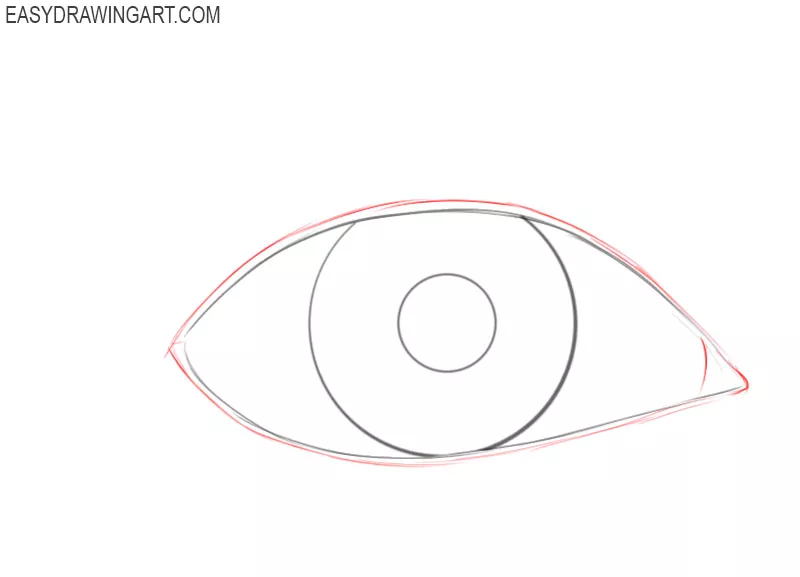
Step 4: Outline the upper and lower eyelids
Gently outline the edges of the upper and lower eyelids. Their curves should mostly follow the lines you drew in the first step, but they should come a bit closer to those lines near the corners of the eye. Use a short curved line to indicate the tear duct.
Step 5: Draw the crease above eye
Above the eye, draw a crease formed from the eye cavity under the skin. Just below the tear duct, add a couple of lines that will make the eye more dimensional. You can also add additional folds or wrinkles to convey age or mood.
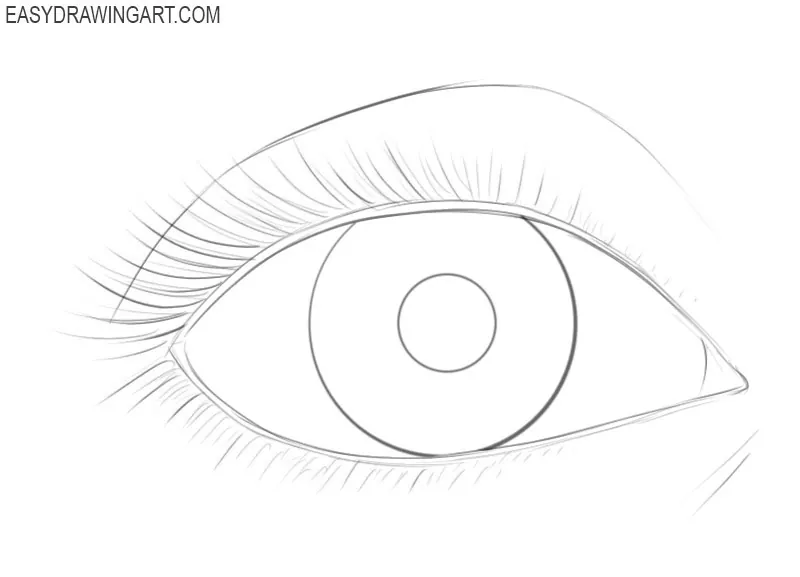
Step 6: Sketch eyelashes along both lids
Now, using slightly curved lines, draw the eyelashes on the upper and lower eyelids. The eyelashes on the upper eyelids should be longer and more noticeable than those on the lower ones. The size and density of a person’s eyelashes can also vary, so here you can make your version different from the one created by the artists at EasyDrawingArt.

Step 7: Check proportions before coloring
If you did everything correctly, your eye drawing should look something like the image below this text. Inspect your entire eye drawing to find any mistakes, inaccuracies, or differences from our example. Let’s move on to coloring now.
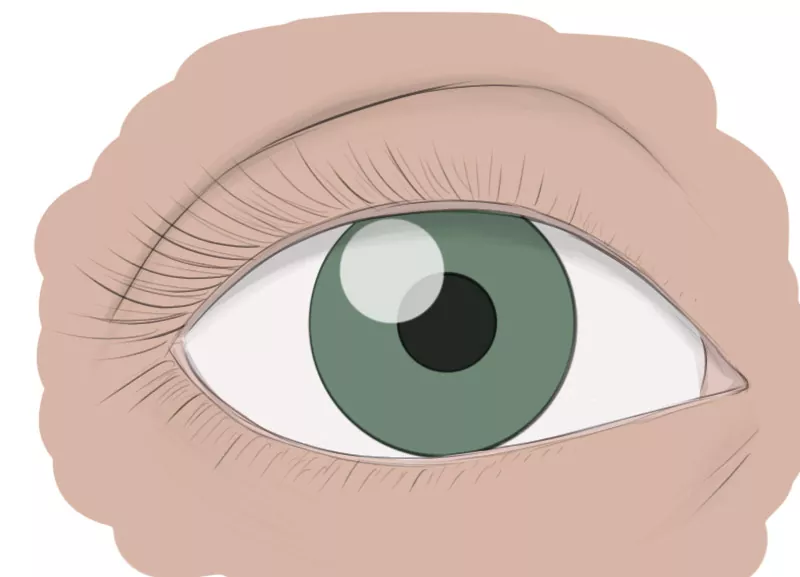
Step 8: Shade the eye with chosen tones
Eyes, as well as skin, can be of many different colors, from realistic to fantastic. Having painted the skin and the pupil, do not forget to give a little tone to the sclera so that it does not look unnatural. Add a white highlight to make the eye look more realistic, and add shadows to the skin and the eyeball.
It is also very important to remember that the eyes are a part of the face that changes significantly depending on many different factors, such as emotions or even the amount of sunlight around the person who has these eyes.
Therefore, you can draw eyes looking in many different directions, give them various emotions, detail them in different ways, and color them with the most interesting variations.
You can color the eyes in any shade you want, from the standard familiar ones to unusual tones like those seen in various comic or movie characters.
In addition, you can draw the eye from the side or give it a more comic-style or anime-style appearance. You have the foundation we provided in this lesson, and from here you can develop your skills in any direction.
As already mentioned at the very beginning of the instruction, it is very important to be able to draw eyes and other parts of the body. Therefore, try to repeat our drawing as correctly as possible.
Then practice creating eye sketches of various shapes and from different points of view. But you are unlikely to draw eyes separately from the rest of the face or body.
Therefore, try to draw eyes as part of a holistic face portrait.

hey I LOVE your art guys! keep making tutorials like this it helps me in art class. THANKS
Glad to hear this eye drawing tutorial help you in class.
Wow! Where did you get your inspiration from? You have helped me so much with my art work! I can even now draw kind of realistically thanks to your tutorials! 😀
Thank you very much, we find inspiration from the fact that we really love to draw, and our readers’ comments give us even more inspiration.
Thanks for the helpful tutorial! I was wondering if you had any tips on how to make the eyebrows and eyelashes look more realistic. When I tried, they looked too artificial. Any advice?
For eyebrows and eyelashes, try varying the length and tilt of some stroke so they don’t look uniform. For eyelashes, try to add hair texture with light strokes.
you guys are very kind to help us.You are very creative with the drawing
Yessss I agree!
Thank you!
Thank you. If you have ideas for lessons you’d like to see added, feel free to suggest them.
thx
Thank you too!
Awesome! I am so glad that you made this tutorial for me and my art class! thank you!
Happy this guide worked well for you and your class. If you need more detailed lessons for your students, feel free to reach out.
This is so good and a masking.
Thank you, Kathryn!
this looks horrible i got an f on my assignment i even traced
Found these recently. I use them as teaching examples for my assignments for jrhigh students. they are simple and work great to explain details.
Good to hear these work well for student assignments. If there are topics you want explained specifically for classroom use, write in the comments.