

How to Draw a Beagle
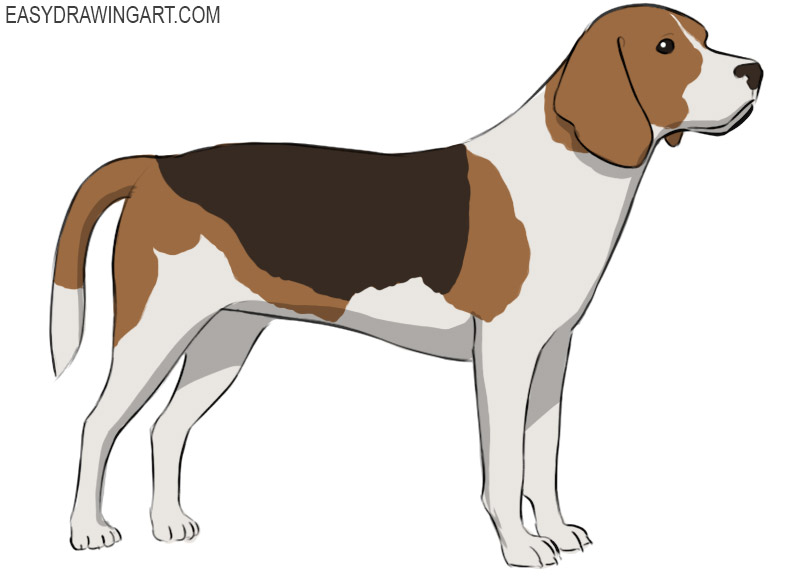
Learning how to draw a beagle starts with understanding the dog’s overall construction rather than its markings.
Once the head, chest, and hips are placed correctly, the rest of the drawing comes together with far fewer adjustments.
One mistake I see often is trying to copy the outline from the very beginning. It’s much easier to build the beagle from a few simple shapes first, then connect them with smooth contours.
This step-by-step guide shows how to draw a beagle using that same method.
How to Draw a Beagle Step by Step
Step 1: Sketch the beagle’s body shapes
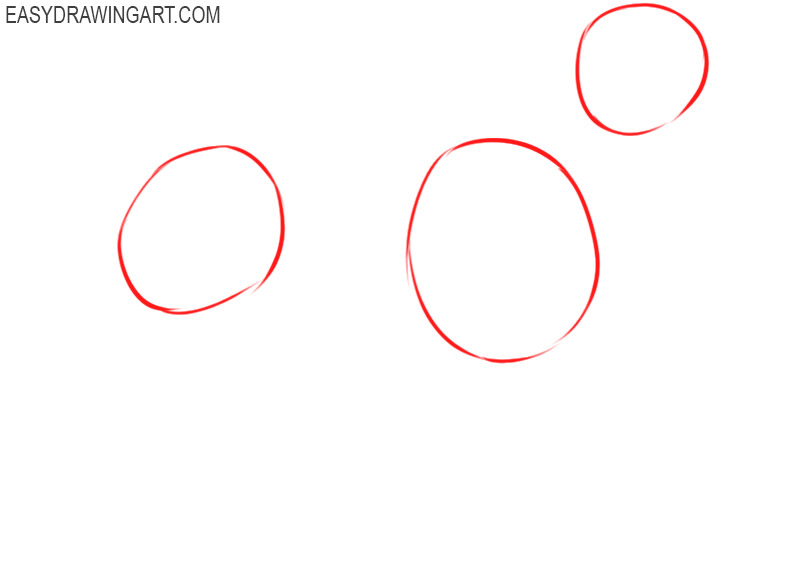
Draw three circles of different sizes. Use the upper circle for the head and place the other two below it to mark the beagle’s chest and rear body.
Step 2: Add the back and leg guides
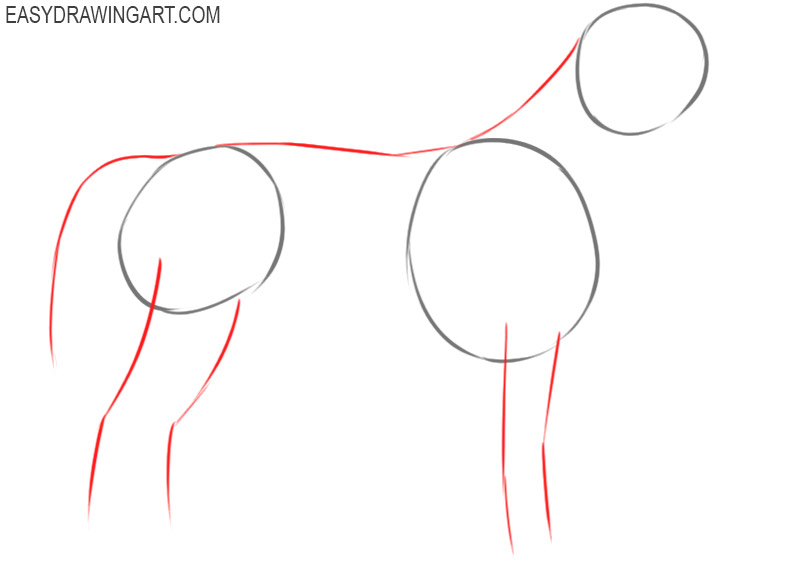
Next, draw a curved line that starts at the head and runs along the back toward the tail. Add simple lines below the body to mark the position of all four legs.
Step 3: Outline the body and tail
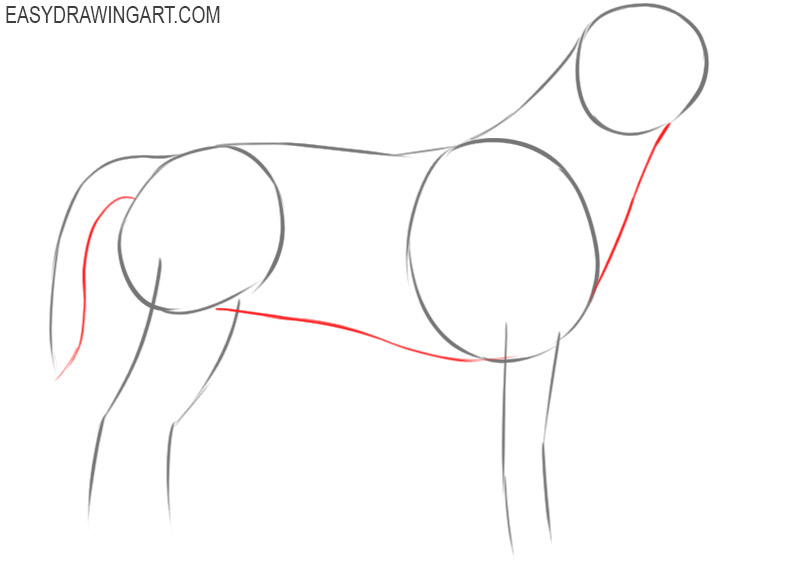
Draw a line from the head to the chest to form the front of the neck. Then outline the belly and complete the tail.
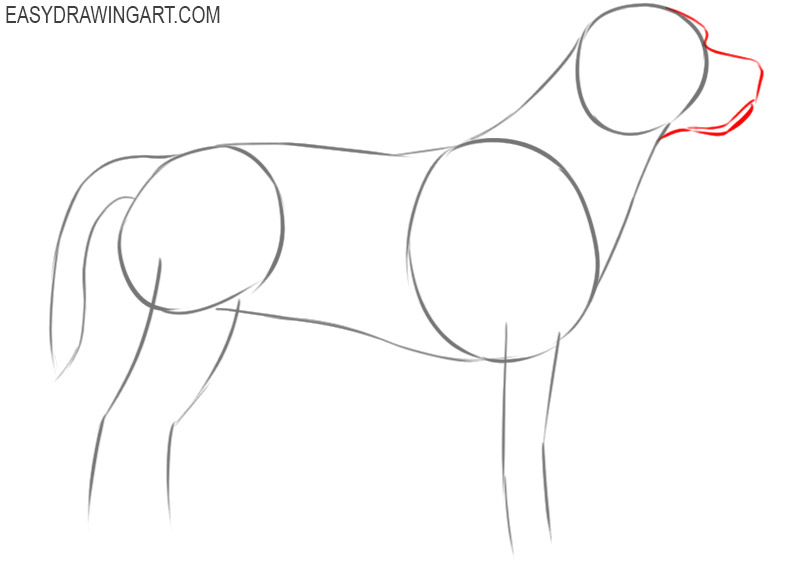
Step 4: Shape the dog’s muzzle
Start drawing the dog’s head. Draw the brow first, then shape the bridge of the muzzle, the rounded nose area, and the lower jaw with smooth curved lines.
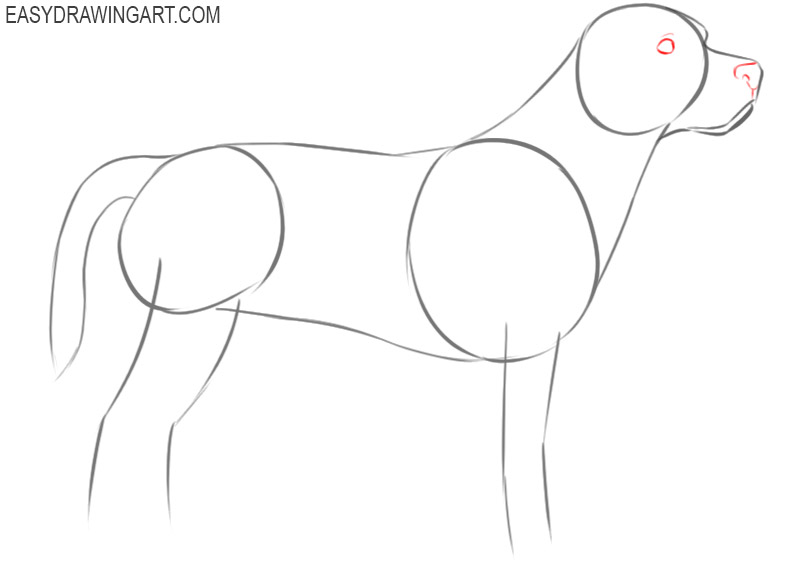
Step 5: Draw the eye and nose
Add the small eye and define the nose more clearly. Shape the nose with a rounded outline, then draw the nostril inside it. This part is similar to how you draw a nose with simple curves.
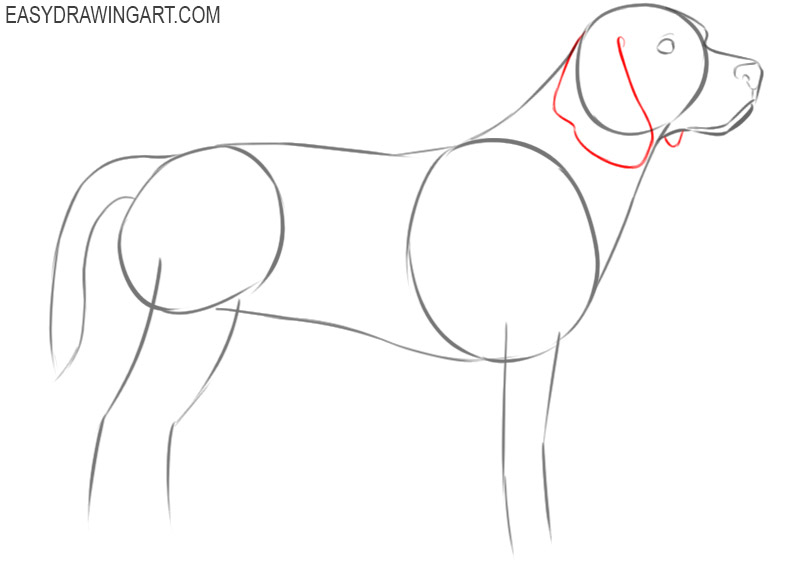
Step 6: Add the long floppy ears
Draw the beagle’s large ears hanging down beside the head. Give each ear a broad triangular shape with gently uneven edges and rounded lower tips.
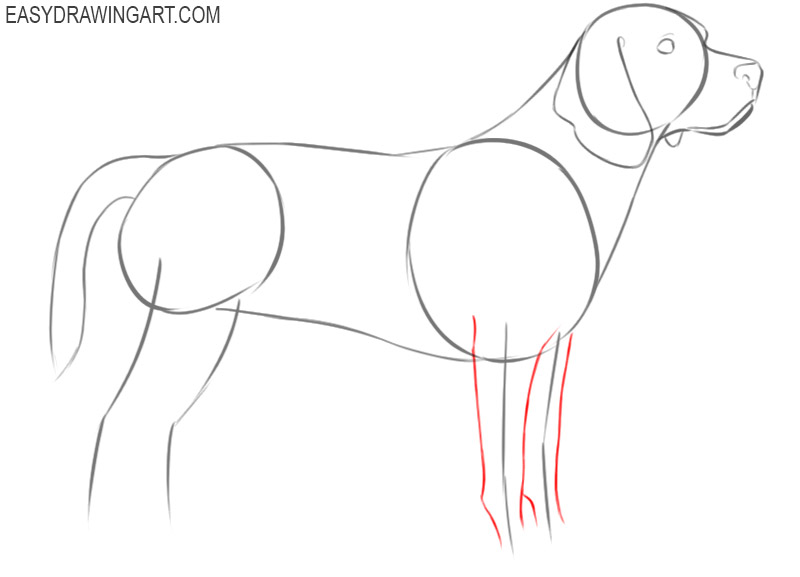
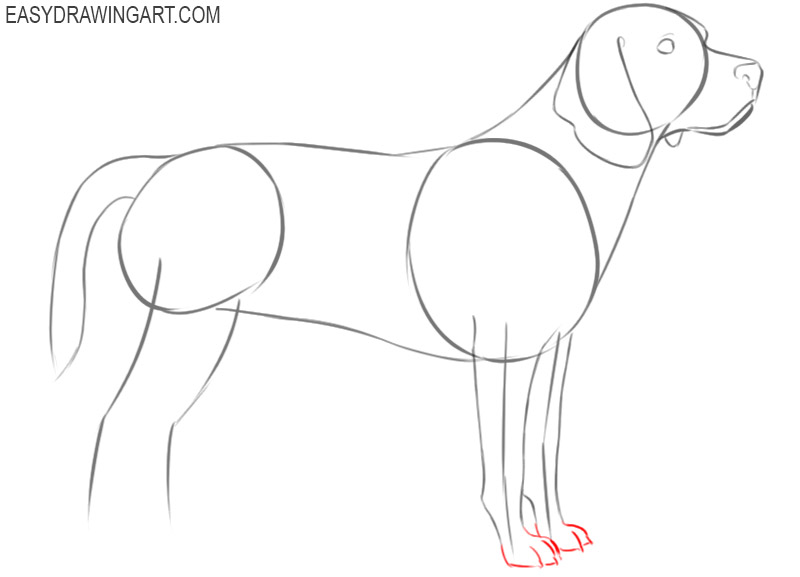
Step 7: Outline the front legs
Add volume to the front legs by drawing lines downward from the chest. Keep the legs fairly straight and narrow, then add a curved line at the bottom of each paw.
Step 8: Detail the front paws
Refine the shape of both front paws and round their lower edges. Add several short curved lines near the tips to separate the beagle’s toes.
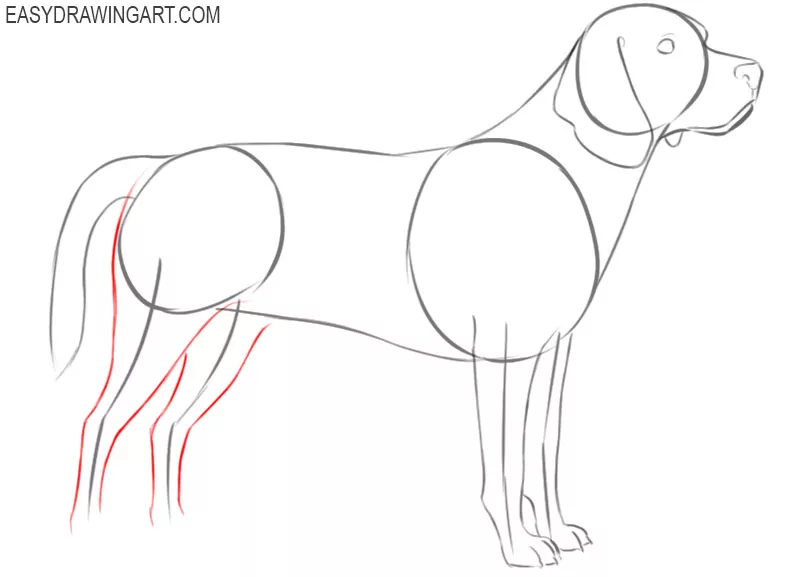
Step 9: Draw the beagle’s hind legs
Outline the hind legs with wide upper sections and narrower lower sections. Draw a smooth bend along the back of each leg to show the shape of the joints.
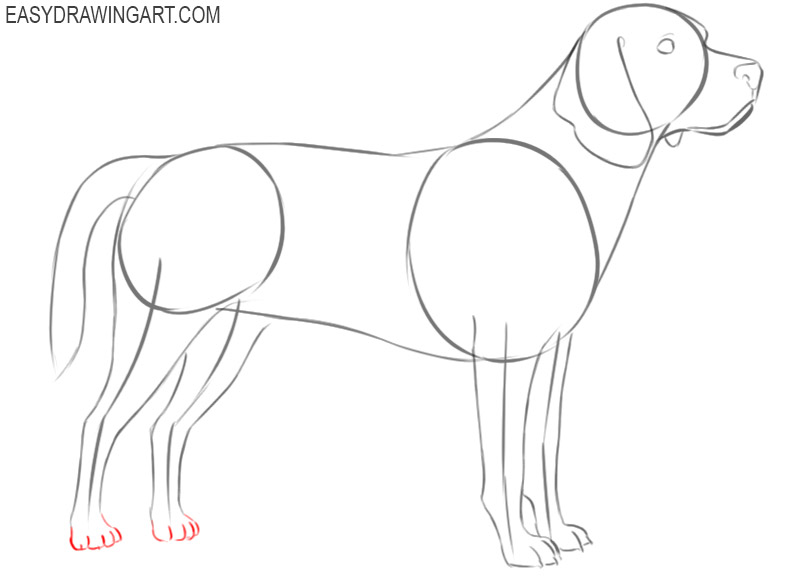
Step 10: Add the rear paws and toes
Complete the hind legs by outlining the rear paws. Round the lower edges, then add short curved lines to separate the toes on each paw.
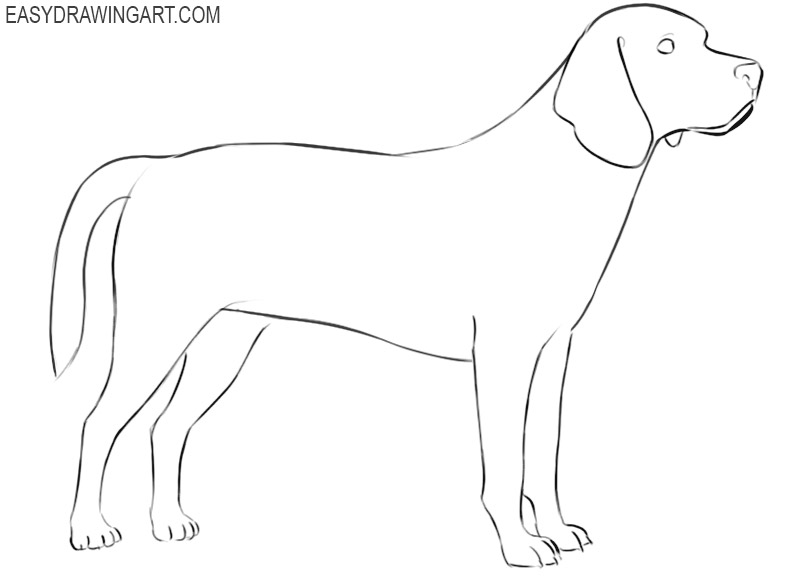
Step 11: Clean up the beagle line drawing
The beagle drawing is nearly complete. Erase the circles and other construction lines, then darken the remaining contours and correct any uneven parts of the outline.
Step 12: Color the beagle drawing
Color the beagle with beige, black, and brown. Add irregular patches across the back, head, ears, and tail, while leaving the chest, muzzle, lower legs, and tail tip light.
More About Drawing a Beagle and Other Dogs
Your beagle drawing is complete. You can change the markings, adjust the ear length, or use a different coat pattern for another version of the same dog.
Coat markings are best added after the outline is settled. Let the patches cross some body contours rather than placing each one neatly inside a separate area; this keeps the pattern from looking pasted on.
The head usually causes more trouble than the body in a beagle drawing. If the muzzle feels too short, move the nose forward before changing the skull; enlarging the whole head often makes the dog look younger rather than fixing the breed.
For another full-body canine drawing, try learning how to draw a standing dog next.
For another dog built from the same basic circles, try to draw a Labrador. For one more full-body dog drawing, try learning how to draw a golden retriever. You’ll use many of the same steps.
You can also draw a corgi to see how lowering the body and shortening the legs changes the entire silhouette, even though the early construction begins in much the same way.

to easy need a chalenge