How to Paint a Flower
Want to learn how to paint a flower that look fresh off the garden? Our tutorial teaches you techniques for realism in your floral artworks.
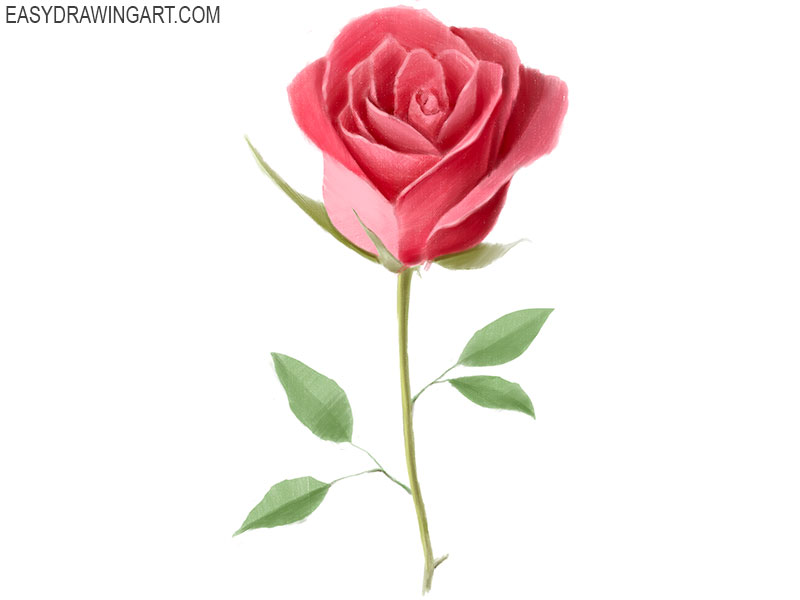
This tutorial will show you the process of painting a flower using our rose drawing tutorial as an example. But before we get into the steps, let’s look at the really important things you should know before you start.
Colors are the essence of painting a flower, and choosing the right palette is crucial. For a rose, you’ll need a range of pinks – from delicate pastels to deep fuchsias – complemented by greens for the stem and leaves, and a spectrum of tones for shadows and highlights.
Consider the mood you want to convey with your rose: Warm tones can evoke passion, while cooler tones can represent serenity.
Light and shadow give your flower painting form and dimension. Observe how light falls on a real flower. Notice where the shadows lie between petals, under the flower, and where the leaves tuck behind the stem.
These observations will inform where to paint the darkest tones on the flower. Conversely, note where the light hits the petals directly – these spots will receive the lightest hues and highlights.
Highlights are crucial for creating a sense of dimension and luminosity. Using lighter shades of your base colors, you’ll add touches where the light naturally strikes the most protruding parts of the petals and leaves. These will often be the final touches that make your flower pop.
How to Paint a Flower Step by Step
Step 1 – Draw the basic outlines of the flower
Select a fine-tipped brush or a pencil to sketch the flower using a fundamental form. Delicately mark the contours of the bud, carefully illustrating its oval shape and the gentle folds of the petals. Extend the lines to form the long, slender stem and add oval shapes for leaves. This initial sketch should capture the flower’s posture, the tilt of the bud, and the arrangement of leaves, providing a base for your flower painting without any interior details.

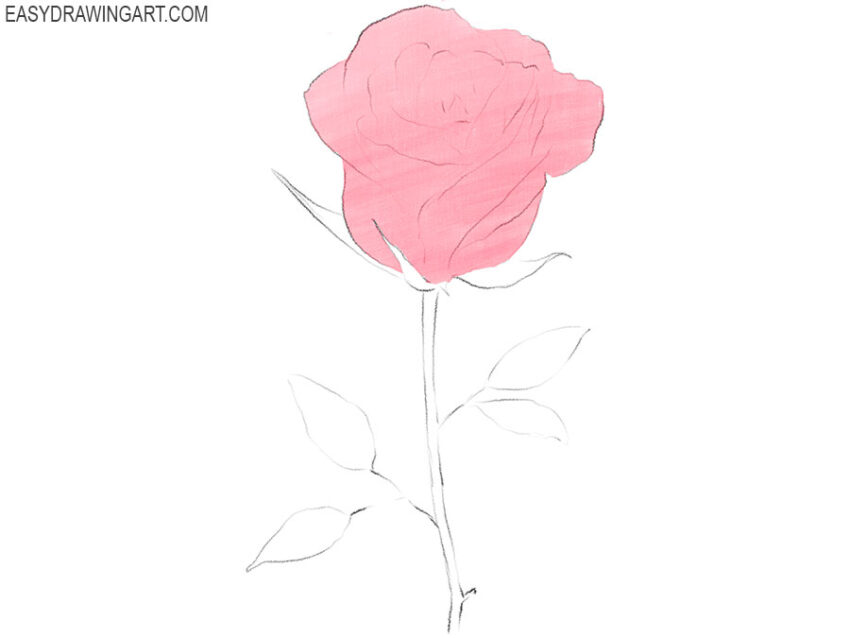
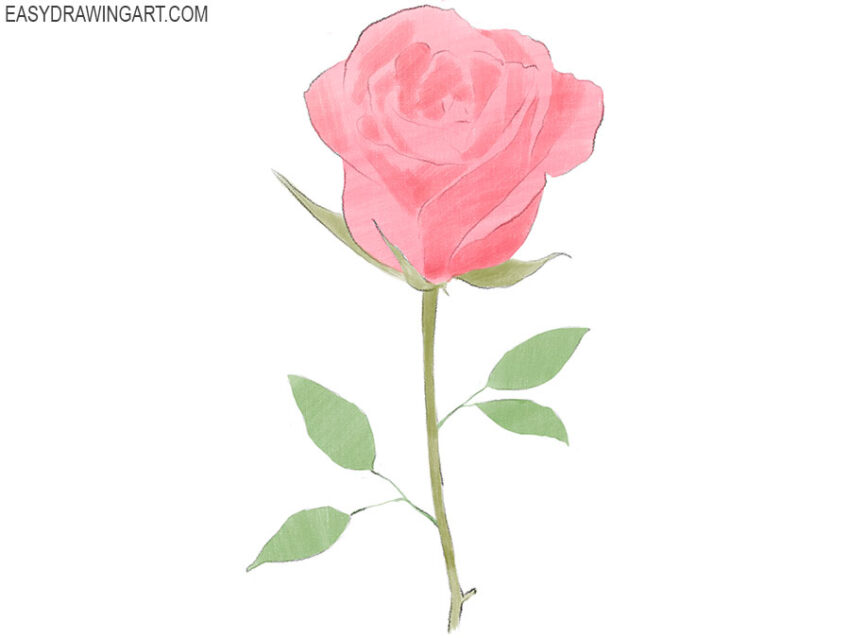
Step 2 – Paint the bud of the flower
Choose a soft, pale pink paint to lay down the first layer of color. Cover the flower bud entirely with this base hue, using smooth, even strokes to avoid streaking. This stage is not about nuance but establishing a uniform foundation of color. The shade chosen will set the tone for the entire flower.
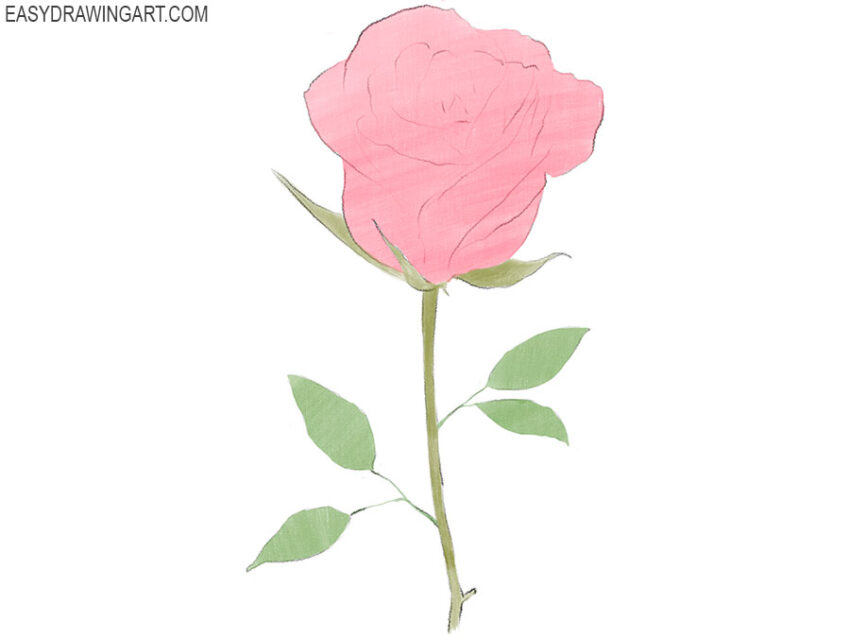
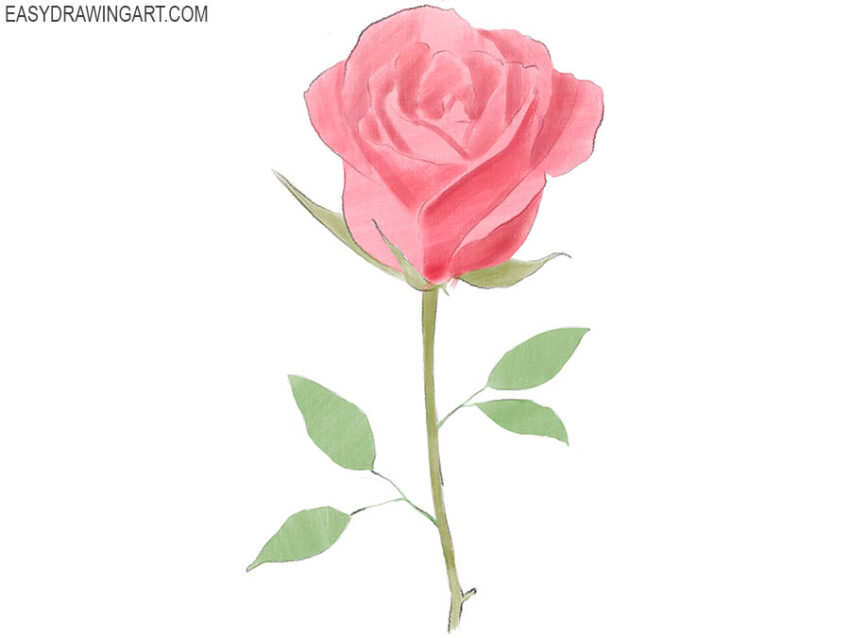
Step 3 – Paint the stem and leaves of the flower
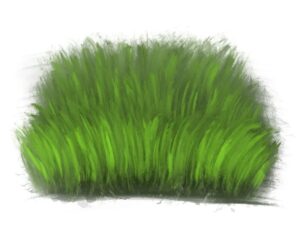
With a steady hand, switch to a green palette and fill in the stem and leaves, ensuring that the green does not bleed into the pink of the bud. This green should be a mid-tone to allow for the addition of shadows and highlights later. Apply the paint smoothly to cover these elements completely.
Step 4 – Add initial shadows to the bud
Now, introduce volume by selecting a pink that is a shade darker than the base. Apply this color to areas where shadows naturally occur: beneath petal overlaps and at the base of the bud. Use a delicate touch to blend these shadows into the base color, creating a soft transition that conveys the curvature of the petals. This layering technique begins to turn the flat base into a three-dimensional form, playing with light and shadow to bring out the roundness of the petals.
Step 5 – Add core shadows to the bud
Deepen the shadows by mixing a darker shade, possibly by adding a touch of purple or maroon to your pink. Identify the core shadows – the darkest parts of the flower, such as the very center where petals cup inward and areas completely turned away from the light. These core shadows are crucial for conveying the lushness of the petals and for creating a dynamic range of tones.
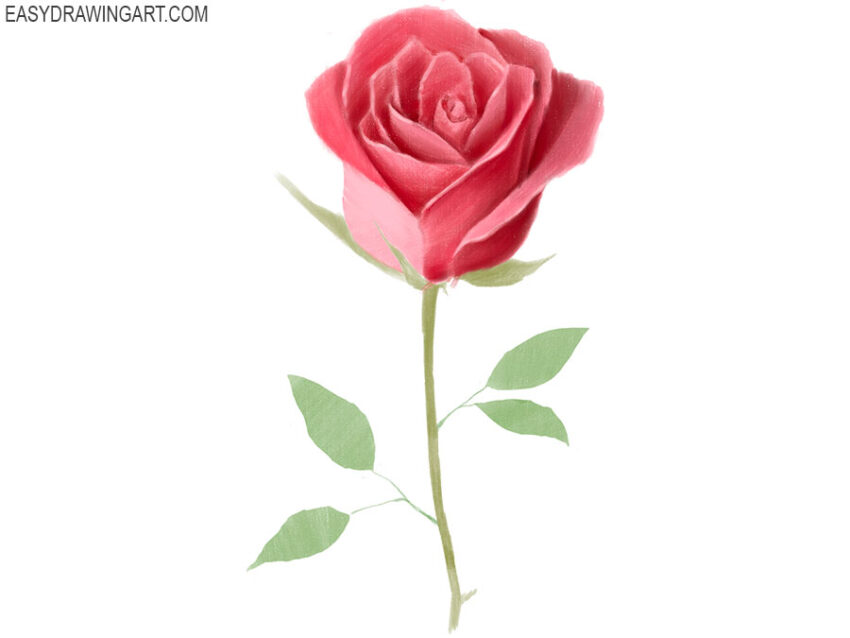
Step 6 – Adding more shadows and colors to the bud
Enhance the realism by incorporating various shades of pink, along with hints of red or purple, to establish a rich tapestry of color across the bud. Apply these colors to build up the shadows, using a blend of brush strokes to mimic the petal’s texture. This will make your flkower painting look more dimensional. Each petal should now have a distinct form, contributing to the overall shape of the bud with its unique folds and bends.

Step 7 – Add highlights and increase the contrast of the bud
Using a light pink or even white, gently brush on the highlights where the petals catch the most light. Think about a light source and how it would kiss the top edges of the petals. Simultaneously, revisit the shadows to punch up the contrast. This interplay between light and dark should be more pronounced now, giving your flower painting a dramatic, almost tactile presence.
Step 8 – Add shadows and highlights to the stem
The stem now requires attention; it should not just be a conduit but a part of the painting with its own nuances. Add shadows with a darker green to show where the leaves might cast a shadow on the stem or where natural indentations occur. Then, with a lighter green, add highlights along the edges or where the stem curves, reflecting where the light naturally falls.
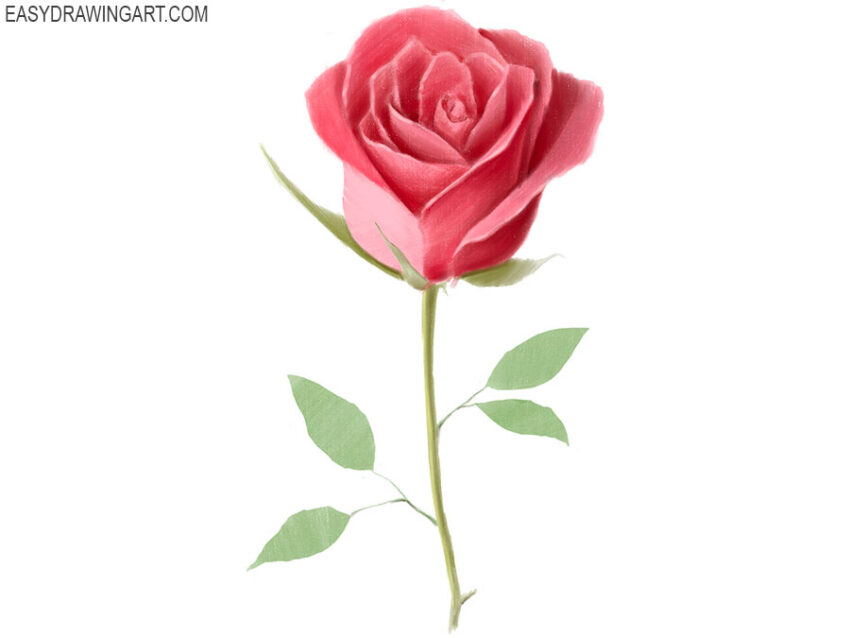
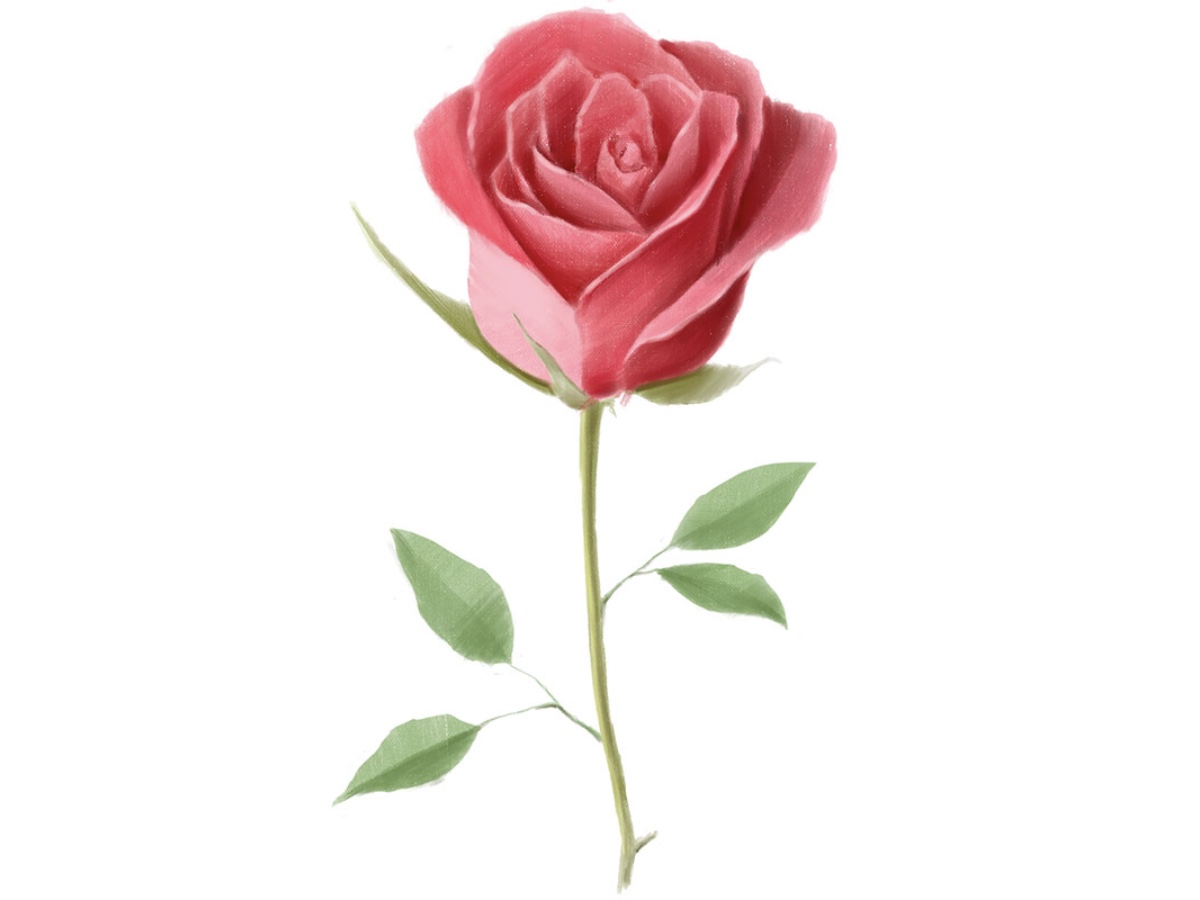
Step 9 – Add some final touches to your flower painting
Choose a shadow color that complements the existing greens, to cool the shadows and convey a distance or thickness to the leaf of the flower. Apply this color to the lower parts of the leaves and along the veins to create texture. In addition, study your entire flower painting. Add more contrast in those areas where it is needed. Add the necessary elements that were missed in the previous steps.
And at the end of this flower painting tutorial, it’s useful to note that the process itself is just as important as the final result. Each stage requires steady work, careful adjustments, and patience. Here are the key points reinforced throughout this lesson.
The layered structure of petals, the slight variations in color, and the small anatomical details of a flower all require controlled, deliberate strokes.
Each application of paint should be given time to settle so the transitions remain clean. Patience is especially important when painting flowers because natural forms often need gradual shaping and subtle shifts in value.
Each flower you paint offers new observations. The way light moves across a petal, the structure of a stem, or the rhythm of overlapping leaves – all of these elements add variety and complexity.
With every new study, push yourself to try different approaches, whether through controlled glazing, soft blending, or applying texture with a palette knife.
Painting flowers convincingly depends on developing strong observational habits. Note how petals curve, where the shadows fall, and how colors change throughout the day.
The more closely you observe, the more accurately you’ll be able to convey the structure and character of the flower.
As you gain experience, your decision-making becomes more intuitive. Mixing the right color for a sunlit highlight or a deeper tone for the inner shadow of a bloom will come more naturally as your familiarity with these forms grows.
Flowers remain a common subject in art, and studying them offers a wide range of technical insights. Looking at how other artists handle floral compositions can help you refine your own approach and broaden your understanding of different painting methods.
In painting flowers, we work with shapes and colors that have been central to botanical art for centuries. The practice connects careful observation with a long artistic tradition and continues to offer new opportunities for growth and study.