How to Draw Mister Fantastic

This tutorial will teach you how to draw Mister Fantastic from the Fantastic Four in his classic blue and white costume from the original comics.
Comic book creators often give character teams a unified color scheme to make their costumes look like uniforms and to maintain a consistent visual style. The Fantastic Four is a clear example of this approach – all members share a distinctive blue and white color palette along with recognizable design elements common to the entire team.
In this tutorial, we’ll show you how to draw Mister Fantastic and how to give him a look that stays true to the original comic design.
How to Draw Mister Fantastic Step-by-Step
Step 1: Sketch the skeleton of the character
As always, we start with the skeleton of the character, sketching it as simple ovals, circles and lines. Draw the head, rib cage, and pelvis as ovals, the rms, legs, and spine as simple lines.

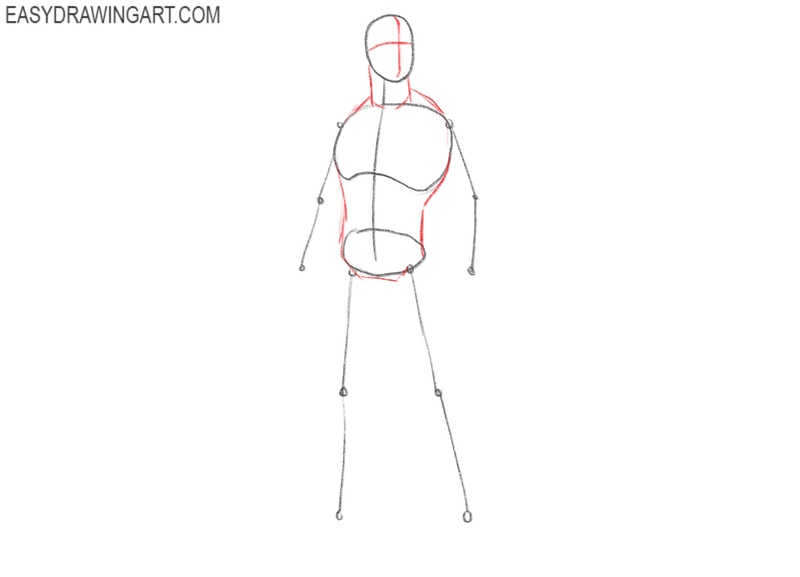
Step 2: Add guidelines for the head and torso
First, sketch the facial guidelines as two lines. Then, sketch the neck of the character, that connects the head with the torso. After that, form the shape do the torso with smooth lines.
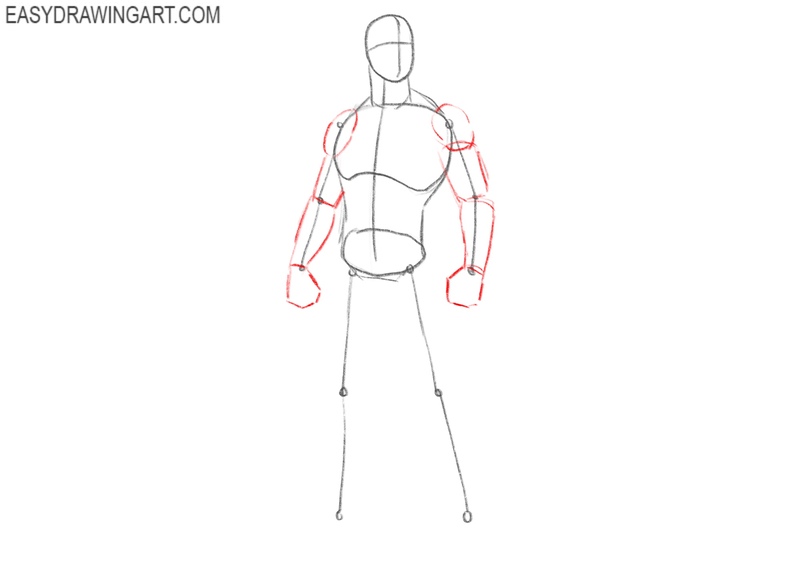
Step 3: Sketch the arms of Reed Richards
Start with the shoulders, sketching them as two circles. Then, sketch the upper and lower arms as cylinders. Finish sketching the hands creating clenched fists.
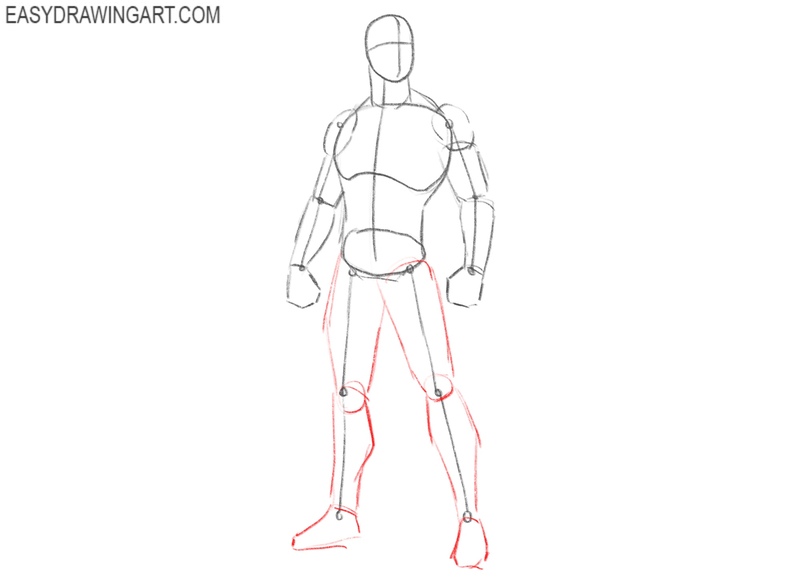
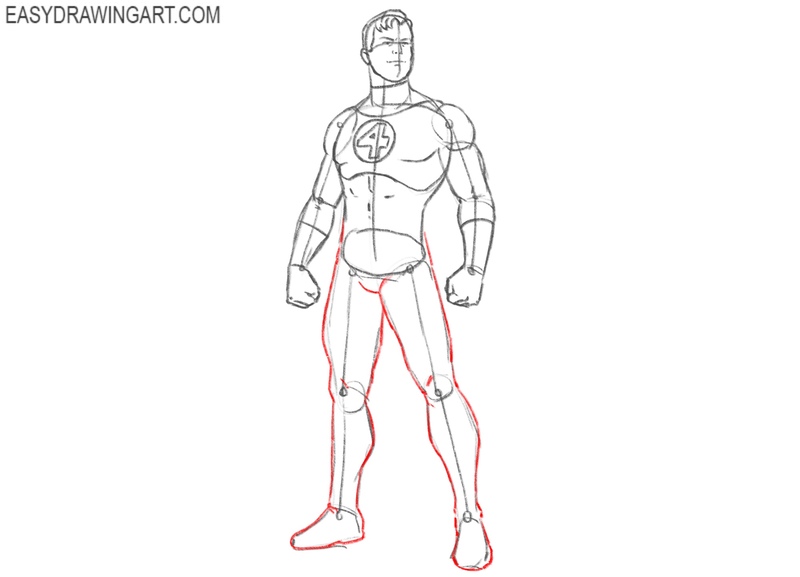
Step 4: Sketch Mister Fantastic’s legs
Now, let’s move to the lower body and sketch the legs. Illustrate the upper and lower legs and cylinders. Then, sketch the knees as circles. To finish the legs, sketch the feet at the bottom.
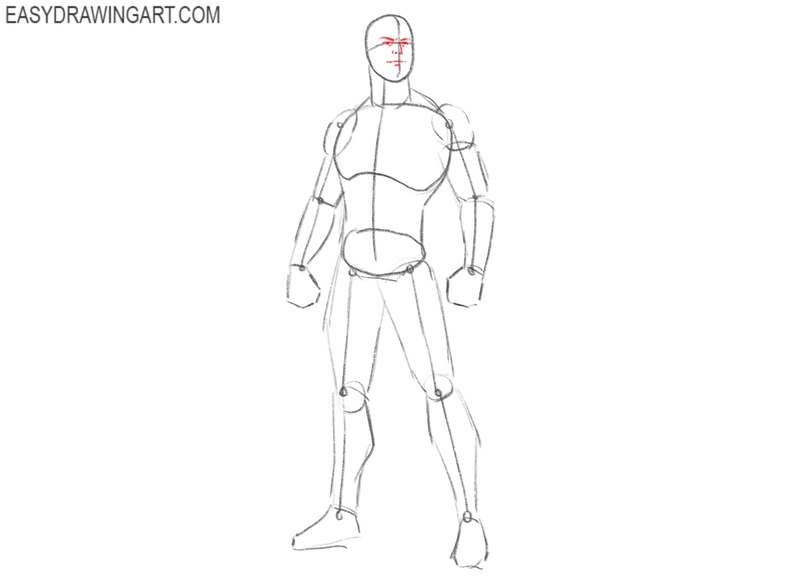
Step 5: Draw Reed Richards’ facial features
Let’s detail the head of Mister Fantastic, drawing the eyes, eyebrows, nose and mouth. To draw all these details correctly, use the guidelines from the step 2. You can visit our face drawing tutorial to learn more.
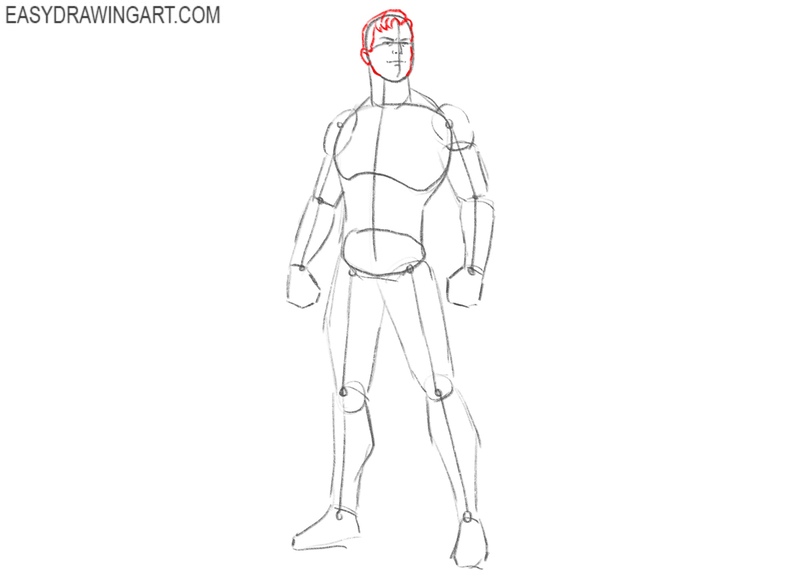
Step 6: Detail the head and hairstyle
Form the shape of Reed Richards’ face, correcting the jawline and chin. Then, draw the ear at the side of the head. Finish the head by drawing the hairstyle with smooth short lines.
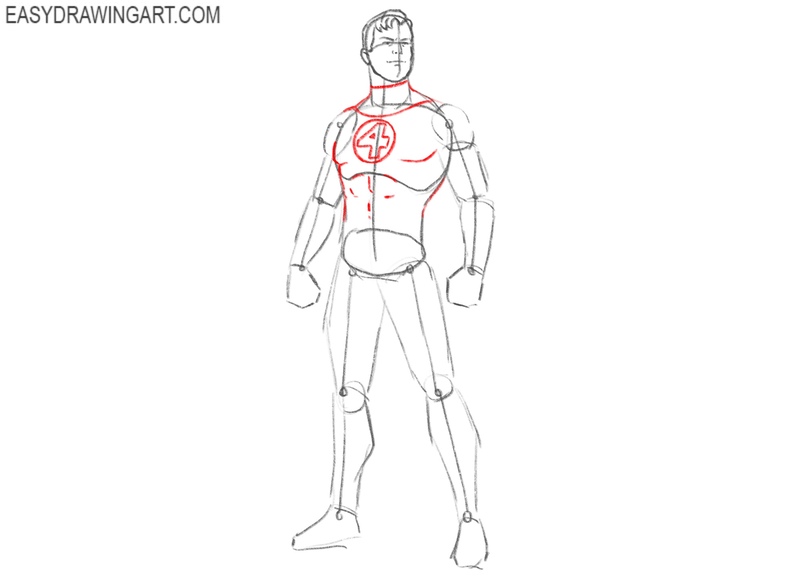
Step 7: Detail the torso and draw the logo
Detail the neck and draw the costume part that covers the neck and trapezoid area. After that, indicate the pectoral and abdominal muscles. Correct the shape of the torso with smooth lines.
Step 8: Detail the character’s arms
Using smooth and confident lines, detail the shoulders, upper, and lower arms. Detail the fists and draw the fingers. Add some short lines for the muscles and folds.

Step 9: Draw Mister Fantastic’s legs in detail
Now, detail the legs of Reed Richards tracing the shape and forming muscles. Indicate the knees and add some short lines for folds. Finalize the shoes with smooth and confident lines.
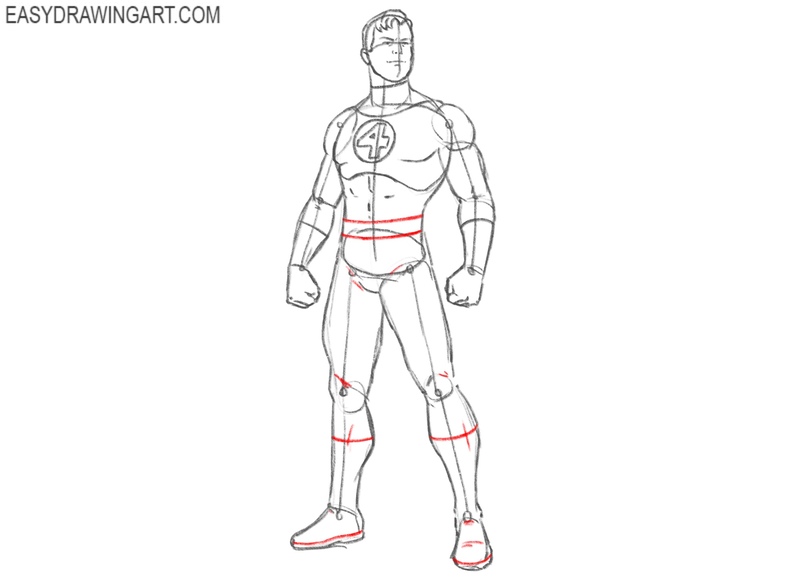
Step 10: Add some finishing details to Mister Fantastic
Now, draw the belt with a couple of smooth and slightly curved lines. After that, detail the shoes. Then, sketch some muscle lines, to give your Reed Richards drawing a detailed look.
Step 11: Erase the guidelines and trace the drawing
Let’s give the drawing of Reed Richards more finished look. Erase the guidelines and trace the sketch with darker and more confident lines. Draw some additional details if needed.

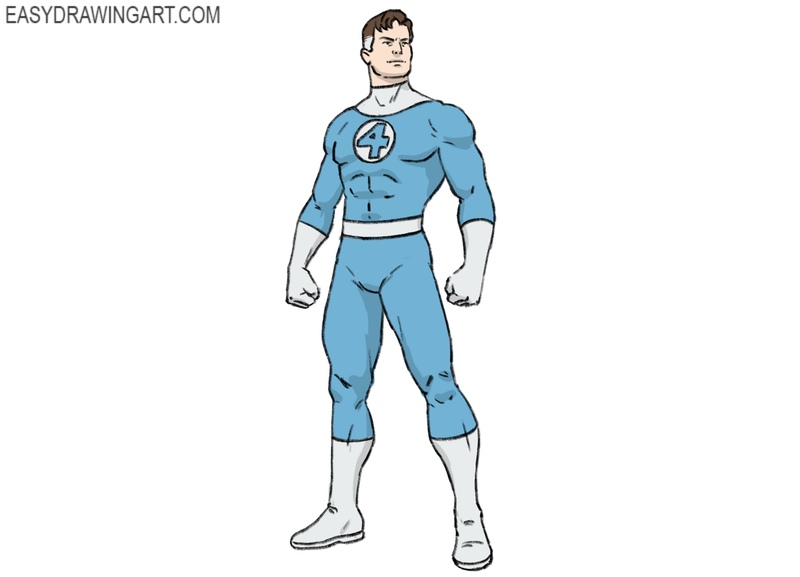
Step 12: Add colors to Mister Fantastic
Color the hair in brown and gray and the face in skin tone. Use blue and very light gray for the costume of Mister Fantastic. Add some shadows to give your drawing more voluminous look.
Now that you’ve learned how to draw Mister Fantastic in his classic costume, try sketching him in different poses to show his superhero abilities. Drawing him reaching across a page or twisting around obstacles can help you practice interesting figure drawing.
For more superhero drawing ideas, check out our Spider-Man drawing tutorial – another iconic Marvel character with unique movement and really recognizable design. Keep practicing, explore new action poses, and build your own superhero drawing collection one step at a time.