How to Draw Braces

Now you will learn how to draw braces step by step. By following this tutorial, you will gain useful skills that may come in handy in future human face drawings.
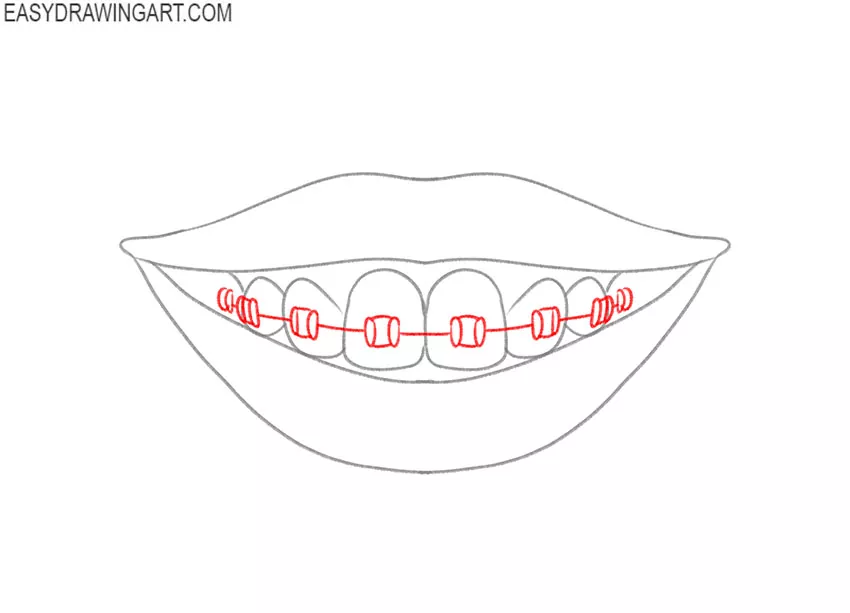
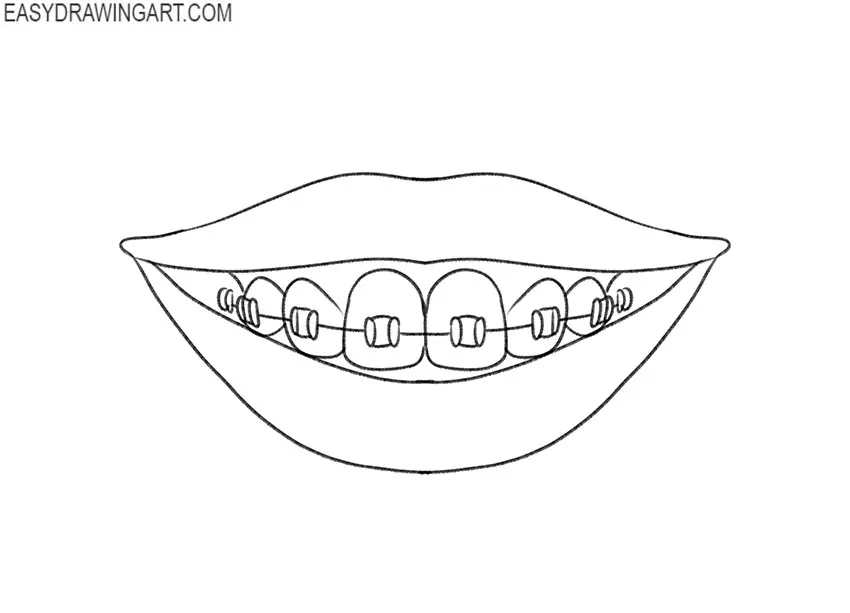
Braces are orthodontic devices attached to the teeth to correct their alignment and bite. In the picture, you can see a wide smile with braces on the upper row of teeth.
You can easily follow this tutorial because each step includes one simple action.
Time needed: 1 hour
How to Draw Braces
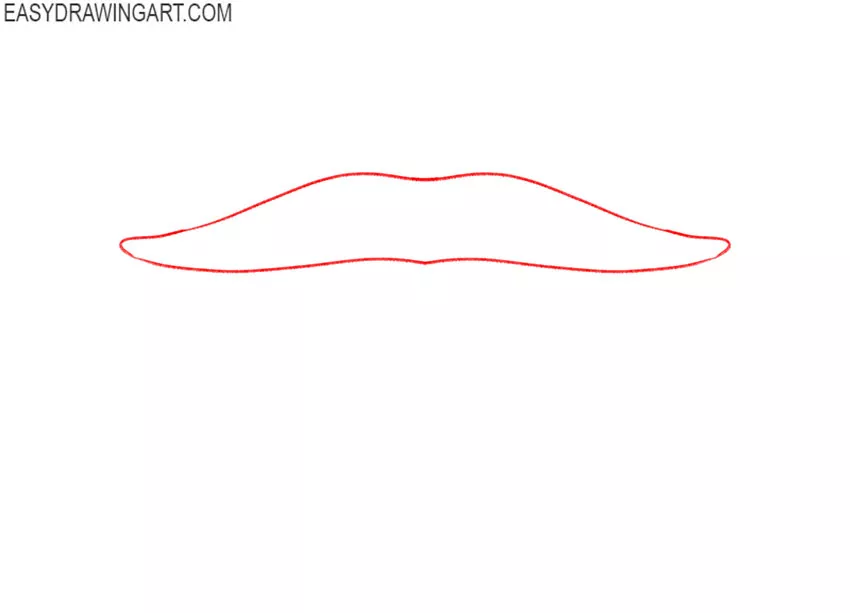
- Draw the outline of the upper lip.
Use smooth curved lines and depict the upper lip in the same shape as shown in our drawing.

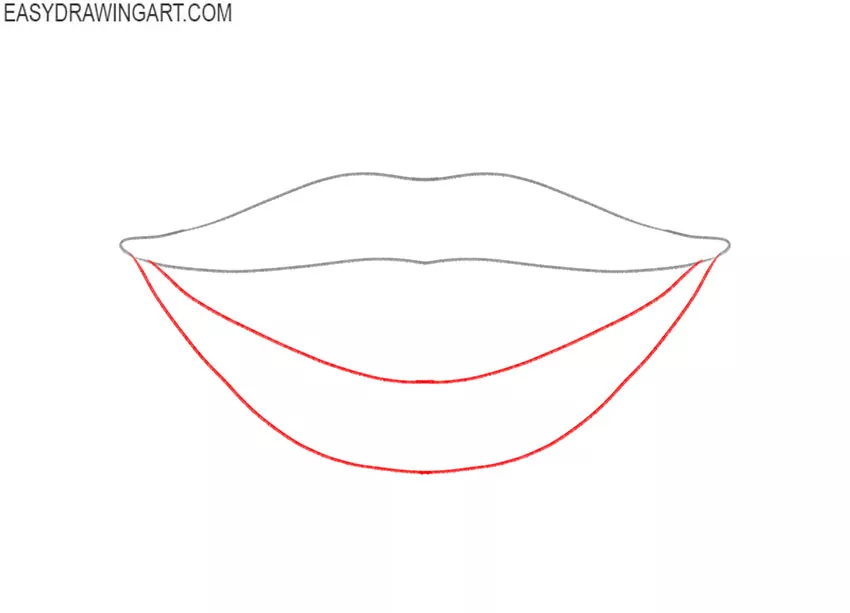
- Depict the outline of the lower lip.
This step is similar to the previous one and here you need to add the lower lip using smooth lines. Try to correctly depict the shape of the lower lip.
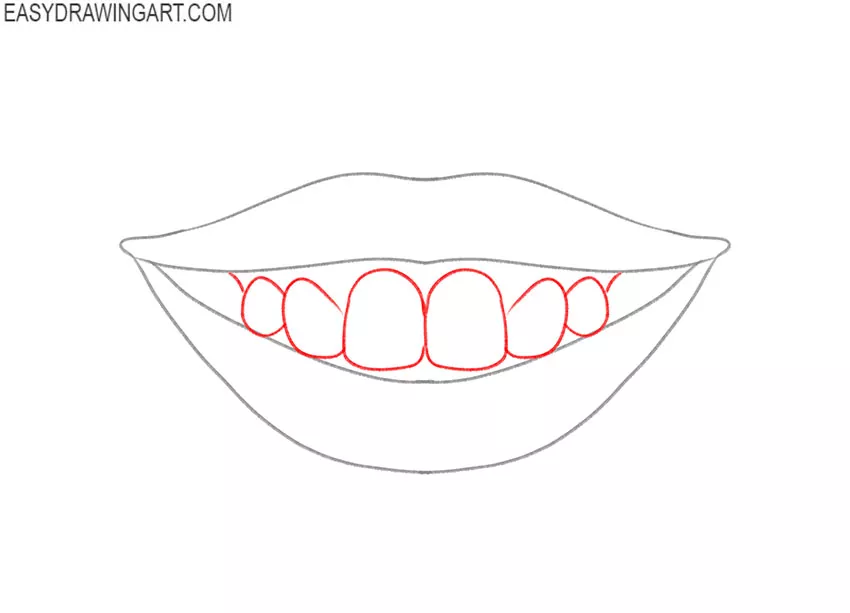
- Sketch out the teeth.
Start consistently drawing the upper teeth. Observe symmetry, try to correctly depict the shape and size of the teeth.
- Add the braces.
On each tooth, draw the braces in the form of a small rectangle. Then draw connecting lines between the braces.
- Correct inaccuracies.
Look carefully at the drawing and if you notice any inaccuracies, then immediately correct them. Prepare the drawing for coloring.
- Color the drawing.
You will need different shades of pink and gray. If you want to make your drawing more realistic, then select the dark areas and add skin folds on the lips.
This drawing lesson has come to an end. You can use the acquired skills in the future when you want to draw a smile. We would be interested to know your opinion about this tutorial, and we will ask you to leave a little feedback in the comments. Follow us on social media if you haven’t already.