How to Draw a Firefighter

We are pleased to bring to your attention a new lesson on how to draw a firefighter. We are sure that this instruction will be useful for an artist of any level.
If you want to learn how to draw people of different professions, then be sure to follow the fascinating lesson on how to draw a firefighter. In this lesson, you will once again practice drawing a human figure and gain useful skills.
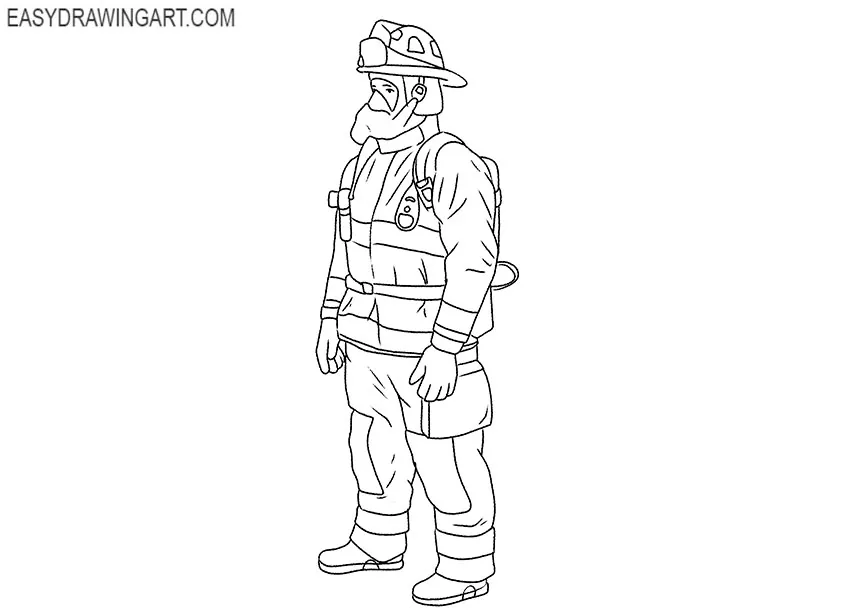
The figure shows a man in fireproof clothing. There is a helmet on the head and a breathing apparatus on the face. Special shoes and protective gloves are also part of the firefighter’s equipment. Now you have to draw all these elements.
Time needed: 1 hour
How to Draw a Firefighter
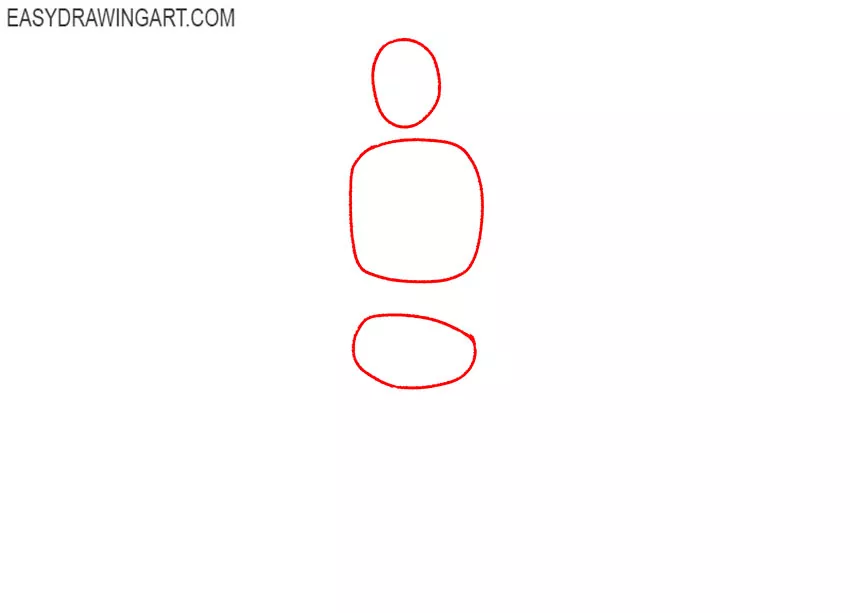
- Prepare the base.
Indicate the position of the main parts of the body in the form of figures of various shapes. At the initial stage, use thin lines.

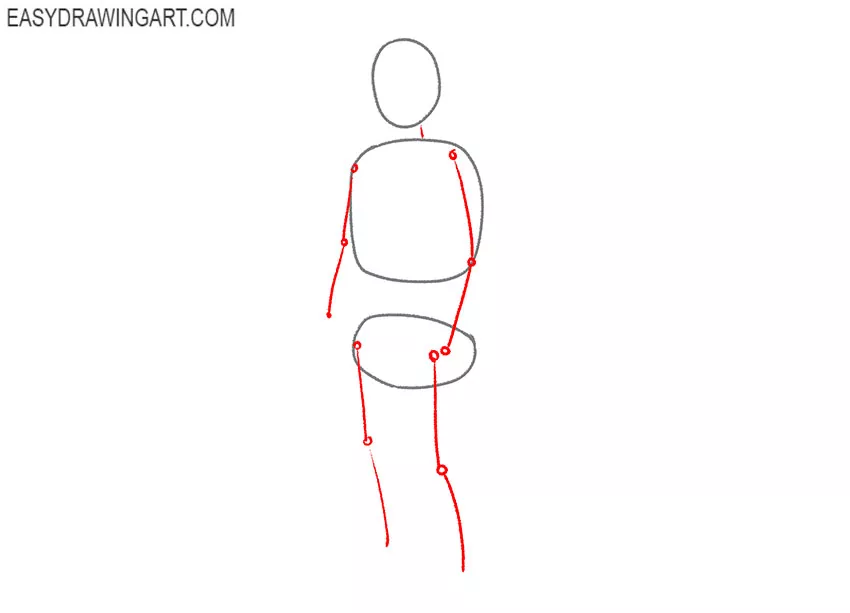
- Sketch out the limbs.
Use straight lines to mark the position of the arms and legs. Draw the folds as large dots.
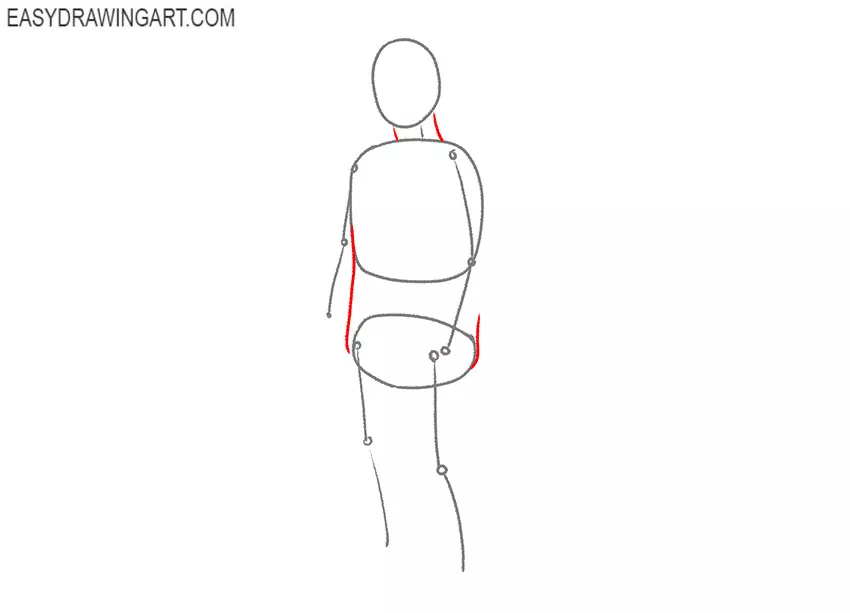
- Depict the outlines of the body.
Draw connecting lines between the head and the thoracic region to represent the neck and outline the lateral contours of the torso.
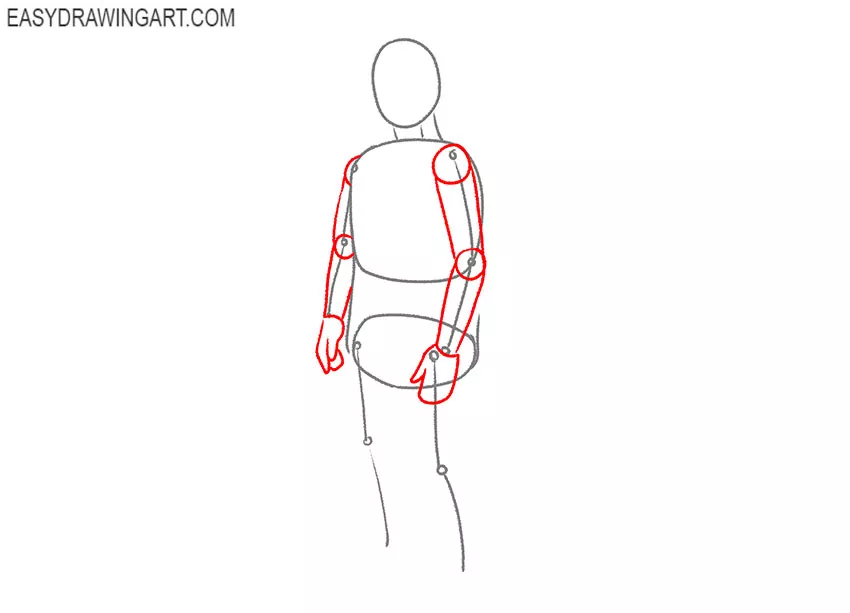
- Draw the arms.
Outline the arms with several cylindrical shapes. Draw the places of the folds in the form of ovals. Draw the hands.
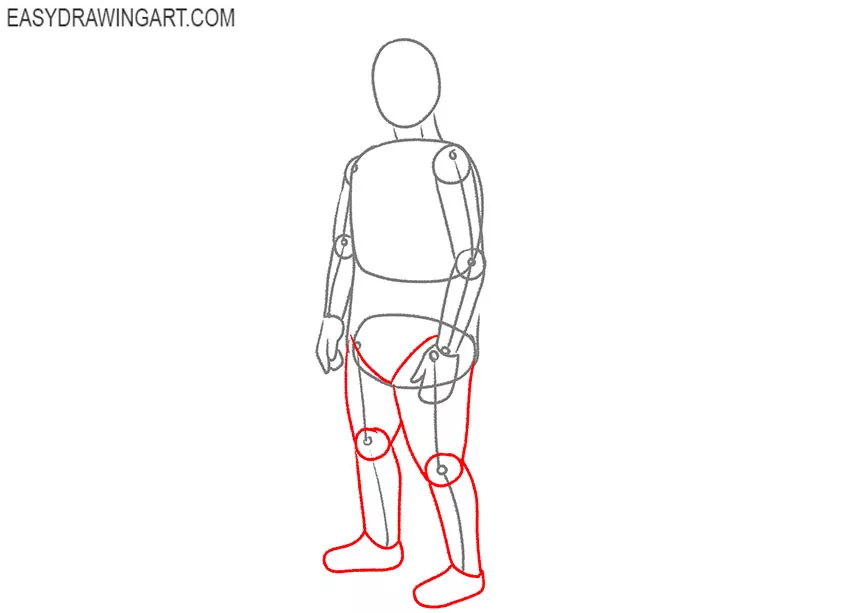
- Add the legs.
Use smooth lines and depict the legs, taking into account all the anatomical features. Draw the knee joints in the form of ovals and add the feet.
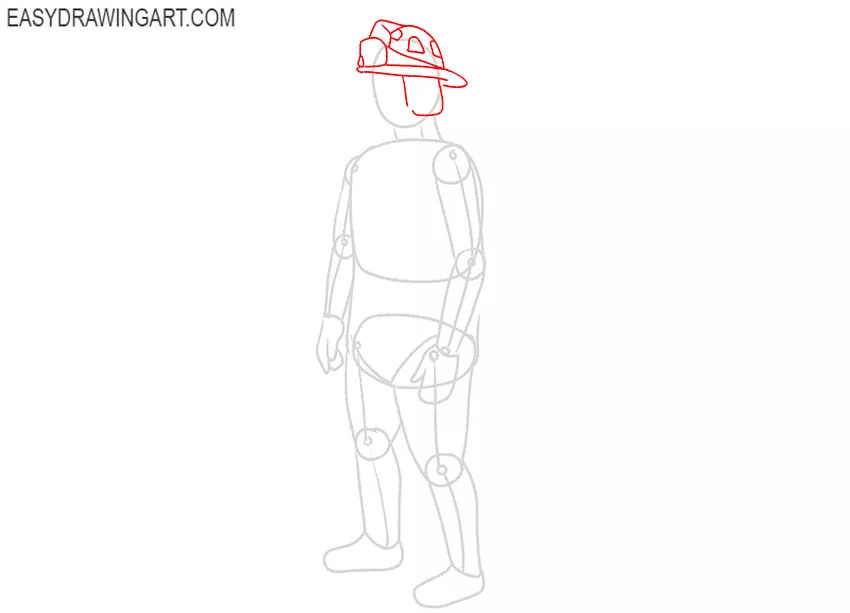
- Sketch out the helmet.
On the head draw the protective helmet of the same shape as in our example. At the bottom, draw a partition that protects the lower part of the head.
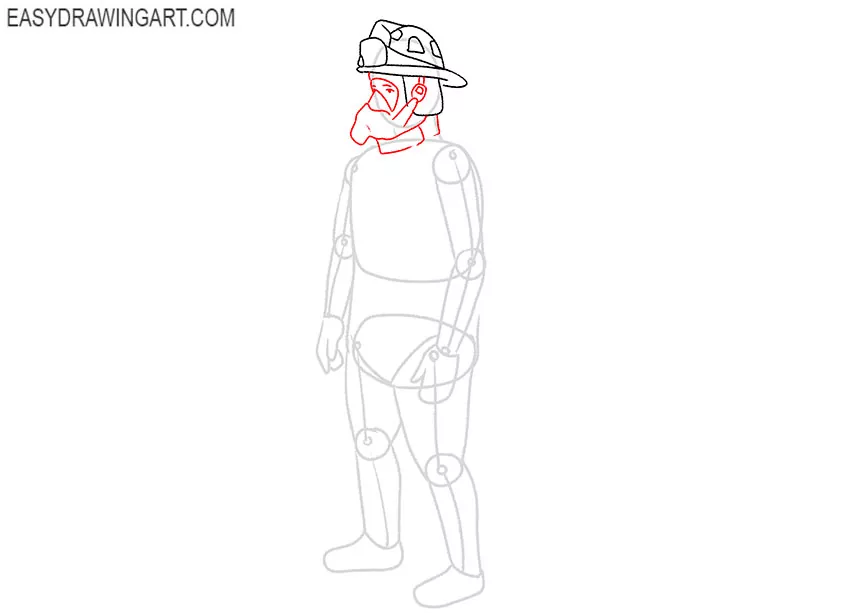
- Add the rest of the elements of the head.
Sketch out the eyes and with smooth lines add the outline of the mask. Draw the breathing apparatus and the wide collar.
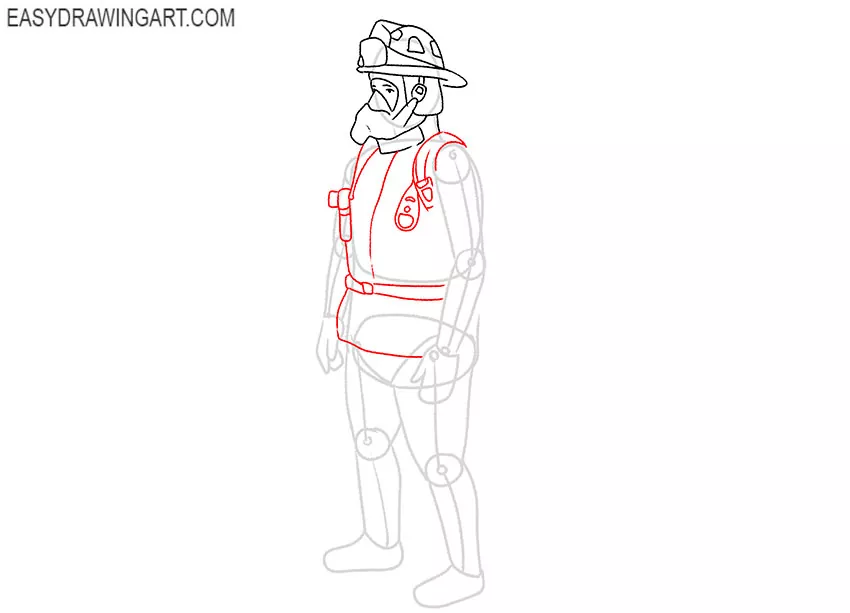
- Start drawing the clothes.
Focus on those lines that you drew earlier and draw the top of the suit. Draw the belt and the necessary structural elements.
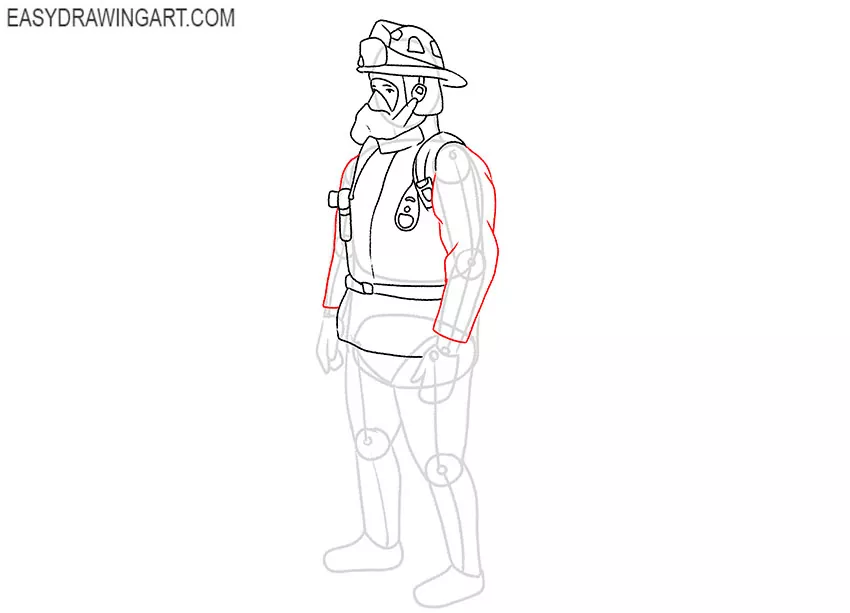
- Draw the sleeves.
With the help of smooth lines, draw the outline of the sleeves, while focusing on the auxiliary lines. Add the folds to the fabric.
- Depict the hands and part of the fire equipment.
Now you have to draw the gloves. Be careful and try to correctly depict the position of the fingers. Depict the fire equipment that is located behind the back.
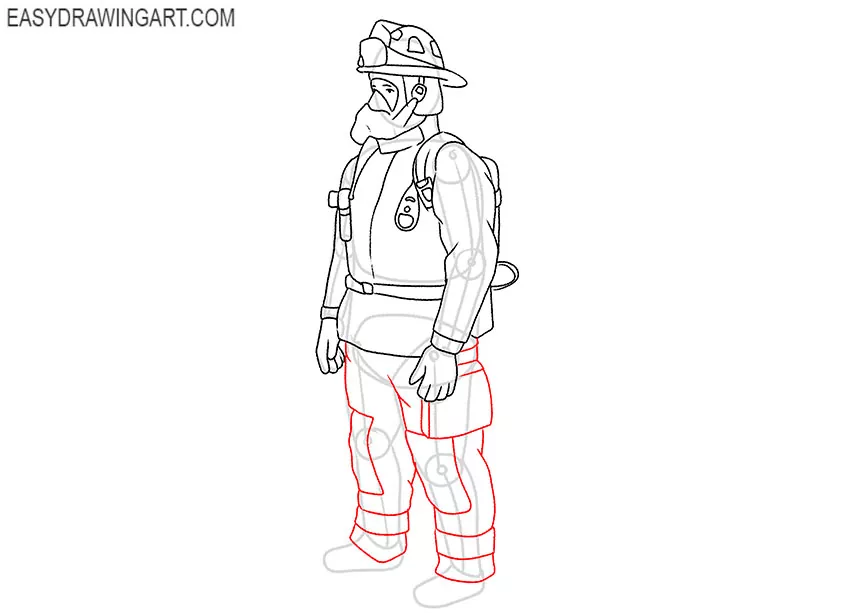
- Add the bottom of the suit.
Focus on the auxiliary lines and draw wide trousers. Draw rectangular overlays on the knees and add the rest of the elements.
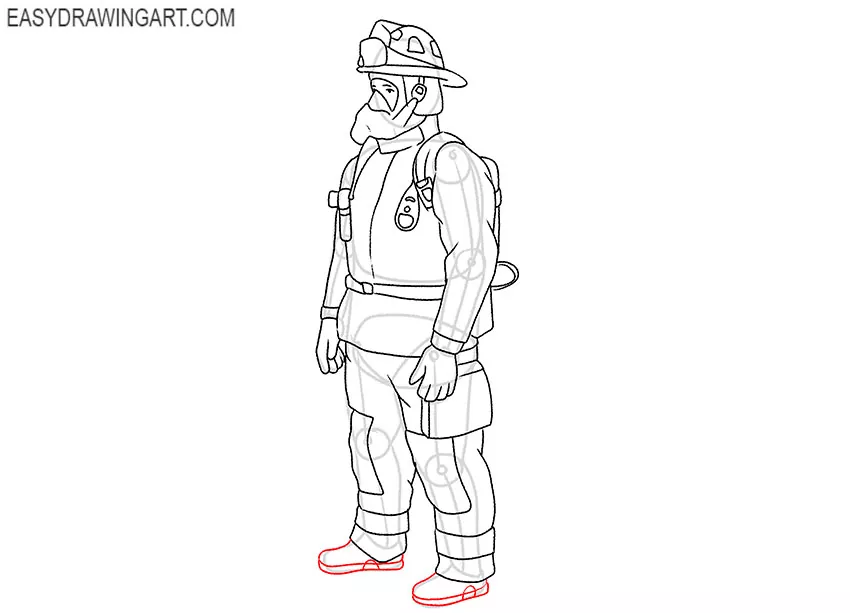
- Sketch out the shoes.
When the clothes are ready, you can start drawing the shoes. At the bottom, draw the high-soled shoes.
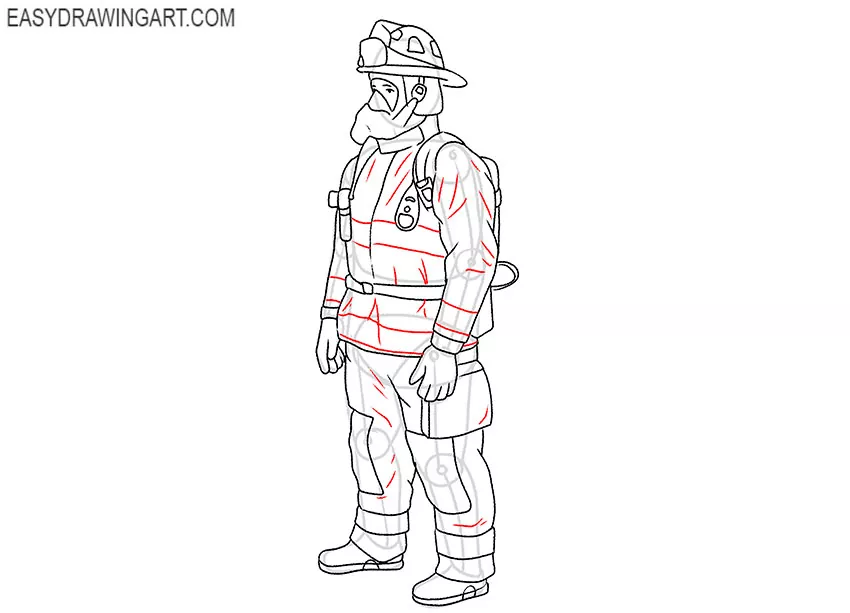
- Add details.
With smooth lines draw the stripes on the firefighter’s clothes and with the help of short strokes add the folds to the clothes.
- Correct inaccuracies.
Check if you have completed all the drawing steps correctly and if you notice errors, then correct them. Remove extra lines.
- Color the drawing.
For coloring, you will need different shades of beige, as well as yellow, gray, black, and red.


Now you have learned how to draw a firefighter. We hope you enjoyed your time. Don’t forget to follow us on social media if you haven’t already.