How to Draw an Eye from the Side
In this step-by-step tutorial, you will learn how to draw an eye from the side. Practicing individual facial features will make it easier to draw the entire face later.
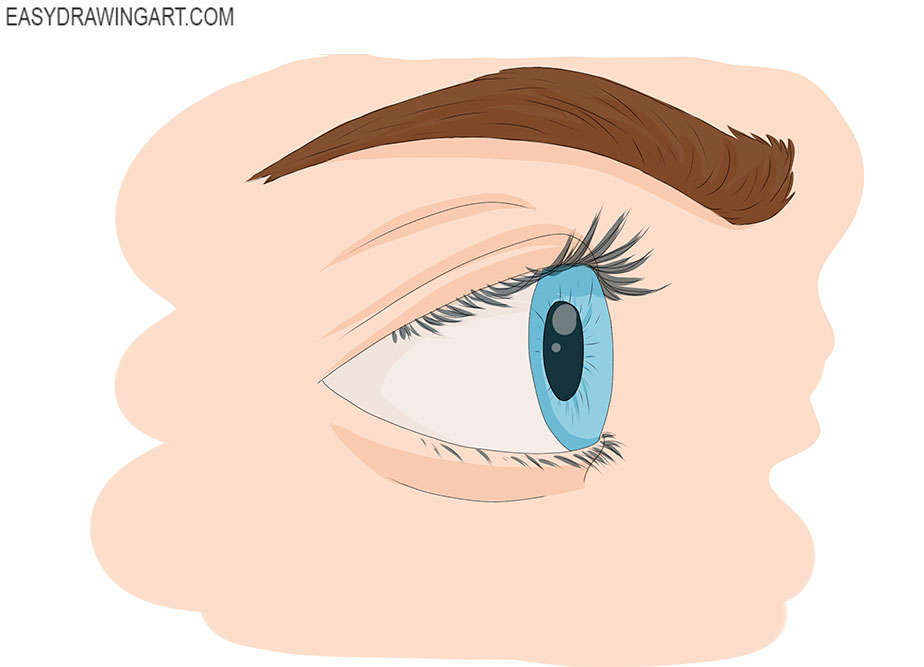
The picture shows a single eye in profile, with the eyelids, iris, and eyebrow viewed from the side.
Time needed: 1 hour
How to Draw an Eye from the Side
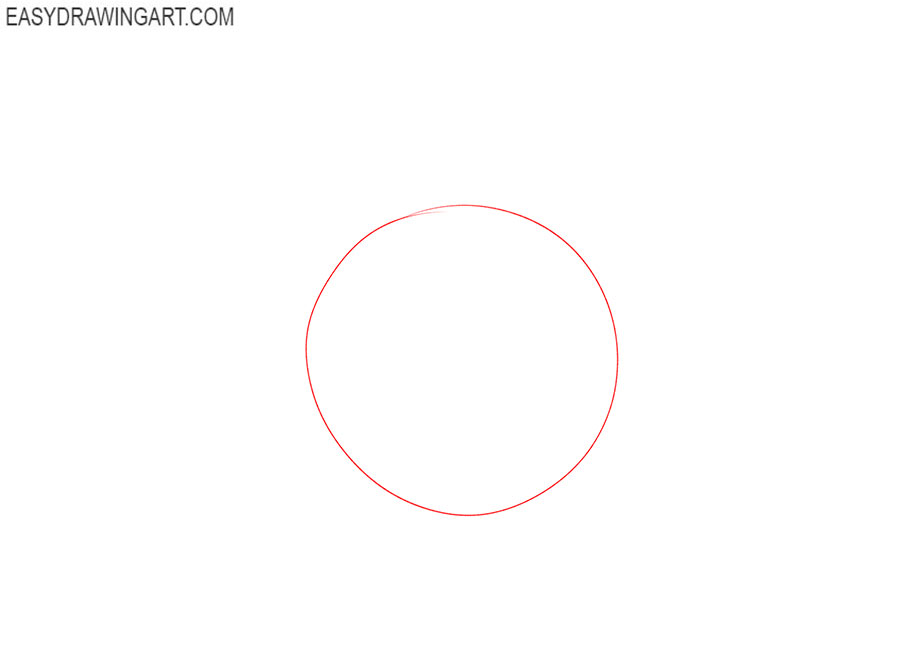
- Prepare the base.
Determine what the size and location of the drawing will be and draw a circle, because the human eye has a round shape.

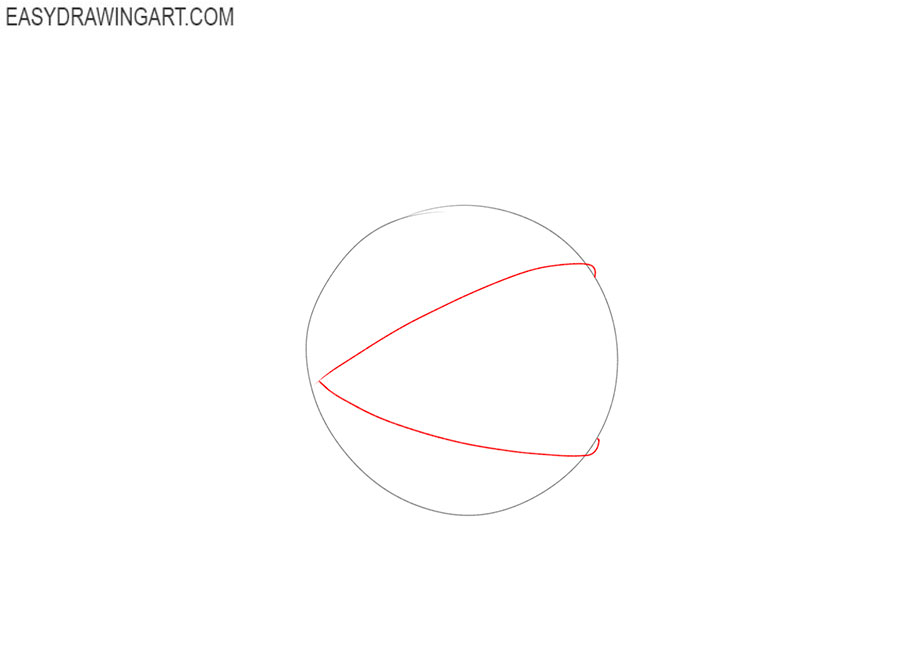
- Determine the position of the eyelids.
Draw smooth lines inside the circle to indicate the position of the upper and lower eyelids. Determine what part of the picture is occupied by the eyelids and respect the proportions.
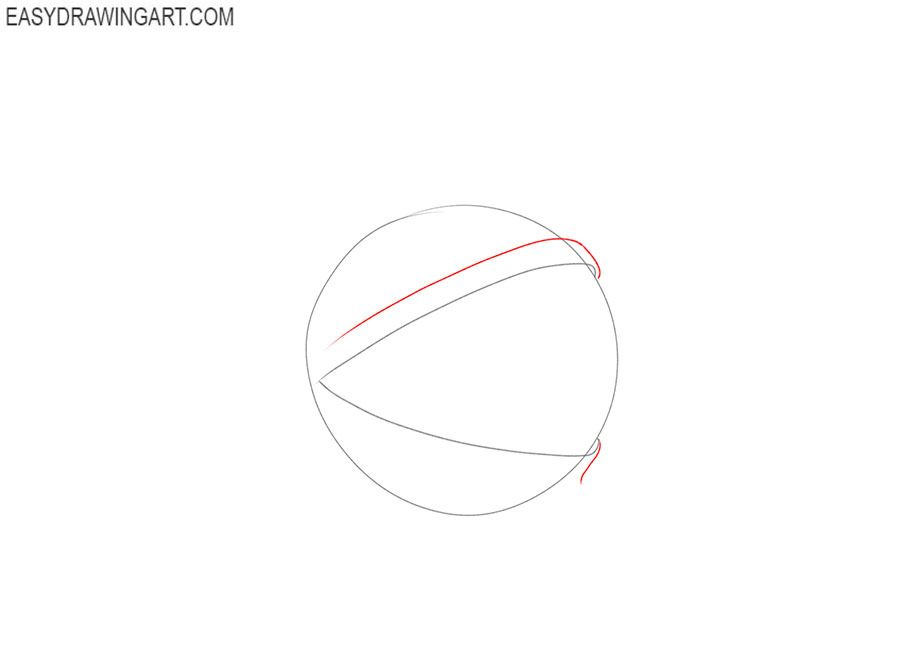
- Detail the eyelids.
Depict a smooth line along the upper eyelid to indicate its thickness and draw a small, curved line on the lower eyelid.
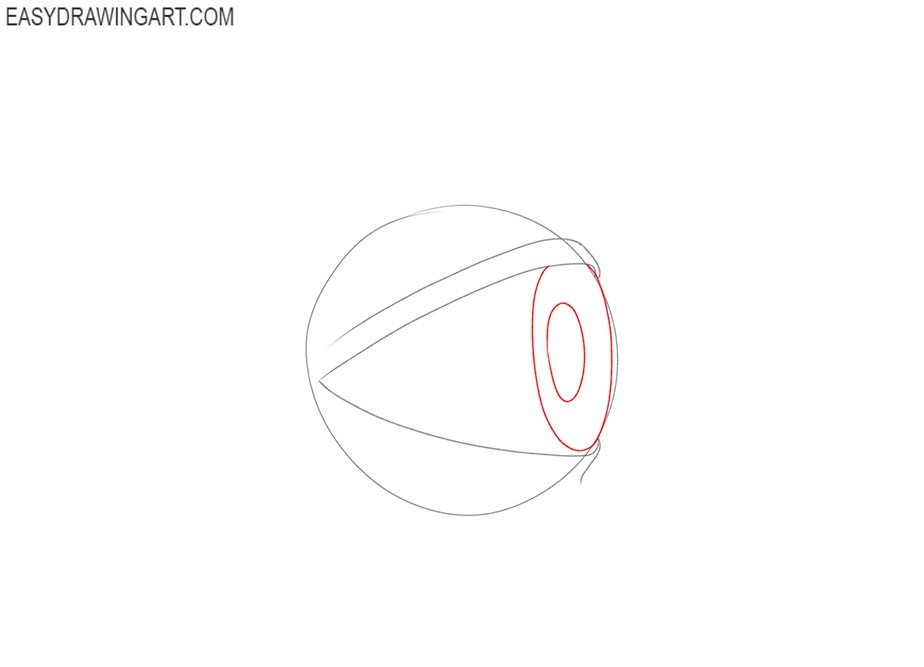
- Sketch out the iris and pupil.
Since this is a side view, the iris and pupil are not round, but oval, while the upper part of the iris is slightly covered by the upper eyelid.
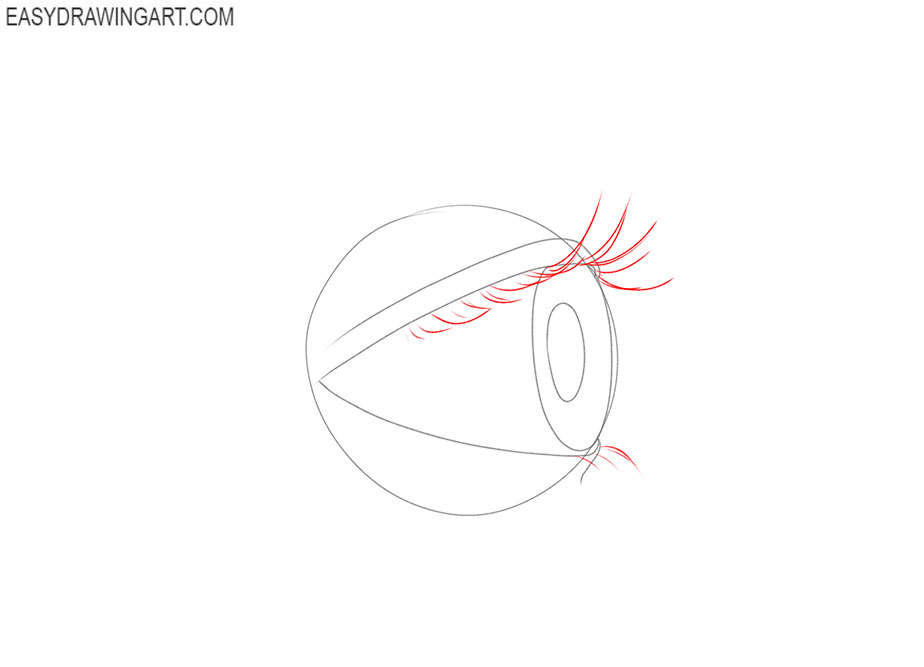
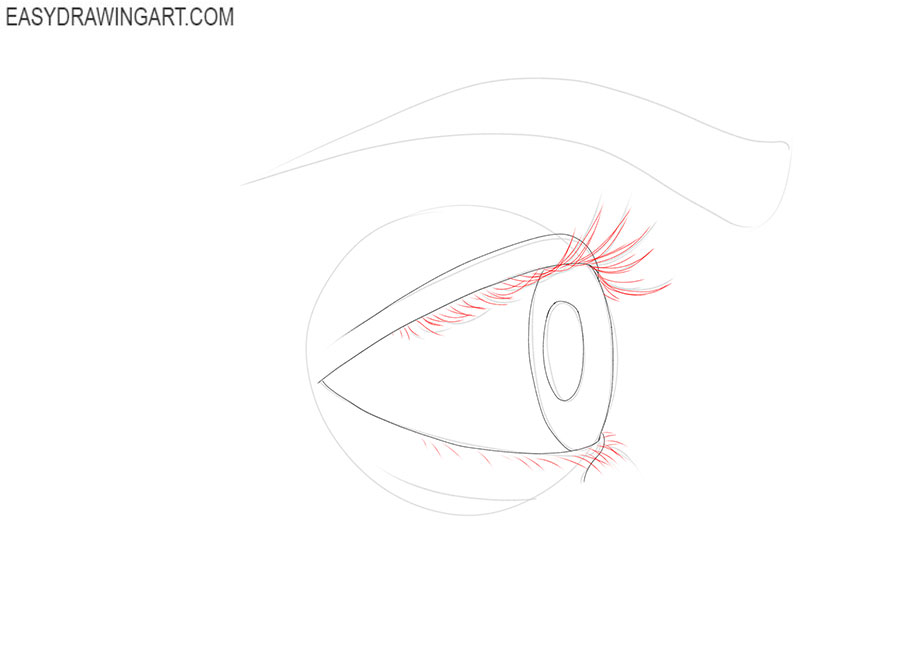
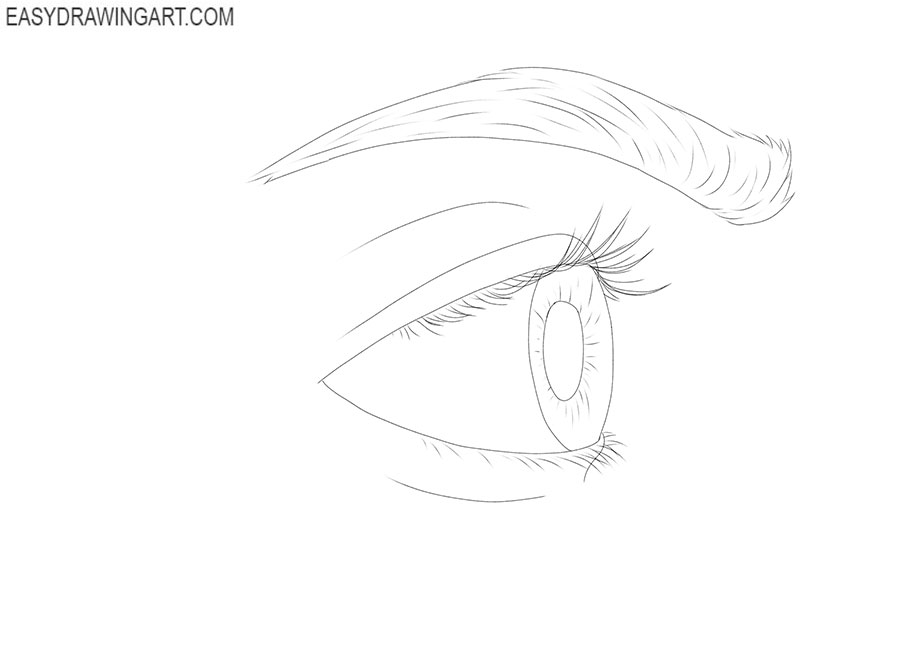
- Draw the eyelashes.
Depict the eyelashes on the upper and lower eyelids using small semicircular lines. Try to depict the position of the eyelashes according to the direction of their growth.
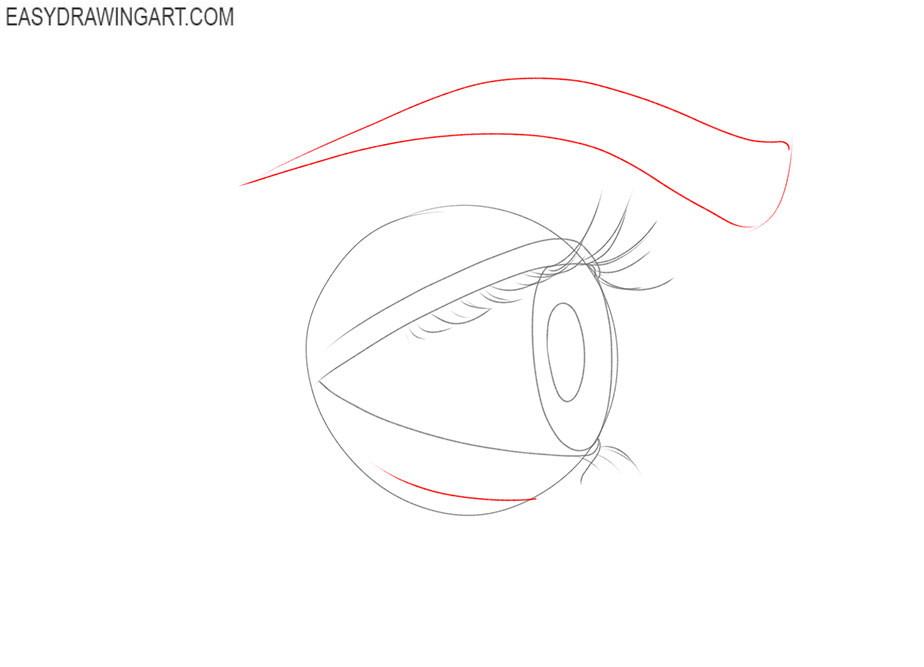
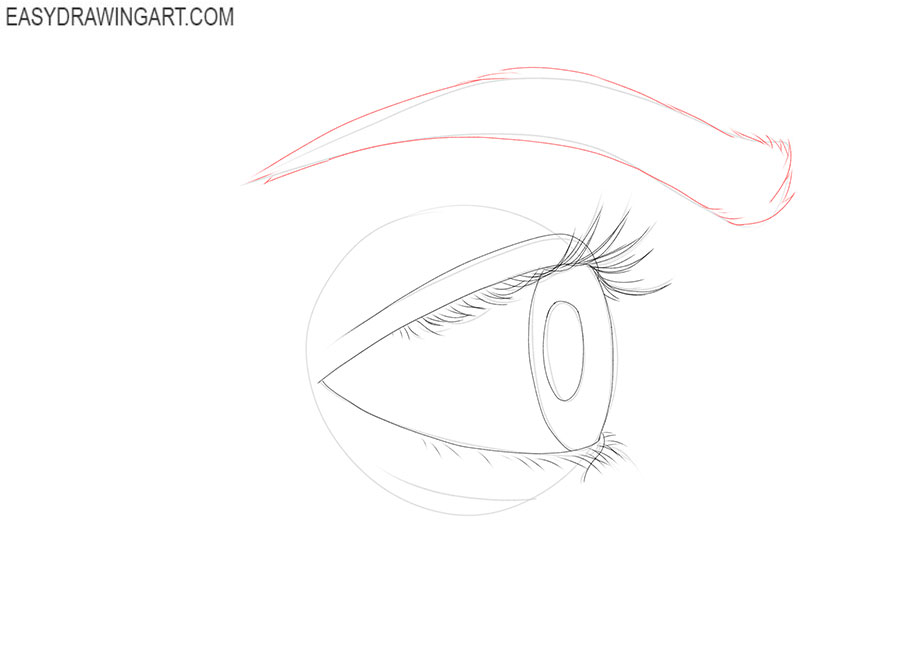
- Depict the eyebrow and the crease on the lower eyelid.
Use smooth, curved lines and draw the eyebrow of about the same shape as in our example. Draw the small crease on the lower eyelid.
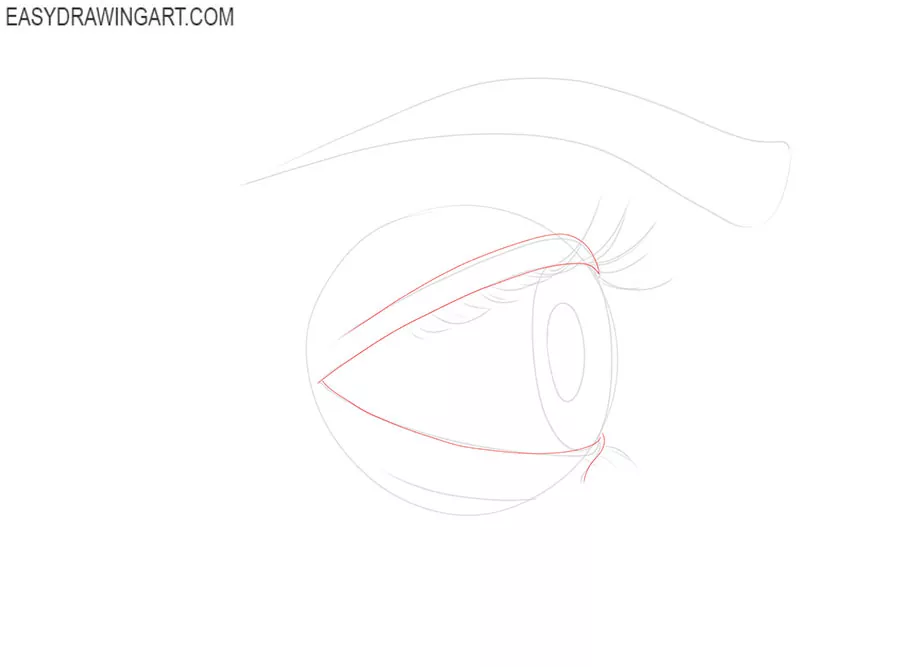
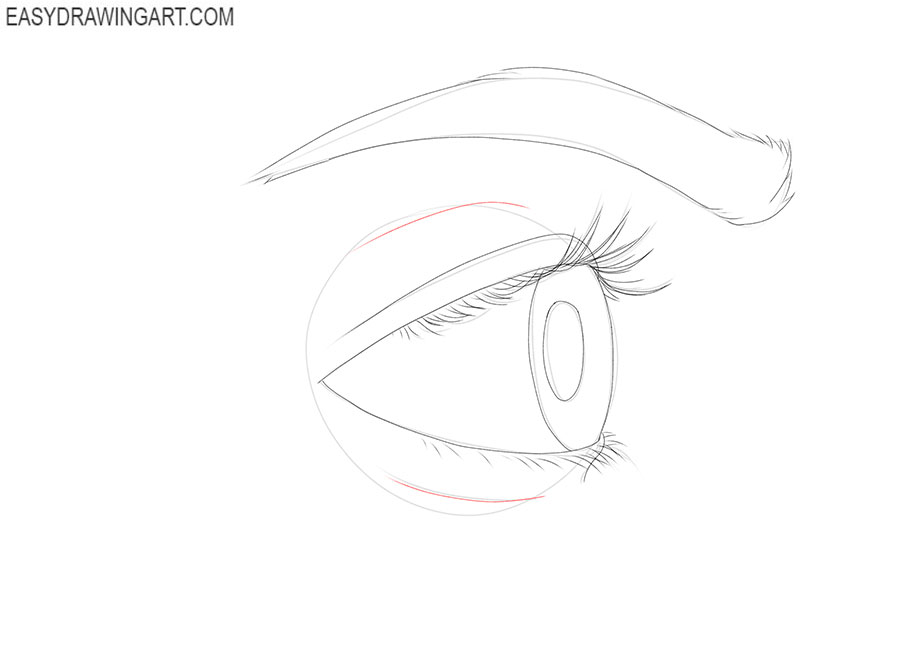
- Make the contour of the eyelids more clear.
Use the lines that you drew in the previous steps and carefully outline the upper and lower eyelids along the outline.
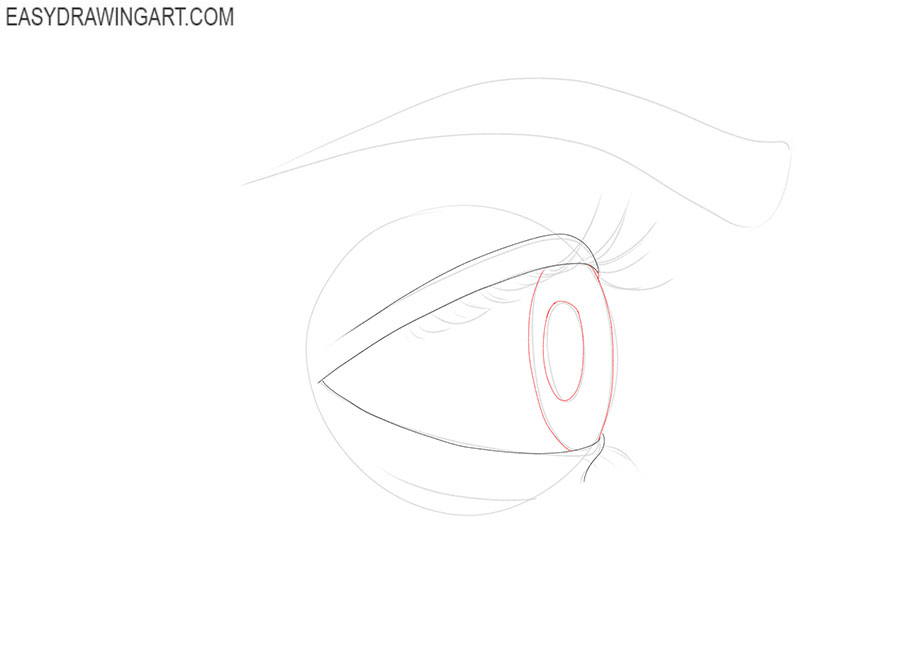
- Make the iris and pupil clearer.
Carefully outline the iris and pupil along the outline. Use the lines you drew earlier as a guide.
- Define the lashes.
Add the thickness and definition to the lashes. To do this, successively draw the small thin strokes along the upper and lower eyelids.
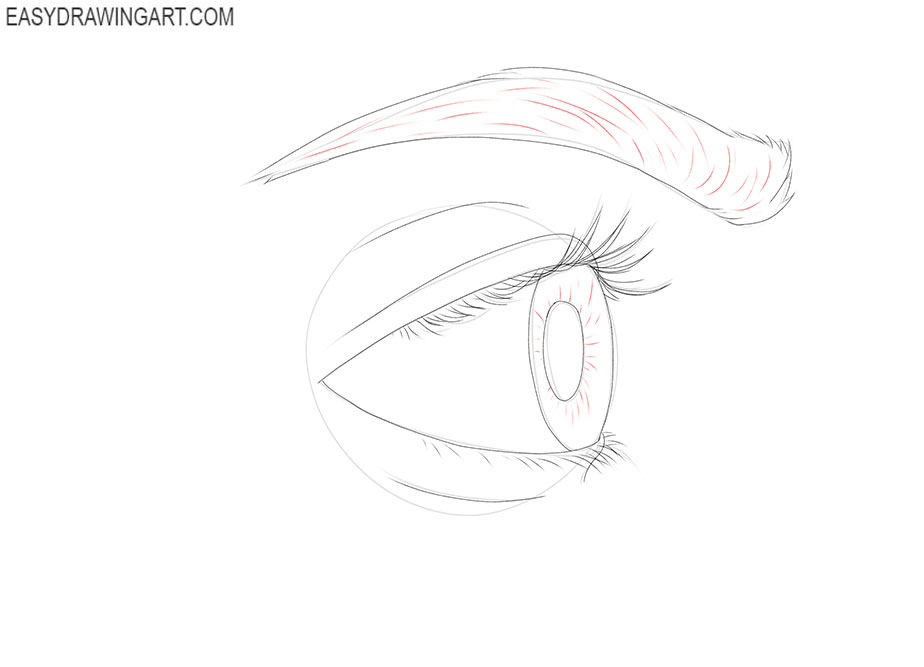
- Detail the contour of the eyebrow.
To make the eyebrow more realistic and natural, for this, circle the eyebrow along the contour and select the individual thin hairs.
- Add the clear folds.
Carefully circle the folds on the upper and lower eyelids, thereby giving the drawing a more expressive and natural look.
- Detail the eyebrow and iris.
On the eyebrows, successively draw short thin strokes to depict the individual hairs. On the iris, add the short strokes around the pupil.
- Correct inaccuracies.
The main contours are ready and if you notice errors, then correct them at this stage. Finally, remove all auxiliary lines in the drawing.
- Color the drawing.
Choose any natural shades for coloring the eyebrows and skin. Color the iris with any bright natural shade. Highlight the dark areas.
You have now completed all the steps in this guide. We hope your drawing looks realistic. If you liked this step-by-step guide, then leave a little feedback in the comments.