

How to Draw a Zebra
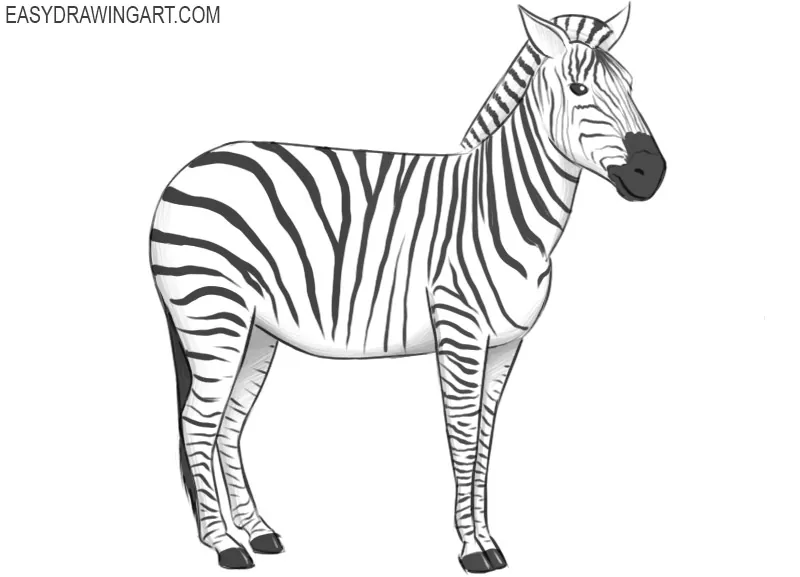
Zebras are closely related to horses and have distinctive black-and-white stripes. In this tutorial, you’ll learn how to draw a zebra step by step with a guide designed for beginners and children.
A zebra’s most interesting feature is its striped coat. The stripes on the head and neck are mostly vertical, while those on the body are angled. Each zebra has its own unique stripe pattern, which helps these animals recognize one another.
By following the steps, you’ll draw a standing zebra in a simple side view.
Time needed: 1 hour
How to Draw a Zebra
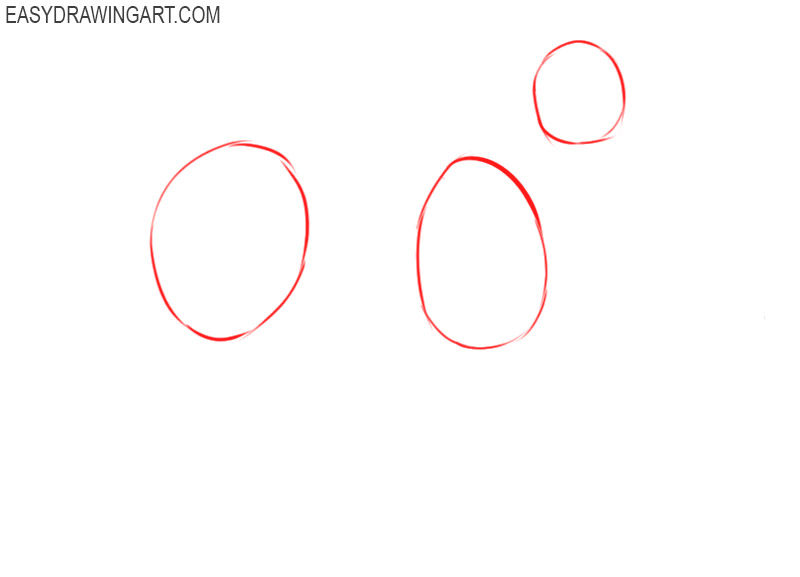
- Draw auxiliary lines.
First, you need to mark up to indicate the location of the head and body of the zebra. Draw several ovals.

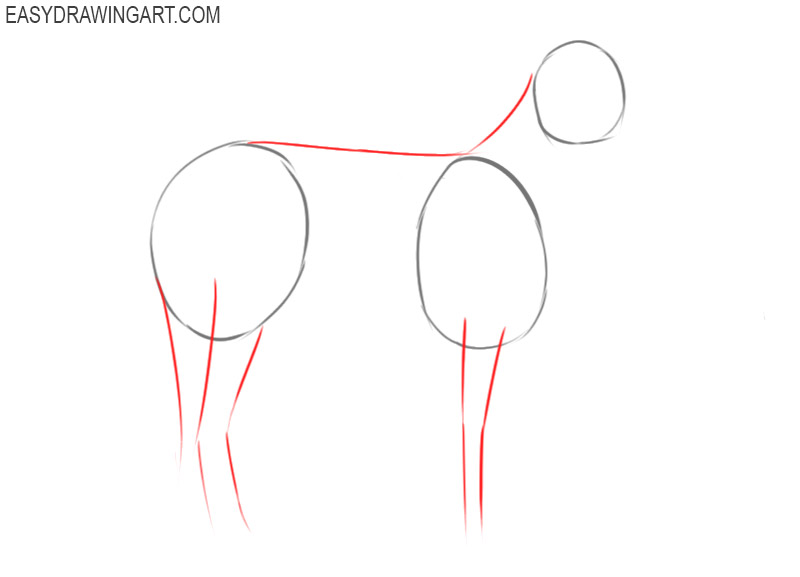
- Depict the neck, back and some auxiliary lines.
Connect the contours of the head and parts of the torso using straight and curved lines. Mark the lower limbs and tail.
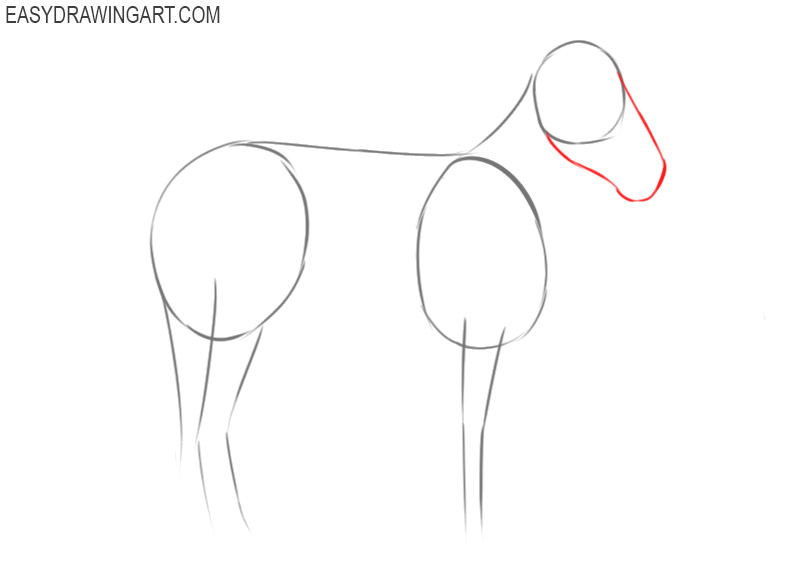
- Add the outlines of the front of the zebra’s head.
Beside the small circle previously drawn, draw a curved line as shown to draw the head.
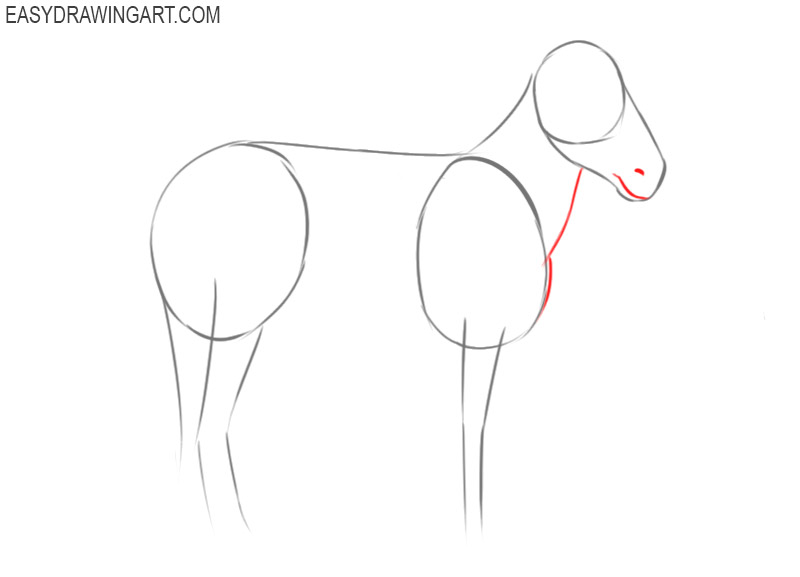
- Sketch out the neck, chest, mouth, and nose.
Inside the outline of the head draw the nostril as a dot, the mouth as a curved line, add the neck and chest using curved lines.
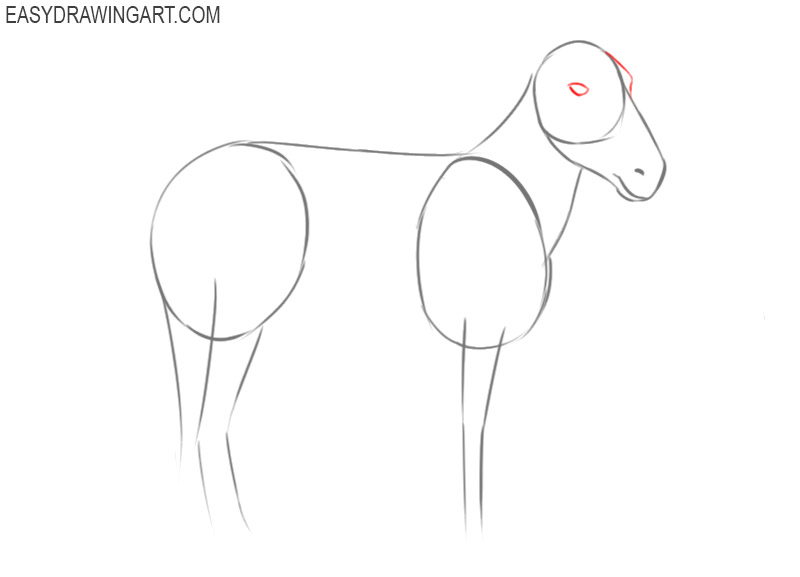
- Draw the eyes of the animal.
At the top of the head, draw two arcs and one curved line as shown to represent the zebra’s eyes.
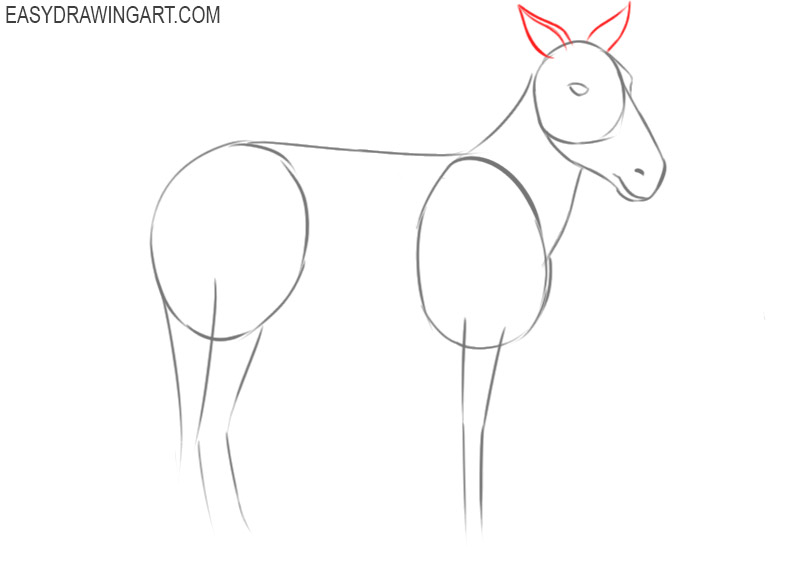
- Sketch out the zebra ears.
At the top of the head, draw two ears pointing in different directions. Use curved lines.
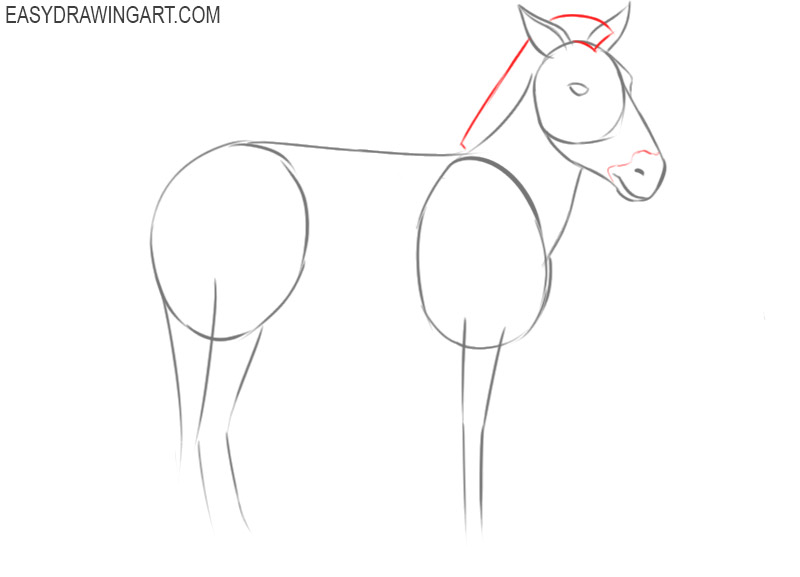
- Draw the mane and an element on the face.
Depict curved lines on the zebra’s head and neck as shown. Add a wavy line at the bottom of the head.
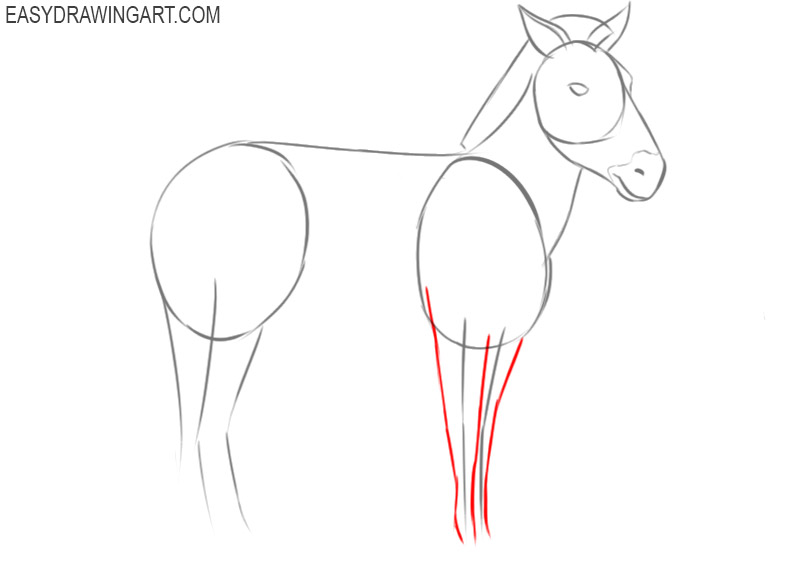
- Add the outlines of the forelimbs.
Near the previously drawn auxiliary lines indicating the location of the front paws of the zebra, draw curved lines.
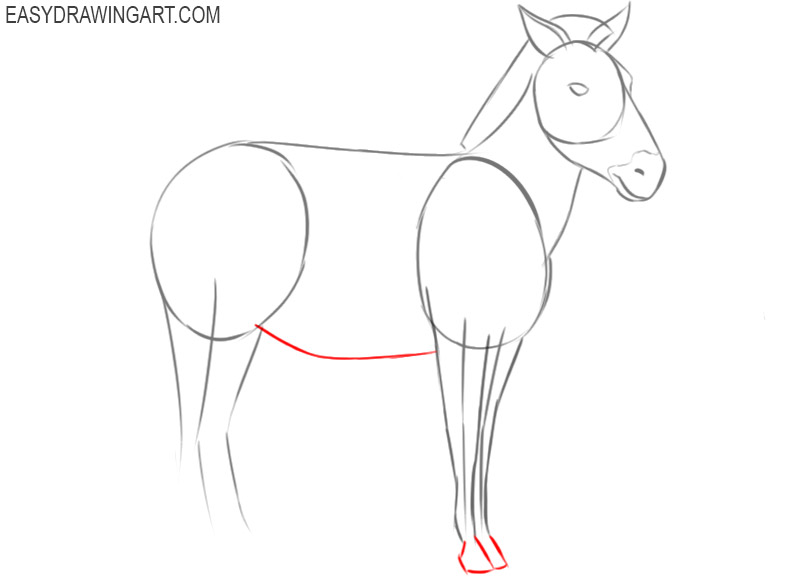
- Draw the belly and hooves.
Continue drawing the forelimbs by adding the hooves. Draw a curved line to represent the belly.
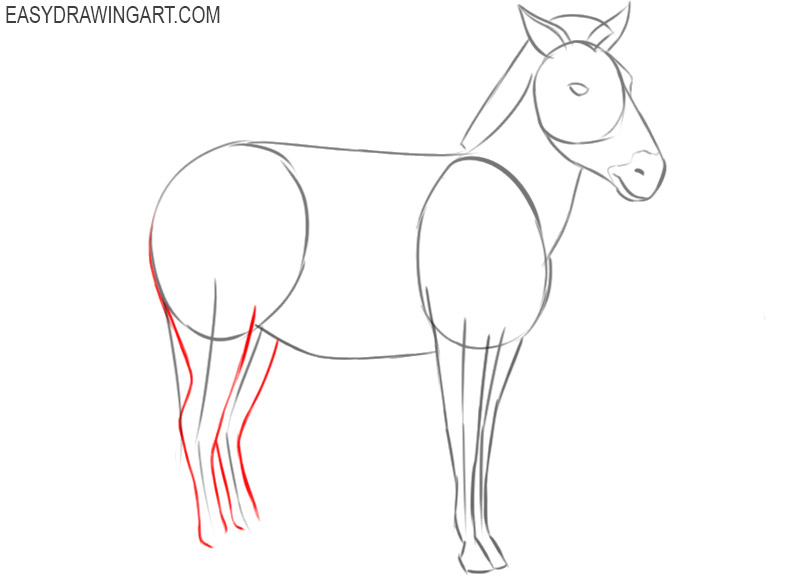
- Add the outlines of the zebra’s hind limbs.
Now you should draw curved lines to draw the zebra’s hind limbs. The other partially covers one paw.
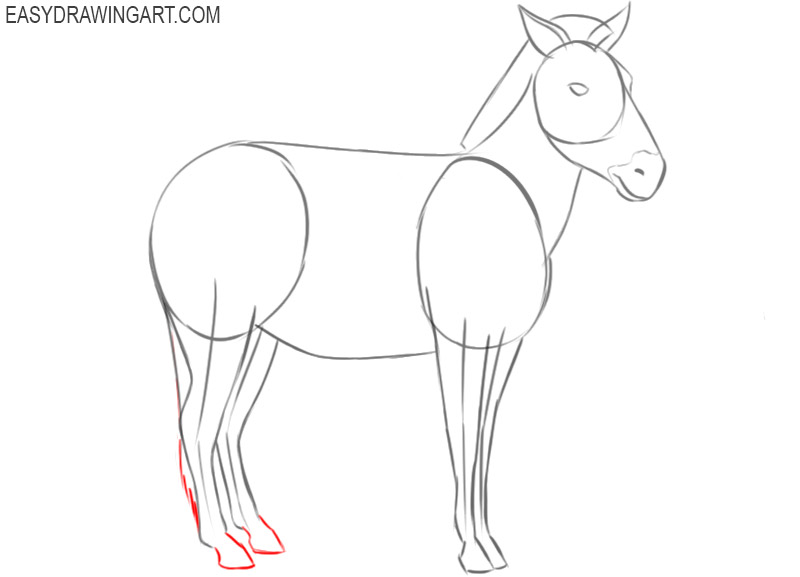
- Depict the bottom of the tail and hooves.
Continue drawing the hind legs by adding two hooves using curved lines. Draw the tassel on the tail.
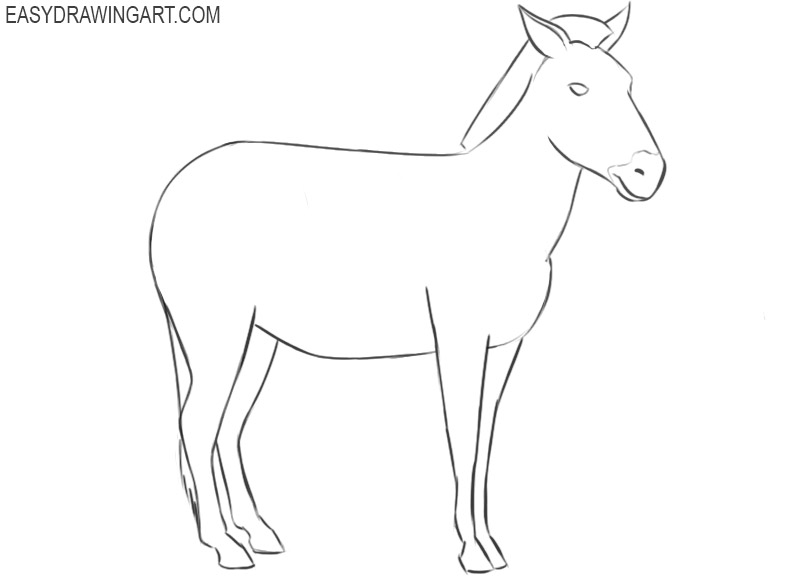
- Prepare the drawing for coloring.
To complete the sketch, you should use the eraser and remove extra lines from the drawing.
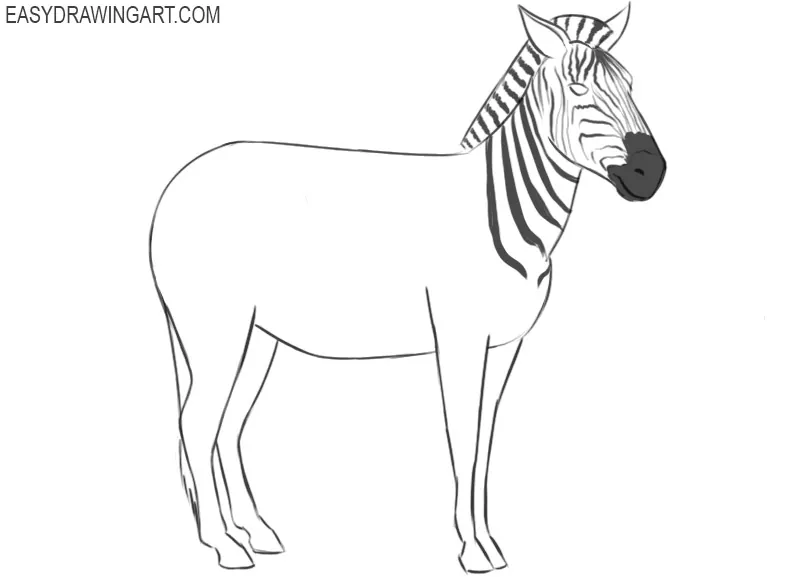
- Add decorative elements and color the nose.
Draw thick black stripes on the head, neck and mane, as shown in the picture. Color the nose of the zebra black.
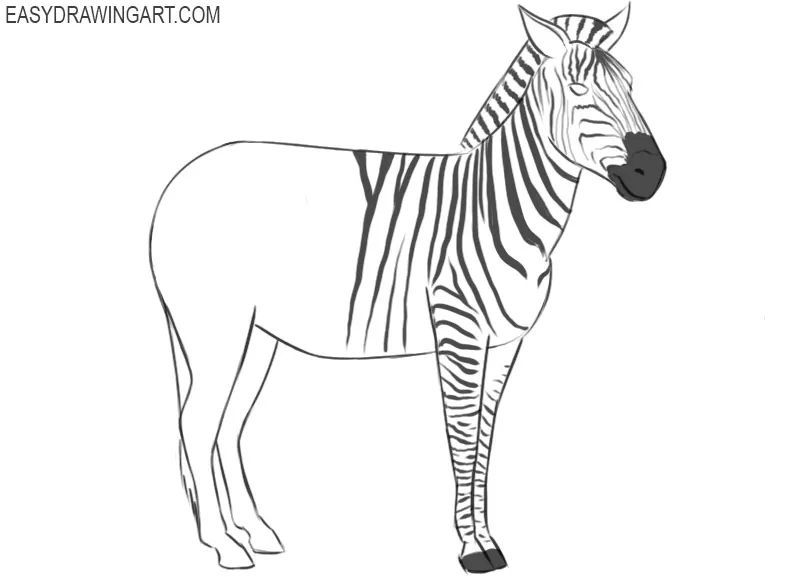
- Continue drawing the zebra stripes.
Now you should add thick black lines on the zebra’s back, belly, and forelegs.
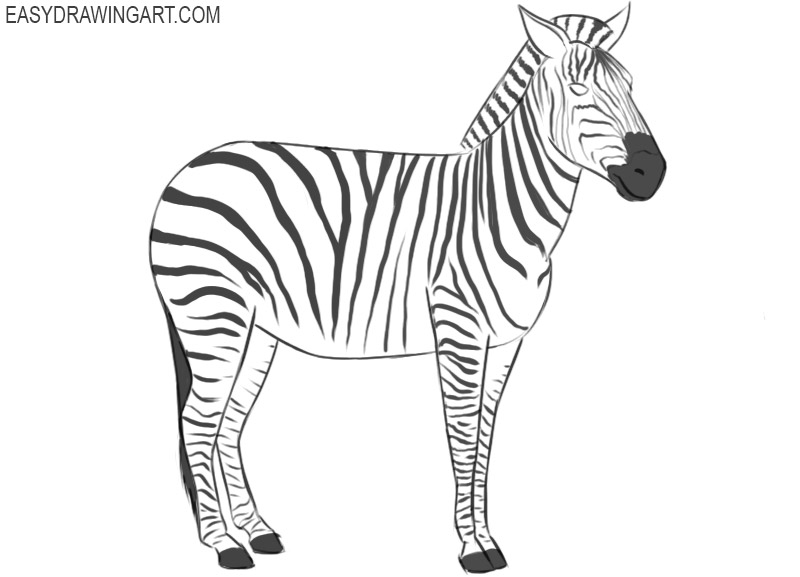
- Finish drawing the decorative elements.
Add the rest of the thick black lines on the back of the zebra’s body, hind limbs, and color the tail.
- Make the drawing more realistic.
To make the zebra you’ve drawn look more realistic, use gray to add areas of shadow to the drawing. Detail the eye.
Now you have gone through all the steps of drawing a zebra and know how to draw this animal. If you liked this drawing lesson, you can continue to improve your artistic skills by completing other drawing lessons on our website. We’ll be waiting for your feedback on this tutorial!

Very nice
Very good
So beautiful