How to Draw a Snail
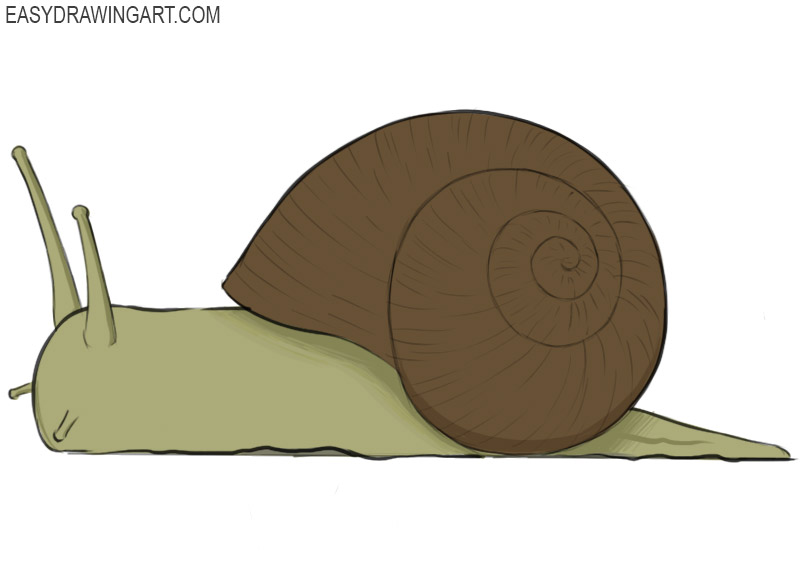
A snail carries a spiral shell that protects its soft body. In this tutorial, you’ll learn how to draw a snail step by step and convey the look of the shell with a simple guide for beginners.
The shell is an important part of a snail’s body because it protects the animal from predators, harsh environmental conditions, and moisture loss.
Step by step, you’ll draw a cute snail with its characteristic spiral shell.
Time needed: 1 hour
How to Draw a Snail
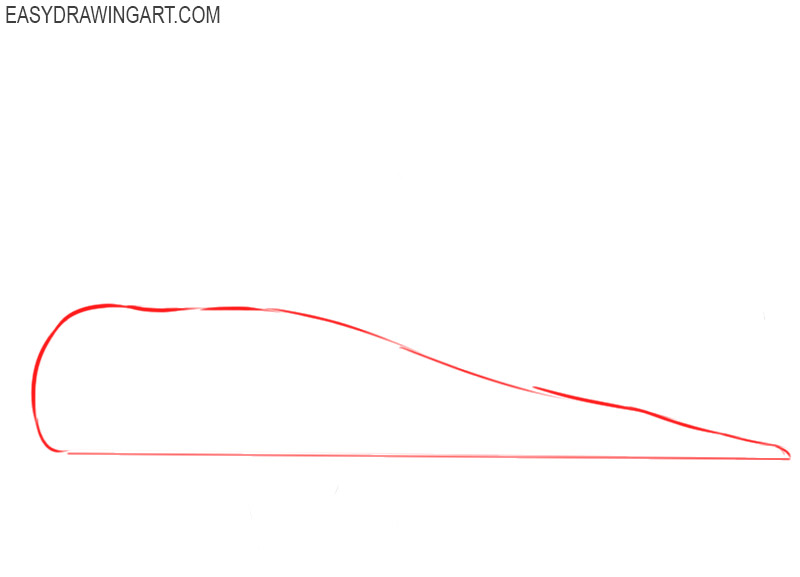
- Draw the lower body of the snail.
You need to draw one long horizontal line, and then draw curved lines from one end to the other.

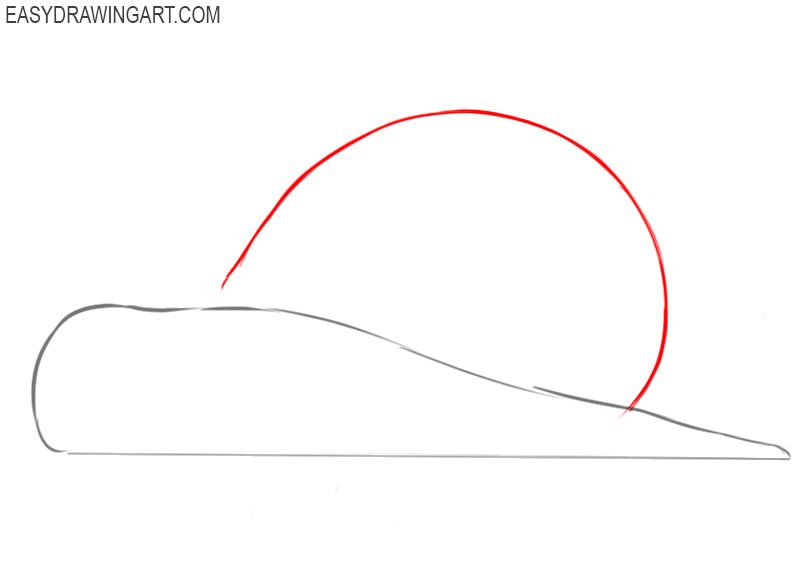
- Add the outline of the snail shell.
Above the previously drawn elements of the body of the snail, depict one large arc, as shown in the figure.
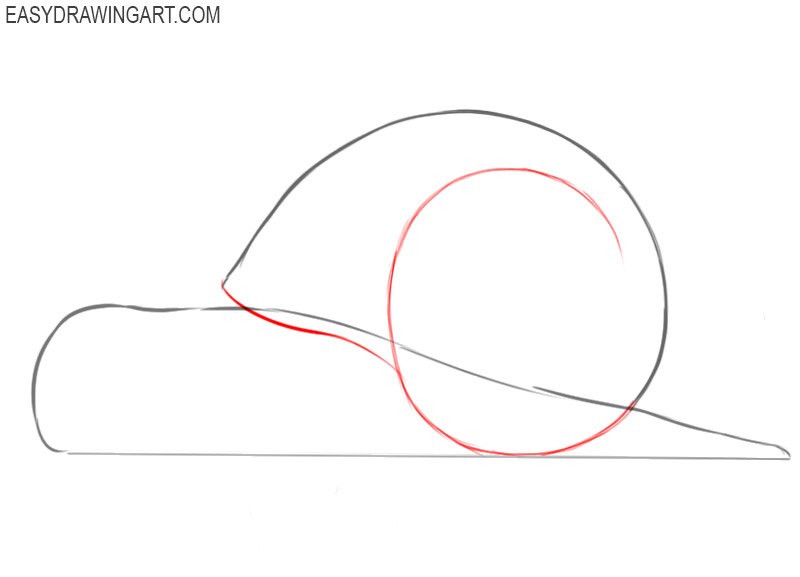
- Sketch out the bottom and inner parts of the snail shell.
From the ends of the previously drawn arc, draw a wavy and rounded line. Inside the shell, an incomplete oval should be depicted.
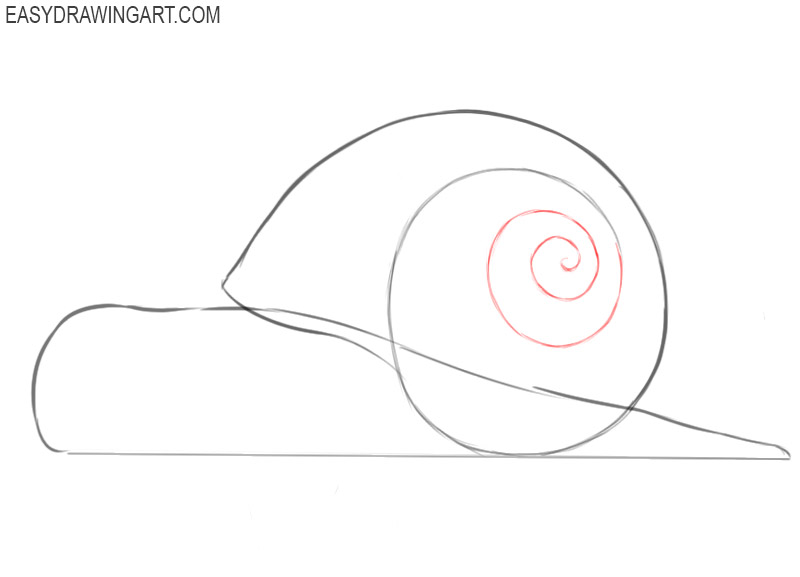
- Finish drawing the inside of the snail shell.
Continue the previously drawn incomplete oval to depict a curved line, twisted in a spiral.
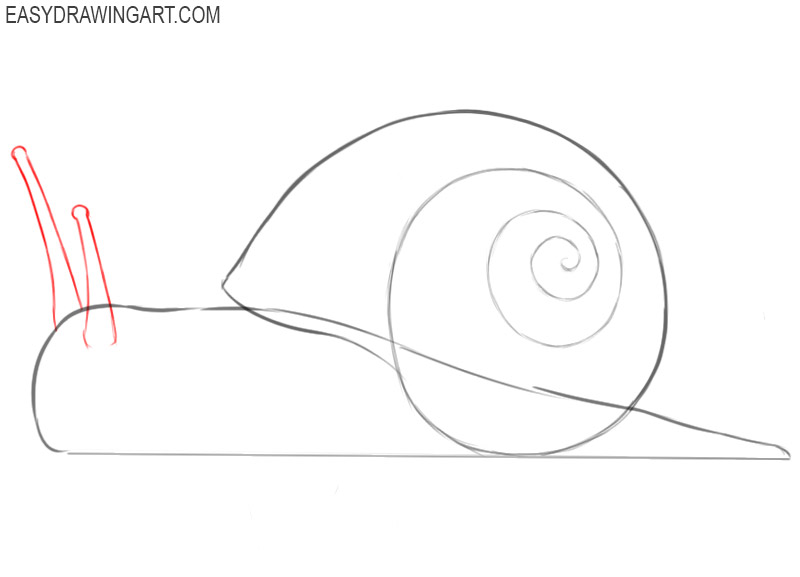
- Add the top horns of the snail.
In front of the body of the snail, depict two elements using curved lines and arcs at the top of them, as shown in the figure.
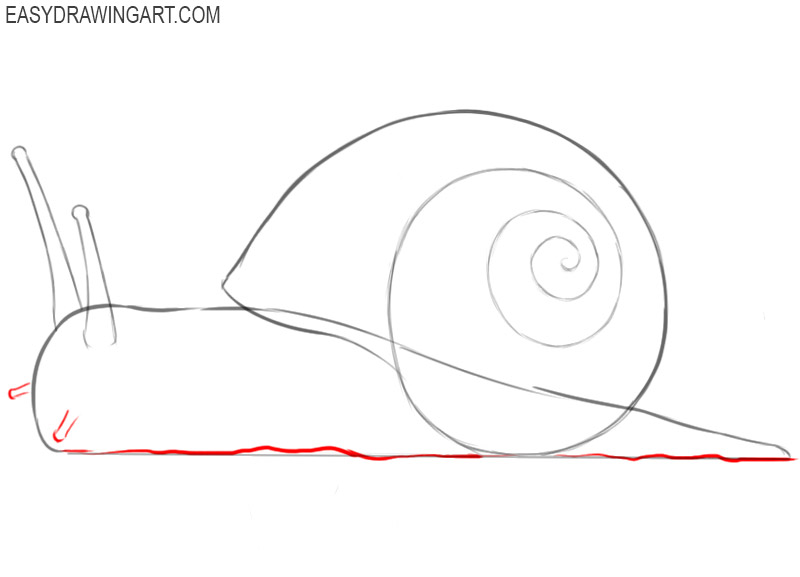
- Depict the lower horns and lower torso.
In the lower part of the body, draw a wavy line in place of the horizontal line. Add two small elements in front of the torso.
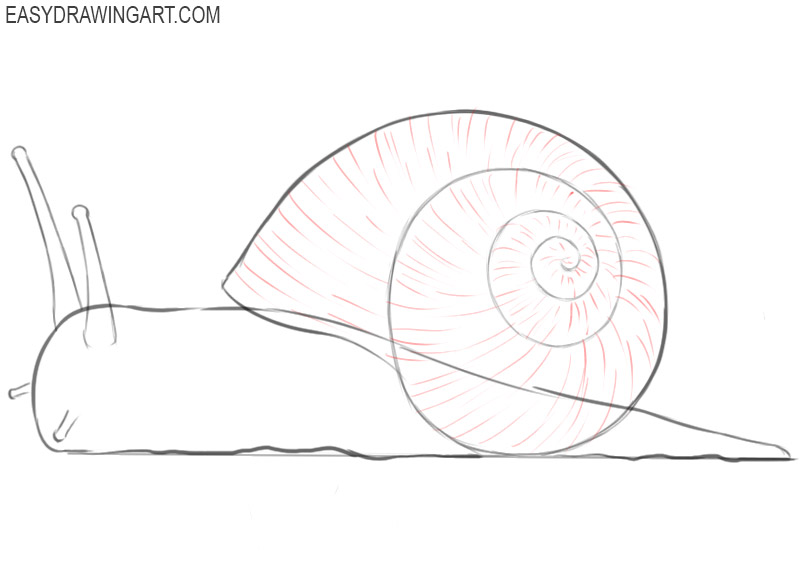
- Add decorative elements.
To make the snail shell look more voluminous and realistic, you should add many broken curved lines of different lengths inside it.
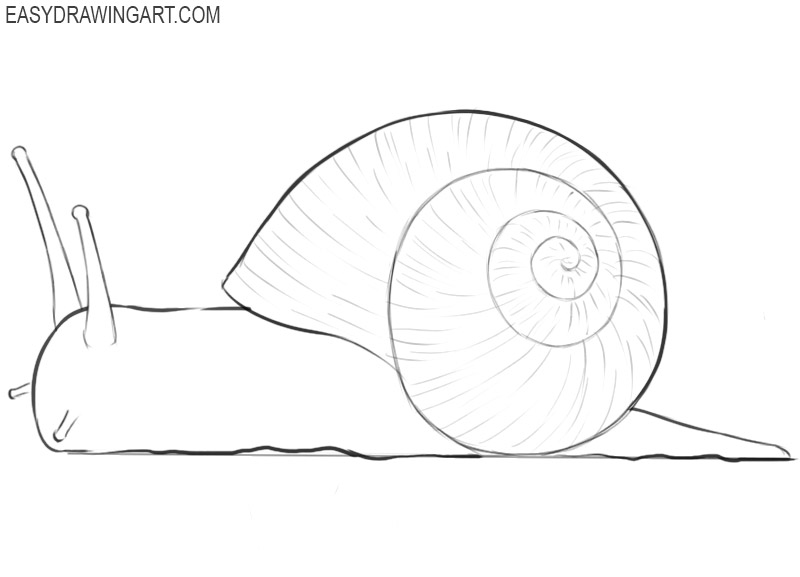
- Prepare the drawing for coloring.
Now that your drawing is almost ready, you should remove unnecessary auxiliary lines from it using an eraser.
- Color the drawing.
To color the snail, use shades of green and shades of brown. Draw shadow areas as shown in the figure.
On this, this step-by-step instruction, with which you learned how to draw a snail step by step, came to an end. Now you know how to draw this animal, and can use your skills to create many of your beautiful pictures in the future. Don’t forget to leave your feedback, so we know if you enjoyed this tutorial.