How to Draw a Scientist

People in different professions are a great way to practice drawing the human figure. This tutorial will show you how to draw a scientist step by step.
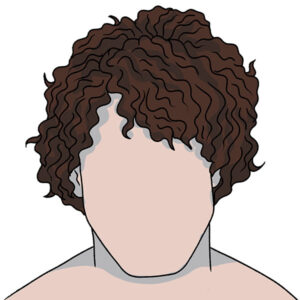
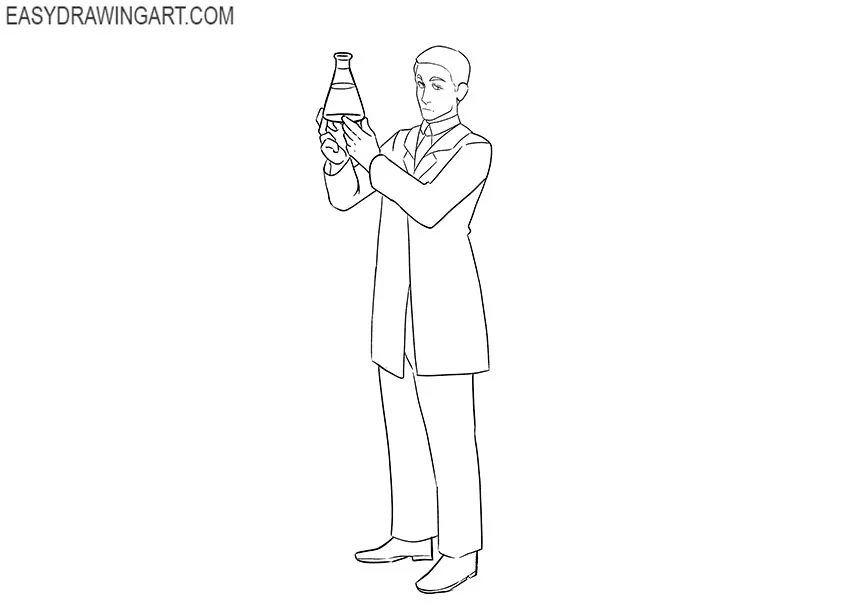
The picture shows a scientist wearing a lab coat and holding a flask. By following the steps, you’ll recreate this classic scientist character.
Time needed: 1 hour
How to Draw a Scientist
- Apply basic markings.
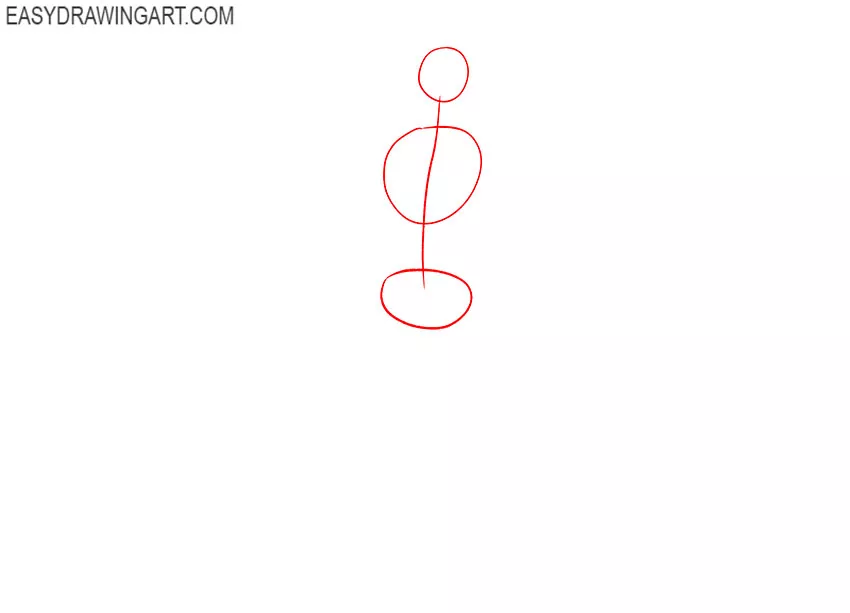
Draw a circle, an oval, and a shape that looks like a slightly deformed oval and draw a curved line connecting them.

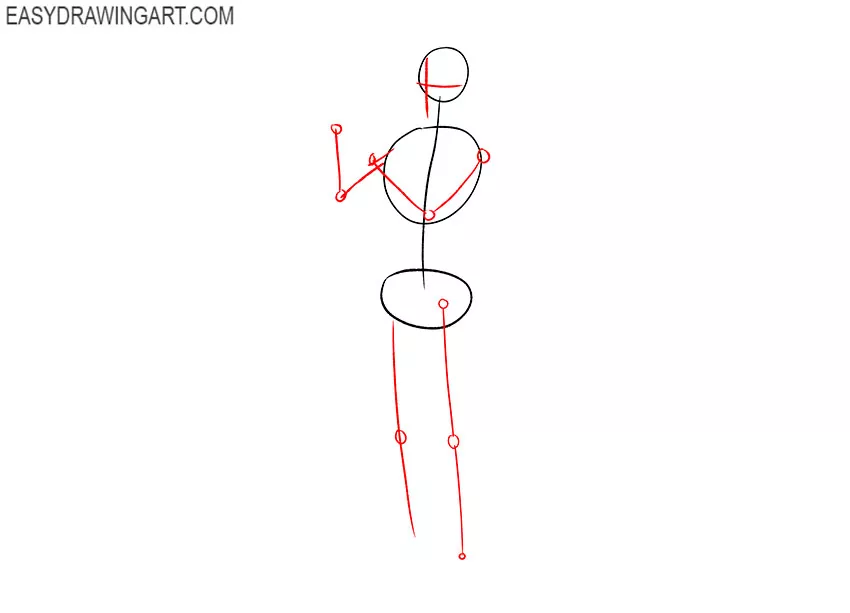
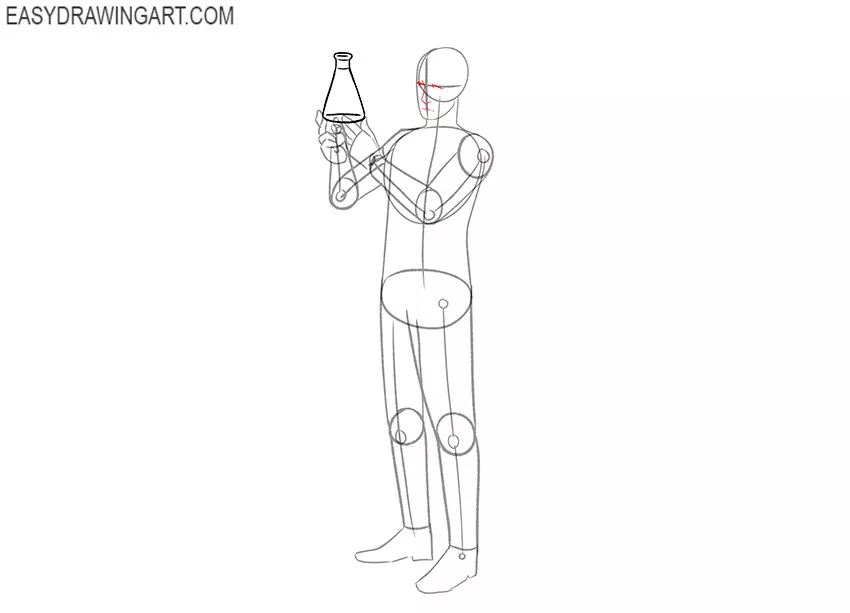
- Mark the limbs and lines of symmetry on the face.
Near the previously drawn auxiliary lines, draw straight lines of different lengths, as well as circles of different diameters.
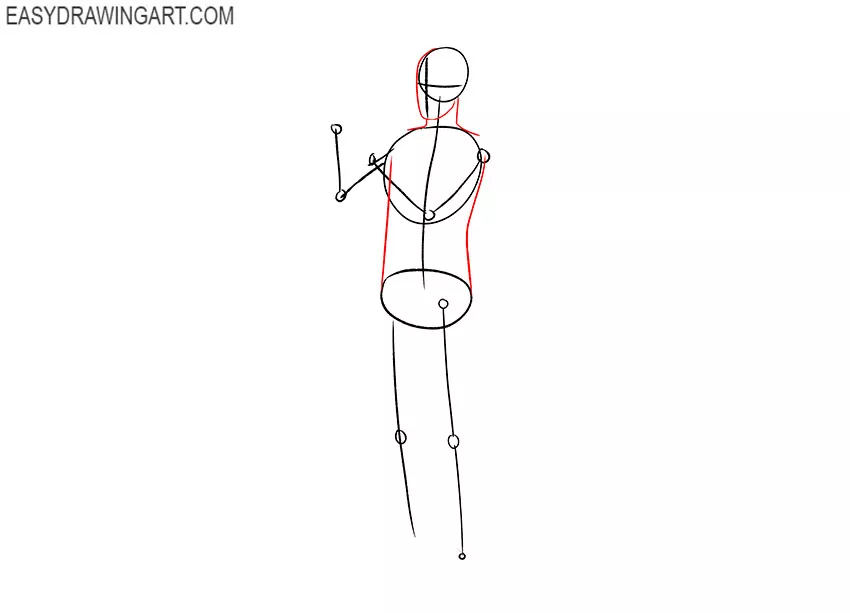
- Depict the neck, sides, and oval of the face.
Draw a curved line near the drawn circle and lines of symmetry of the face, use two lines to connect the head and torso, use two lines to indicate the sides.
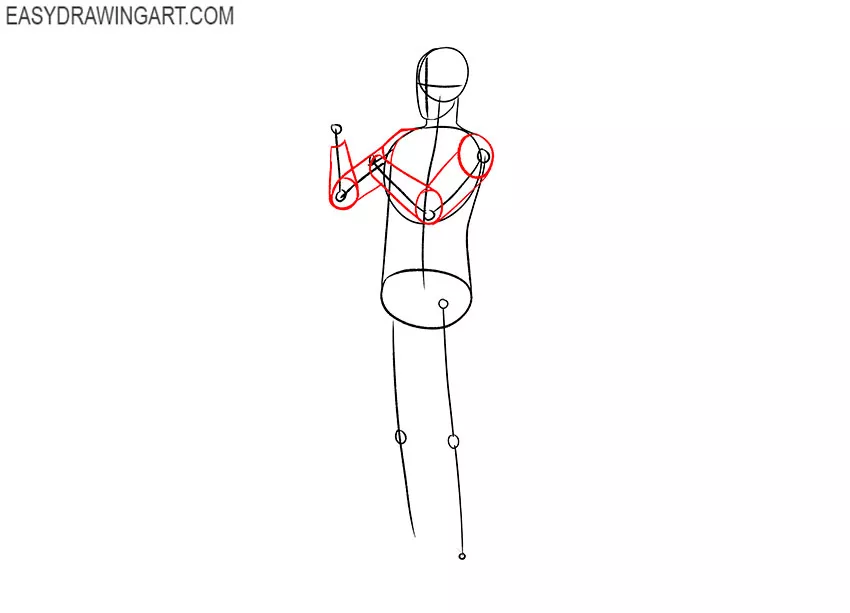
- Start drawing the hands of the scientist.
Use straight and curved lines, as well as ovals of various sizes, to indicate the hands, as shown in the picture.
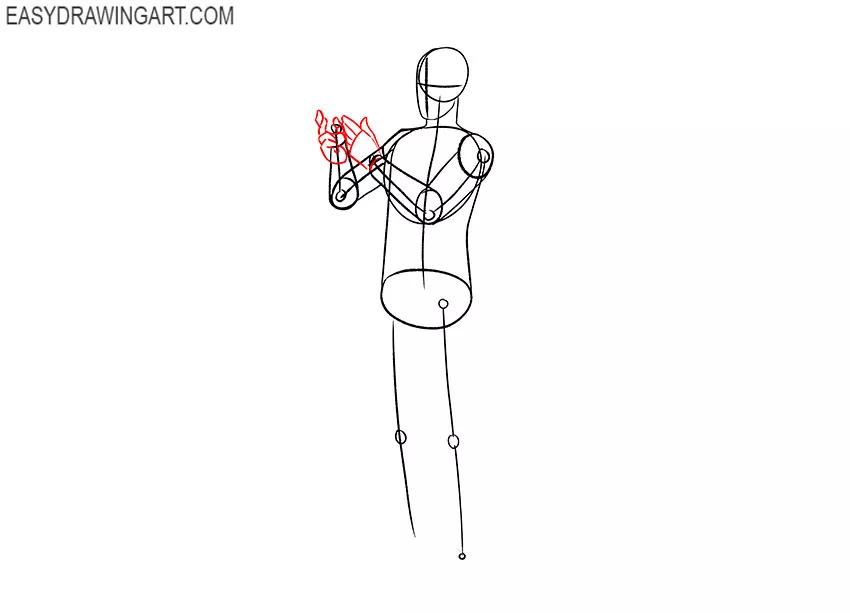
- Sketch out the hands.
At the ends of the previously drawn main parts of the arms, depict the hands with fingers using curved lines of different lengths.
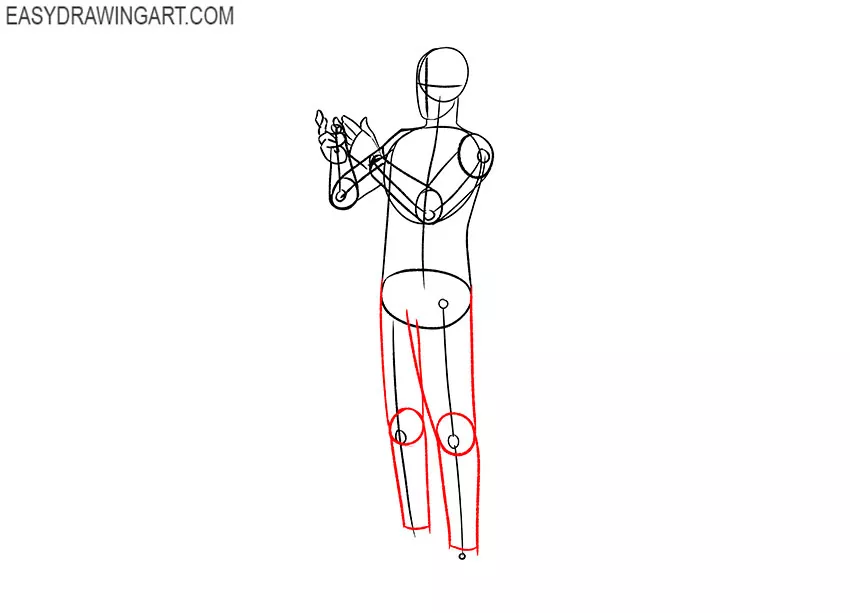
- Draw the scientist’s legs.
To start drawing the outlines of the legs, use straight and curved lines, as well as two circles of different sizes.
- Depict the outlines of the scientist’s shoes.
At the bottom of the previously drawn legs, draw the outlines of the shoes using straight and curved lines of different lengths, as shown in the figure.
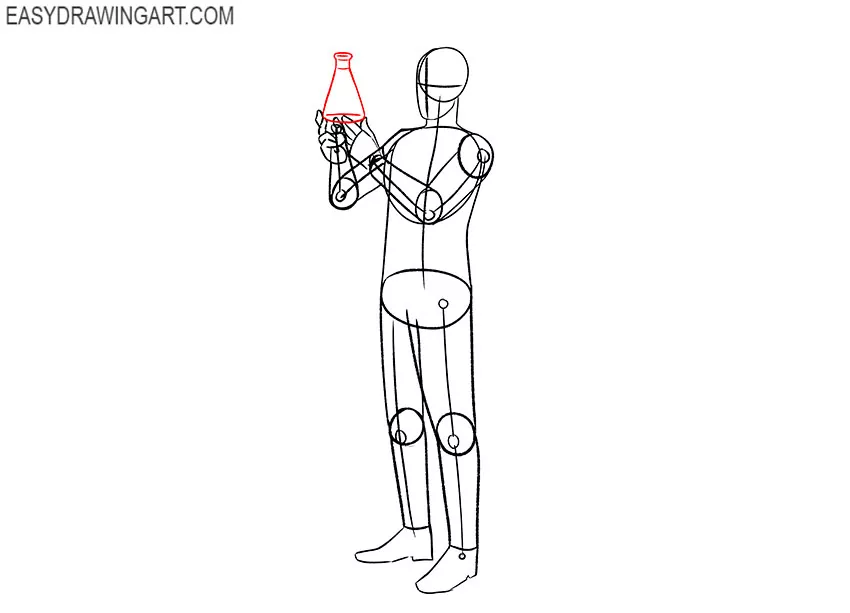
- Add the vessel in the hands of the scientist.
Use arcs, an oval and slightly curved lines to add this element in the hands of the scientist, as shown in our example.
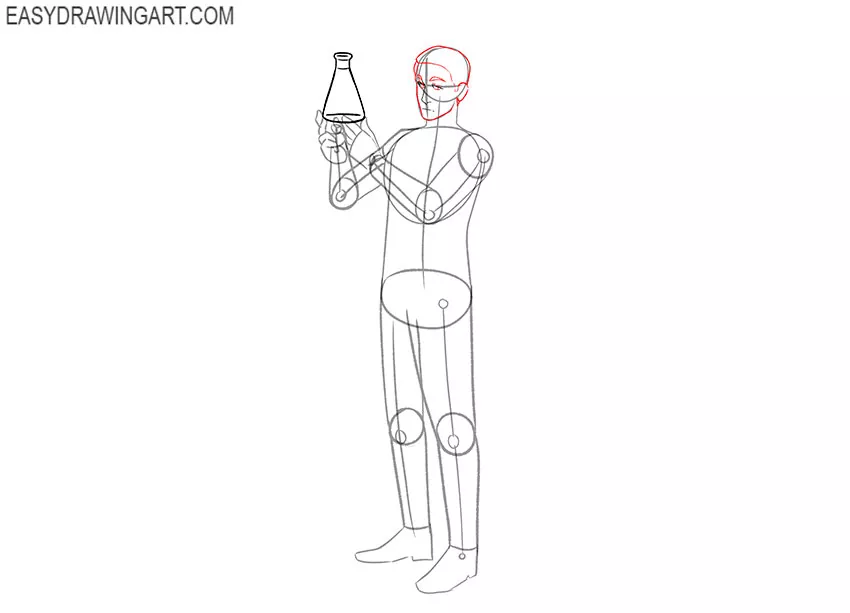
- Draw the facial features of the scientist.
Inside the previously drawn outline of the head, add the eyes, nose, and mouth using curved lines of different lengths as shown.
- Continue drawing the scientist’s head.
Depict the eyebrows on the face, sharpen the outline of the face, and define the scientist’s ear and hairstyle using curved lines of varying lengths.
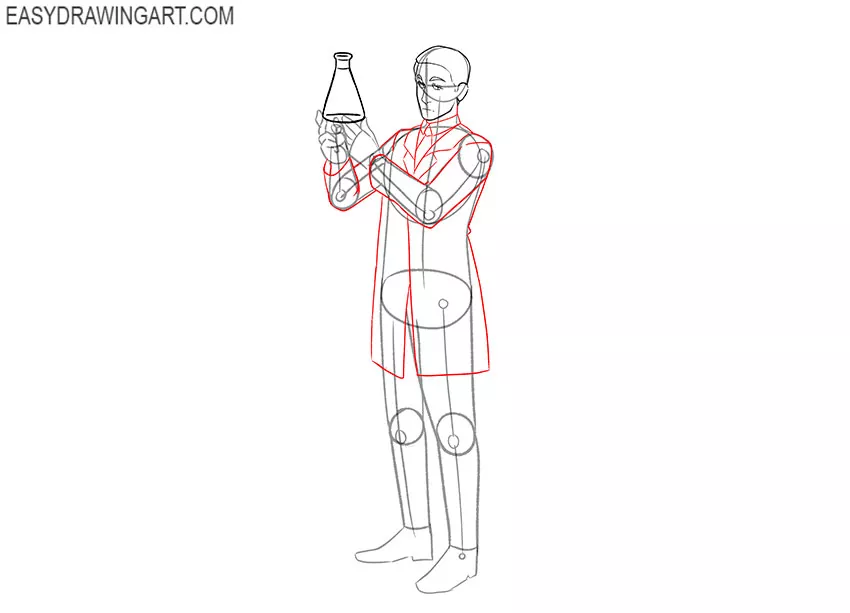
- Draw the costume.
Depict the scientist’s coat, shirt, and tie using many straight and slightly curved lines, as shown in the figure.
- Sketch out the hands in more detail.
Outline the hands and outline the relief of the back of one arm using curved lines of varying lengths.
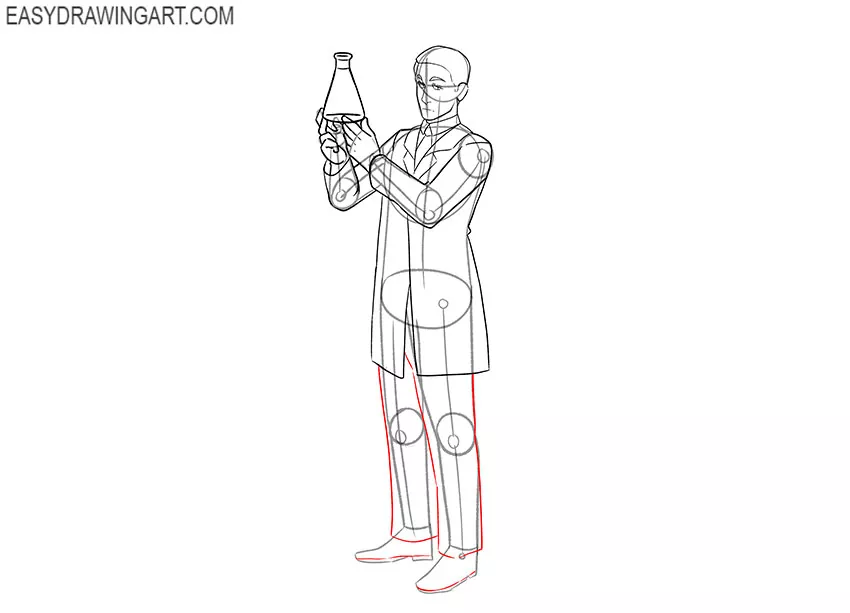
- Depict the pants and finish drawing the shoes.
On the sides and bottom of the previously drawn leg contour lines, draw straight and slightly curved dashed lines of various lengths.
- Correct inaccuracies.
Now you can use the eraser to remove unnecessary auxiliary lines and prepare the drawing for coloring.
- Color the drawing.
To paint the scientist, use any skin color, as well as shades of brown, shades of gray, black, shades of blue, red, and purple.


So the drawing lesson came to an end, in which we told you how to draw a scientist. We hope that this lesson gave you a great mood, and you have acquired new useful skills.