How to Draw a Saber Tooth Tiger

In this drawing lesson, you will learn how to draw a saber toot tiger step by step. This instruction consists of twelve simple steps.
Our team has prepared for you a new, exciting drawing lesson in which you can learn how to draw a saber toot tiger step by step. This lesson will definitely appeal to animal lovers, as well as all budding artists and children.
Surely you know that the ability to draw various animals is very important for artists. The object of drawing in this lesson is a rather unusual animal.
The front paws of the saber toot tigers were more powerful than the hind ones. Their main feature was the huge length of the upper fangs, which were pointed at the ends and slightly curved inward, and their inner side was like a knife blade. So now you can get started with this tutorial. Carefully follow our recommendations to get a great drawing.
Time needed: 1 hour
How to Draw a Saber Tooth Tiger
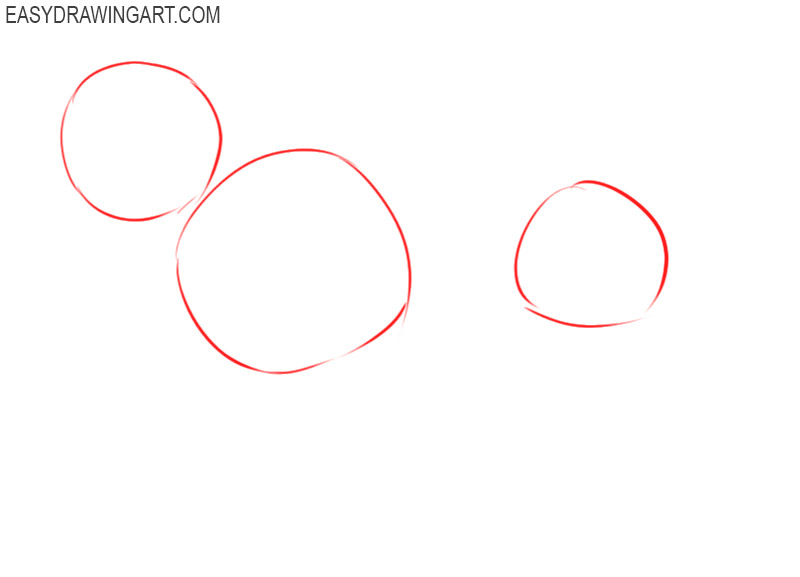
- Add basic markup to your drawing.
First you need to draw some shapes to indicate the location of the head, chest, and back of the torso.

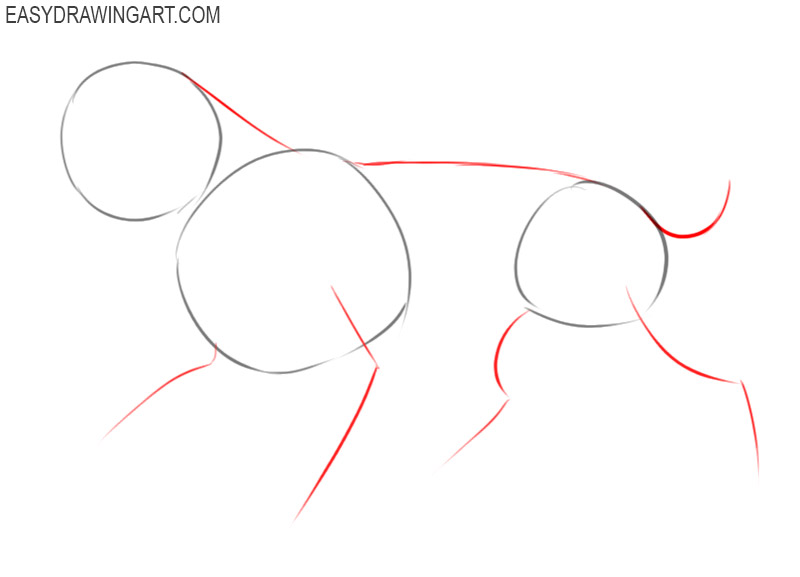
- Add guidelines.
Now you should connect the previously drawn head and torso using curved lines, mark the paws and tail.
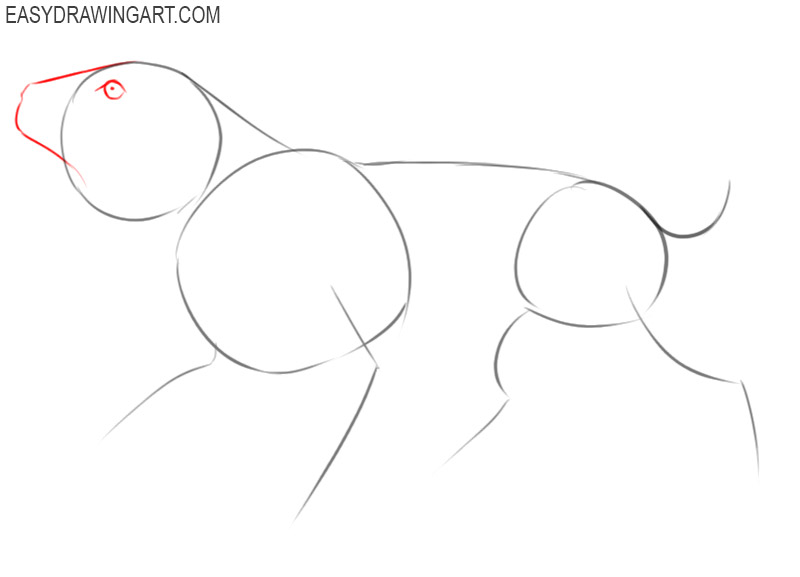
- Draw the front of the saber tooth tiger’s head and eyes.
Depict the eye inside the previously drawn outline of the head using a circle, a line, and the dot. Using curved lines, draw part of the head.
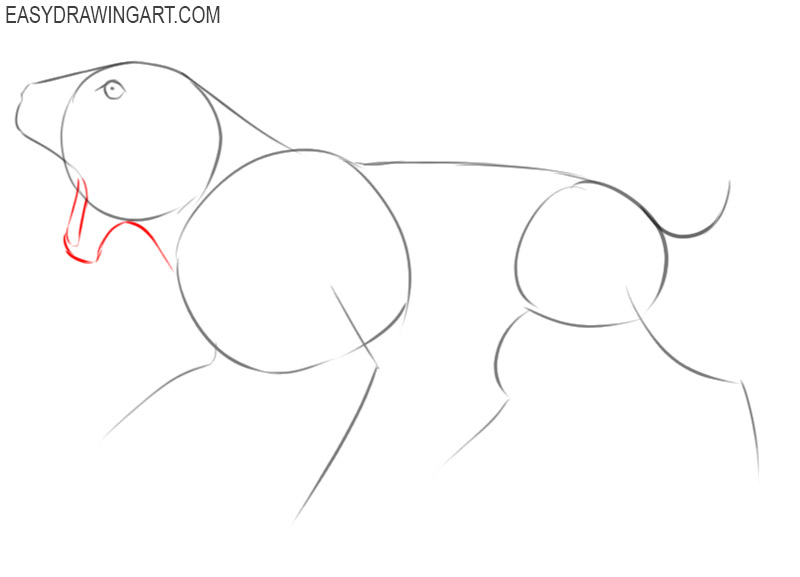
- Add the lower jaw and neck of the saber tooth tiger.
Below the previously drawn upper part of the head, add some curved lines as shown.
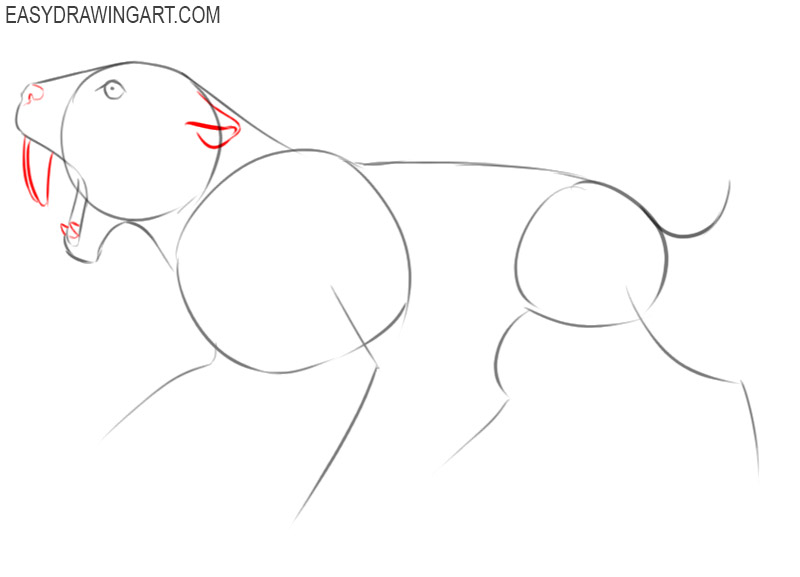
- Sketch out the teeth, nose, and ear of the tiger.
On the previously drawn lines of the tiger’s mouth, add large upper fangs and small lower ones. Depict the nose and ear using curved lines.
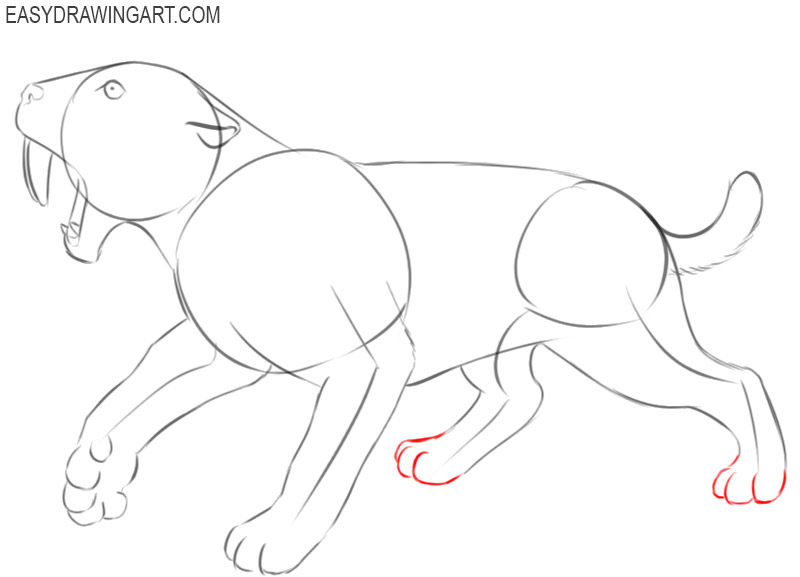
- Draw the feet and toes of the front paws.
Use rounded and curved lines to draw the toes and lower parts of the paws of the saber tooth tiger.
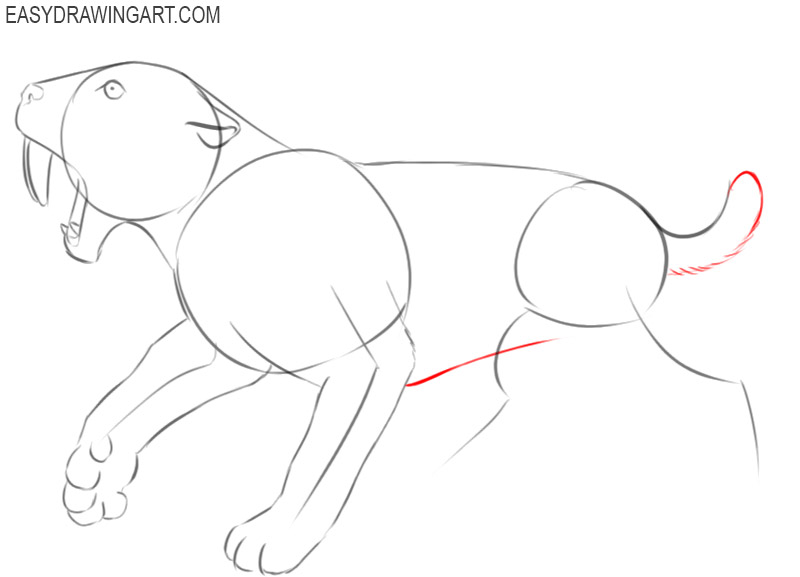
- Depict the belly and tail of the tiger.
In the lower part of the body of the saber tooth tiger, draw one curved line, depict the tail using many short dashed lines.
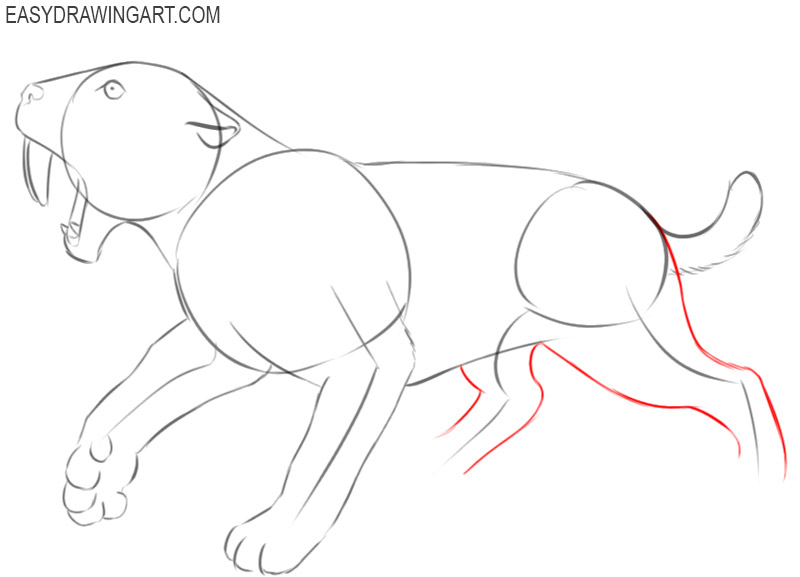
- Add the upper part of the saber tooth tiger’s hind legs.
Near the previously drawn auxiliary lines indicating the location of the tiger’s hind legs, draw curved lines.
- Finish drawing the hind legs.
Now you should draw the feet and toes of the saber tooth tiger’s hind legs, using curved lines for this.
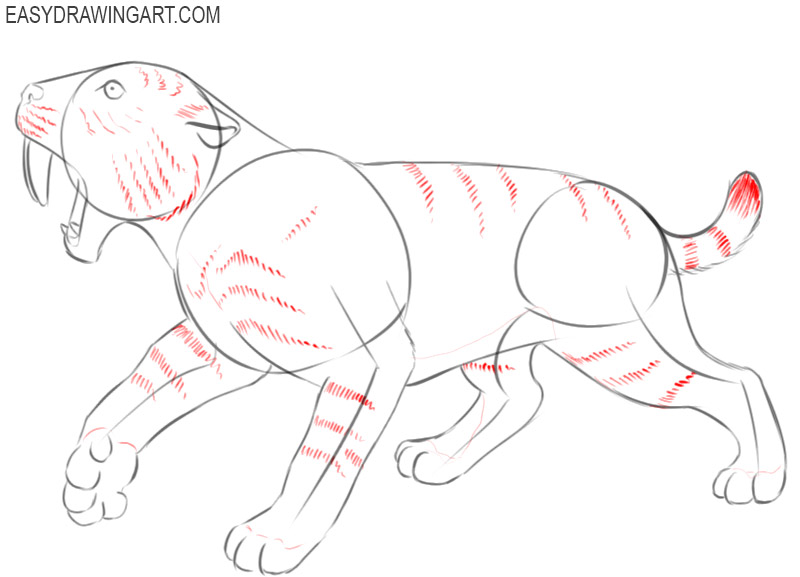
- Add details.
Draw many stripes on the tiger’s head and body using short hatching lines and zigzags.
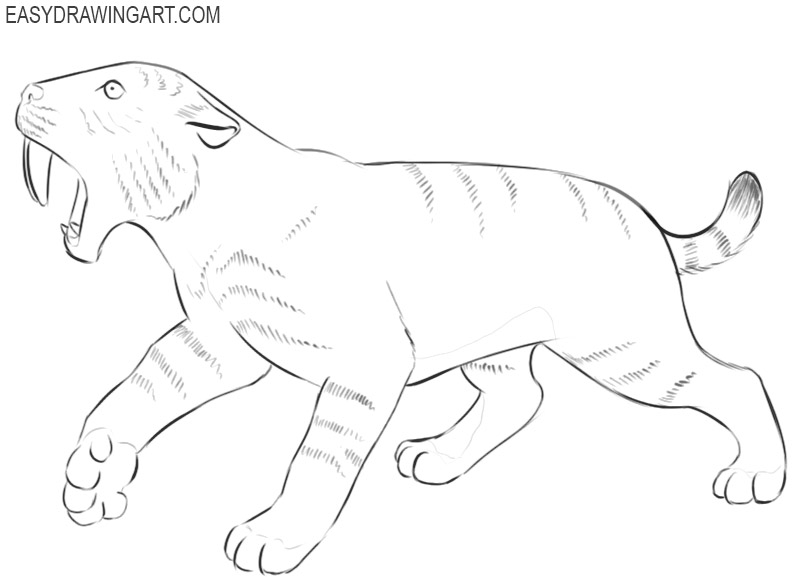
- Correct inaccuracies.
So, now your drawing is almost ready. You need to remove unnecessary auxiliary elements in order to start coloring.
- Color the drawing.
To color the saber tooth tiger, use shades of pink, shades of beige, yellow, gray, and brown.
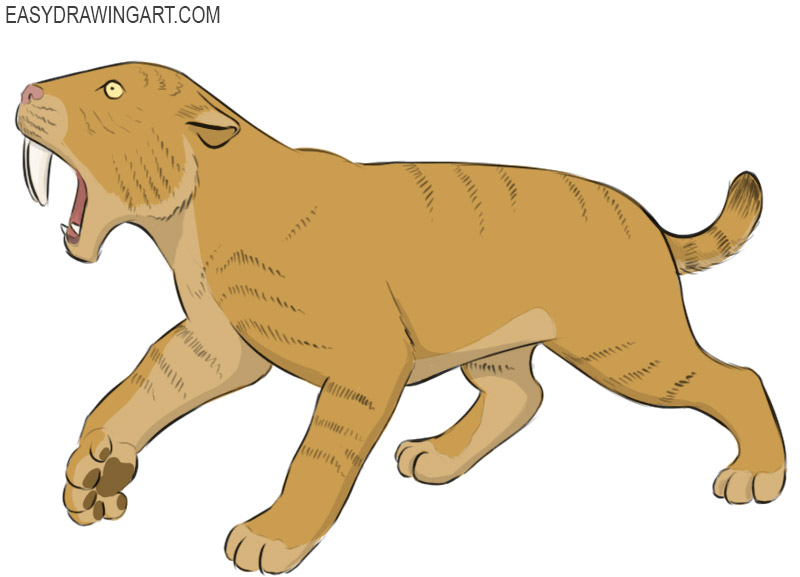

At this stage, this step-by-step tutorial in which you learned how to draw a saber tooth tiger has come to an end. We hope that this lesson was useful to you, and we will wait for your comments on it. Continue to complete the various lessons on our site to develop your artistic abilities.