How to Draw a Robin
Have you ever seen a robin? In this tutorial, you’ll learn how to draw a robin step by step with a simple guide for beginners.
This tutorial is designed for beginner artists, so it doesn’t include any complex elements.
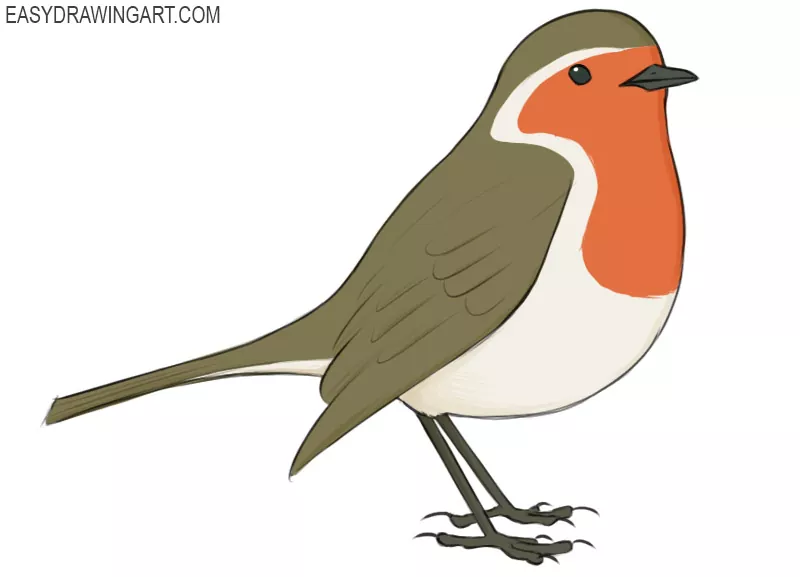
The robin is a small songbird with bright orange-red feathers on its face and breast. It has a small pointed beak and is known for its beautiful melodic singing.
In the end, you’ll have a drawing of a robin in a simple side view.
Time needed: 1 hour
How to Draw a Robin
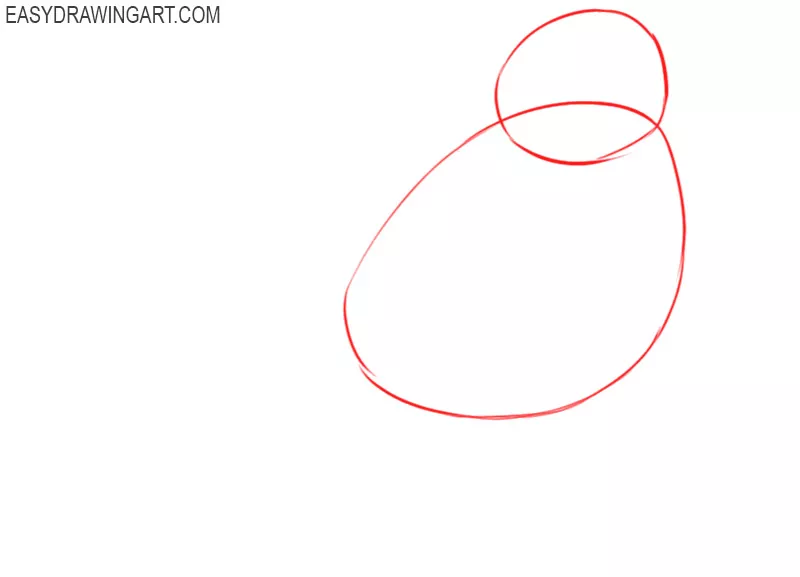
- Draw the main auxiliary lines.
First you need to mark the location of the head and body of the bird, for this draw two oval-shaped figures of different sizes.

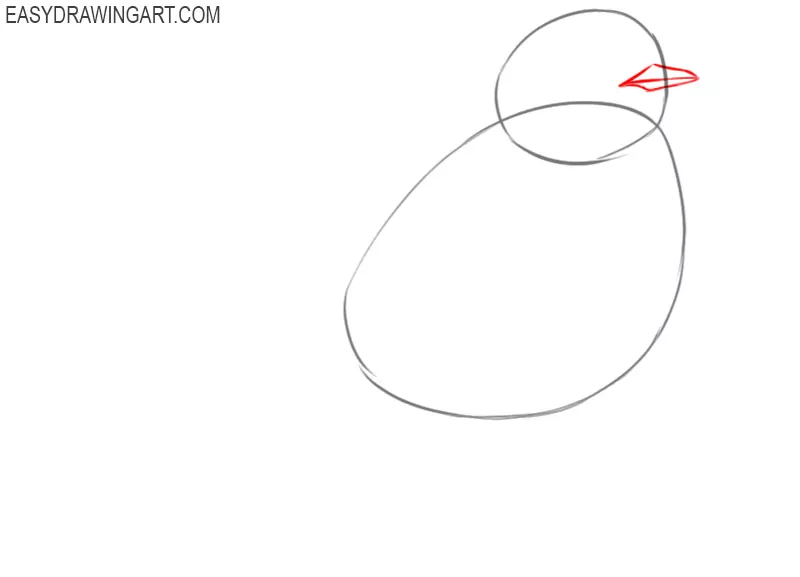
- Add the robin’s beak.
On the left side of the previously drawn outline of the head, depict the small pointed beak using lines of different sizes.
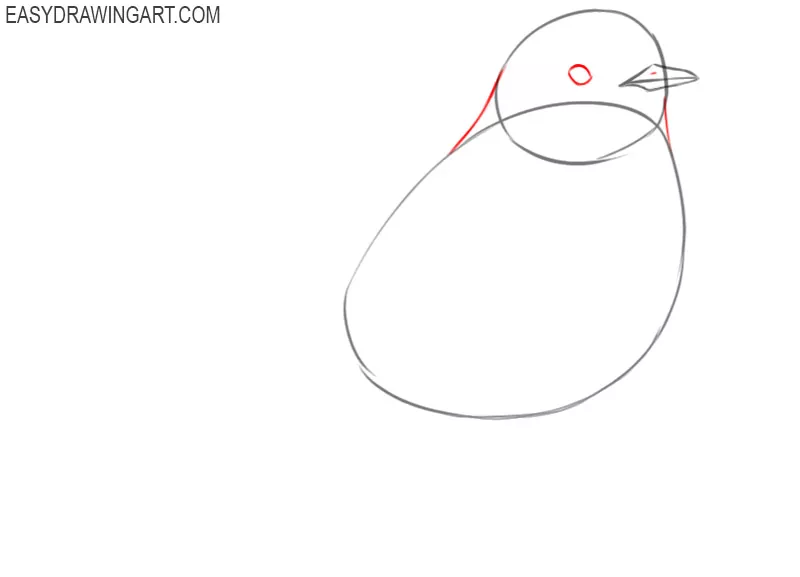
- Depict the eye, nostril, and neck of the robin.
Now you need to draw one point on the bird’s beak, depict the eye in the form of an oval, and also connect the contours of the head and body with short lines.
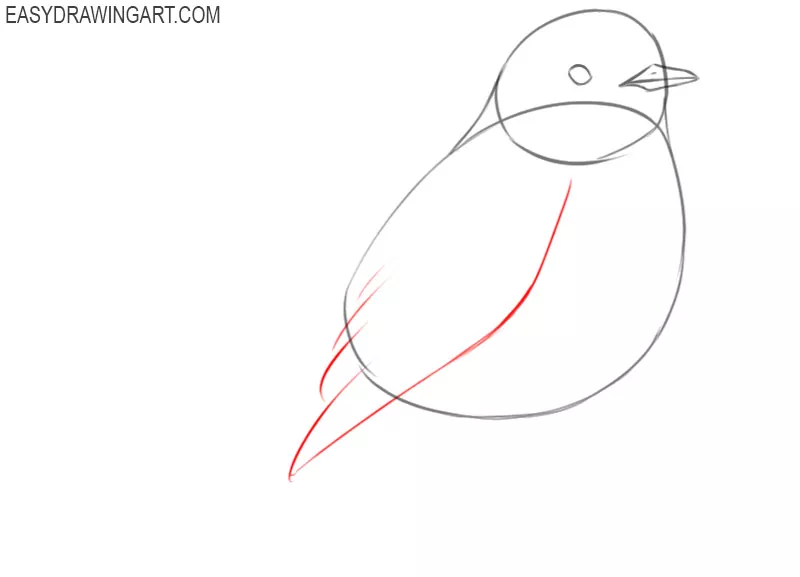
- Add the outline of the robin’s wing.
In the side part of the previously drawn outlines of the torso, draw the wing using curved broken lines of different lengths.
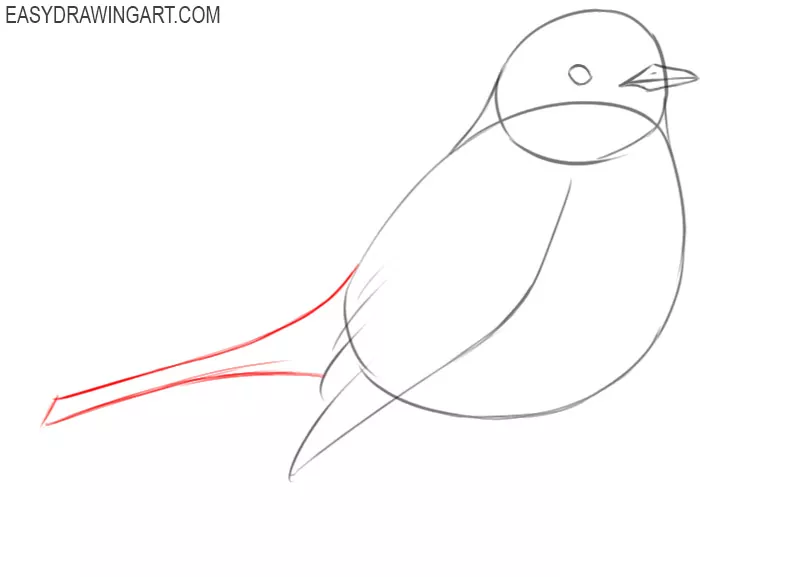
- Sketch out the outlines of the robin’s tail.
Draw the long tail at the back of the torso using a short, straight line, as well as long, curved lines.
- Draw the top of the bird’s legs.
Below the previously drawn torso, draw an arc as shown in the figure, and then add straight lines below it.
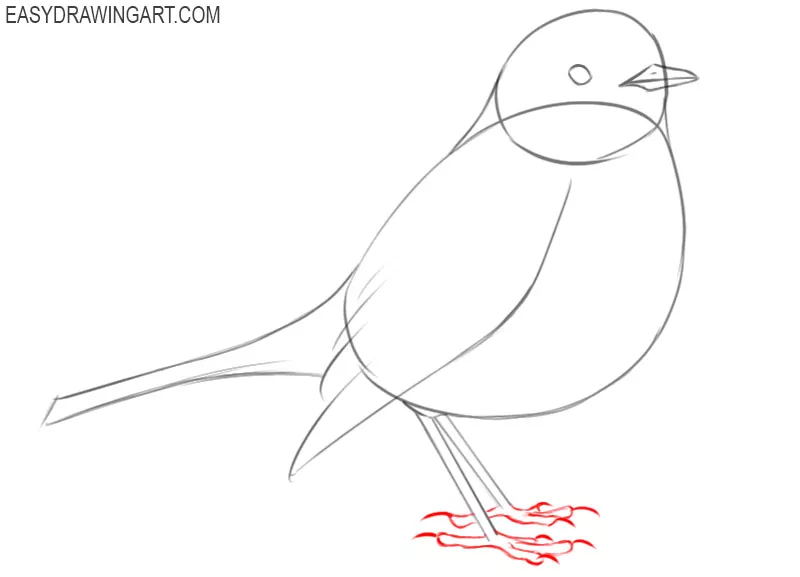
- Finish drawing the paws of the bird.
Next to the straight lines drawn earlier, depict the lower part of the paws and the pointed claws using arcs, as well as curved lines.
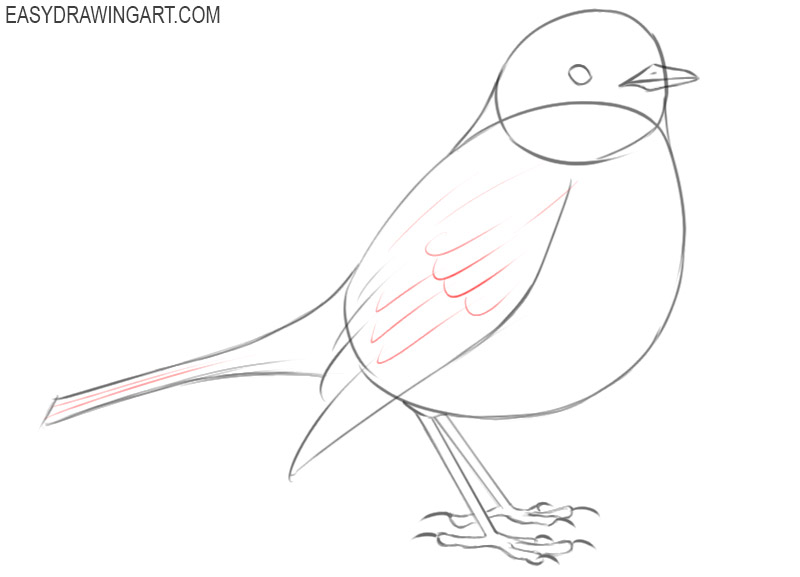
- Depict the plumage of the bird.
Now you should add some straight and curved lines on the robin’s tail, wing, and body as shown.
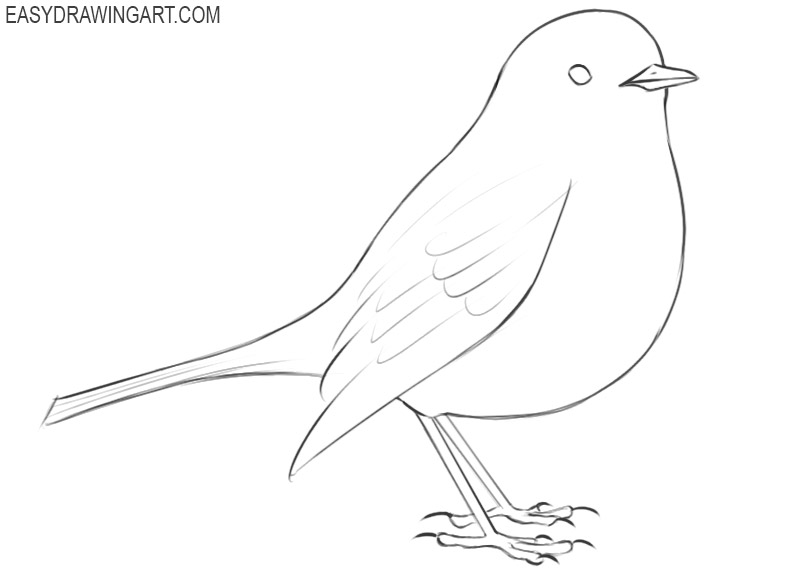
- Complete the sketch.
Now your drawing is almost ready, it remains to color it. Before you start coloring, you should remove unnecessary lines.
- Color the drawing.
To color the robin, you should use black, gray, green, and orange. Don’t forget to add shadow areas as well as highlights.

This came to an end with a fascinating drawing lesson in which you could learn how to draw a robin step by step. We hope that you liked this lesson very much and did not cause you any difficulties. Now you have improved your artistic skills and learned how to draw another beautiful bird.