

How to Draw a Pug
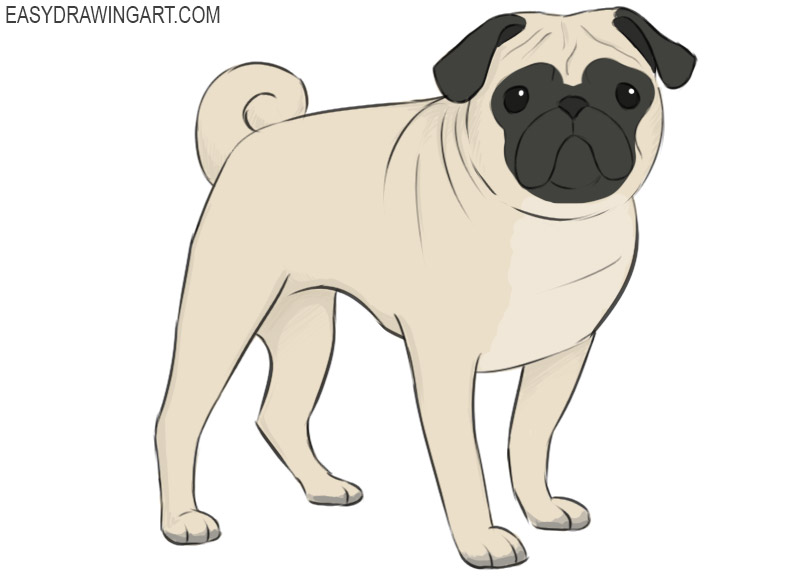
Pugs are one of the world’s most popular companion dog breeds. And now, you’ll learn how to draw a pug step by step with a simple guide for beginners.
This drawing shows a pug with the breed’s most recognizable features, for example the characteristic folds on its face. The simple side view makes these details very easy to draw.
Pugs come in several coat colors, although fawn with a black muzzle is the most common. By the end of this tutorial, you’ll have a drawing of a standing pug.
Time needed: 1 hour
How to Draw a Pug
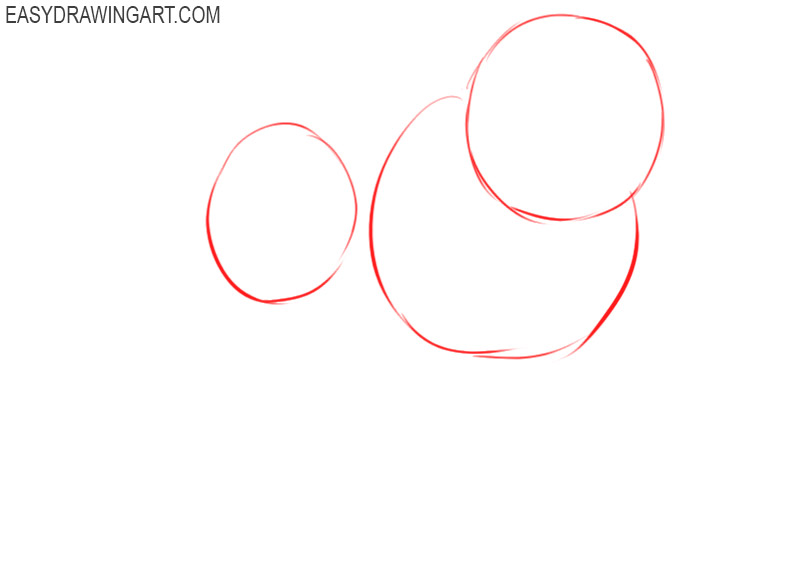
- Draw the helper markup.
To depict the location of the head, front, and back of the torso, you should draw a circle, an oval and not a full circle.

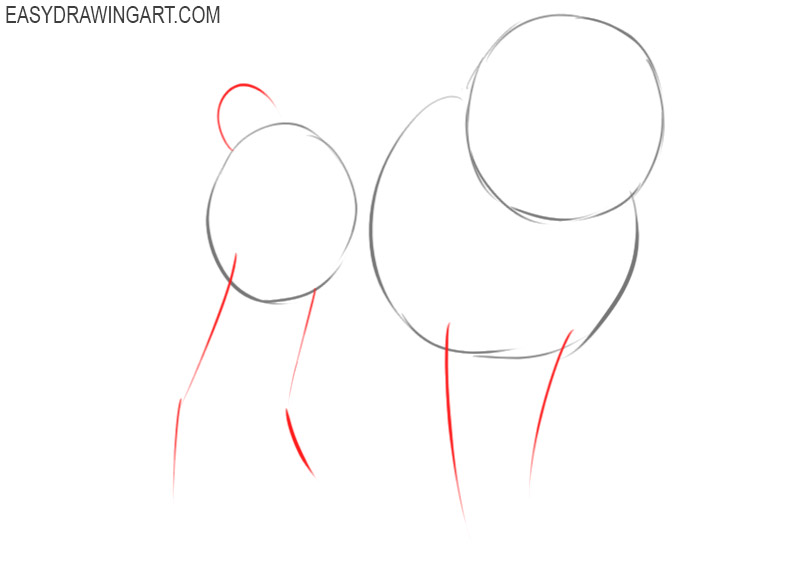
- Add guidelines.
Now depict the location of the front and hind limbs, as well as the pug’s tail, using an arc, straight lines and curved lines.
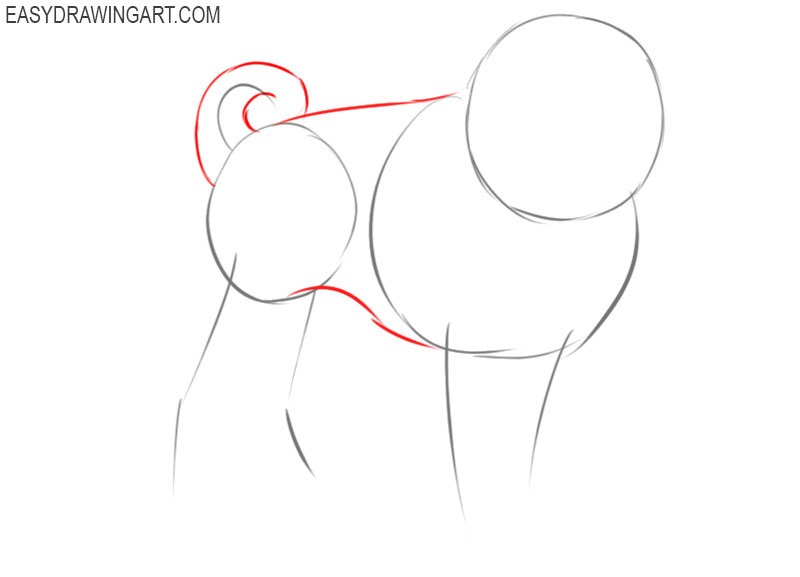
- Finish drawing the tail, add the back and belly.
Near the auxiliary lines indicating the location of the tail, add curved lines. Draw lines at the top and bottom of the body.
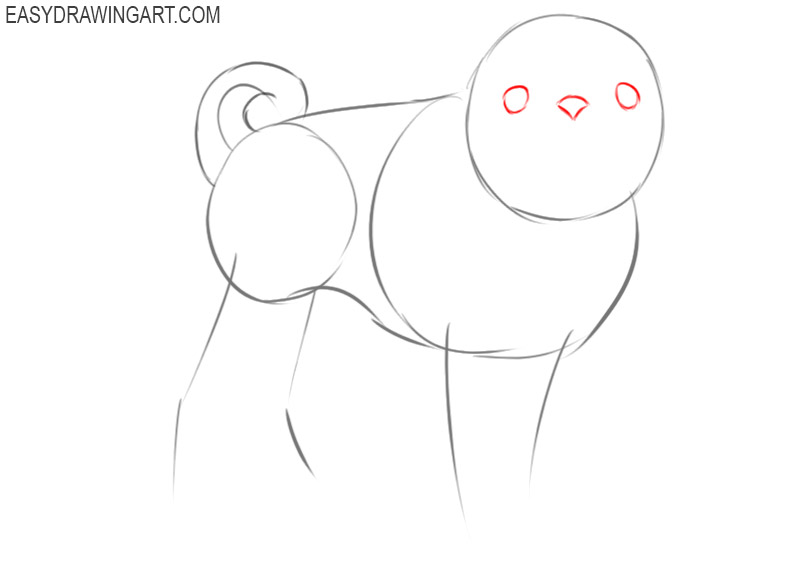
- Add facial features.
Inside the previously drawn outline of the pug’s head, draw two eyes in the form of shapes similar to ovals, draw the nose using straight lines and an arc.
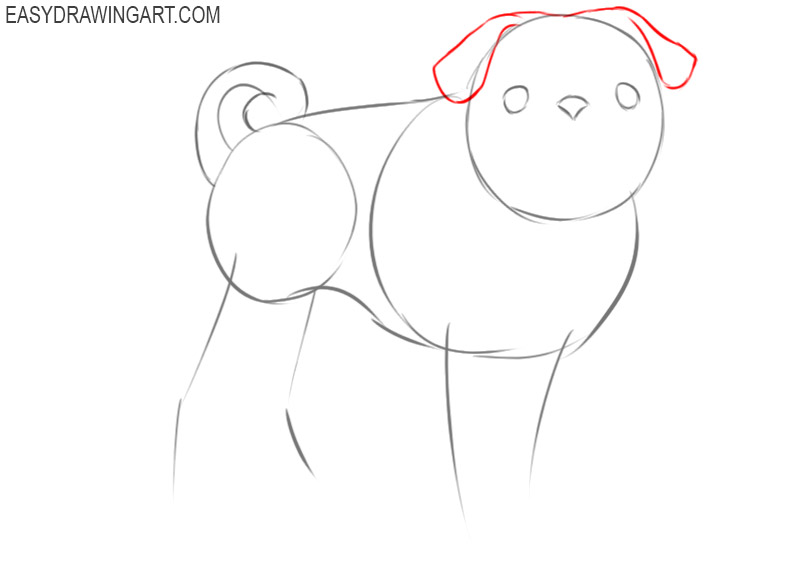
- Sketch out the ears of the pug.
At the top of the dog’s head, draw two symmetrical ears hanging down. Use curved lines for this.
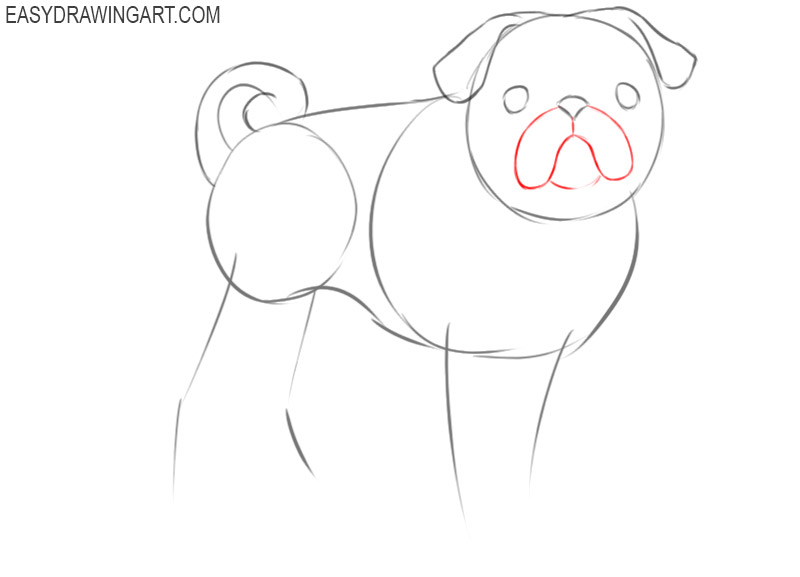
- Depict the front of the dog’s muzzle.
Below the previously drawn pug nose, draw symmetrical curved lines, as well as a straight line and an arc.
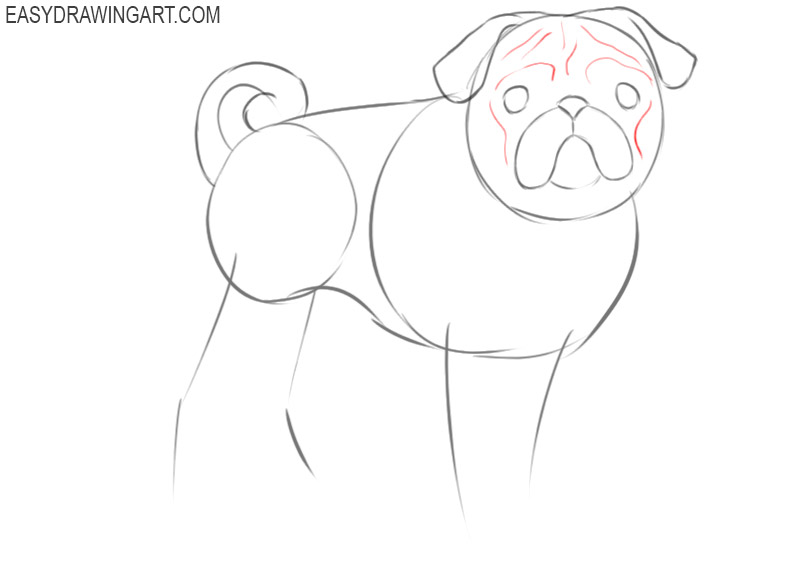
- Make the face of the pug more realistic.
To draw relief on the pug’s face, draw several thin, curved lines of varying lengths around the eyes and on the pug’s forehead.
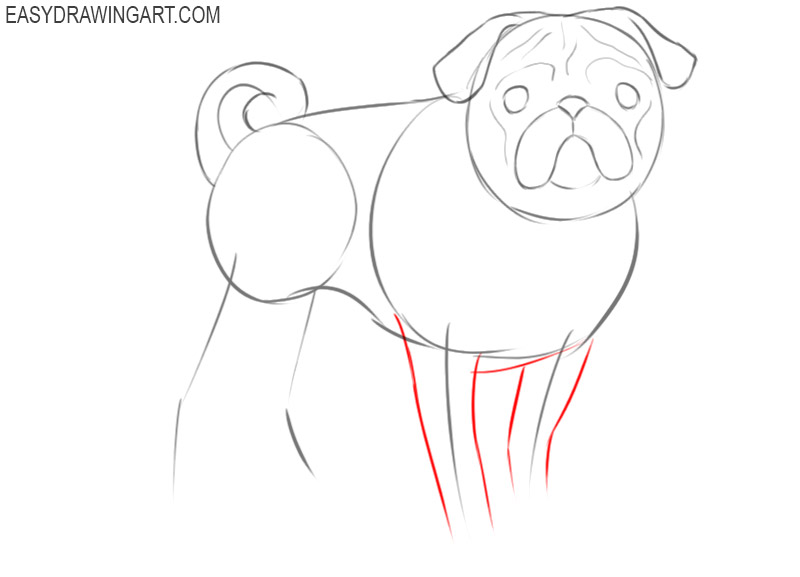
- Add the outlines of the front paws.
Near the previously drawn auxiliary lines that indicate the location of the forelimbs, draw curved lines.
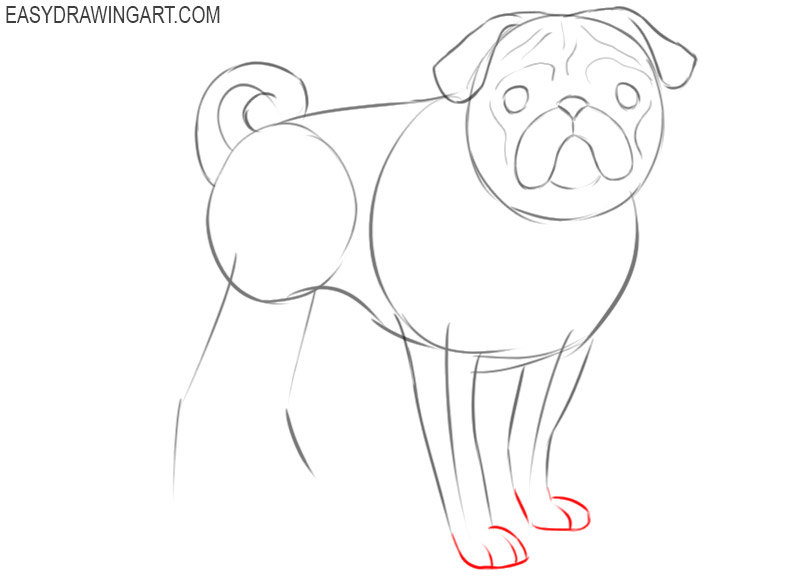
- Sketch out the feet.
Finish drawing the front paws by adding some curved lines as shown to represent the feet and toes.
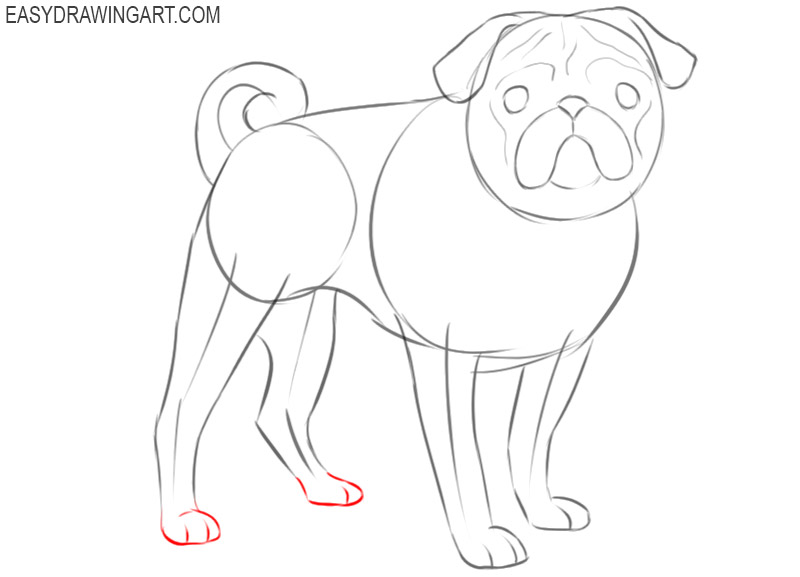
- Draw the outlines of the pug’s hind legs.
Now draw a few curved lines near the previously drawn auxiliary lines. One paw looks partially closed.
- Finish drawing the hind legs.
Now add the feet and outline the lines of the toes of the hind feet using curved lines as shown.
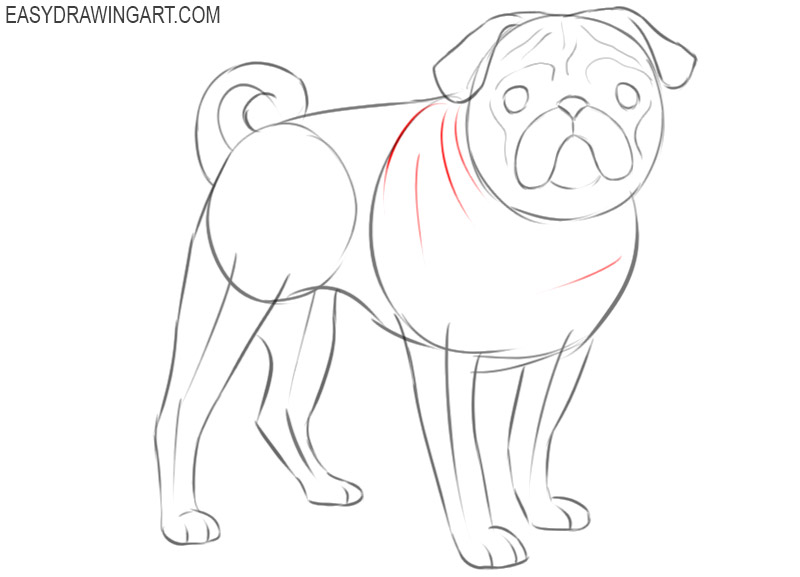
- Add the pug’s torso more realistically.
Now you should add some curved lines on the pug’s chest and back to represent the folds in the skin.
- Color the drawing.
To color the pug, use gray, beige, and black. Don’t forget to depict areas of light and shadow in the drawing.

Surely you did great work, and now you know how to draw a pug step by step. We hope you get a great drawing. If you liked this lesson, you can continue to develop your skills as an artist with the help of our other drawing lessons. On our site, there are many instructions dedicated to drawing animals.

Great