How to Draw a Pony
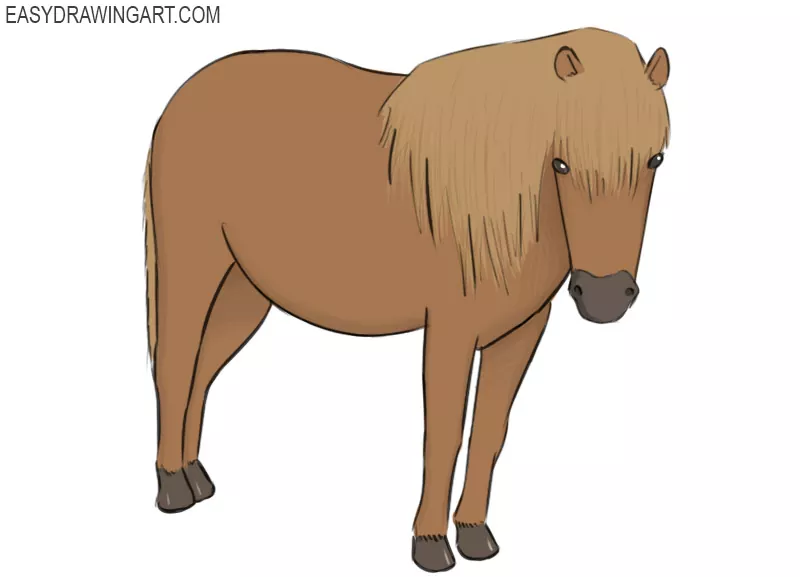
Ponies are small horses that are known for their friendly nature and charming appearance. In this tutorial, you’ll learn how to draw a pony step by step with a simple guide for beginners.
Ponies are smaller than most horses and have appeared in many books, movies, and animated series. One of the best-known examples is My Little Pony.
By following the steps, you’ll draw a cute standing pony.
Time needed: 1 hour
How to Draw a Pony
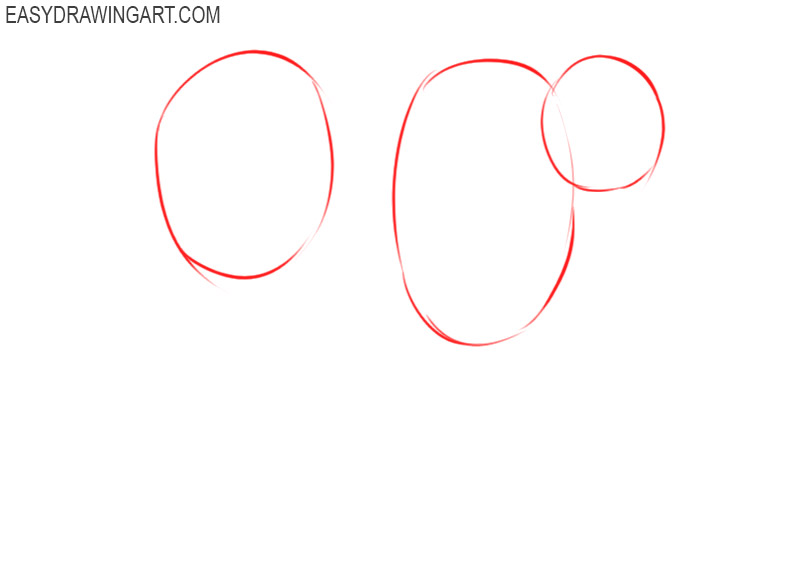
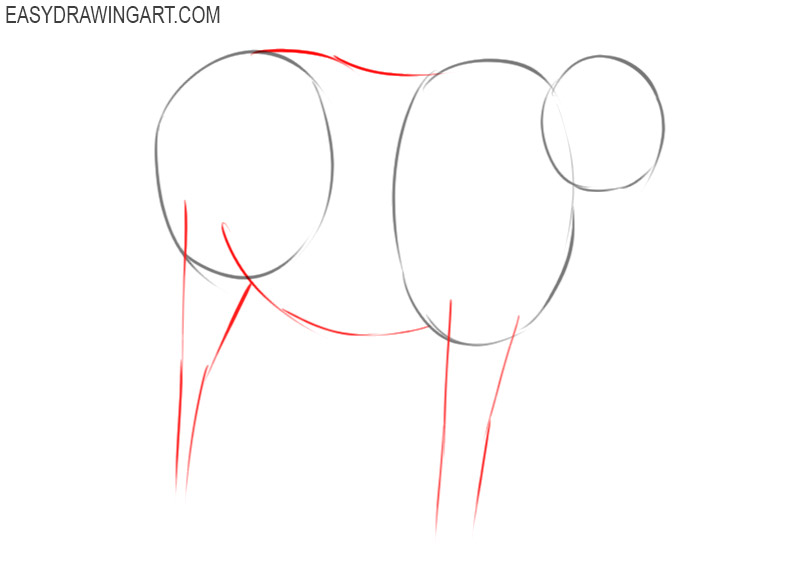
- Add basic markup.
First, you need to designate the location of the torso and head of the pony. Draw several ovals of different sizes.

- Draw the contours of the back, belly and add markings.
Use curved lines to connect the two large ovals, add dashed line markings to represent the limbs.
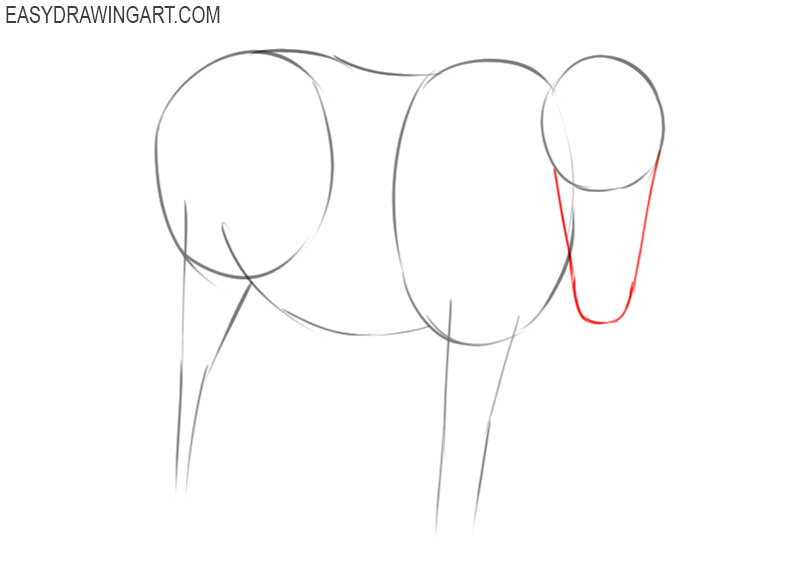
- Depict the outline of the pony’s head.
Draw a curved line at the bottom of the small oval, indicating the position of the pony’s head, as shown.
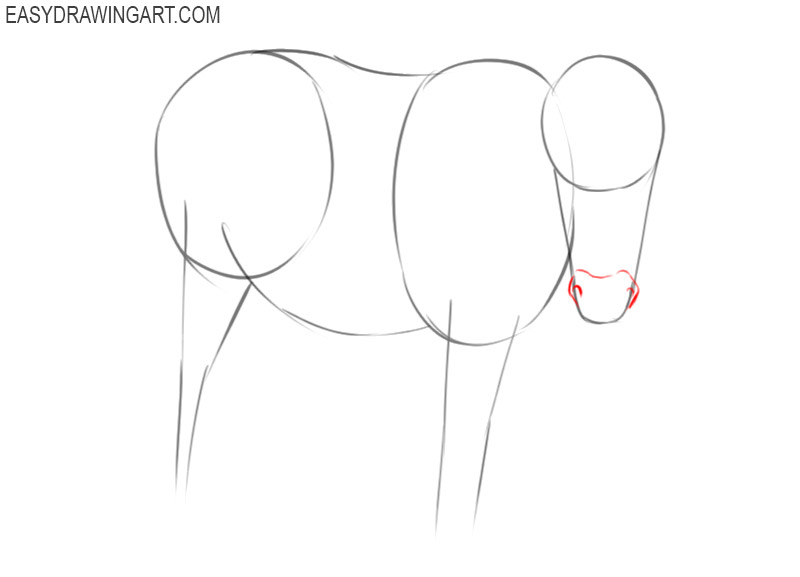
- Add the pony’s nostrils.
At the bottom of the previously drawn background head, draw several curved lines of different lengths, as shown in the figure.
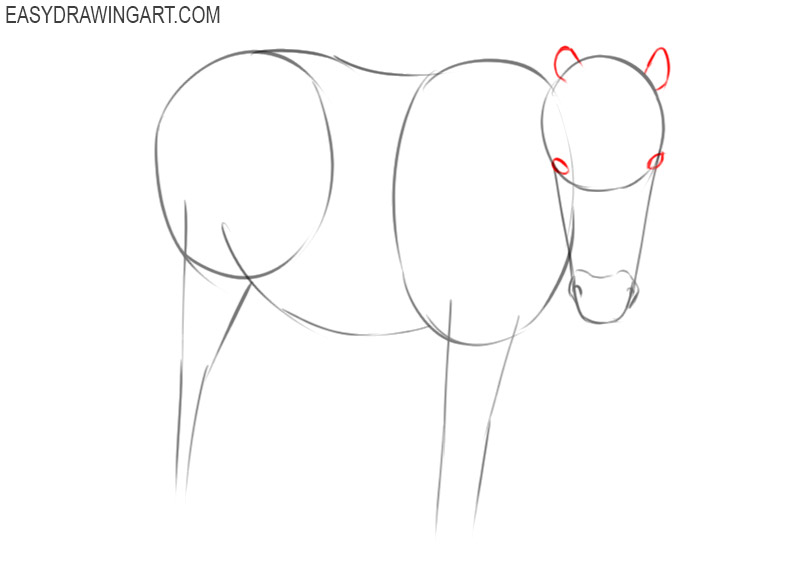
- Sketch out the pony’s ears and eyes.
At the top of the pony’s head, draw two symmetrical ears using curved lines. Add two eyes in the form of shapes that look like ovals.
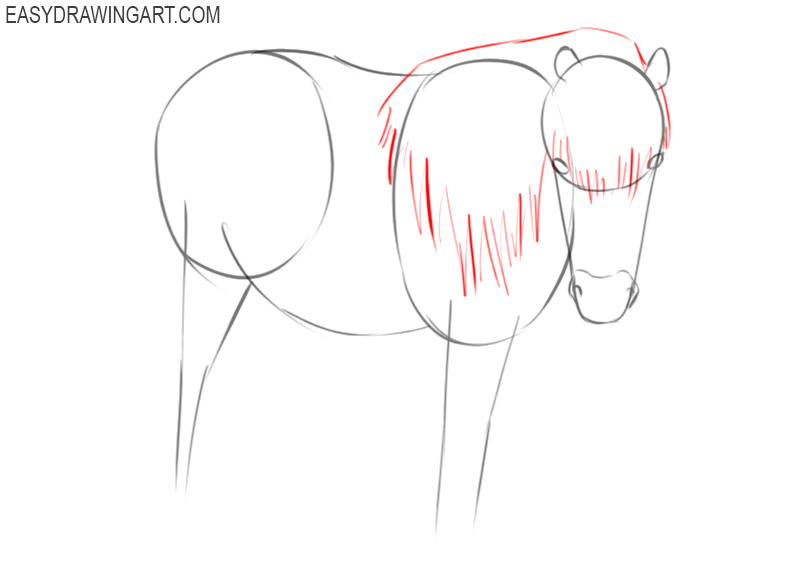
- Depict the pony’s mane.
Now you should add many broken lines of different lengths on the head and body of the pony, as well as a curved line above the head.
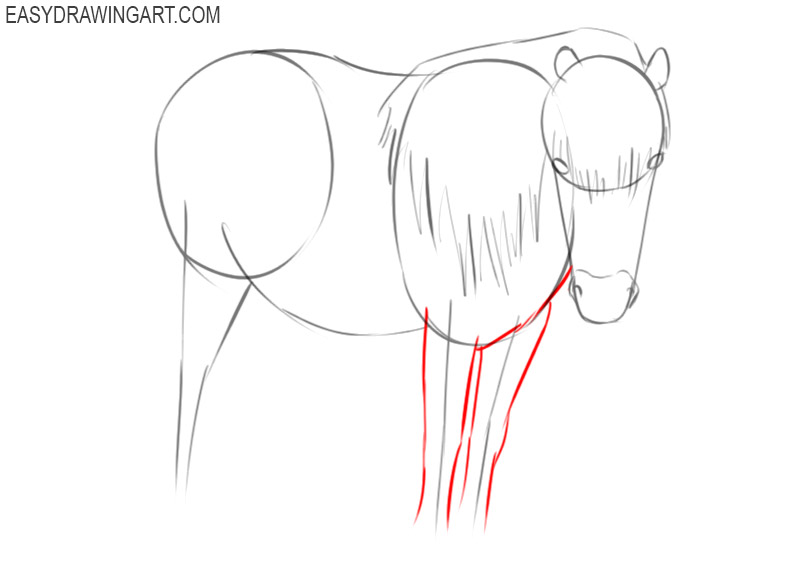
- Add the outlines of the front paws of the pony.
Near the previously drawn auxiliary lines indicating the front paws, draw a few dashed lines, as shown in the figure.
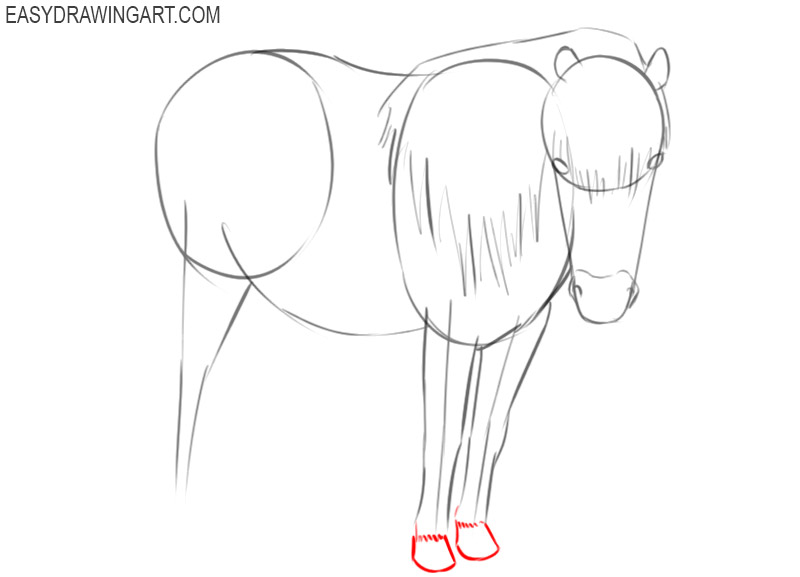
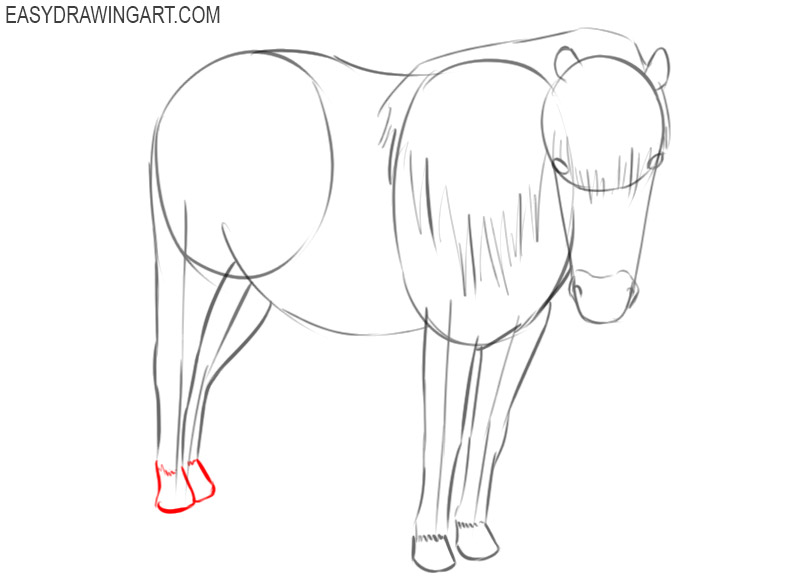
- Draw the hooves on the front paws of the pony.
At the bottom of the previously drawn paws, depict two symmetrical hooves using zigzag, straight and curved lines.
- Sketch out the outlines of the pony’s hind legs.
Now add curved lines at the back of the pony’s torso, positioning them next to the previously drawn guidelines.
- Add the hooves on the hind limbs.
At the bottom of the previously drawn paws, draw two hooves, as shown in the figure. The other partially covers one hoof.
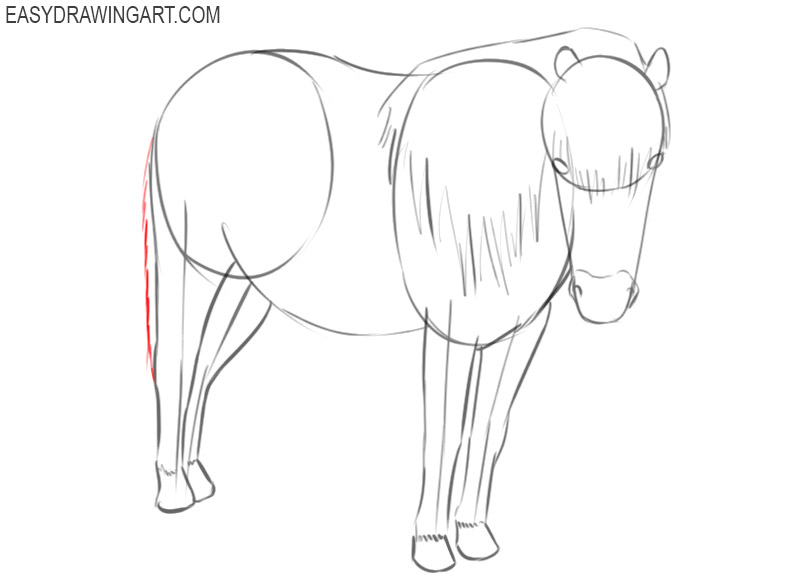
- Sketch out the horse’s tail.
Near the previously drawn hind limbs, draw short dashed lines to draw the pony’s tail.
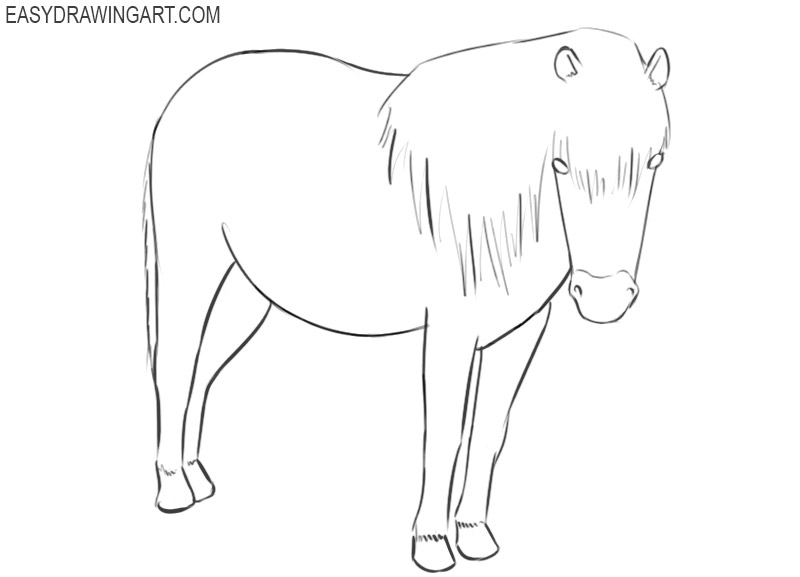
- Prepare the drawing for coloring.
Now you should use the eraser to remove all unnecessary and auxiliary elements.
- Color the drawing.
To color the pony, use shades of brown, gray, and black. Do not forget to mark the place of the shadow, as well as highlights on the eyes and hooves.

On this, this step-by-step instruction on how to draw a pony has come to an end, and I hope that you did not have any difficulties in completing it. Follow various drawing lessons on our website to improve your artistic skills.