How to Draw a Piranha
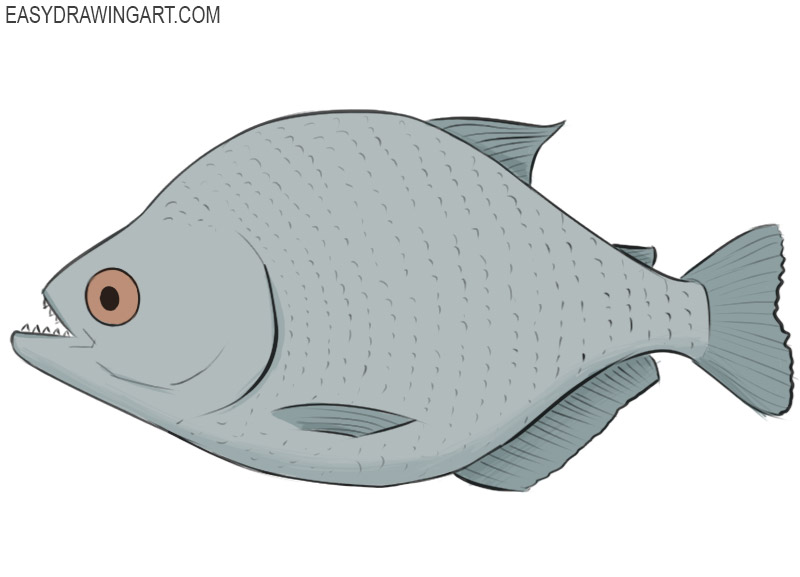
Piranhas are freshwater fish that live in the rivers and lakes of South America. In this tutorial, you’ll learn how to draw a piranha step by step in a simple way that’s easy for beginners to follow.
Piranhas are best known for their sharp teeth and powerful jaws, although most species are much less dangerous than popular movies often suggest.
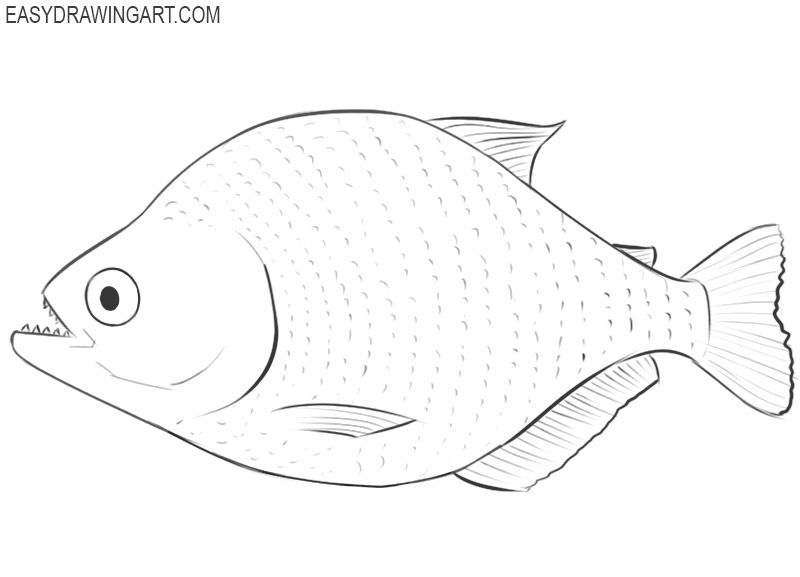
Their distinctive appearance make them an interesting subject for animal drawings and underwater scenes. In the end, you’ll have a drawing of a piranha shown in a side view.
Time needed: 1 hour
How to Draw a Piranha
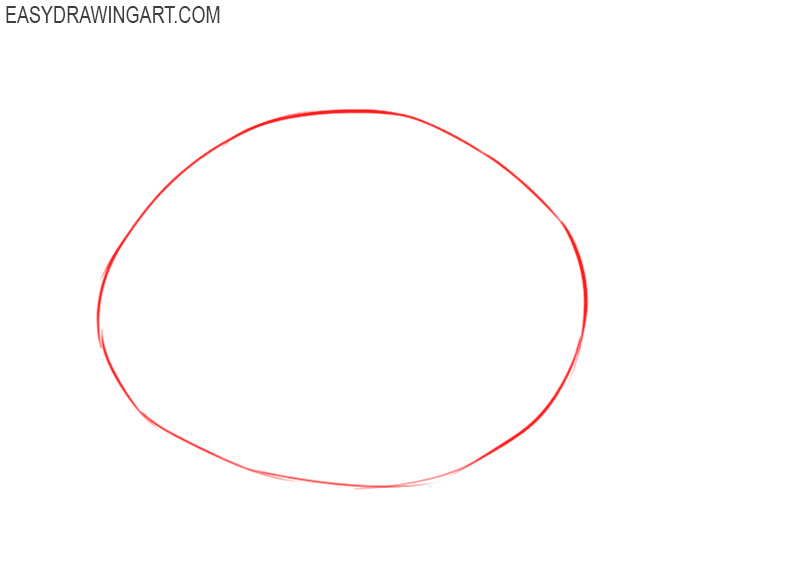
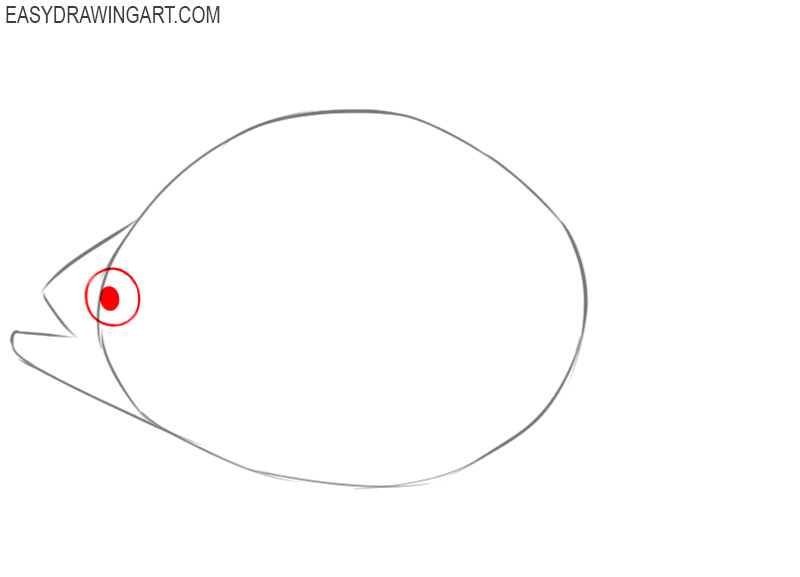
- Mark out.
To indicate the dimensions of the main body of the piranha, depict an oval-shaped figure using auxiliary lines.

- Draw the head of the piranha.
On the left side of the previously drawn outlines of the piranha’s body, add a few curved and straight lines of different lengths.
- Depict the eye of a piranha.
Next to the previously drawn elements of the piranha head, draw one circle, and also add a filled oval inside it.
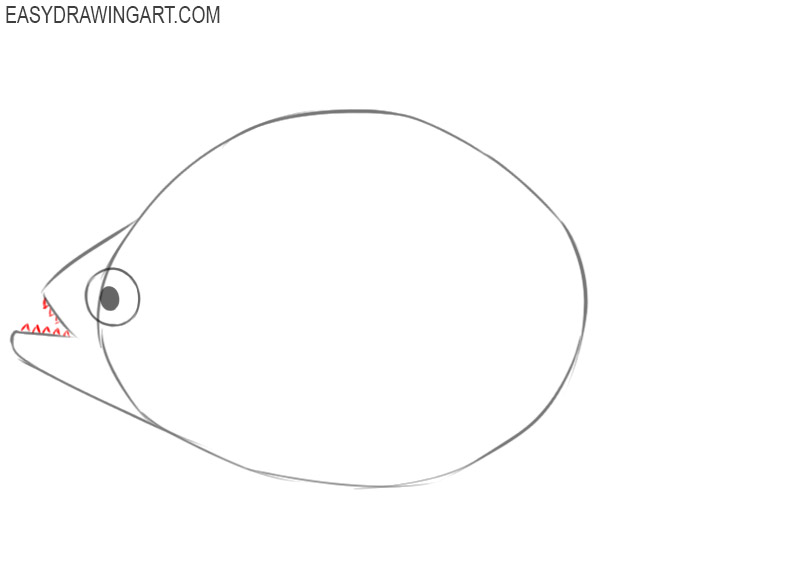
- Sketch out the teeth of the piranha.
Use short, straight lines to draw the pointed teeth on the lower and upper jaws of the piranha’s mouth.
- Depict the fish gills.
On the head and body of the piranha, draw rounded, straight, curved broken lines, as shown in the figure.
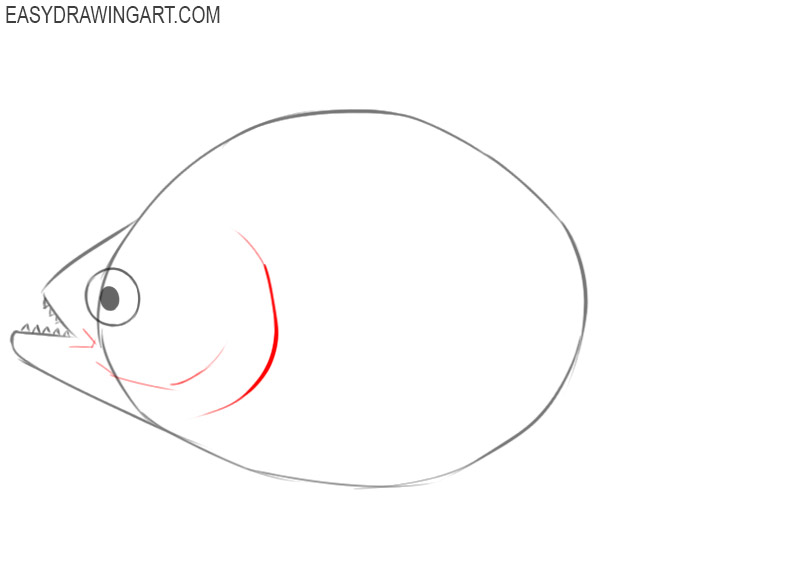
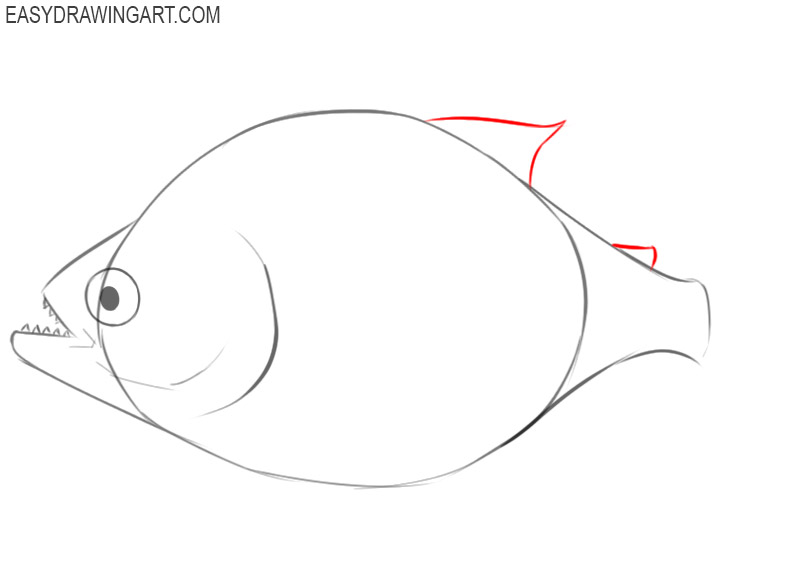
- Add the outlines of the back of the piranha’s torso.
On the right side of the previously drawn outline of the piranha’s body, draw a few curved dashed lines.
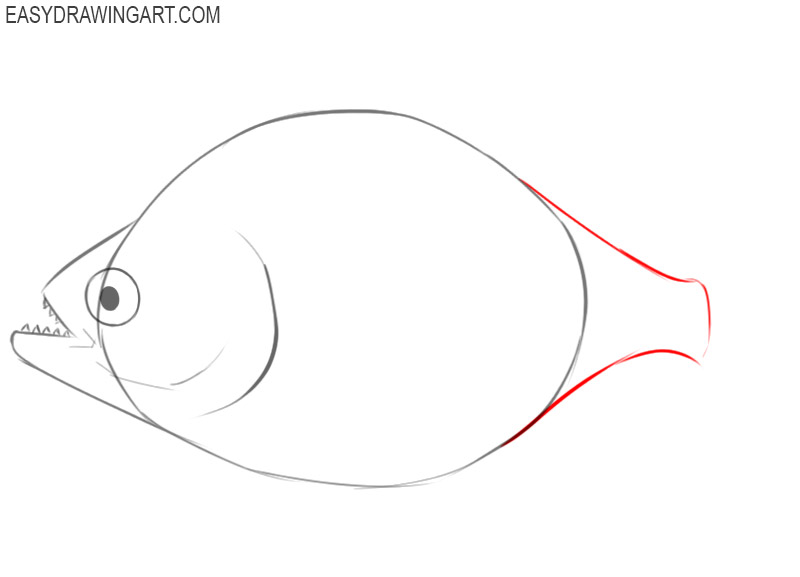
- Draw the upper fins of the piranha.
On the top of the piranha’s body, draw two different sized fins using curved lines as shown.
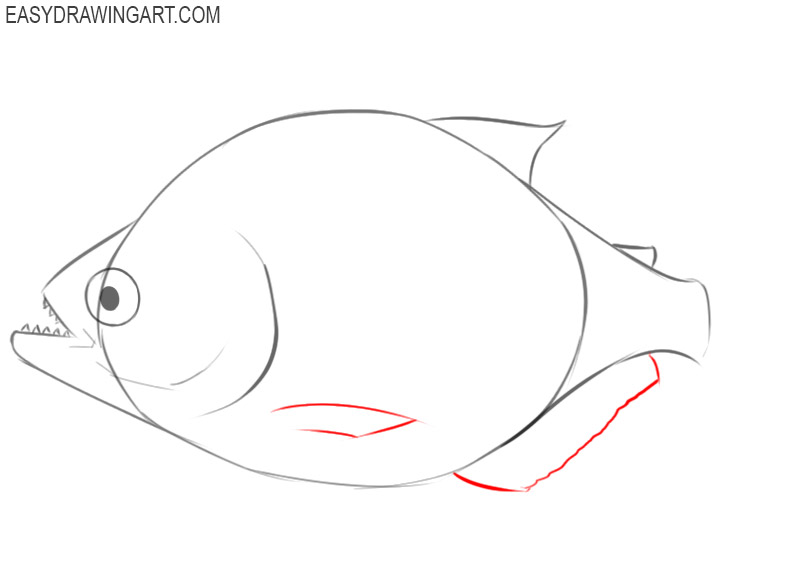
- Depict the bottom fins of the piranha.
Now you should add the two lower fins of the fish, placing one of them inside the outline of the body, and the second one below the body.
- Sketch out the tail of the fish.
Near the previously drawn back of the piranha’s torso, depict the tail using a curved and wavy line.
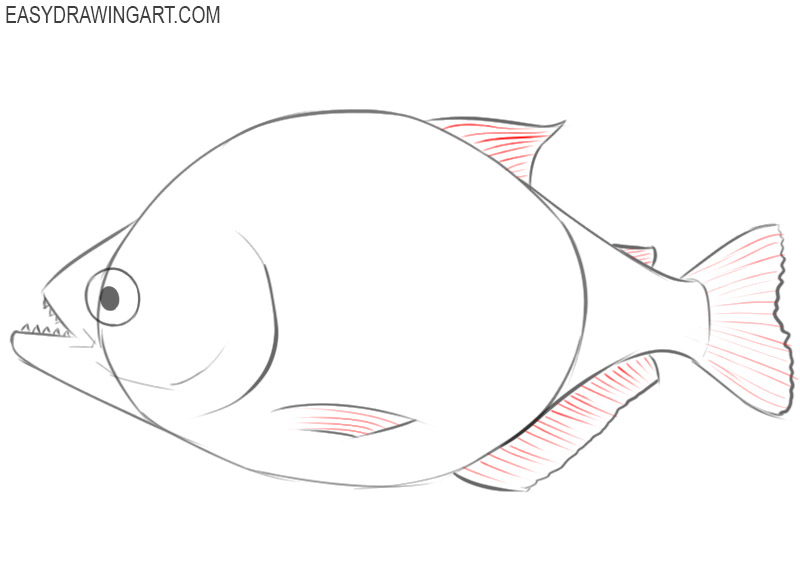
- Add the veins on the tail and fins.
To make your drawing look more realistic, you should draw many curved lines of different lengths on the fins and tail of the fish.
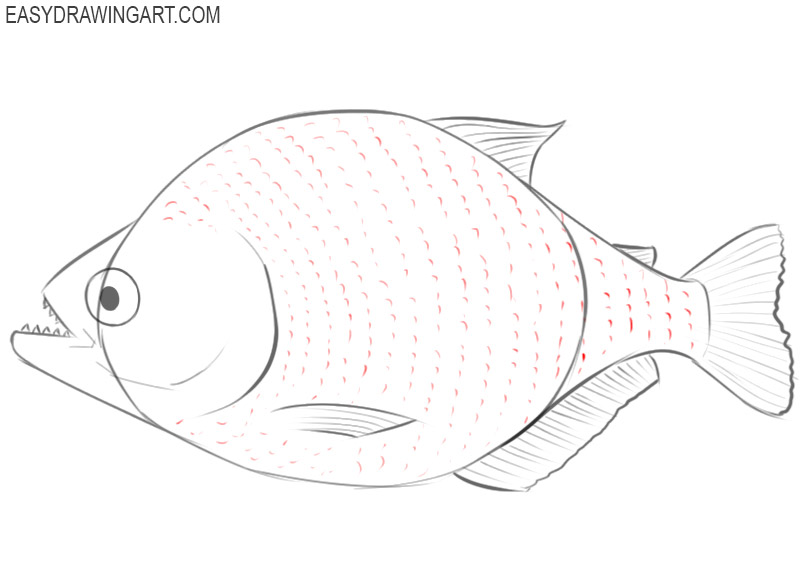
- Depict the piranha scales.
On the entire surface of the body of the piranha, add many short rounded lines and dots, as shown in the figure.
- Add details.
Now you should use the eraser to remove unnecessary guidelines from this drawing and prepare it for coloring.
- Color the drawing.
To color the piranha, use gray, blue, brown, and black. Also, don’t forget to highlight the shaded areas.


So this fascinating and useful drawing lesson came to an end, in which you could learn how to draw a piranha step by step. We hope that this lesson was really pleasant for you to complete and did not cause you any difficulties. Now you can use the skills you have learned to complete many of your beautiful drawings. Also, our team has prepared for you many other exciting drawing lessons dedicated to the image of living beings.