How to Draw a Pilgrim
Historical characters are a fun way to practice drawing people in different types of clothing. This tutorial will show you how to draw a pilgrim step by step.
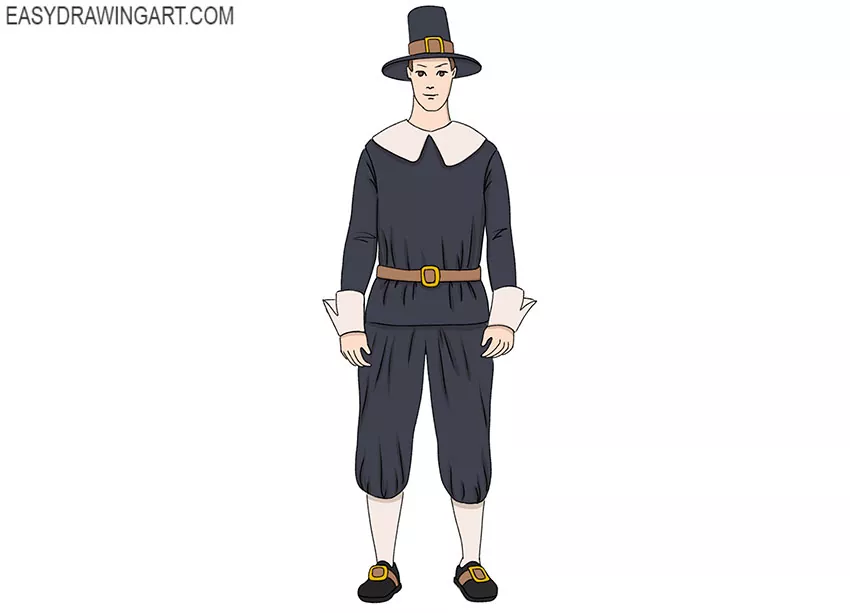
The finished drawing shows a cartoon pilgrim wearing traditional historical clothing and a tall hat. Step by step, you’ll recreate this classic pilgrim character.
Time needed: 1 hour
How to Draw a Pilgrim
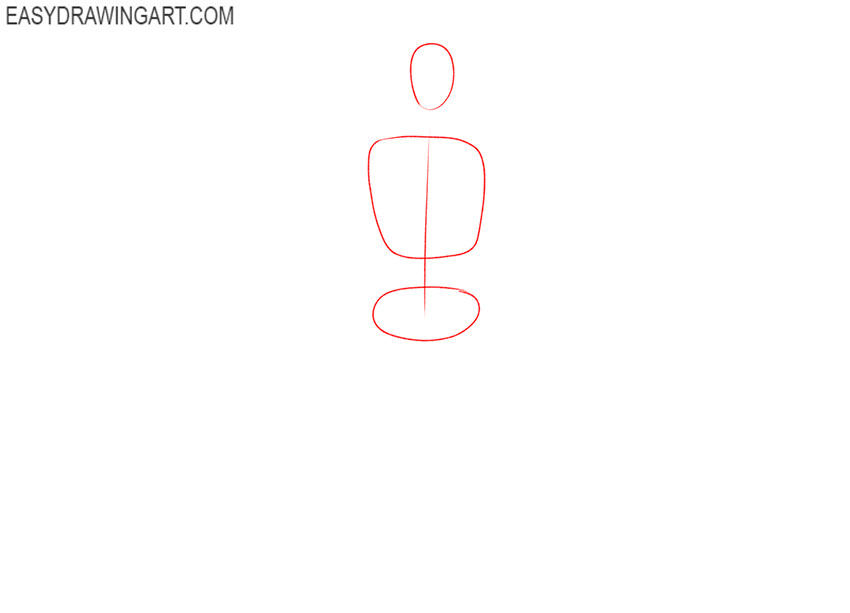
- Prepare the base.
Mark the center and with the help of several rounded figures mark the main parts of the body – the head, torso and pelvic region.

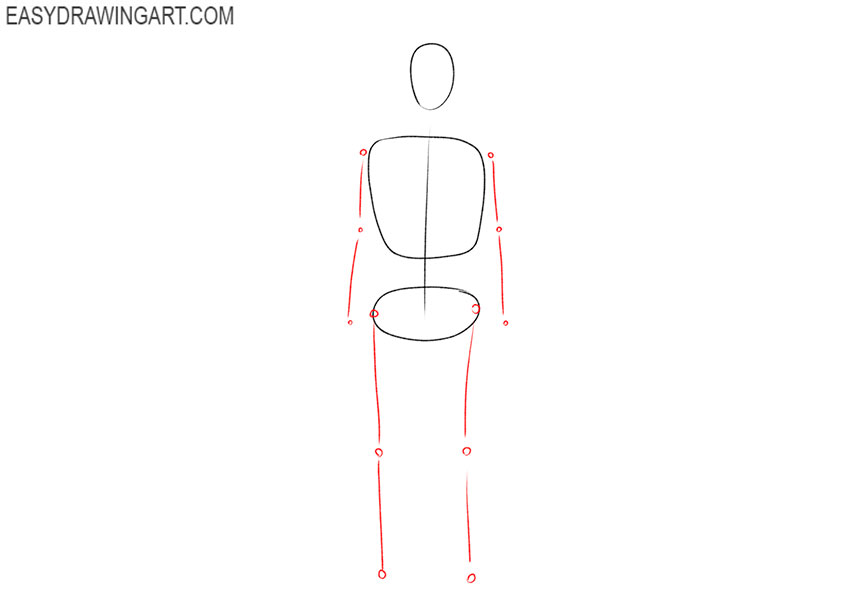
- Add the limbs.
Draw thin, straight lines to indicate the location of the arms and legs. Using large dots, mark the places where the joints are located.
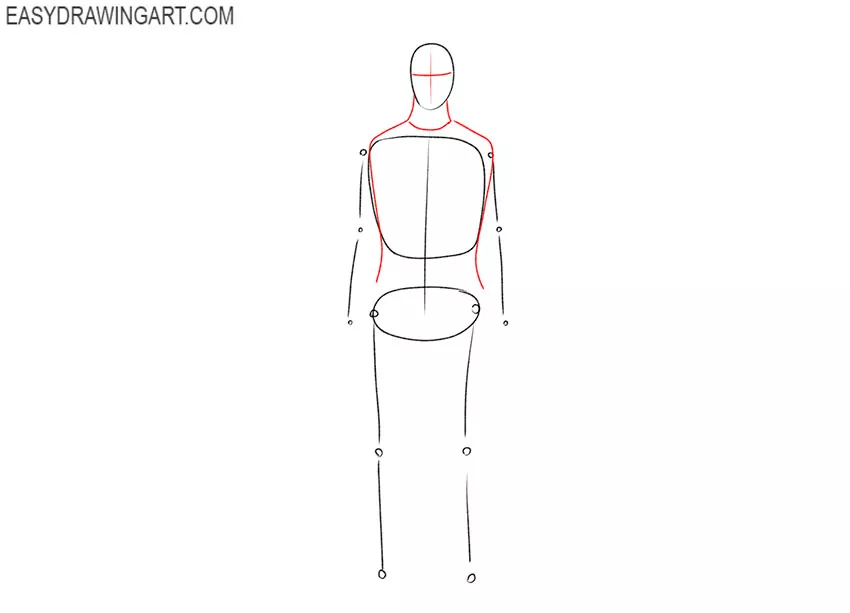
- Make markings on the head and draw the outline of the torso.
Using smooth lines outline the outline of the upper body. On the head, draw two lines that will help to correctly position the facial features.
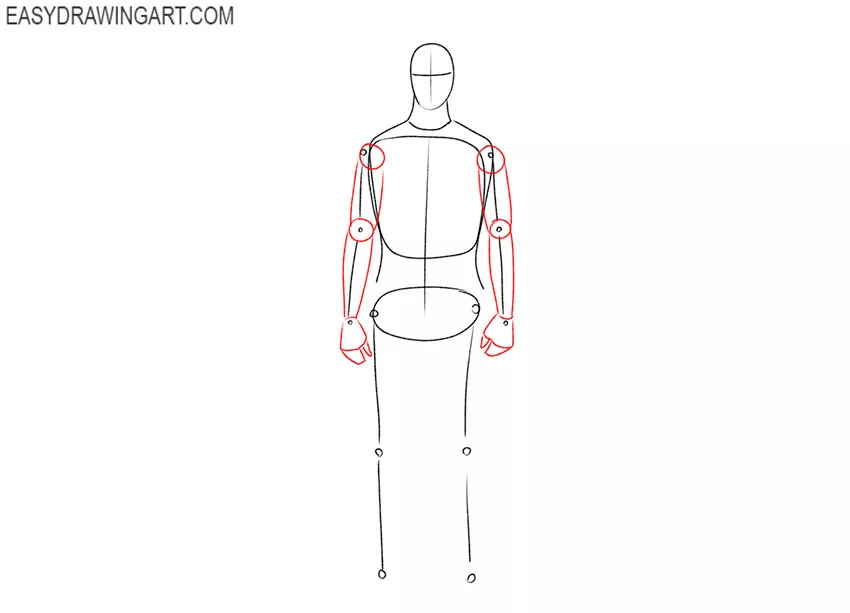
- Depict the arms.
Give thickness to the arms, for this draw several elements of a cylindrical shape, designate the places of the joints in the form of circles. At the bottom, add the outline of the hands.
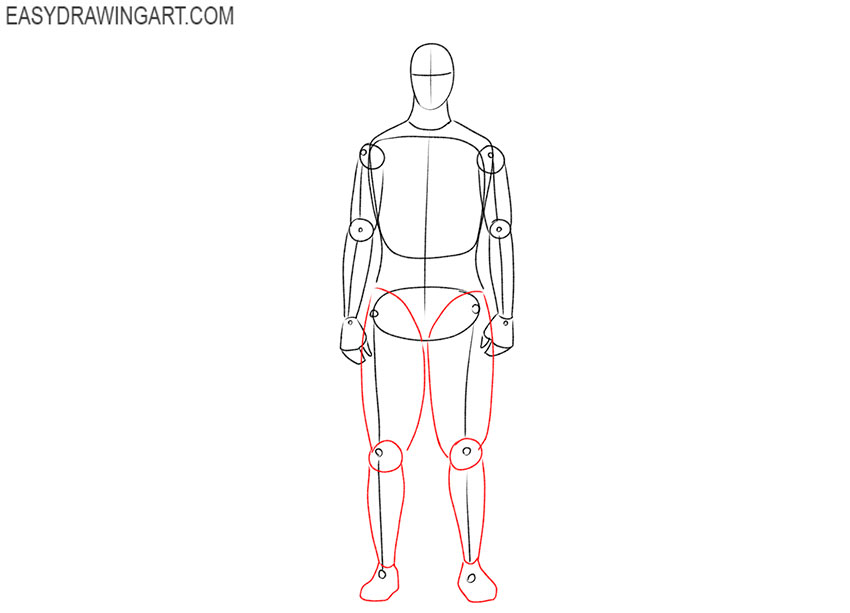
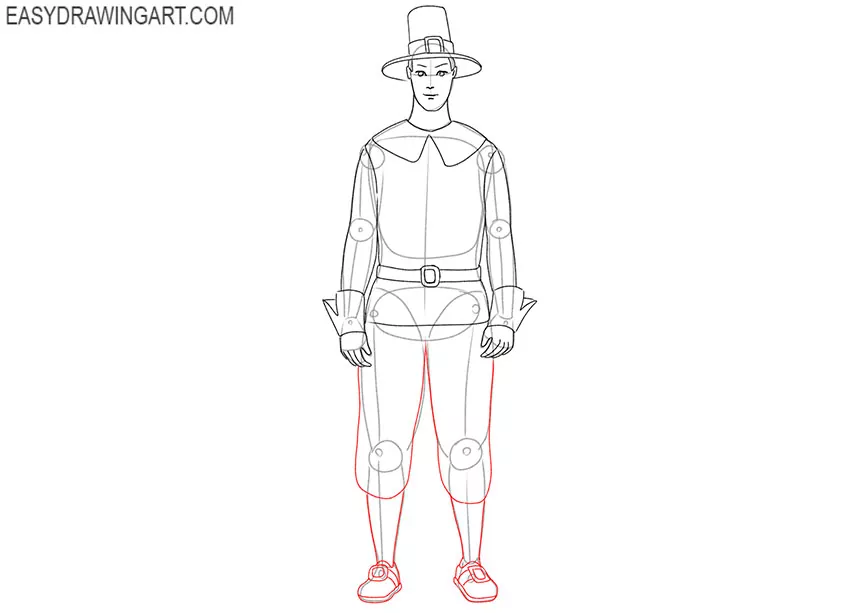
- Sketch out the legs.
Now give thickness to the legs. Draw the hips as elongated ovals, draw the knee joints as circles. Draw the lower leg and feet.
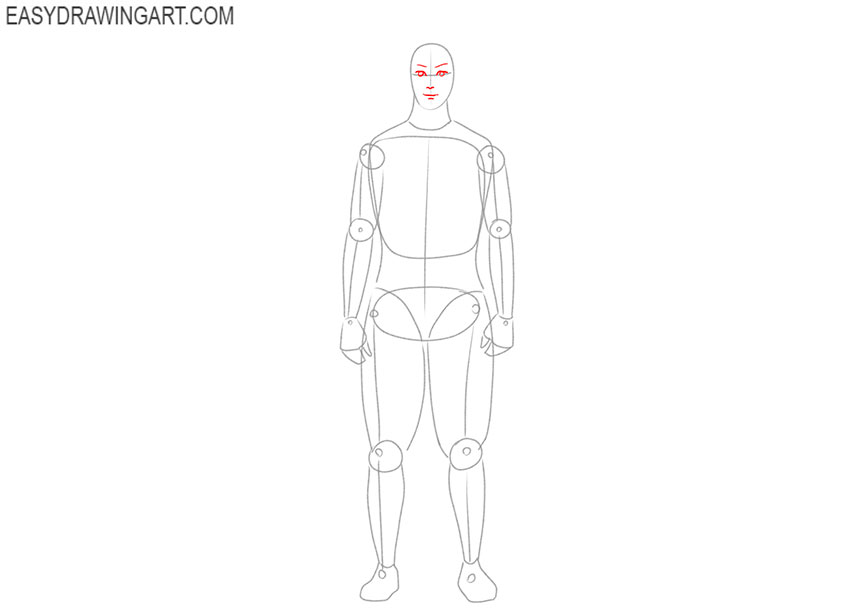
- Add facial features.
Use the guidelines you drew in the previous steps and draw the eyes, eyebrows, nose, and mouth.
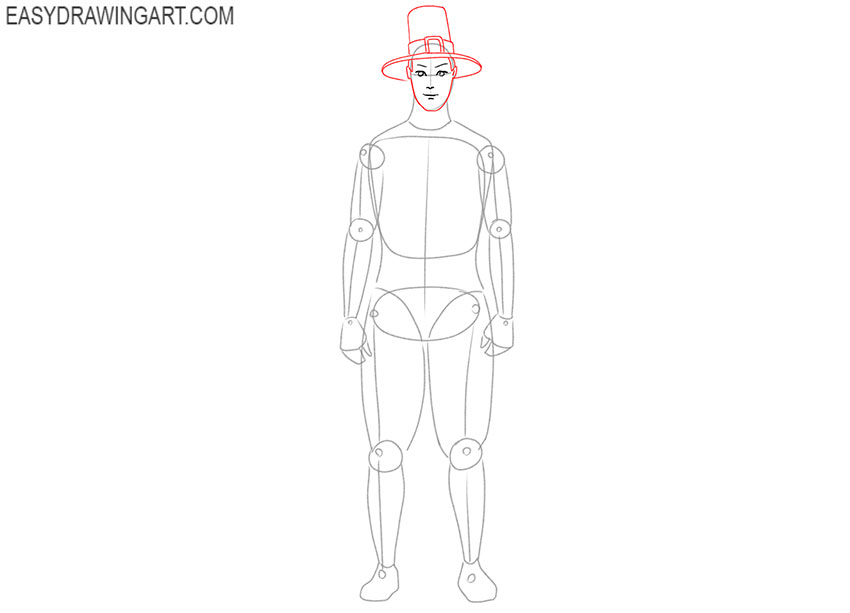
- Draw the rest of the elements of the head.
Depict the ears, add the contour of the hair, draw the high hat in the form of a cylinder with wide brim. Add the large buckle to the front of the hat.
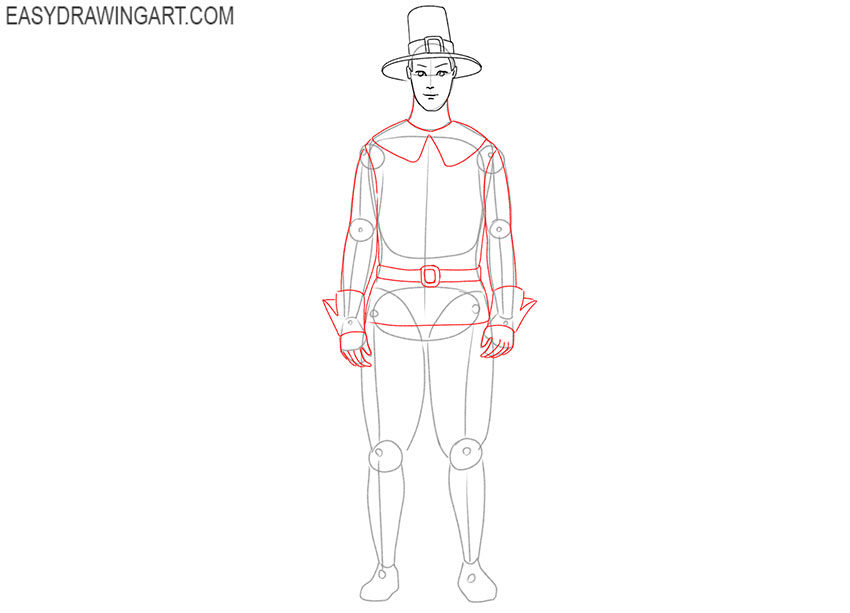
- Sketch out the neck, clothes, and hands.
Draw two lines down from the head to represent the neck. Draw the clothes in the upper part of the torso. Add the wide collar, belt and large gloves.
- Detail the lower torso.
Using smooth lines draw the short and wide pants, add the boots with large buckles at the bottom.
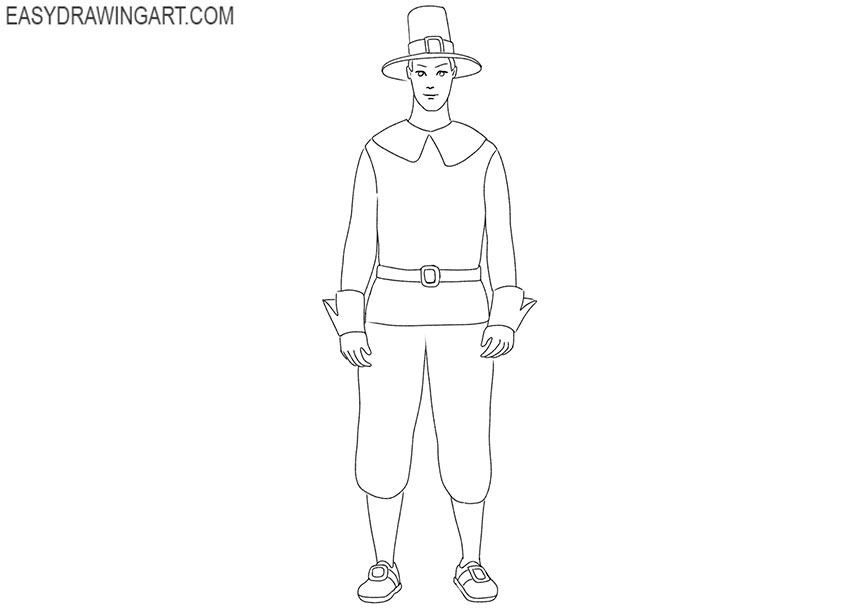
- Correct inaccuracies.
If you notice any mistakes, correct them at this stage. Also, carefully remove any extra lines.
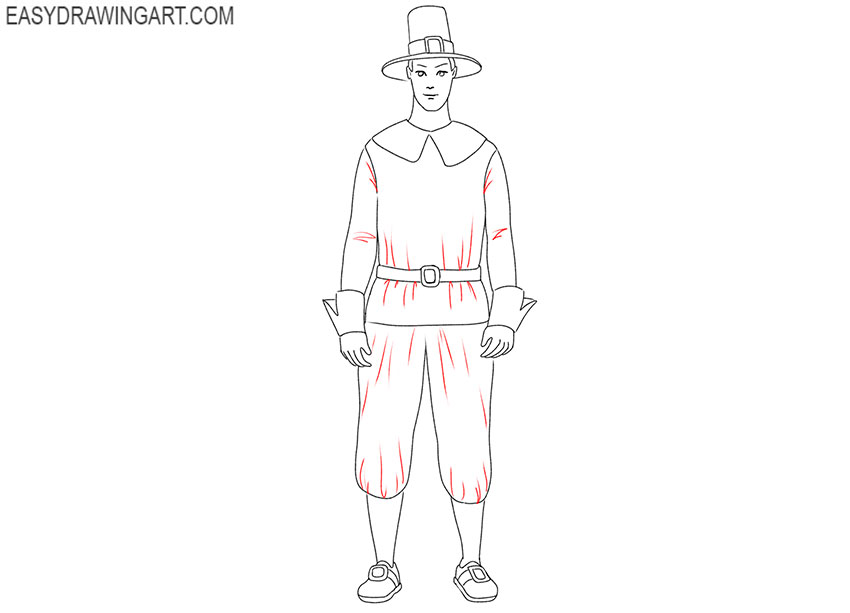
- Add the folds to the clothes.
Detail the clothes and using thin short strokes draw the folds on the sleeves, on the belt and on the pants. Thus, the drawing will look more realistic.
- Color the drawing.
For coloring skin and hair, choose any natural shades. For coloring clothes and shoes, use any shades of gray, dark blue and brown.
Now you have learned how to draw a pilgrim. If this lesson was interesting for you, then leave a small review in the comments. Your opinion is very important for us.