How to Draw a Parrot
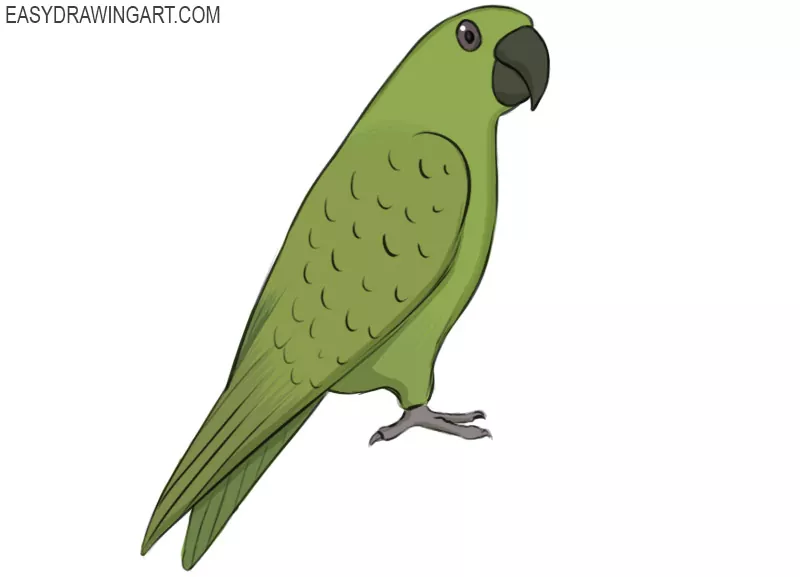
In this tutorial, you will learn how to draw a parrot. This guide is a great way to practice drawing one of the most colorful birds.
Parrots are intelligent birds that are popular as pets. They come in many different sizes and colors, and some species can imitate human speech and other sounds.
You can color your bird green like the example or choose any bright color combination you like. By following the steps, you’ll draw a parrot perched on a branch with its head turned slightly to the side.
Time needed: 1 hour
How to Draw a Parrot
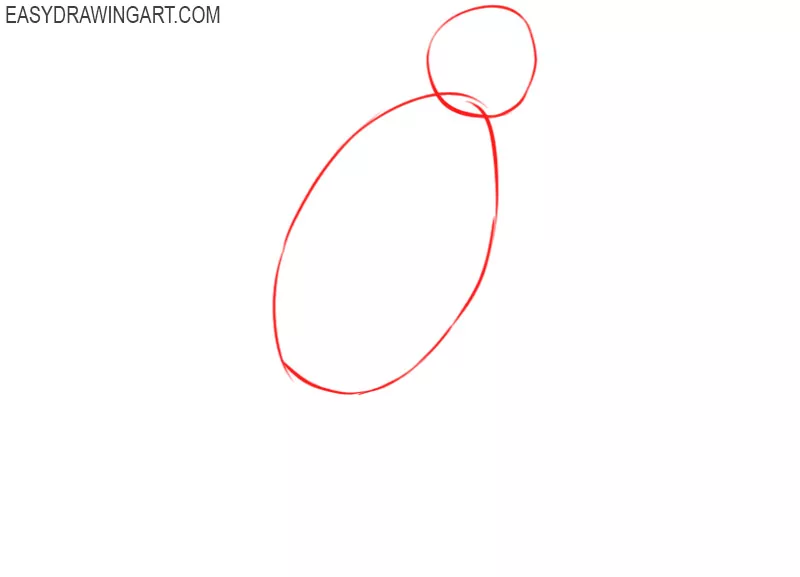
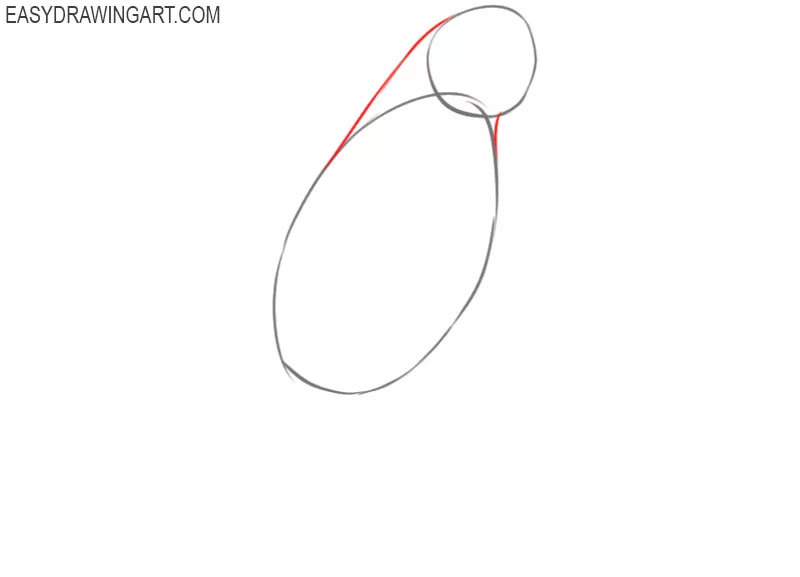
- Draw the main outlines.
Depict a circle to represent the head and, a little lower, draw the torso in the form of a large oval that intersects slightly with the upper circle.

- Depict the neck.
Draw two connecting lines of different sizes between the head and torso. Thus, you will depict the neck of the parrot and make the outlines of the body smoother.
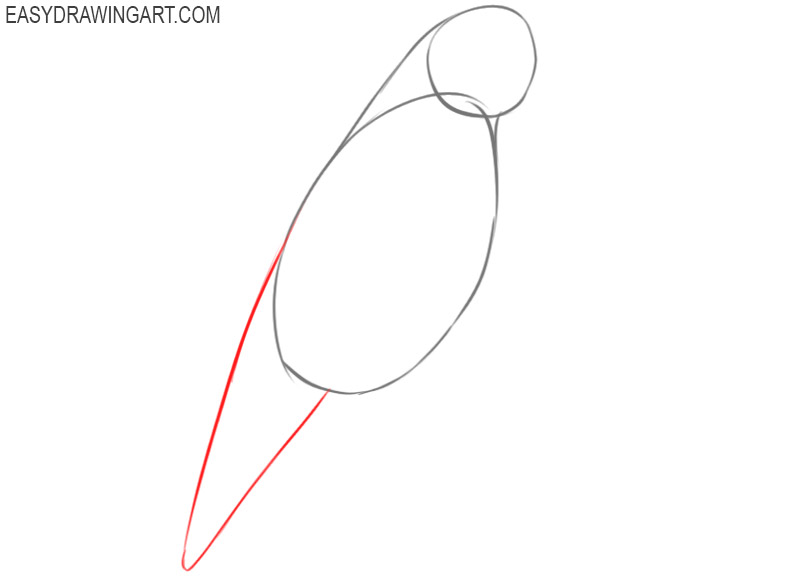
- Sketch out the tail.
Continue the line of the back and draw the long pointed tail at the bottom of the same shape as in our example.
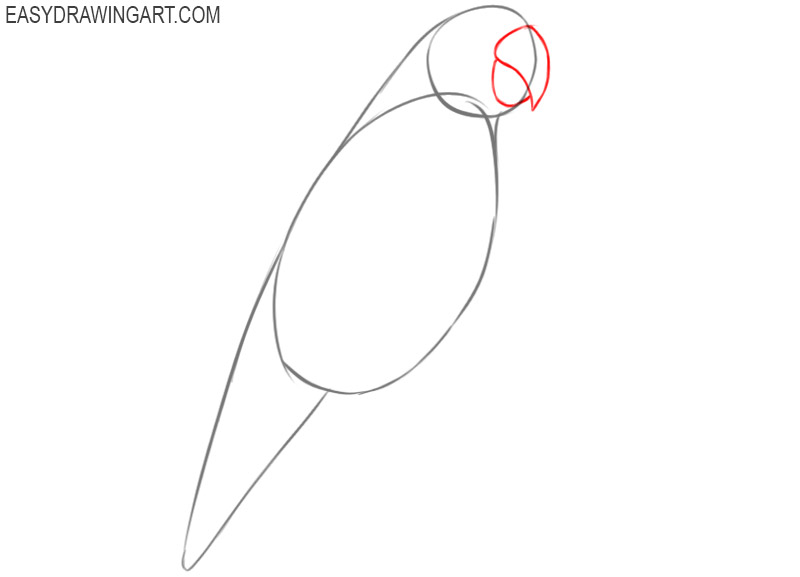
- Add the beak.
As you can see, the beak occupies a significant part of the head and consists of two parts. The upper part is larger and has a pointed end.
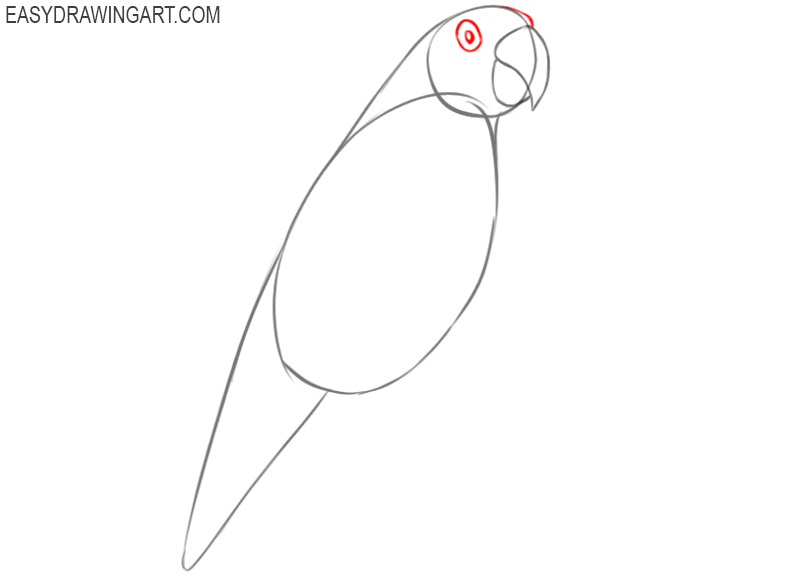
- Draw the eyes.
This will be a simple step in which you will draw the outer outline in the shape of an oval and then add the small pupil inside.
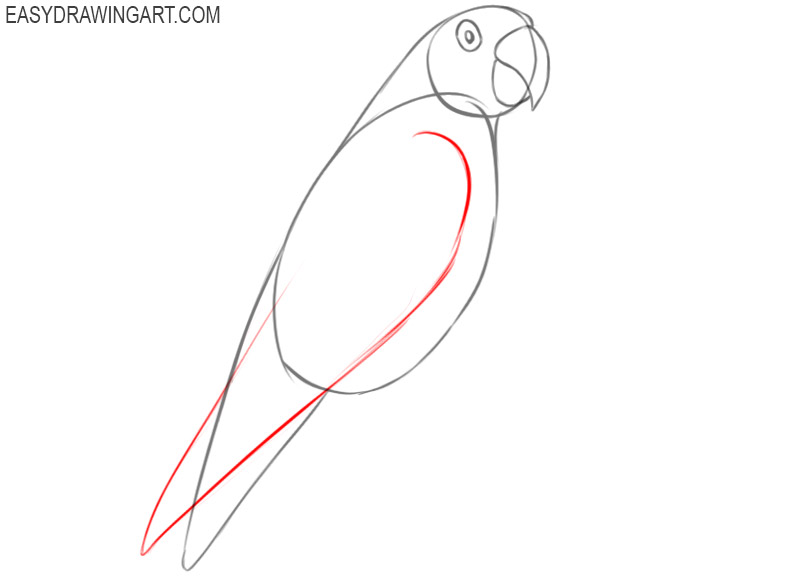
- Depict the wing.
From the upper part of the body, draw a smooth curved line down and draw the large wing that partially covers the tail.
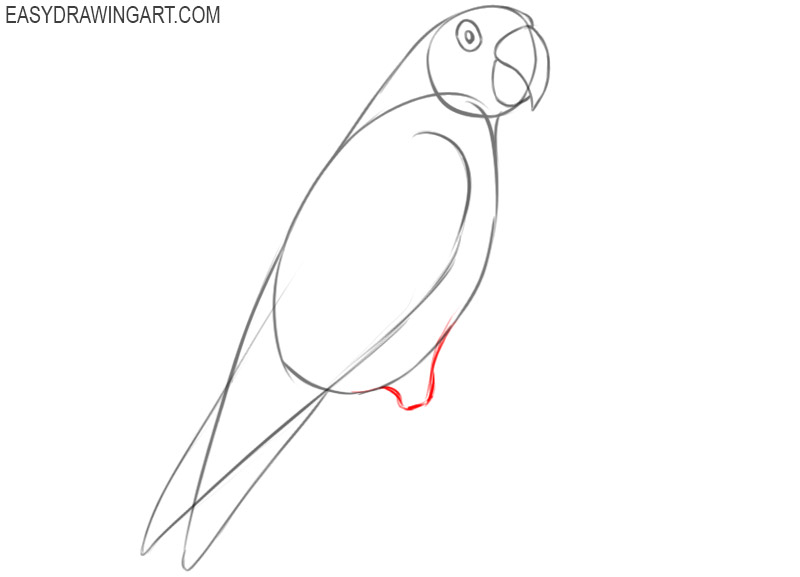
- Add part of the legs.
At the lower part of the torso, continue the line of the belly and draw a small upper part of the legs using curved lines.
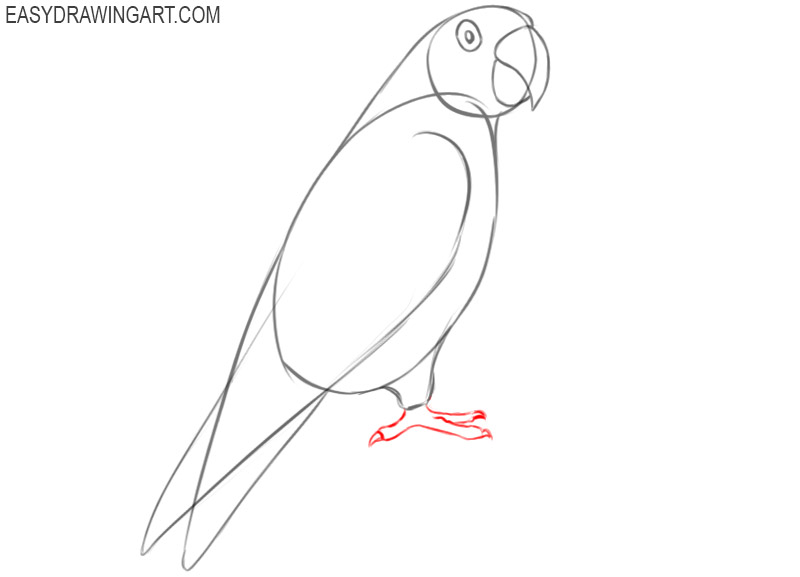
- Sketch out the bottom of the legs.
This step will require your attention as you need to correctly depict the position of the paws. The parrot has long fingers and sharp claws at the ends.
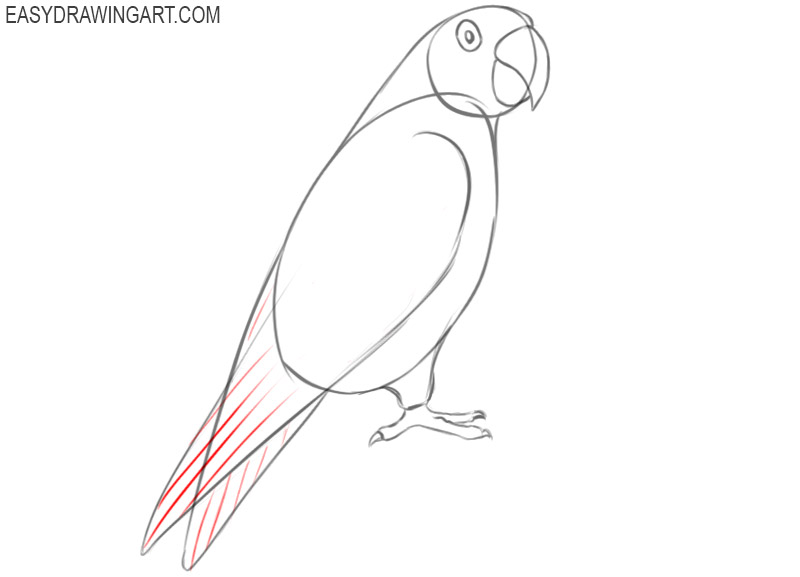
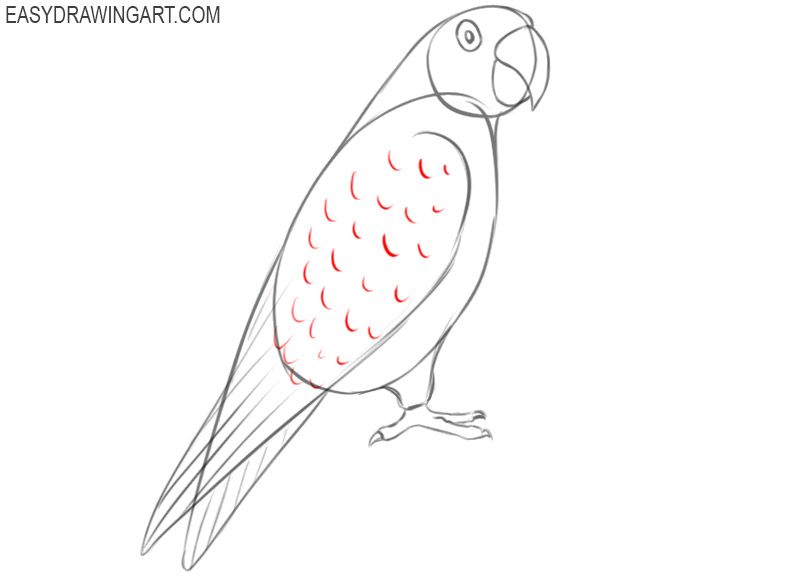
- Detail the plumage on the tail and on the wing.
In the lower part of the wing and on the tail, consistently draw long thin lines that are parallel.
- Detail the plumage on the wing.
On the surface of the wing, add short, curved strokes to represent individual feathers and the parrot looks more realistic.
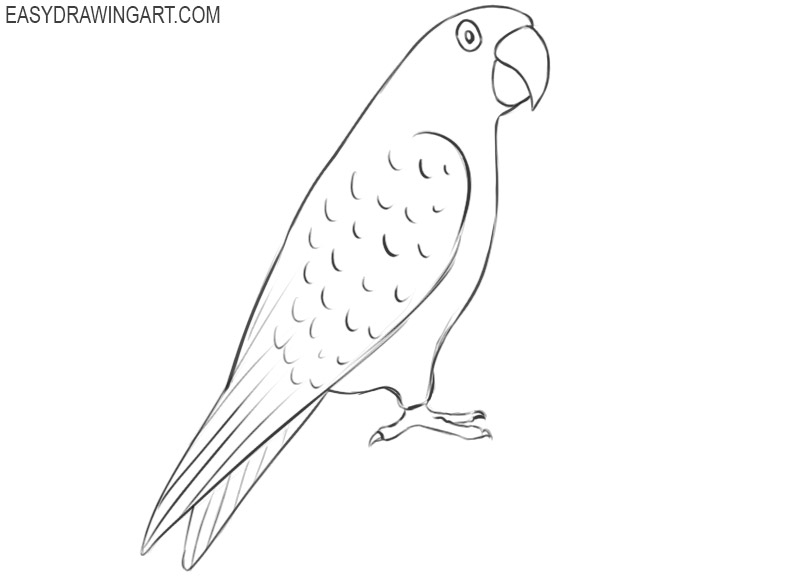
- Correct inaccuracies.
You are approaching the coloring stage, so check if you have drawn all the main outlines correctly. If you notice errors, correct them at this step.
- Color the parrot.
As mentioned above, for coloring the plumage, you can choose any shades of your choice. To color the eyes of the beak and paws, use different shades of gray.
Thanks to a simple instruction, you have learned how to draw a parrot, step by step. The Easydrawingart.com team tried very hard to make this tutorial as simple and clear as possible, and we hope that we succeeded. Rate our work and leave a little feedback on the comments. We will be interested to know your opinion.