How to Draw a Nose from Below
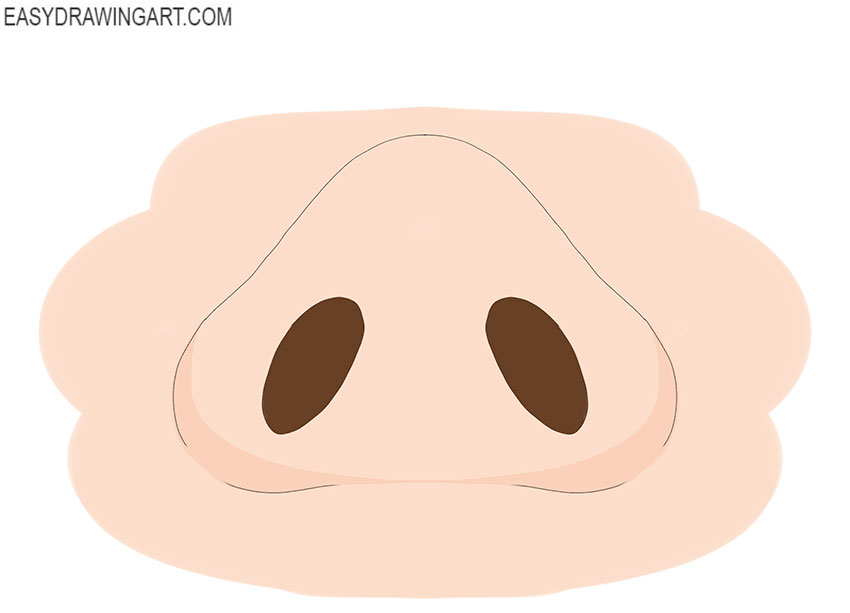
We have created a step-by-step tutorial in which you will learn how to draw a nose from below. From this angle, the tip of the nose and the nostrils are clearly visible.
This tutorial will help you practice drawing facial features from a different perspective. Pay close attention to maintaining symmetry and carefully observe the angle.
Time needed: 1 hour
How to Draw a Nose from Below
- Prepare the base.
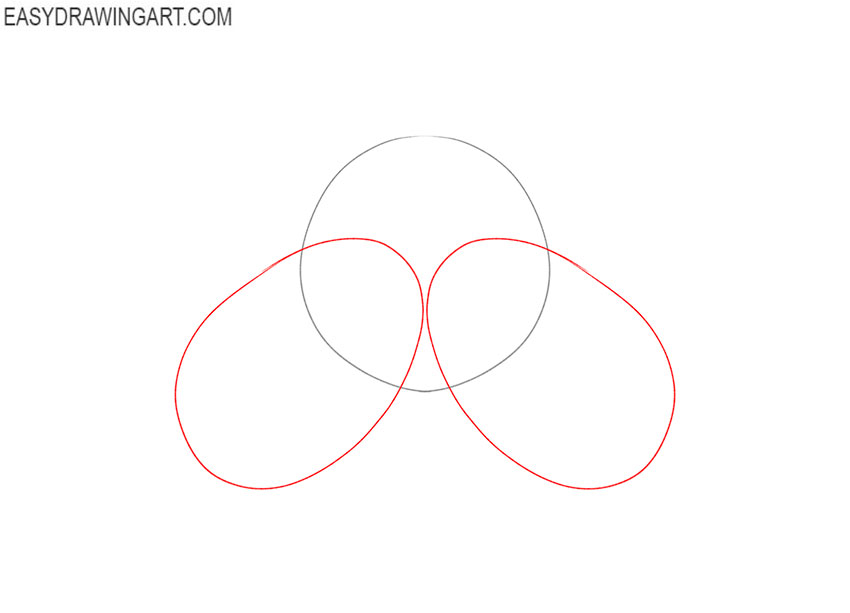
Start drawing by building baselines and in this step draw an even circle yourself or with the help of improvised tools.

- Draw the wings of the nose.
At the bottom of the circle, add two ovals that are located diagonally. Make sure the circles are the same size.
- Depict the nasal openings.
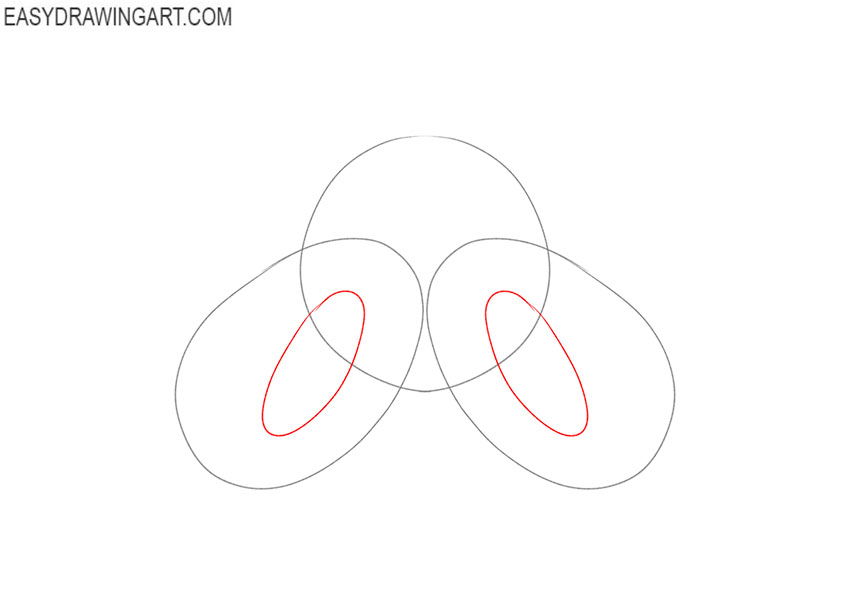
This step is similar to the previous one and here you will draw two smaller ovals. These will be the nose holes.
- Begin to give the nose the desired shape.
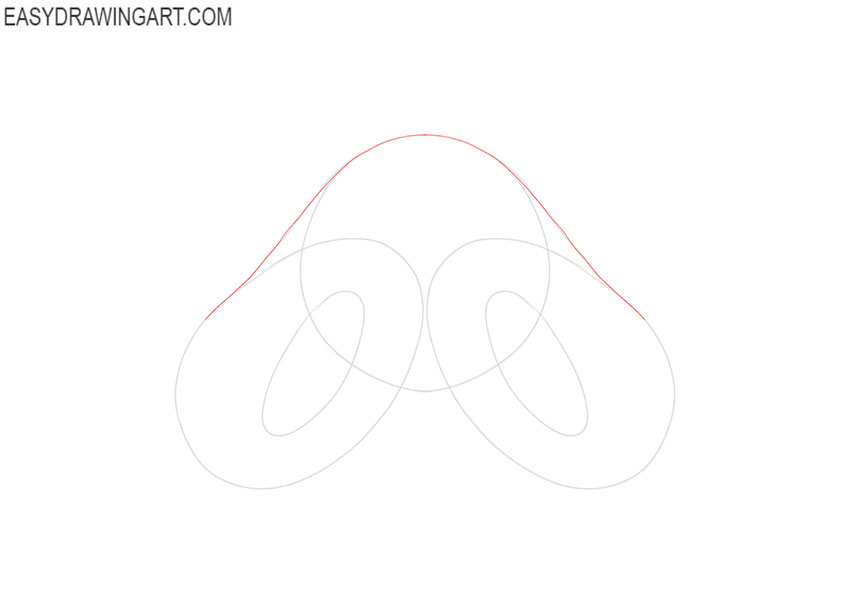
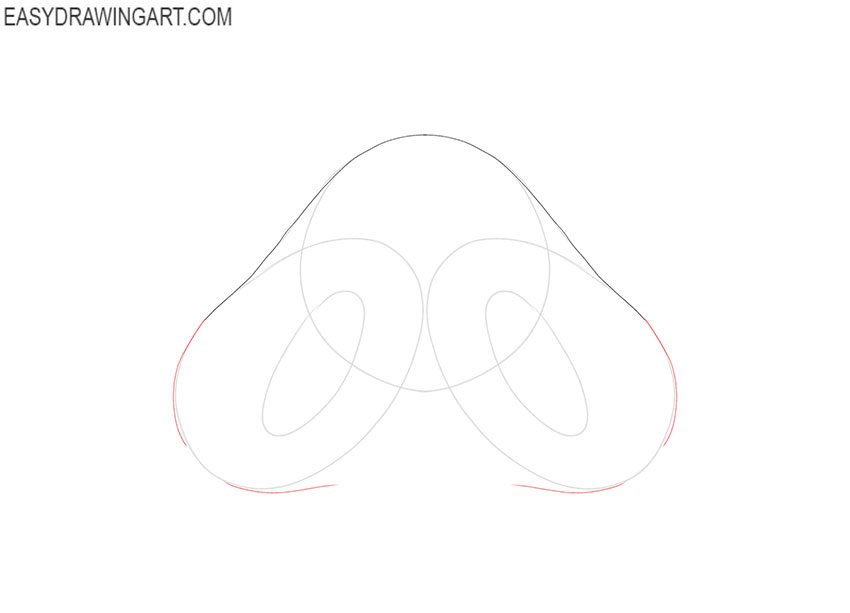
Draw smooth connecting line between the ovals and the circle. At this stage, use clearer lines.
- Add the bottom of the nostrils.
Use the lines you drew in the previous steps as a guide and outline the nostrils.
- Correct inaccuracies.
The main outlines are ready, and now you can remove the extra lines in the drawing and prepare it for coloring.
- Color the drawing.
To paint the skin, use any natural shade, paint the nasal openings with a dark brown color. Highlight the dark areas to make the drawing look realistic.

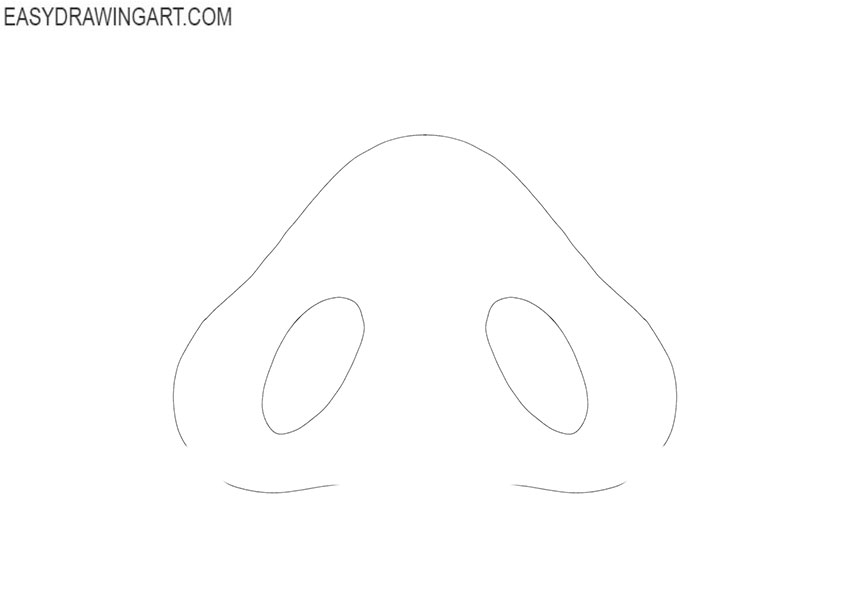
Now you have completed all the steps in this tutorial and know how to draw the bottom of the nose. We recommend that you complete other interesting and useful lessons to learn how to draw different parts of the human body. Subscribe to us on social networks and stay tuned for updates on the site.