How to Draw a King
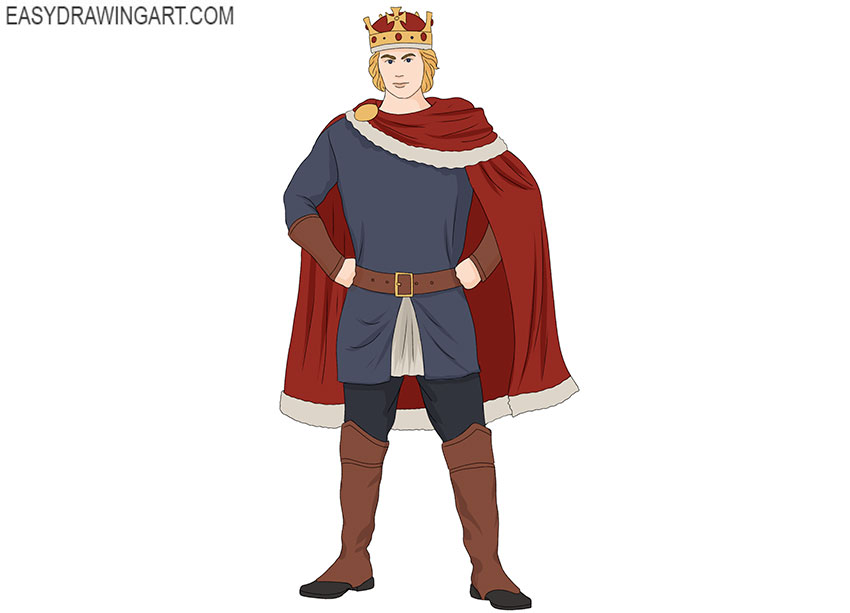
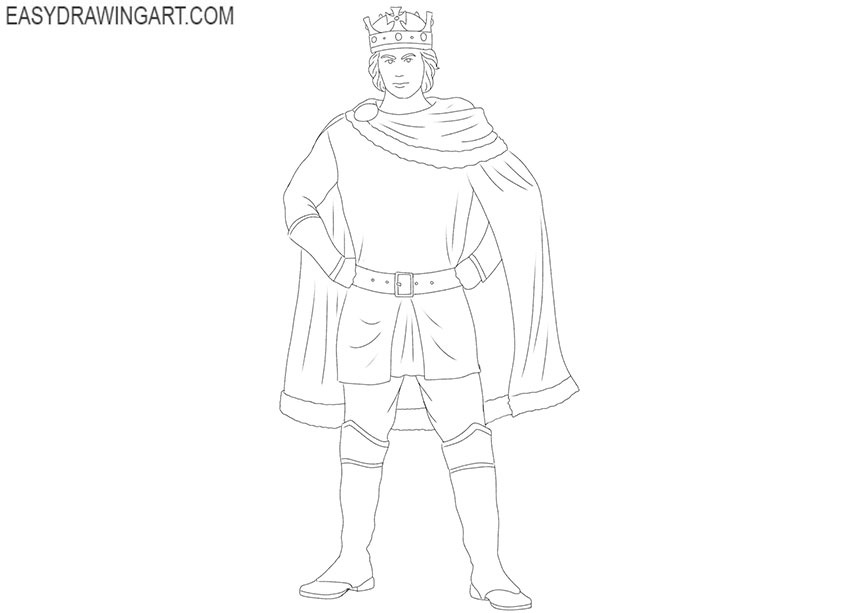
Our team is pleased to offer you this detailed guide on how to draw a king. This drawing depicts a young monarch wearing a robe and a crown as a symbol of royal authority.
This tutorial will be useful because you will practice drawing the human figure. All you need is patience and accuracy.
Time needed: 1 hour
How to Draw a King
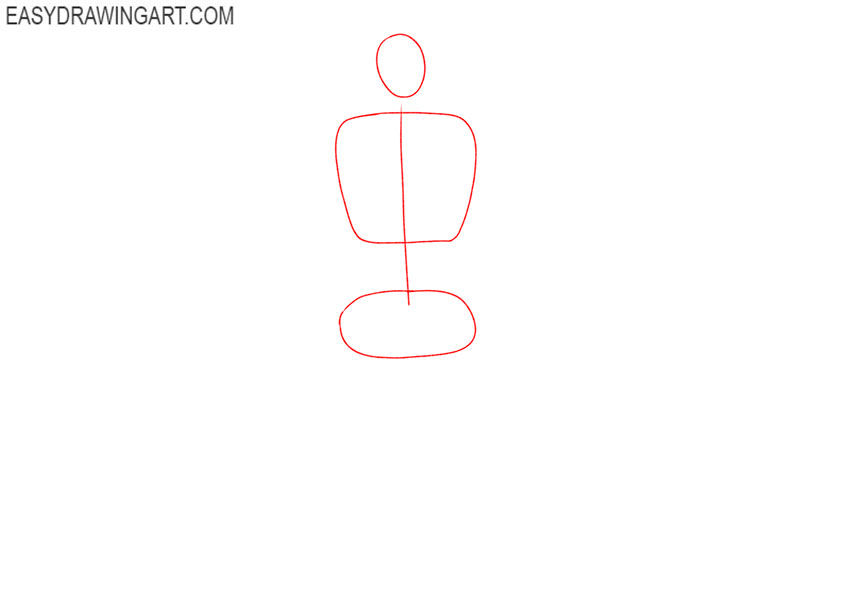
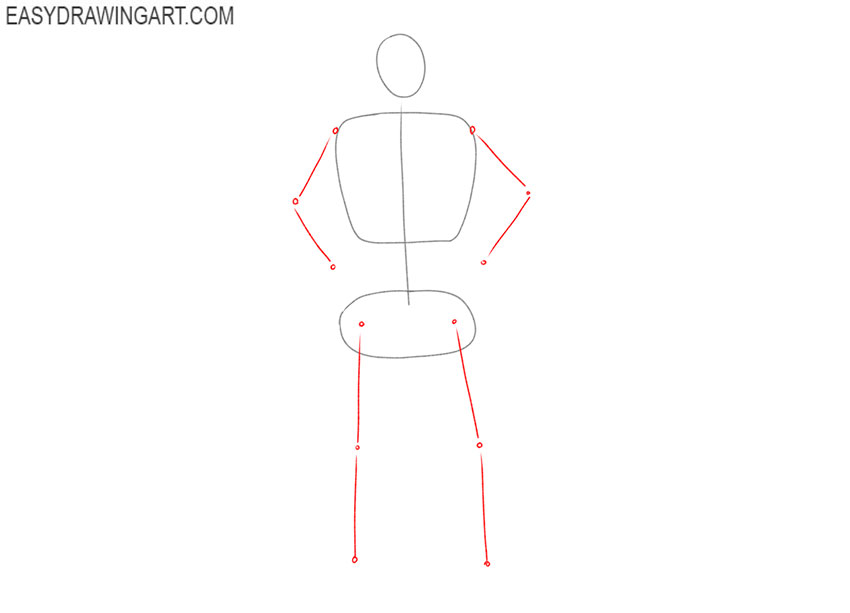
- Draw the baselines.
Add the main parts of the king’s body in the form of rounded figures. Define the central part of the body with a vertical line.

- Add the limbs.
Using straight lines of different lengths, depict the position of the arms and legs. Draw the folds as large dots.
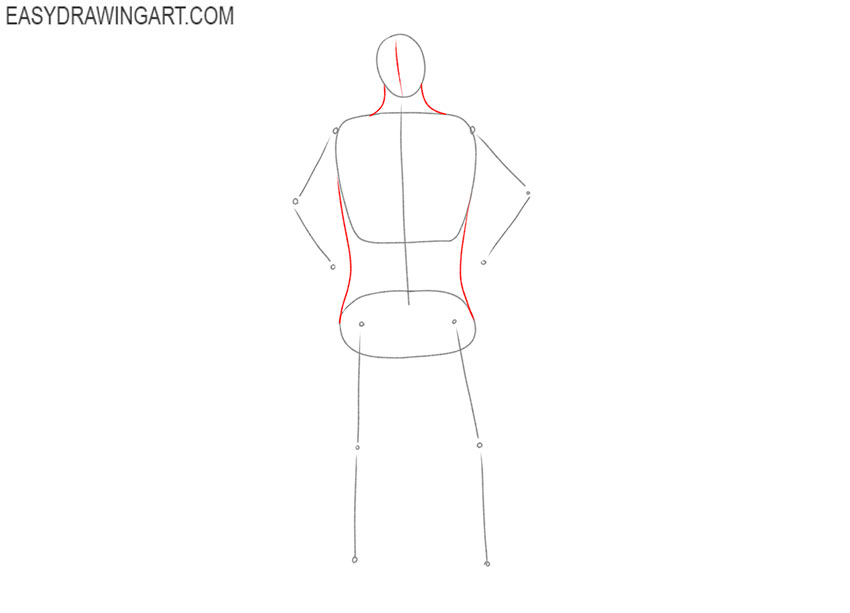
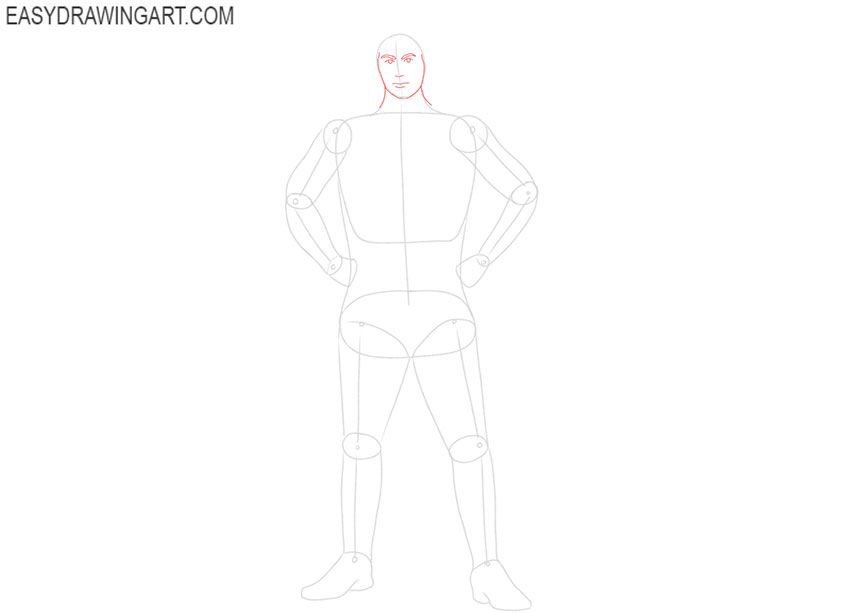
- Mark up the face and add the contours of the body.
On the head, draw a vertical line to mark the face. Draw connecting lines between the head and chest to represent the neck and draw the sides of the torso.
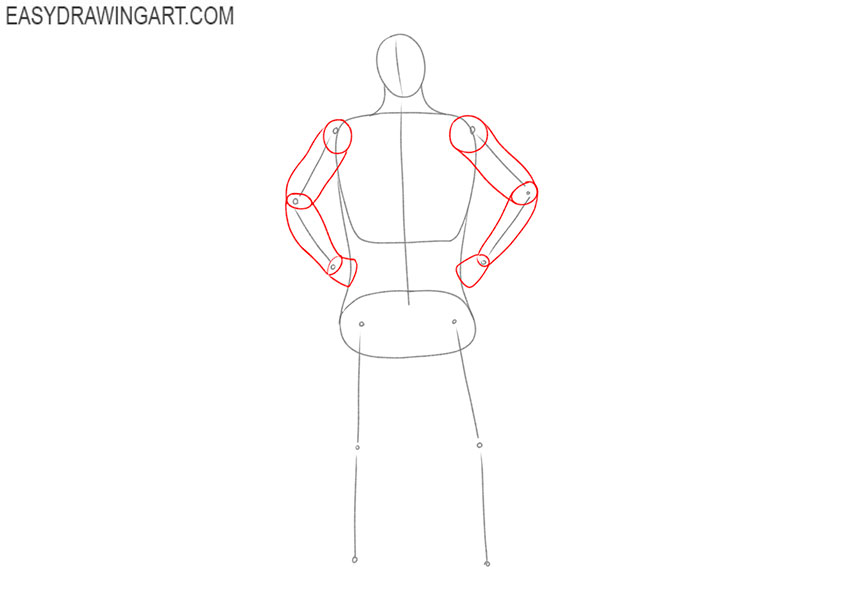
- Give the arms size and shape.
Add the necessary thickness to the arms. Depict the individual parts of the hands in the form of cylindrical figures, depict the places of the folds in the form of an oval. At the bottom, add the hands.
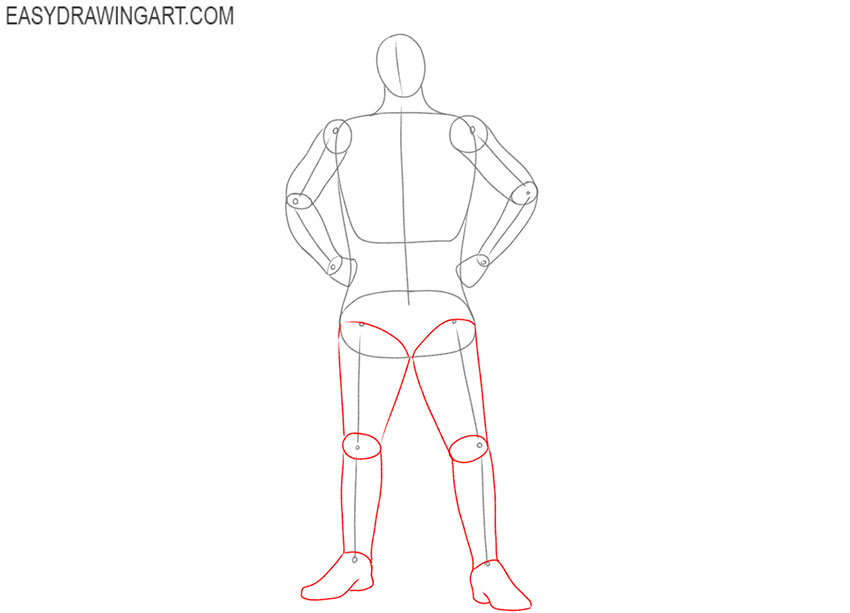
- Depict the outlines of the legs.
This step is similar to the previous one and here you will add the thickness and shape to the legs. Draw the knee joints in the form of ovals and add the feet.
- Detail the head.
Continue adding details and in this step draw the eyes, eyebrows, nose, and mouth. Make the contour of the face and neck clearer.
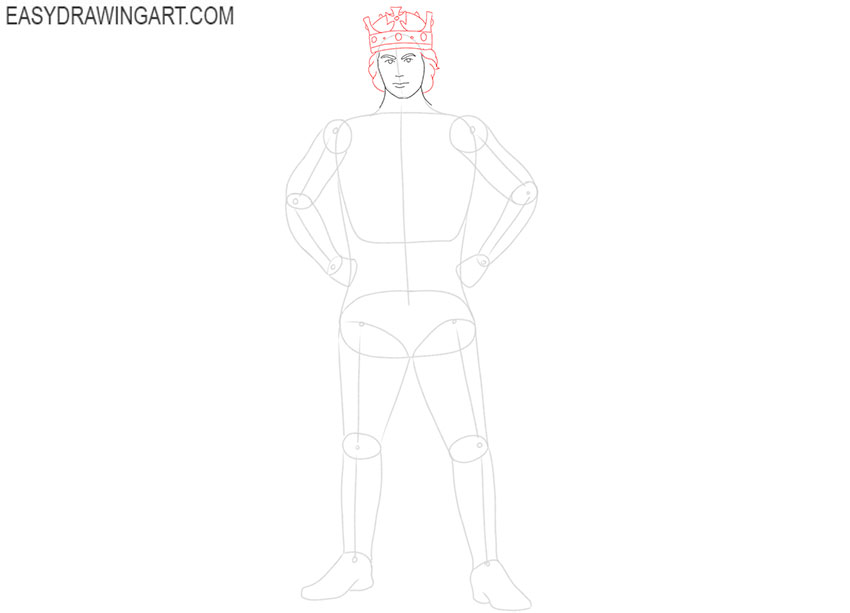
- Depict the hair and crown.
Add the individual strands of the hair on the sides of the head and draw the crown on the head, which consists of several elements of different shapes.
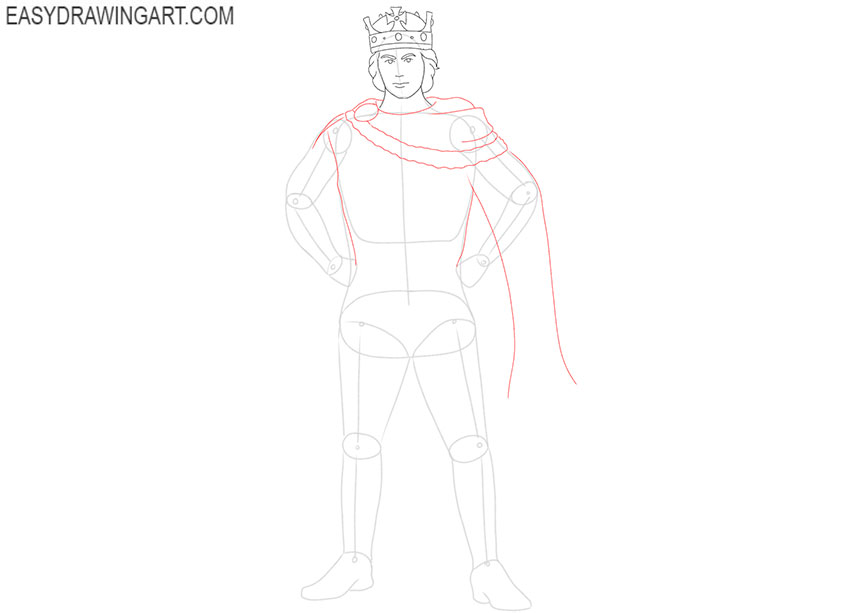
- Draw the mantle.
With the help of smooth lines depict the mantle in which the king is dressed. With uneven lines, draw the upper outline of the mantle and draw a large oval-shaped clasp.
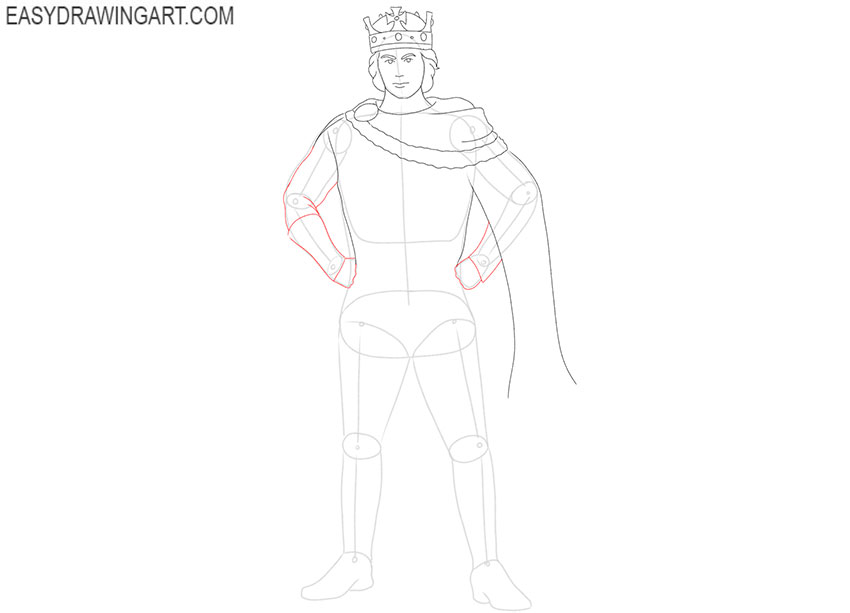
- Sketch out the hands.
Focus on the lines that you drew in the previous steps and in this step depict the sleeves and hands of the king.
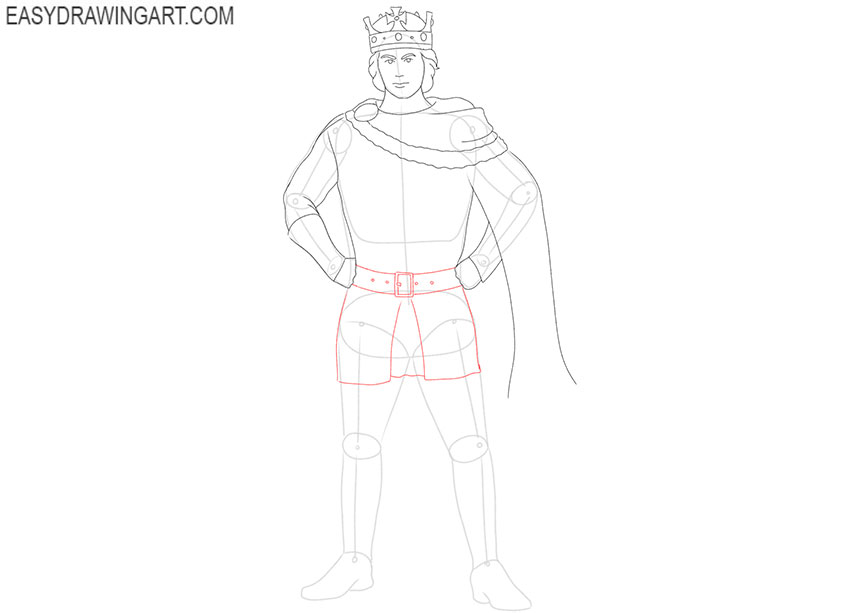
- Depict the tunic and belt.
With the help of a few smooth lines depict the lower part of the tunic and draw the wide belt with the buckle.
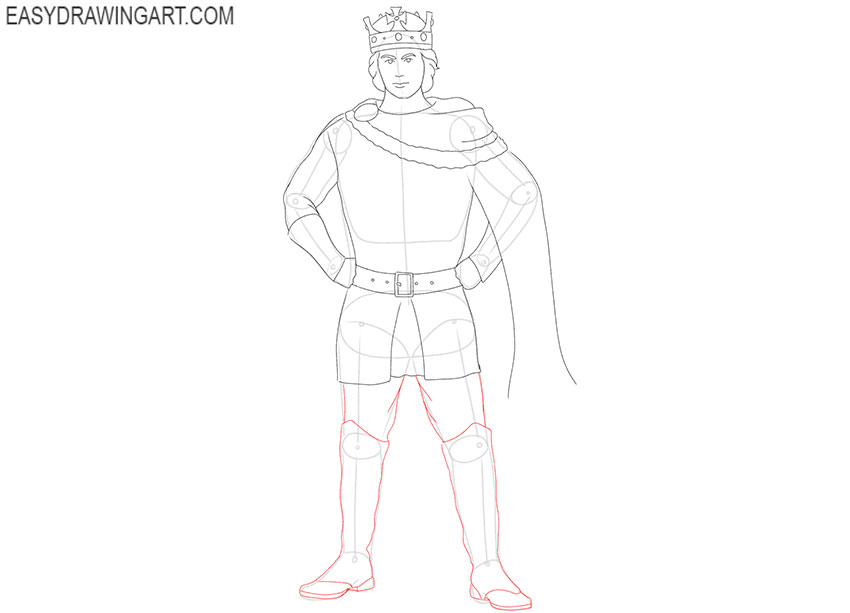
- Detail the legs.
With the help of a few smooth lines depict the lower part of the clothes and draw the high boots.
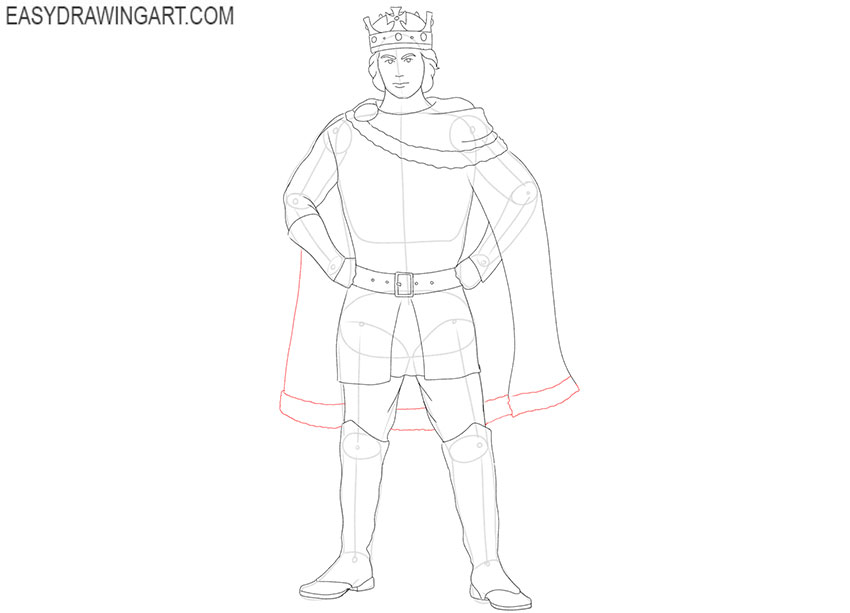
- Add the rest of the outline of the mantle.
Sketch out a smooth line to depict the lateral outline of the mantle and use jagged lines to depict the lower outline of the mantle.
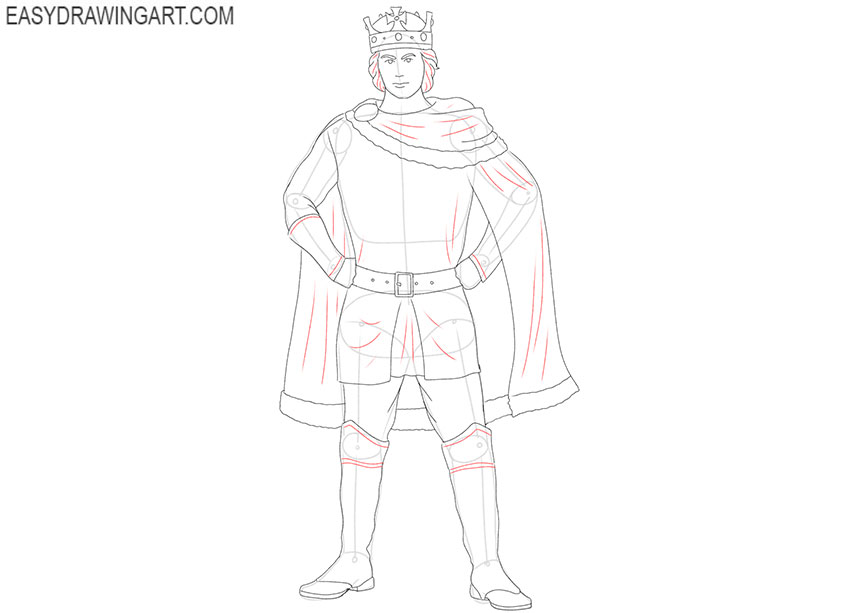
- Add details.
Depict the folds on the clothes using lines of different lengths. Detail the upper part of the boots and depict individual strands of the hair.
- Correct inaccuracies.
Take the eraser and carefully erase all the extra lines in the drawing. If you notice errors, correct them immediately.
- Color the drawing.
Color the skin and hair with any natural shades. For coloring clothes and shoes, use shades of red, blue, gray, and brown. Color the crown orange.
Now we have completed another exciting creative task. We would love to read your feedback on this walkthrough. Subscribe to us on social networks, if you have not already done so, and stay tuned for updates.