How to Draw a Flamingo
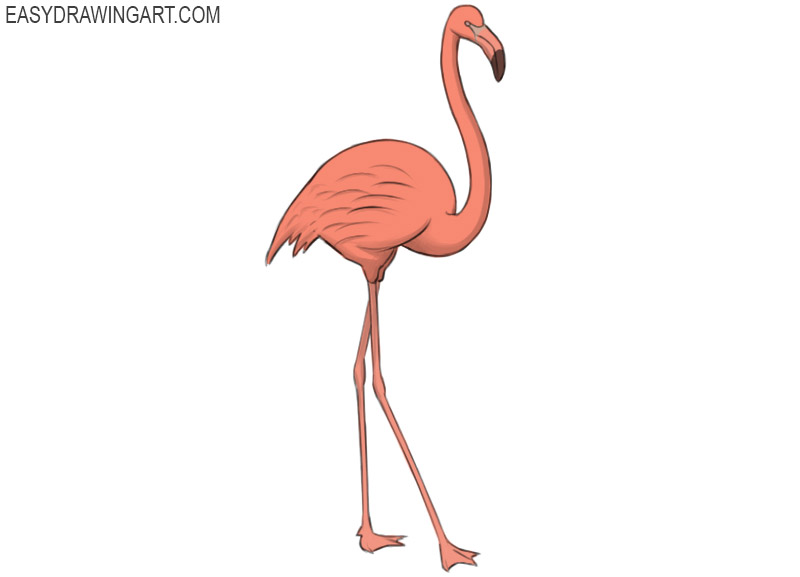
Flamingos are very interesting birds with pink feathers and unusual shape. In this tutorial, we will show you how to draw a flamingo step by step.
The flamingo in this drawing is standing in a side view with one leg raised. Its long neck curves gently toward the large hooked beak.
Time needed: 1 hour
How to Draw a Flamingo
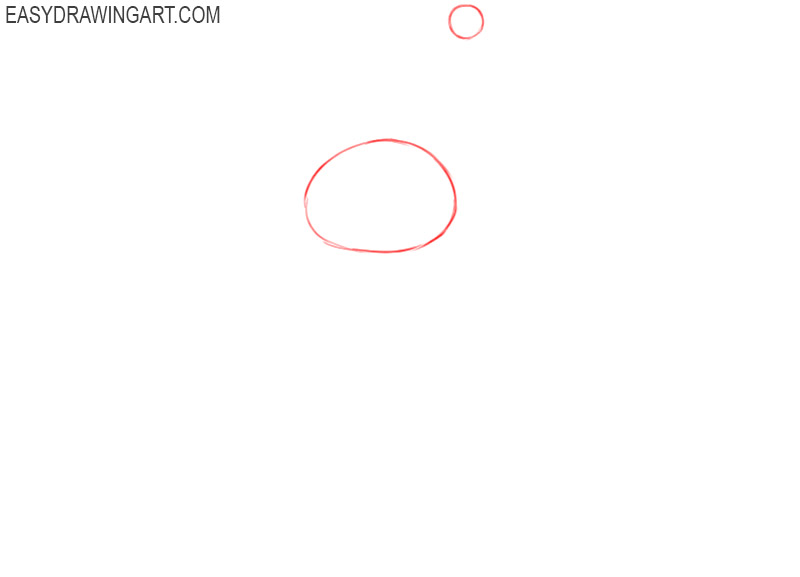
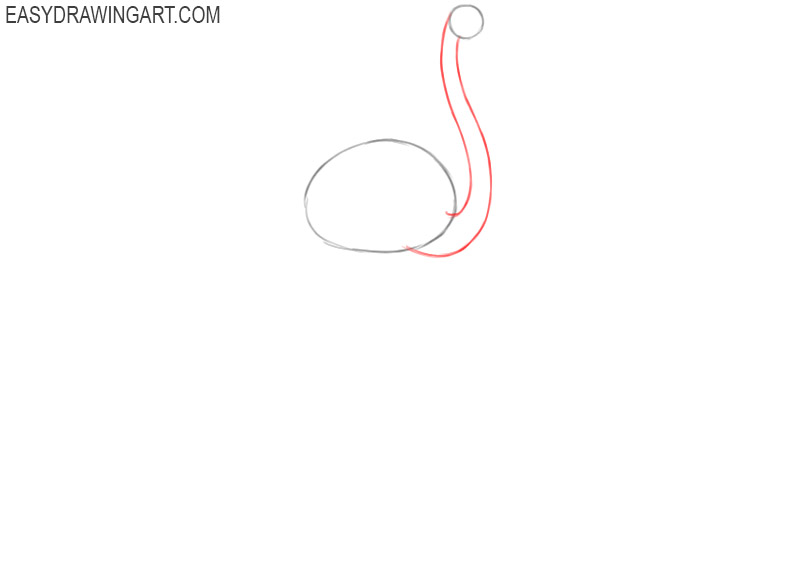
- Sketch out the markup.
Start this drawing by marking the location of the head and body of the flamingo. To do this, draw a circle and an oval-shaped figure.

- Draw the neck of the flamingo.
Now you should use two curved lines to connect the previously drawn circle with oval shapes.
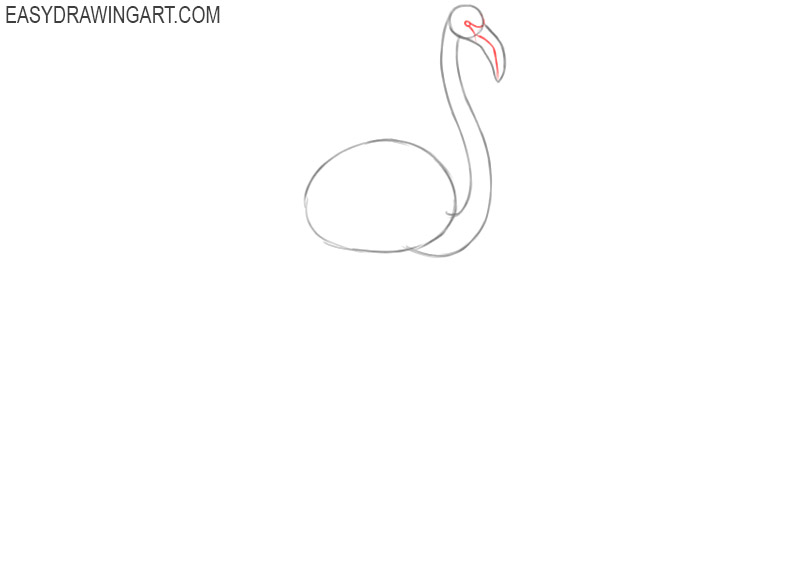
- Add the flamingo’s beak.
Next to the outline of the flamingo’s head drawn earlier, draw the large, hook-shaped beak using curved lines.
- Depict the eye and beak elements.
Inside the previously drawn beak draw one curved line, inside the head add curved lines and a small circle.
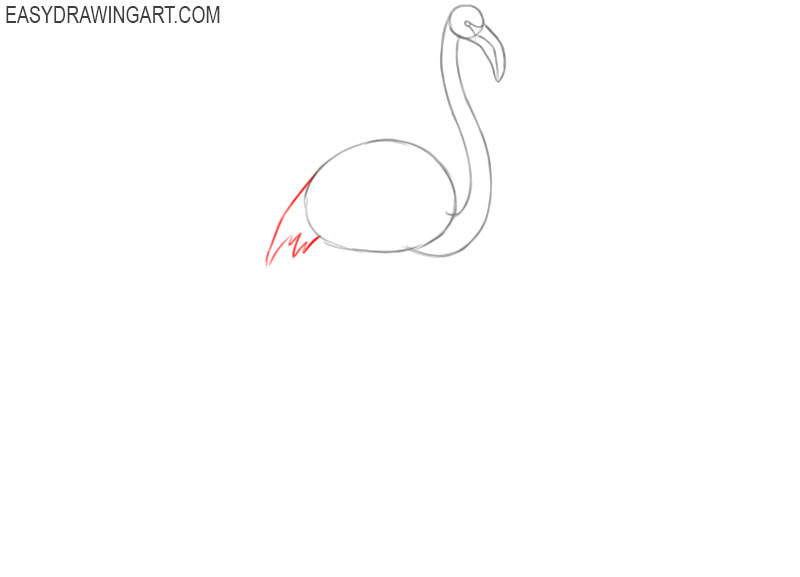
- Add the tail of the flamingo.
In the back of the flamingo’s body, draw the tail in the form of pointed feathers. Use curved and zigzag lines.
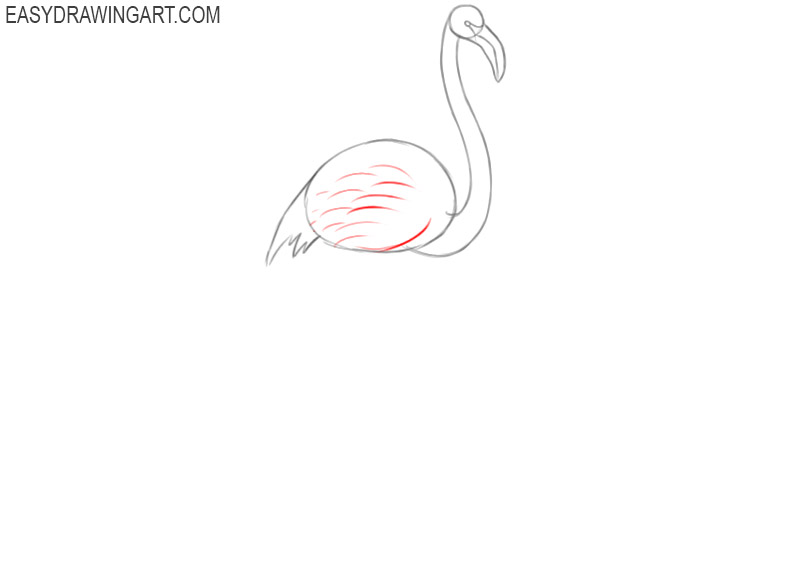
- Depict the plumage to the body of the flamingo.
Draw many curved lines of different lengths on the side of the flamingo’s body, as shown in the figure.
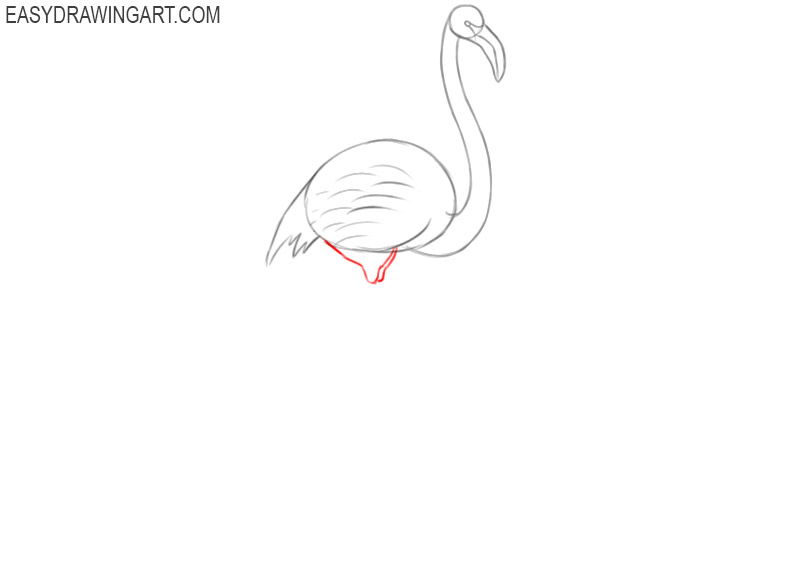
- Draw the upper parts of the flamingo’s legs.
Below the previously drawn torso, depict the upper parts of the legs as curved lines. One leg is partially hidden behind the other.
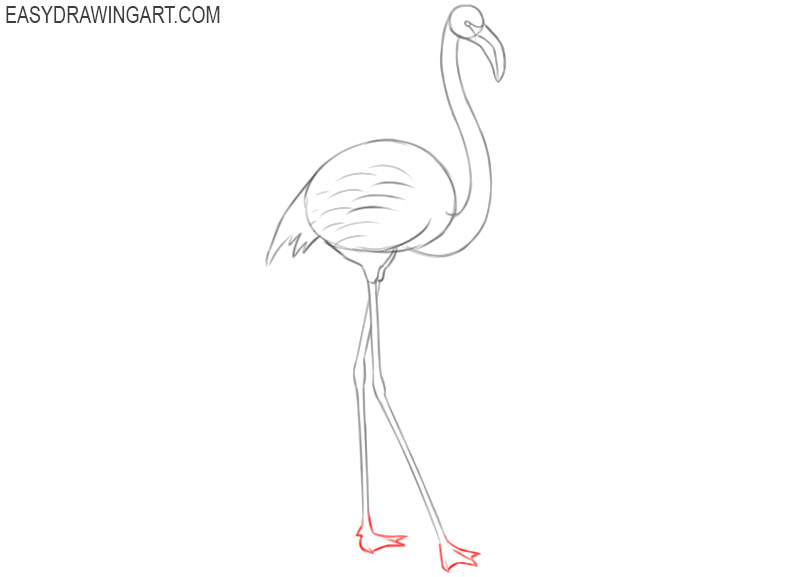
- Add the legs of the flamingo.
Below the previously drawn elements, depict the long and thin legs of the flamingo by adding straight and curved lines.
- Finish drawing the legs of the flamingo.
Now you should add the lower parts of the legs that look like flippers. To do this, continue the previously drawn lines with curved lines.
- Color the drawing.
To color the flaming, use shades of pink and brown. Don’t forget to add shadow areas.


That was the drawing lesson in which you learned how to draw a flamingo step by step. You have completed all the steps of this instruction, and now you have a great drawing. We hope you had a great time drawing flamingos. Do not forget to leave your feedback so that we know if you liked this drawing lesson, and also take into account all your wishes for future drawing lessons.