How to Draw a Duck
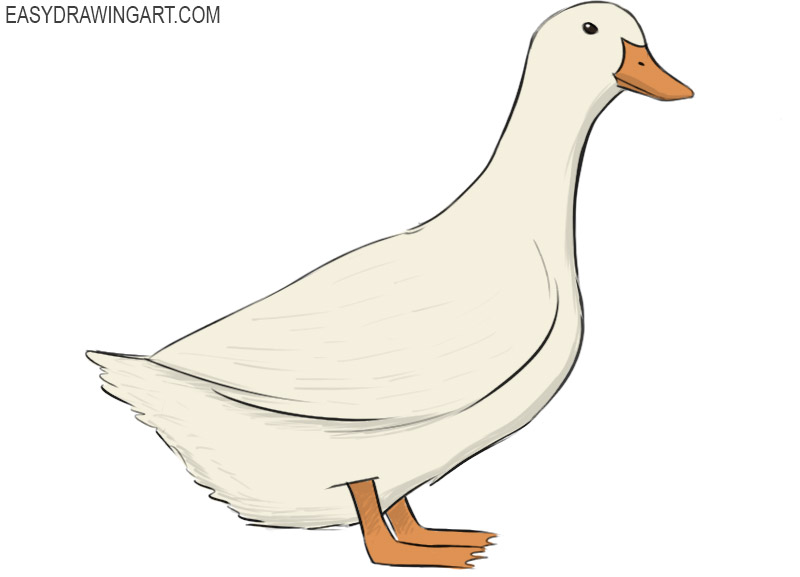
In this easy tutorial, we will show you how to draw a duck step by step. You can easily follow these instructions even if you are a beginner with little drawing experience.
You have probably seen ducks many times. They are found on every continent except Antarctica.
Follow each step carefully and prepare your drawing supplies before you begin. By the end of the tutorial, you will have drawn a duck standing in side view.
Time needed: 55 minutes
How to Draw a Duck
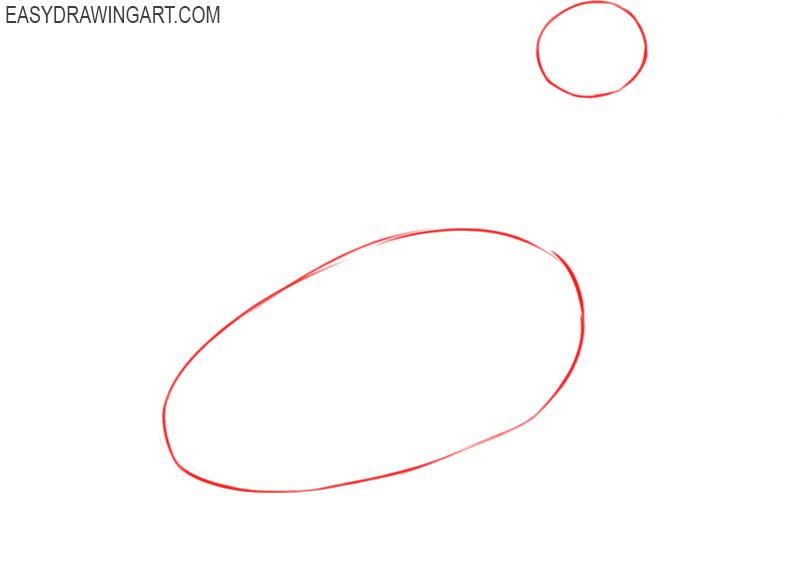
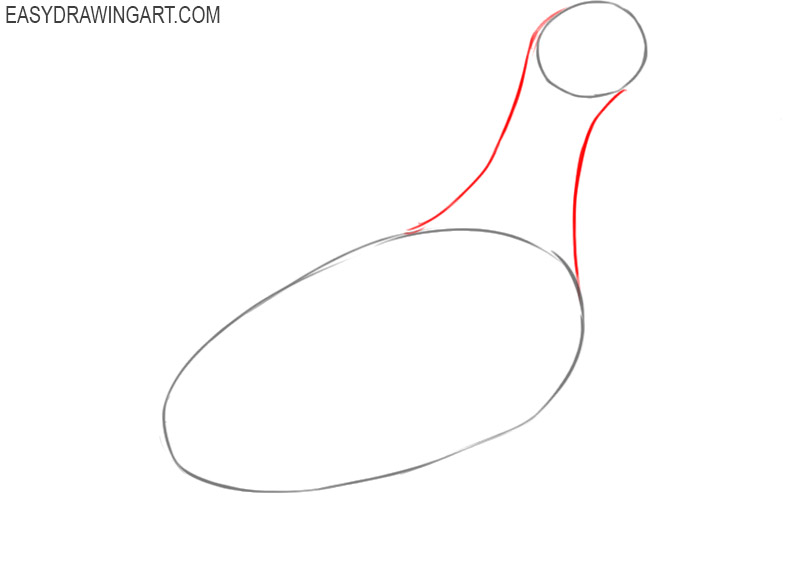
- Draw the outlines of the duck’s head and torso.
Depict the head of the duck in the form of a circle, and below it add the torso in the form of an oval-like shape.

- Add the duck’s neck.
Using two curved lines, connect the two previously drawn shapes as shown.
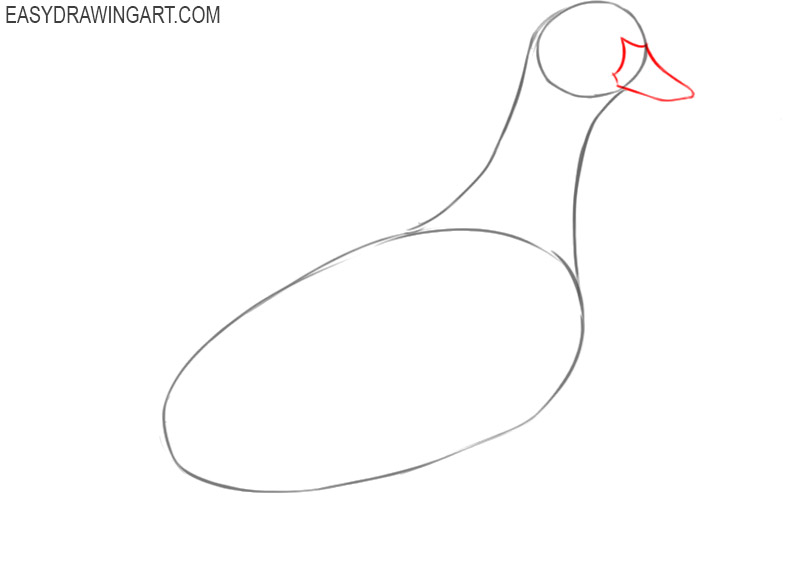
- Depict the duck’s beak.
In front of the duck’s head, draw the beak using arcs of different sizes, as well as a curved line, as shown in the figure.
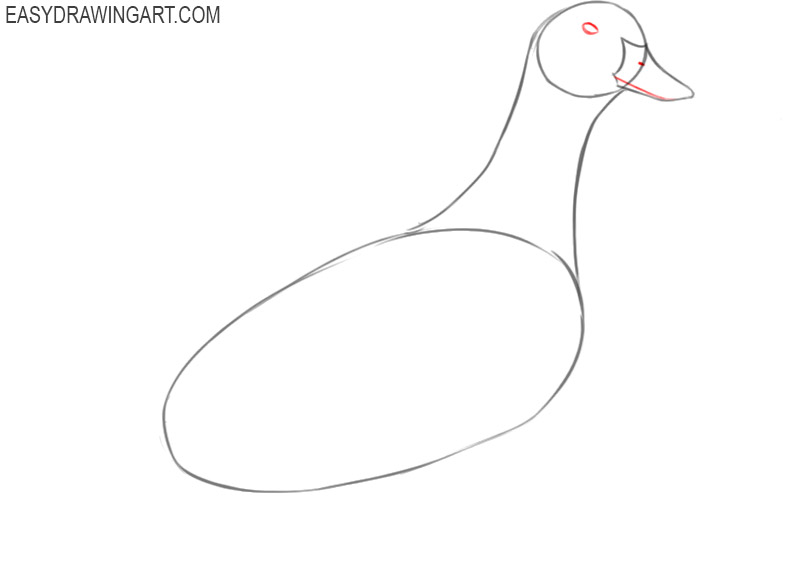
- Sketch out the elements of the beak and eyes.
Draw an oval-shaped eye at the top of the duck’s head, and add one dot and a small straight line on the beak.
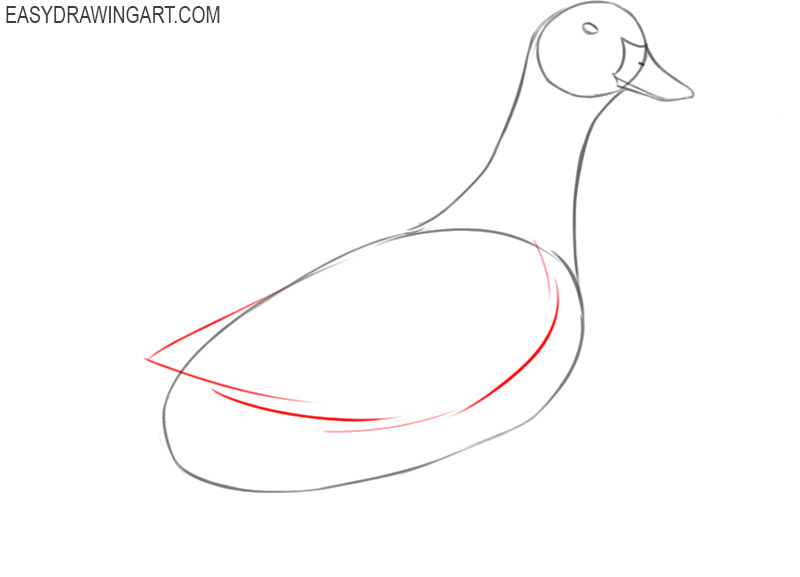
- Add the duck’s wing.
On the previously drawn torso, depict one wide and pointed wing using curved broken lines.
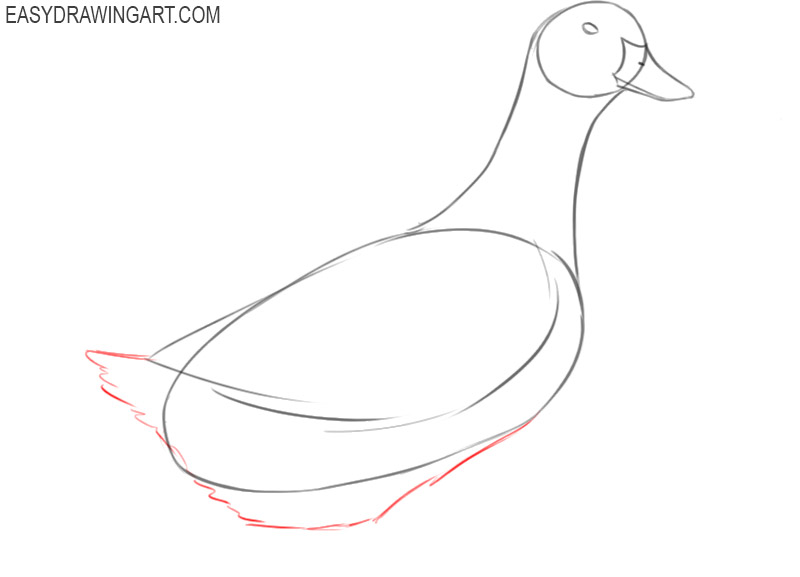
- Draw the lower body of the duck.
Depict the tail and lower torso by drawing many broken, curved lines around the previously drawn wing and torso outline.
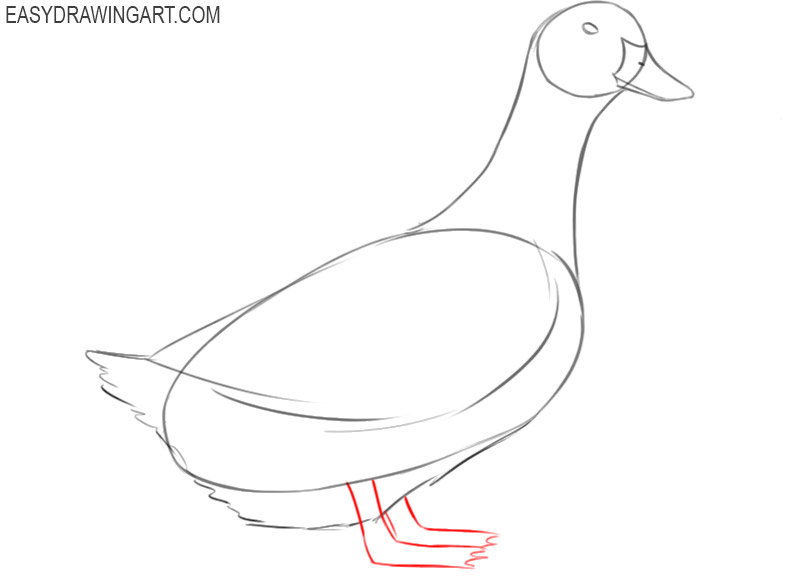
- Depict the paws.
Draw two legs below the body of the duck using arcs of different sizes and curved lines. One paw appears to be partially covered by the torso.
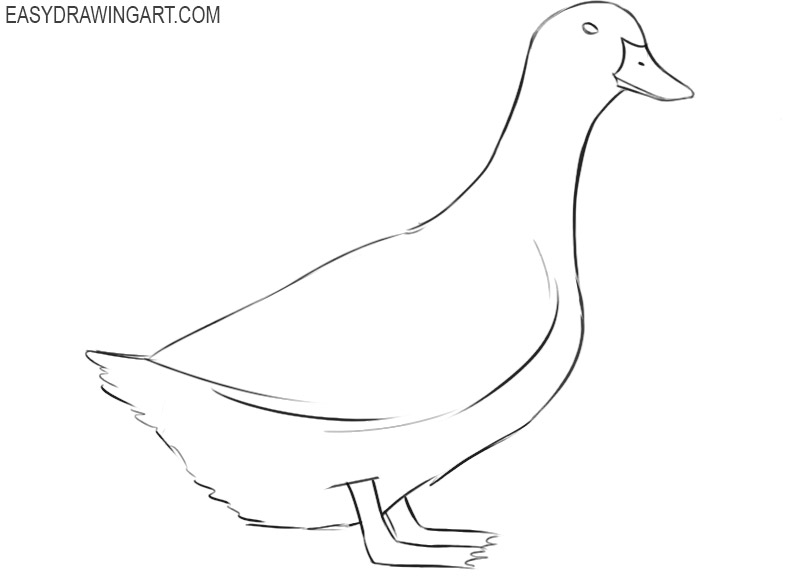
- Erase extra lines.
Prepare your drawing for coloring. Use the eraser to remove any unnecessary guidelines from the drawing.
- Color the drawing.
To color the duck, you will need black, shades of orange, and shades of gray. Add shadows to make the drawing look more realistic.
We are sure that you did a great work, and now you know how to draw a duck step by step. You can tell in the comments about your impressions of this lesson and share it with your friends.