

How to Draw a Hawk
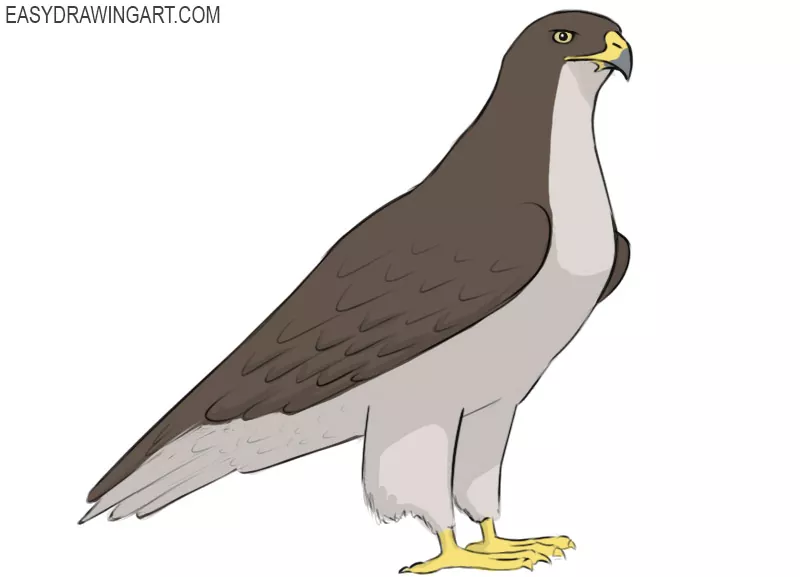
In this easy tutorial, you will learn how to draw a hawk. Drawing birds is a great way to practice observing different body shapes, since each species has its own distinctive features.
As you draw a hawk, try to pay attention to the bird’s shapes and choose natural colors when coloring the plumage.
In this tutorial, you will draw a large bird of prey. The hawk is a slender bird with wide, curved wings and a long, straight tail. It also has long, powerful talons and a sharp, hooked beak that help it catch and hold prey.
By following the steps in this guide, you’ll draw these features of the hawk using very simple forms.
Time needed: 1 hour
How to Draw a Hawk
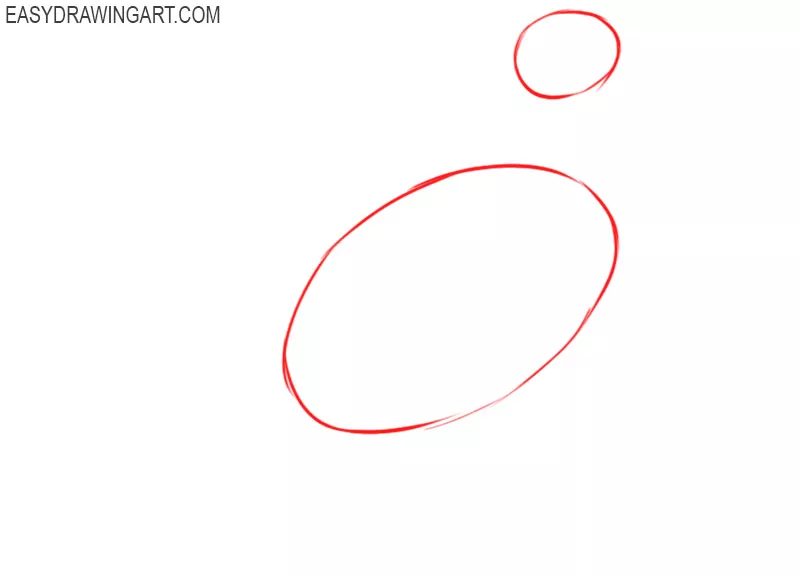
- Draw the head and torso.
Now you have to draw two ovals of different sizes at some distance from each other. Try to correctly position these objects on a sheet of paper and at the same time maintain proportions.

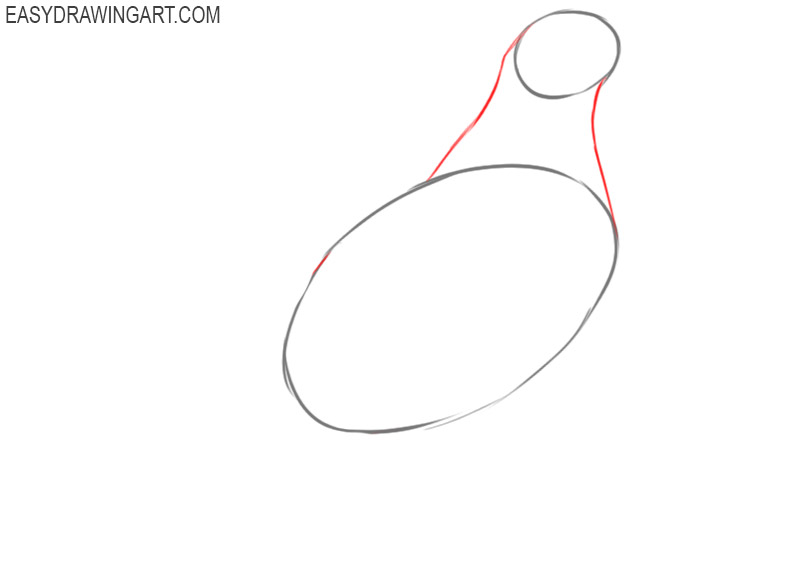
- Depict the neck.
Draw two smooth connecting lines between the head and torso. The neck should be wide enough.
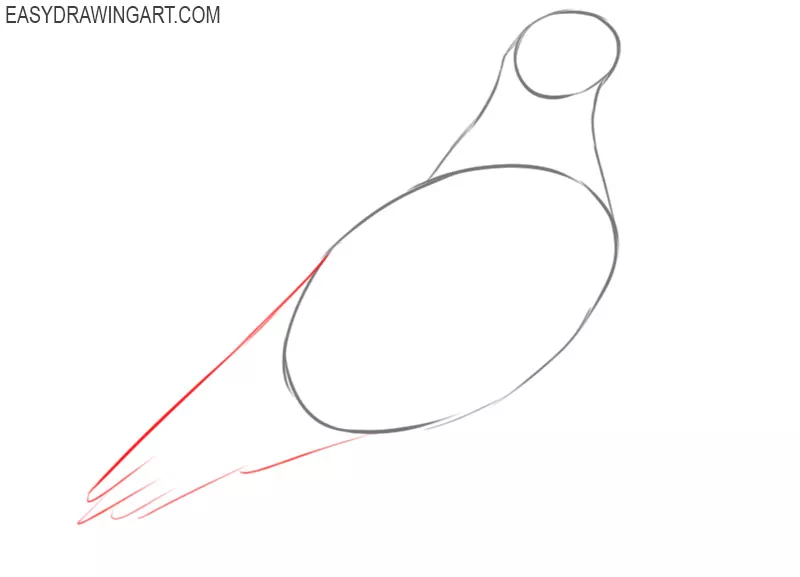
- Sketch out the tail.
Draw diagonal lines from the back and belly of the hawk. At the end of the tail, draw the outline of several large feathers.
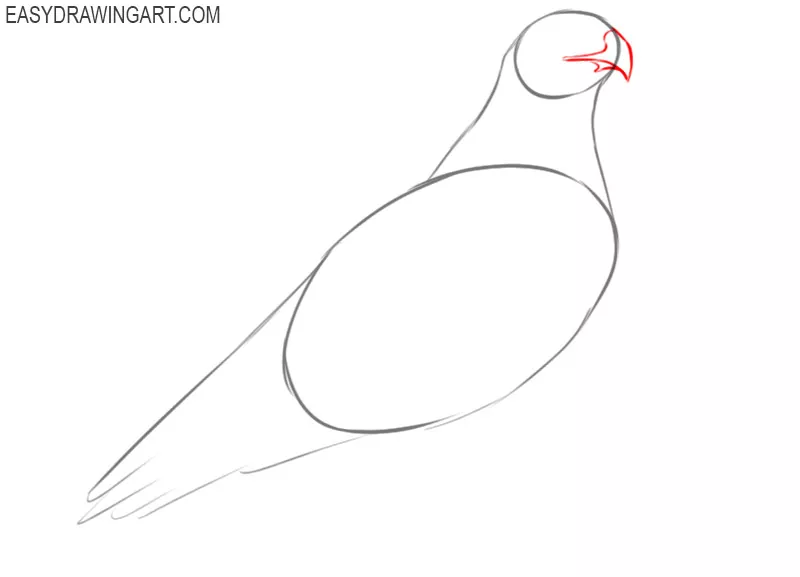
- Add the beak.
The upper part of the beak has a rounded shape, the end of the beak is very sharp. Depict the rest of the beak using curved lines.
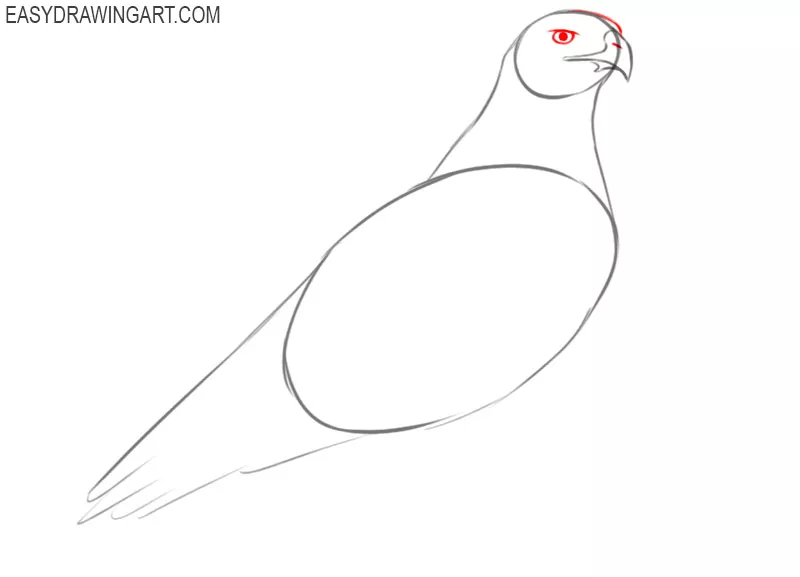
- Depict the eye, the nostril and refine the outline of the head.
Draw a short line to represent the upper eyelids, and draw an oval-shaped eye. On the beak, make a short stroke to represent the nostril and depict a smooth line above the beak.
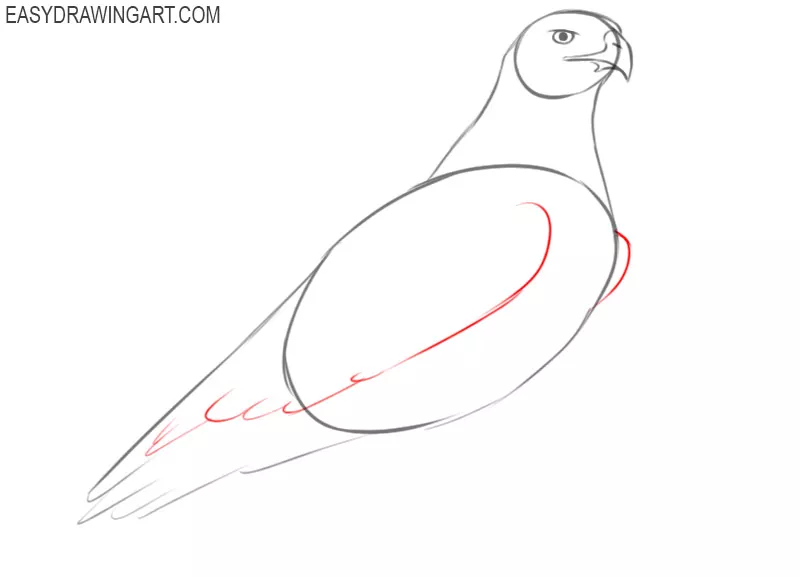
- Draw the wings.
Using a rounded line, depict the visible part of one wing and draw the second wing in its entirety. With the help of several rounded lines, add large feathers at the end of the wing.
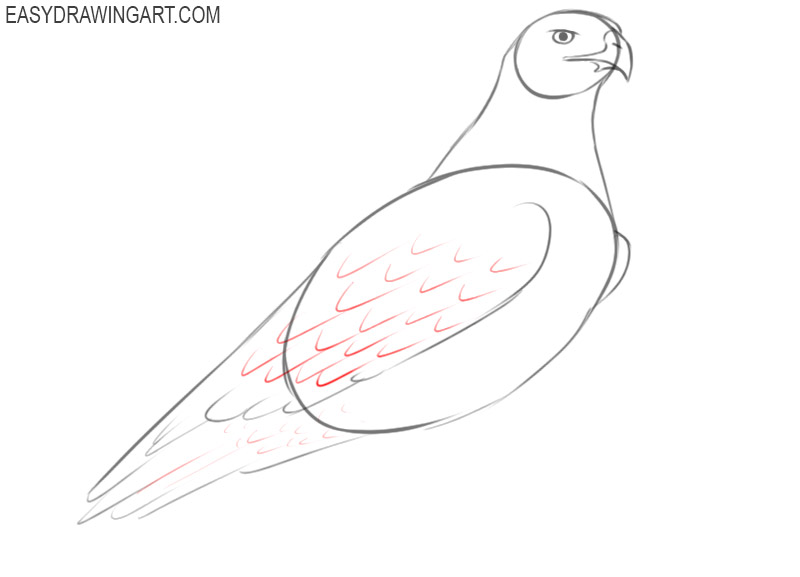
- Sketch out the feathers to the wing.
Using curved lines, depict the ends of the feathers on the wing. Please note that the feathers are small in the upper part of the wing, and the feathers are elongated towards the end of the wing.
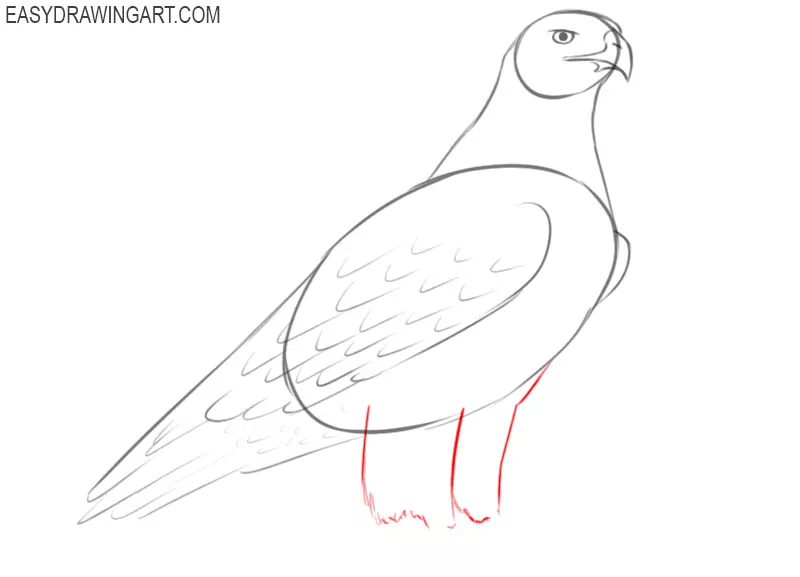
- Add the top of the paws.
The upper part of the paws is quite wide and has an uneven lower edge.
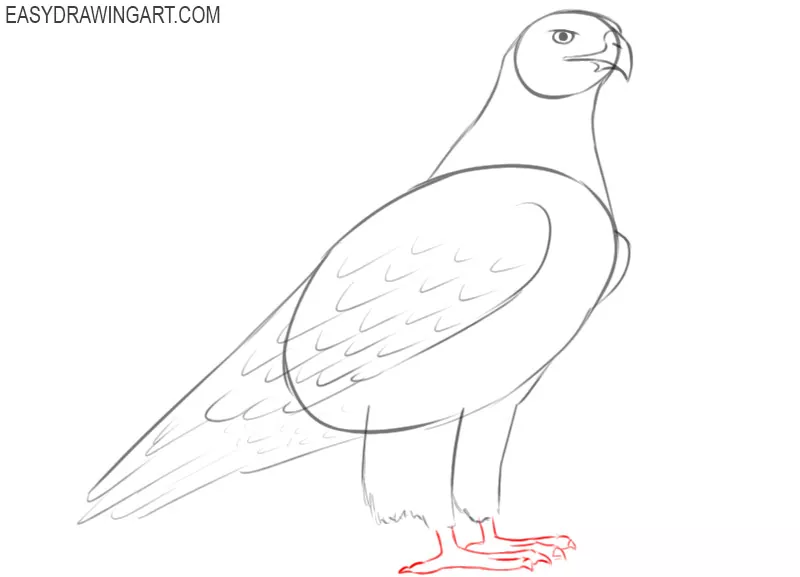
- Depict the bottom of the paws.
The hawk has long toes and large claws. Try to correctly depict the position of the fingers in your drawing.
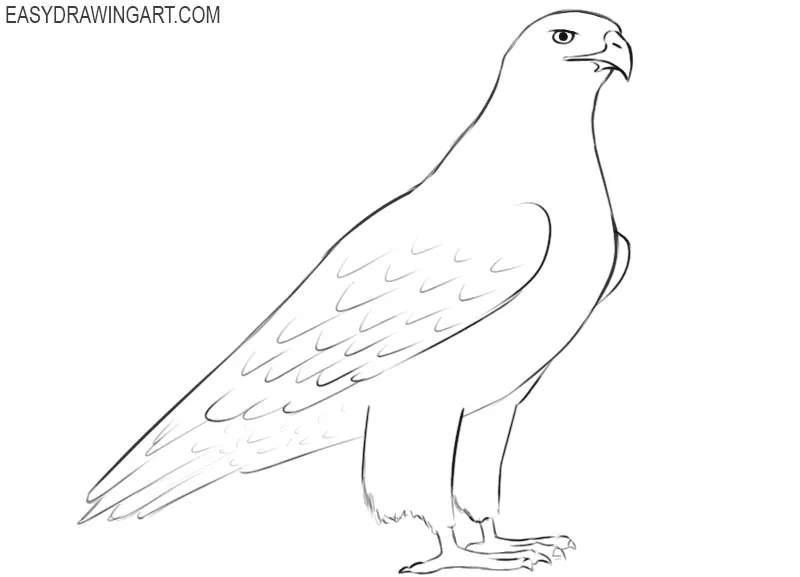
- Correct the inaccuracies.
At this stage, compare your drawing with the example and correct any inaccuracies if necessary.
- Color the hawk.
Dark gray paint the head, back and wings. Light gray paint, the lower part of the torso. Beak, eyes, and paws paint in light orange.
We hope that this lesson was useful for you, and you completed it with pleasure. Try also to complete other lessons presented on this site and draw other birds or animals. Improve your skills and achieve the best results in drawing!

coolll
im john i like this maybe draw some baby hawks